How to Prep Surfaces Before Gluing for a Stronger Bond
Clean, dull, dry, and fit the surfaces before you apply glue: use a 5-step prep sequence that removes contamination, creates tooth where needed, and matches the material. Skip prep and the joint usually fails early, even if the adhesive itself is strong. This guide covers a repeatable sequence for wood, plastic, metal, ceramic, fabric, trim, painted surfaces, glossy finishes, and rubber, with material-specific cautions for cleaners and solvents.
Why prep matters before gluing
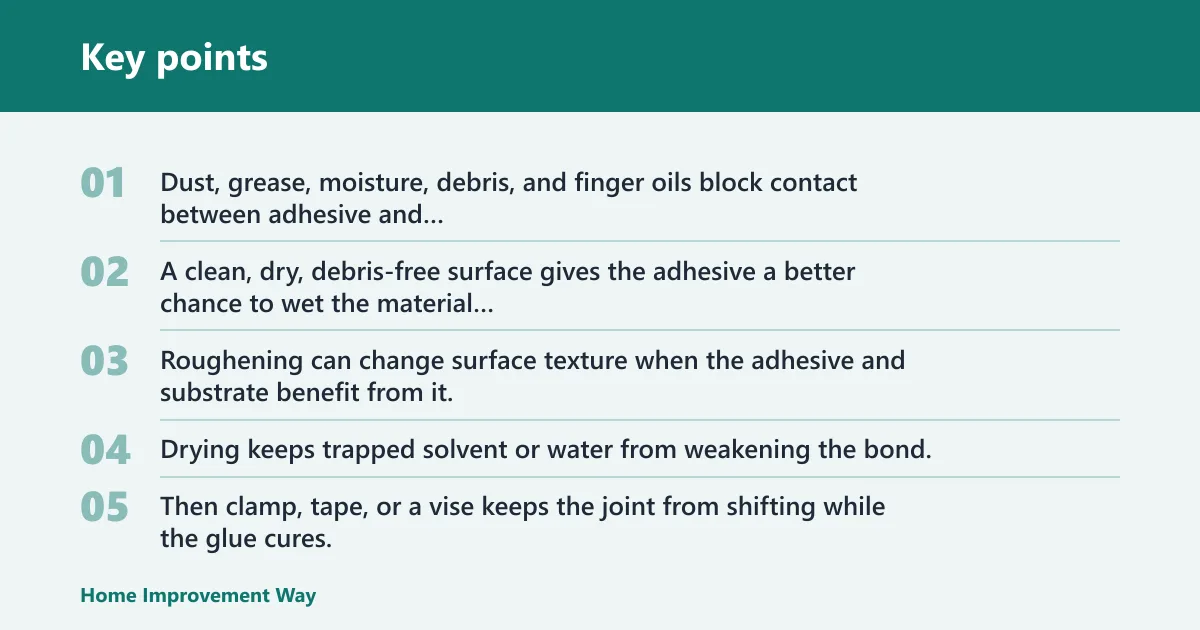


Bond failures usually start at the surface. Dust, grease, moisture, debris, and finger oils block contact between adhesive and substrate, so the glue grips contamination instead of the part. A clean, dry, debris-free surface gives the adhesive a better chance to wet the material and hold under load.
That is why prep is not one step. Cleaning removes contamination. Roughening can change surface texture when the adhesive and substrate benefit from it. Drying keeps trapped solvent or water from weakening the bond. Then clamp, tape, or a vise keeps the joint from shifting while the glue cures.
For adhesive-specific prep, follow the manufacturer’s instructions first. Scotch’s super glue guidance, for example, emphasizes using only a small amount and matching the bond-up method to the product. For solvent compatibility, consult plastic and coating guidance such as the International Association of Plastics Distributors’ solvent selection resources and surface-prep recommendations from coating or adhesive manufacturers before using alcohol or acetone on unknown materials.
What should you remove first?
Start with anything loose or greasy. Dust, debris, and old adhesive residue can keep glue from reaching the material, while grease, fingerprint oils, and soap residue can leave a film that resists bonding. Moisture matters too, especially on metal, plastic, and painted parts that may hold condensation after cleaning.
Dust, debris, and loose old adhesive
Brush, scrape, or wipe away loose material before you do anything else. Old glue that is still flaking can fail under the new repair, and dust can pack into pores or scratches. If the repair area includes paint flakes, rust, or chipped coating, remove only the unstable material and stop before you damage the base part.
Grease, finger oils, and soap residue
Grease and skin oils are bond killers. Even a light oil film can reduce wetting and leave the adhesive bonded to contamination instead of the part. If you washed a part with soap and water, rinse well and dry fully so detergent residue does not stay behind.
Moisture and condensation
Water left in a joint can dilute adhesive or keep it from wetting the surface. That matters on ceramic, metal, and plastic parts, and on repairs near sinks, windows, or exterior trim where condensation is common. Let the part sit until all visible moisture is gone before glue goes on.
Paint flakes, rust, and contamination on coated surfaces
Loose paint, corrosion, and old finish failure create weak layers. If the coating is intact and the adhesive is meant to bond to paint, scuff it only lightly. If the coating is peeling or chalky, remove the failure layer first. Glue over a loose coating, and the coating becomes the weak point.
The 5-step prep sequence
Use the same order every time. First, dry fit and mark alignment. Second, clean the surface with the right cleaner. Third, roughen smooth hard surfaces if needed. Fourth, let the surface dry fully. Fifth, apply glue, position the parts, and hold them until the adhesive sets.
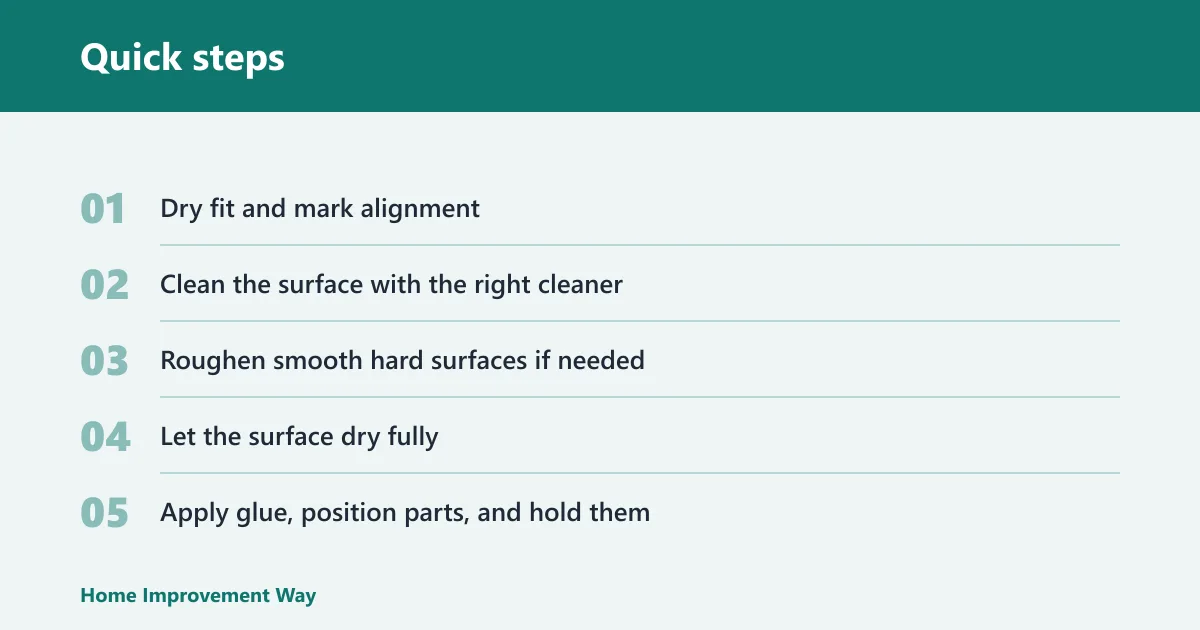
- Dry fit and mark alignment. Check how the parts meet before you open the adhesive. Plan clamp, tape, or vise placement now, while you can still move the pieces freely.
- Clean the surface with the right cleaner. Remove dust, grease, oils, and residue. Use soap and water when the soil is light and the material allows it. Use isopropyl alcohol or acetone when you need a stronger degrease step and the substrate is compatible.
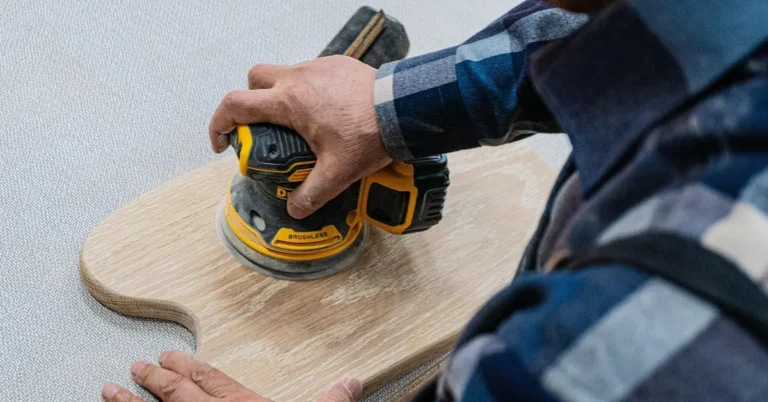
- Roughen smooth hard surfaces if needed. Sandpaper or steel wool can create more grip on hard, slick substrates. Keep the abrasion gentle. The goal is a better mechanical key, not deep scratches.
- Let the surface dry fully. Wait until the part is free of visible moisture and cleaner residue. If the cleaner flashes off quickly, still give the surface time to sit before bonding.
- Apply glue, position parts, and hold them. Match the adhesive label for amount and open time. Scotch advises applying super glue sparingly and gives a rule of thumb of one small drop for each square inch. Then clamp, tape, or use a vise so the joint does not shift during cure.
Say your metal bracket is clean but still slightly shiny. A quick alcohol wipe removes finger oils, and a light scuff with fine sandpaper gives the glue more bite. If you skip the scuff, the bond may hold at first and then fail when the part is loaded.
Picture a painted trim piece with a loose, dusty edge. If you glue over the dust and flaking paint, the adhesive can only stick to the weak coating. Removing the loose layer, then bonding to sound paint or bare substrate, gives the repair a better chance.
For nearby repair choices, see choosing the right glue, clamp pressure during curing, and removing old adhesive when you need to clear residue before rebonding.
When should you sand or roughen?
Roughening helps on smooth, hard surfaces where glue needs more mechanical grip. Scotch recommends sandpaper or steel wool for that job, and says gently roughening smooth, hard surfaces can give a stronger bond. Skip abrasion on delicate, thin, or coated materials if it would change the part more than the repair needs.
Which smooth hard surfaces benefit from abrasion?
Glass-like plastic, glossy ceramic, polished metal, and slick trim pieces often benefit from a light roughen step. These surfaces can be clean and still be too smooth for a strong mechanical key. The prep goal is to break the gloss, not to gouge the part.
When sandpaper is the better choice
Use sandpaper when you need even, controlled abrasion on hard substrates. It works well on wood, metal, and hard plastic. A finer grit is usually safer for prep because it scuffs the surface without leaving deep ridges that can weaken a thin part or print through a visible finish.
When steel wool can help without damaging the part
Steel wool can gently roughen smooth hard materials when a full sanding step would be too aggressive. It is useful on some metal, paint, and hard trim surfaces. Keep the pressure light so you change the surface sheen without cutting through the substrate or leaving deep scratches.
When you should skip roughening
Skip abrasion on soft fabric, thin plastic, brittle ceramic glaze, soft rubber, or any part where sanding would remove too much material. Also skip it if the adhesive instructions say not to abrade the surface. Roughening is adhesive-dependent and substrate-dependent, not a universal improvement.
Surface prep decision table
This table separates cleaning from roughening so you can match the prep to the material and contamination level.
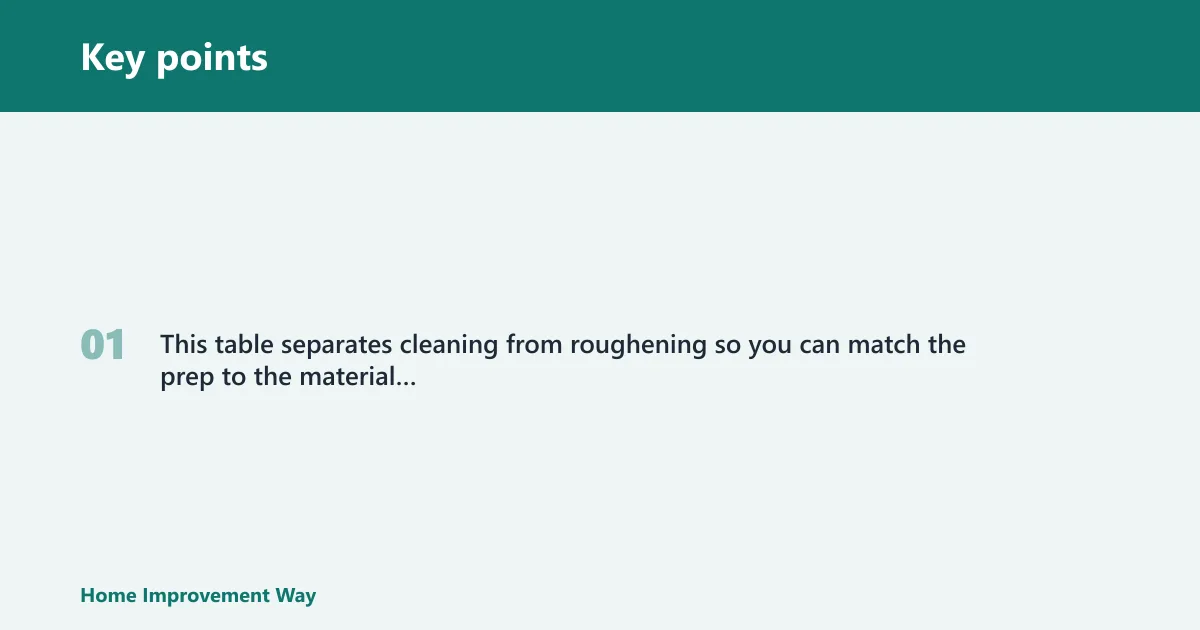
| Material | Common contamination | Recommended cleaner | Sand or roughen? | Drying wait | Prep mistakes to avoid |
|---|---|---|---|---|---|
| Wood | Dust, old finish dust, light oils | Dry brush first; then wipe with a suitable cleaner if needed | Yes, if the surface is smooth or sealed; use sandpaper lightly | Until fully dry to the touch | Do not sand through thin veneer or leave dust in the grain |
| Metal | Finger oils, grease, oxidation dust | Isopropyl alcohol for degreasing; acetone for heavier grease if compatible | Yes, on smooth hard metal; sandpaper or steel wool works well | Let the cleaner evaporate completely | Do not bond over oil film, rust scale, or wet solvent |
| Plastic | Dust, mold release, finger oils | Mild soap and water for light soil; alcohol only if the plastic tolerates it | Sometimes; roughen only hard, smooth plastic that can take scuffing | Fully dry before glue | Do not use aggressive solvent on unknown plastic or craze-prone parts |
| Ceramic | Dust, grease, soap residue | Soap and water for light soil; alcohol for oily residue | Usually only on bonding zones that are hidden or structural | Dry completely, including seams and chips | Do not sand the visible glaze unless the repair calls for it |
| Rubber | Dust, skin oils, release residue | Cleaner that the adhesive maker allows; test first on a hidden spot | Light roughening only, if the rubber is firm and the adhesive allows it | Fully dry | Do not over-sand soft rubber or use a solvent that swells it |
| Painted surfaces | Dust, chalking, finger oils, loose paint | Wipe clean first; then remove loose coating where needed | Light scuff only if the paint is sound and the adhesive permits it | Dry after cleaning and after any wipe | Do not glue over flaking paint or a dusty chalk layer |
| Glossy finishes | Finger oils, polish residue, dust | Alcohol wipe or cleaner approved for the finish | Yes, if the finish can tolerate a gentle scuff | Let it dry and clear off all residue | Do not leave the surface glossy if the adhesive needs a mechanical key |
When is alcohol or acetone the better choice?
Use isopropyl alcohol when you need a fast-evaporating degreaser, especially on metal and magnet surfaces. Use acetone when grease is heavier and the material can tolerate a stronger solvent. Neither one is universal. The surface, the contamination, and the adhesive all matter.
Why isopropyl alcohol works well on metal and magnet surfaces
Alcohol is useful when you need to remove finger oils and light grease without leaving much residue. That makes it a common pre-bond cleaner for metal and similar hard surfaces. It also flashes off quickly, which helps when the repair needs to move from cleaning to glue-up without much waiting.
When acetone removes grease more effectively
Acetone can cut through stubborn grease better than mild cleaners on some surfaces. Use it cautiously, because it can attack plastic, paint, and some coatings. Treat it as a strong degreaser for compatible materials, not as a general-purpose wipe for every repair.
What to check before using stronger solvents
Check the adhesive label and the substrate first. Some plastics, paints, glossy finishes, and rubber compounds soften, haze, swell, or crack when exposed to acetone or even to repeated alcohol wipe-downs. If the material is unknown, test in a hidden spot or choose a milder cleaner. If the product instructions limit solvent use, follow those directions.
Where soap and water are enough
Soap and water can be enough for light dirt, dust, and general grime on many parts. Dry the surface fully afterward. If the part still feels slick, smells like oil, or shows residue on a clean cloth, step up to alcohol or another approved degreaser.
Why compatibility matters for plastics, paint, and rubber
Plastic is not one material, and painted or rubber surfaces can react very differently to the same solvent. Adhesive and coating manufacturers typically list compatibility limits because solvent exposure can weaken the surface before the glue even touches it. When the substrate is soft rubber, an unknown plastic, or a solvent-sensitive coating, skip acetone unless the material data explicitly supports it.
What should you avoid after cleaning?
After cleaning, do not touch the bond area with bare fingers. Do not rush the clamp or tape setup. Do not add extra glue to make up for poor prep. And do not ignore the adhesive maker’s directions, because prep and cure time vary by product.
Touching the prepped area
Finger oils transfer fast. A clean joint can lose bond strength from one careless touch, especially on metal, glassy plastic, and magnet surfaces. If you need to handle the part again, hold it by an edge that will not be bonded.
Skipping clamp, tape, or vise planning
Dry fit the parts before glue goes on so you know where the clamp or tape will sit. The goal is to keep the joint from shifting while the adhesive cures. A clamp holds parts in place while glue dries, but tape or a vise can work on some repairs if they prevent movement just as well.
Using too much glue or the wrong hold
More glue does not fix a poor fit. Too much adhesive can squeeze out, keep the parts from seating, or leave a weak, messy joint. Match the label for amount and open time. For super glue, Scotch advises sparing use and notes one small drop for each square inch.
Ignoring the adhesive maker’s directions
Prep varies by adhesive type. Some products need a clean, dry bond line with no abrasion; others benefit from a roughened surface or specific solvent prep. That is why the prep steps are not identical for every repair. If the label calls for sanding, cleaning, or a specific hold time, match that instruction instead of guessing.
Frequently asked questions
How do I clean surfaces before gluing?
Remove loose dust first, then wipe away grease, finger oils, and residue with a cleaner that suits the material. Soap and water work for light soil when the part can be dried fully. For metal and other compatible hard surfaces, isopropyl alcohol is a strong first choice because it removes oils and evaporates quickly.
Should I sand smooth surfaces before using glue?
Yes, on many smooth hard surfaces. A light scuff gives the adhesive more grip by creating a mechanical key. Use sandpaper or steel wool gently. Skip the step if the part is delicate, thin, coated in a way you need to preserve, or if the glue instructions say not to abrade it.
Do I need to remove grease before adhesive repairs?
Yes. Grease blocks adhesion and can leave the glue bonded to contamination instead of the part. Clean the repair area until it no longer feels slick. On metal and other compatible surfaces, isopropyl alcohol works well. For heavier grease on compatible materials, acetone can help, but use it carefully.
When is isopropyl alcohol better than soap and water for prep?
Use isopropyl alcohol when you need to remove finger oils or light grease from a surface that should dry quickly, especially on metal and similar hard surfaces. Soap and water are fine for light dirt, but they can leave residue or require more drying time. Alcohol is the better choice when speed matters.
How dry does a surface need to be before gluing?
The surface should be fully dry, with no visible moisture, damp seams, or solvent film. If you can still feel coolness from evaporation or see water in a corner, wait longer. Moisture can weaken the bond or keep the adhesive from grabbing the material properly.
What should I avoid touching after cleaning a surface for glue?
Avoid touching the cleaned bond area with bare fingers, even for a quick reposition. Finger oils can reduce bond strength, especially on smooth materials. If you need to handle the part, grip an unbonded edge, use clean gloves if appropriate, or move straight from the final wipe to glue application.
For more related repair guidance, see bonding plastic and repairing painted trim when those materials are part of the job.
Sponsored / affiliate links. As an Amazon Associate I earn from qualifying purchases. I may earn additional commission from eligible campaigns.