Glue and Adhesive Tips for Home Repairs Done Right
Choose adhesive by three checks: material, movement, and moisture, PVA for wood joints, epoxy for mixed rigid repairs, construction adhesive for trim and subfloors, and sealant for moving or wet joints. Pick wrong, and shelves creep, trim pops, plastic cracks again, and water gets into floors or walls. I’ve seen all four happen. This guide covers common failure cases, surface prep, clamp time, and the safer choice between glue, construction adhesive, and sealant.
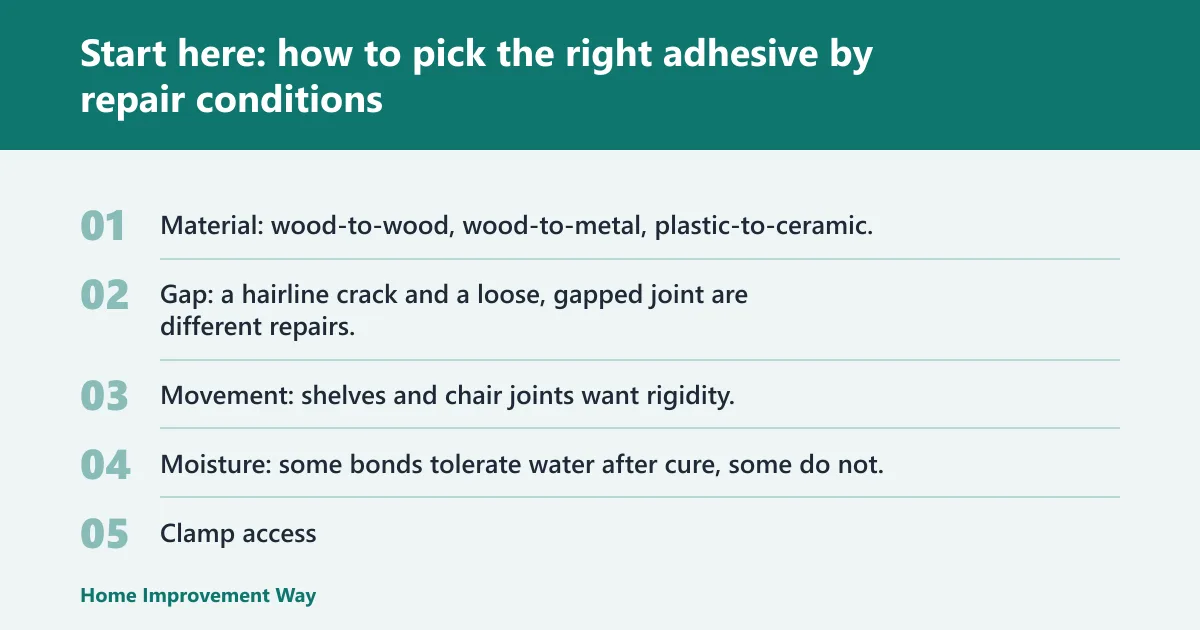
Start here: how to pick the right adhesive by repair conditions


Match the bond to five variables
Start with the joint, not the tube. A repair gets much easier to sort out when you judge the material pair, gap size, movement, water exposure, and whether clamps can actually pull the parts closed.
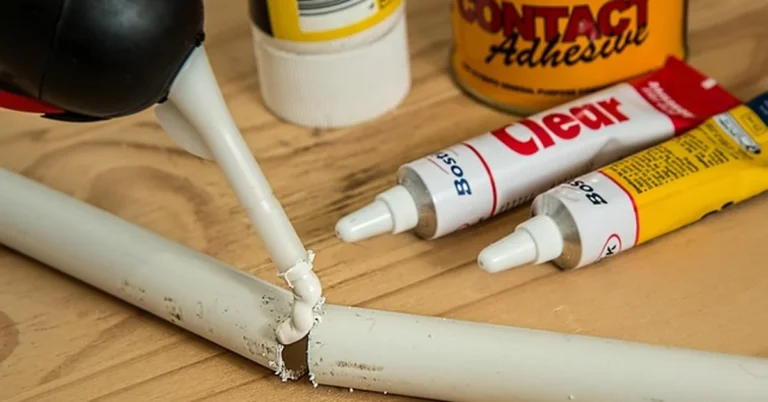
An adhesive is a glue-like material that joins two separate parts without screws or nails. In practice, it works by wetting the surfaces and then curing into a bond line that spreads load across the joint. That sounds broad, but home repairs fail fast when the bond line, cure method, or joint fit does not match the job.
- Material: wood-to-wood, wood-to-metal, plastic-to-ceramic, and metal-to-metal do not want the same adhesive family.
- Gap: a hairline crack and a loose, gapped joint are different repairs.
- Movement: shelves and chair joints want rigidity; tub edges and appliance vibration points need flexibility.
- Moisture: some bonds tolerate water after cure, some do not, and some need moisture to cure.
- Clamp access: PVA wood glue usually benefits from clamps for best holding power, while some adhesives rely more on surface wetting and curing than on pressure.
Porous versus non-porous changes the adhesive family
Porous materials like bare wood, paper, and unfinished fiber products absorb adhesive and often bond well with PVA. Wood glue is also called white glue or carpenter’s glue. Wood glue is polyvinyl acetate (PVA) adhesive, and it works for wood, paper, and other porous materials. (familyhandyman.com)
That same PVA is the wrong pick for metal, glass, or plastic. Wood glue will not bond metal, glass, or plastic. On smooth, non-porous parts, epoxy or cyanoacrylate usually makes more sense because they bond in a different way and do not rely on a thirsty surface.
Set time, cure time, and full strength are different
Many DIY failures happen after the glue seems hard. Set time is the point when the pieces stop skating around and will stay where you placed them. Cure time is when the chemistry has advanced far enough for careful handling. Full strength comes later, and loading the repair early is a common way to break a bond that looked fine the night before.
Heat matters too. Adhesive use can be weaker at high temperatures, so a hot attic, sunny window, or car trunk can turn a passable repair into a creeping one.
📊 The earliest known human adhesive use dates to about 200,000 years ago. Source: Adhesive.
What glue should I use for home repairs?
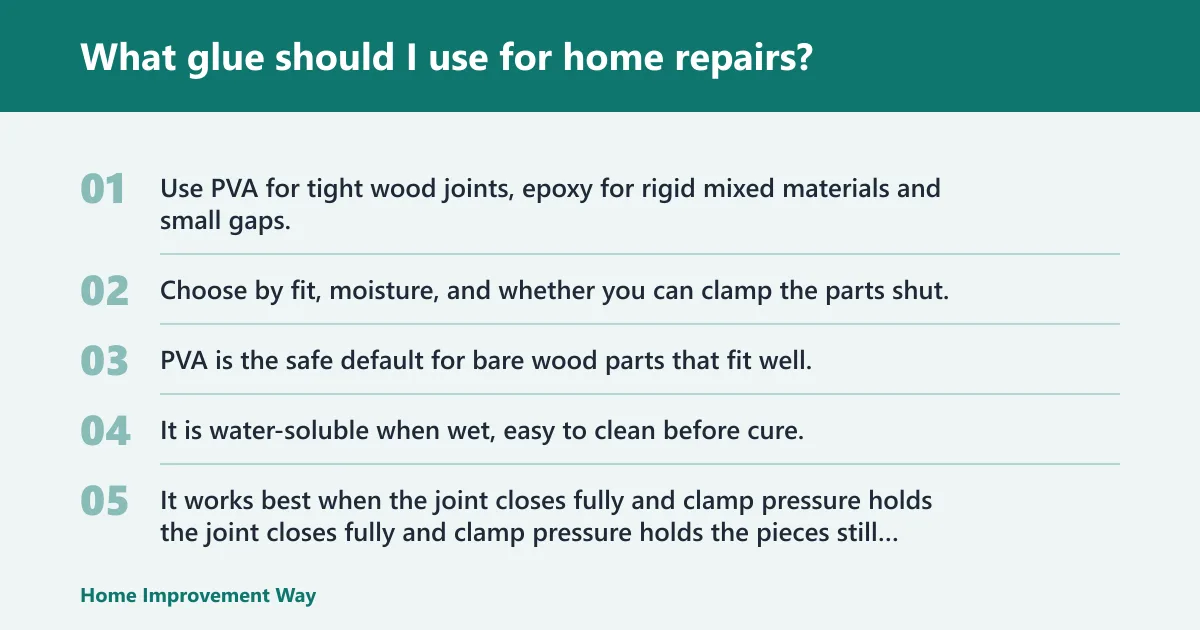
Use PVA for tight wood joints, epoxy for rigid mixed materials and small gaps, cyanoacrylate for tiny close-fitting breaks, construction adhesive for panels, trim, and subfloors, contact cement for laminates, and silicone sealant where movement and water resistance matter more than bond strength. Choose by fit, moisture, and whether you can clamp the parts shut, because those three factors usually decide what will actually hold.
Wood-to-wood repairs with tight joints
PVA is the safe default for bare wood parts that fit well. It is water-soluble when wet, easy to clean before cure, and some formulations dry waterproof. It works best when the joint closes fully and clamp pressure holds the pieces still while the adhesive cures.
The failure case I see most often is the loose chair rung or split rail glued without enough pressure. The parts touch at the ends but stay open in the middle, so the glue line is thick and weak. The fix is simple: dry-fit first, make sure the joint can close, then clamp firmly enough to close the joint without forcing out all the glue.
Mixed-material repairs like wood to metal or plastic to ceramic
Epoxy is usually the safer choice here. It is a two-part system, it can fill small gaps better than super glue, and it can work on harder materials where PVA may not be the best choice. For a ceramic knob glued back to a metal screw insert, or wood bonded to a metal bracket, epoxy is far more forgiving than wood glue.
Cyanoacrylate adhesive, usually called super glue, is useful for small, tight-fitting repairs. It sets fast. That speed helps on a clean, close crack in a plastic trim piece. It is a poor choice when the parts are sprung apart, flexible, or missing material.
Flexible, wet, or vibration-prone repairs
For joints that move, a rigid glue often cracks free. Silicone adhesive or sealant is better where the main job is sealing a wet seam or allowing movement, such as around a sink splash edge or a flexible gasket-like joint. It is often marketed as a sealant because that is where it does its best work.
Polyurethane glue also fits some wet or movement-prone repairs. Polyurethane glue typically needs moisture to cure and may expand as it dries. It can bond wood, stone, metal, plastic, and other materials, and it forms a flexible, waterproof bond. That does not make it the automatic winner for visible repairs, because the foaming expansion can create cleanup problems and a rough-looking joint.
Homeowner decision matrix: choose the safest adhesive family
Decision matrix by material pair, gap, moisture, flexibility, and clamp access
| Repair condition | Gap size | Movement | Moisture exposure | Clamp access | Safest adhesive family | Main caution |
|---|---|---|---|---|---|---|
| Bare wood to bare wood, chair rung, rail, frame | Tight | Low | Dry to occasional damp | Yes | PVA wood glue | Weak if joint stays open or glue is overclamped out |
| Wood to metal bracket, ceramic to metal, mixed rigid parts | Small gap | Low | Indoor or outdoor by product | Helpful, not always required | Epoxy | Bad mix ratio or poor surface prep ruins the bond |
| Small plastic tab, tiny trim chip, close crack | Hairline only | Low | Dry | No | Cyanoacrylate | Fails on gaps, peel stress, and flexible parts |
| Panel, subfloor, trim back side, wall blocking | Small irregularities | Low | Depends on location | Often limited | Construction adhesive | Too thick for precision joints and fine wood repairs |
| Laminate edge, veneer sheet, plastic laminate | Very tight | Low | Dry to moderate | No | Contact cement | Once surfaces touch, alignment is hard to correct |
| Exterior mixed material where some flexibility helps | Small to moderate | Moderate | Wet | Limited | Polyurethane glue | Foams if overapplied; expansion is not added strength |
| Sink edge, tub trim, moving wet joint | Gap present | High | Wet | No | Silicone sealant | Good sealer, weak structural bond for many repairs |
| Fabric craft, poster corner, light temporary hold | Varies | High | Dry | No | Rubber cement or hot-melt glue | Not for permanent structural repair |
Quick picks for common repairs
- Loose chair rung: PVA if the wood joint can be cleaned and clamped closed.
- Loose interior trim: construction adhesive on the back side where nail holding is weak and the gap is irregular.
- Laminate edge: contact cement when both faces are sound and alignment can be controlled.
- Cracked plastic part: cyanoacrylate for a tiny clean crack; epoxy when the crack is gapped or the part takes load.
- Subfloor squeak repair from above or below: construction adhesive, chosen for the substrate and cure limits.
Failure-case checklist before gluing
- Dry-fit the parts. If the joint does not close now, glue will not fix the fit.
- Check the surfaces for dust, oil, wax, soap film, or old loose finish.
- Decide whether the repair needs rigidity or flexibility after cure.
- Match the adhesive to the real gap. Super glue is for very close joints, not voids.
- Confirm moisture conditions. Wet wood and dusty metal cause weak bonds.
- Plan clamping or support before opening the adhesive.
- Control squeeze-out with a thin, even spread rather than a big bead.
- Leave the repair alone until full cure, not merely until it feels set.
How do I know if glue will work on wood, plastic, or metal?
Check whether the surface is porous, smooth, flexible, finished, oily, or wet. PVA works on porous wood and paper, epoxy works better on rigid mixed materials and many non-porous surfaces, and super glue works on very small close joints. Smooth plastics, paint, and contamination are common bond-killers.
Wood and other porous materials
PVA shines on bare wood because it wets the fibers and cures into a thin bond line. It also works on paper and other porous materials. It fails when used on sealed wood, dusty end grain, or a joint with a visible gap that the glue cannot bridge well.
For painted or varnished wood, the bond is only as good as the finish stuck to the substrate. If the finish is loose, the repair is loose.
Smooth plastics and metals
Many metals and hard plastics want epoxy because it can bond smooth, non-porous faces better than PVA. Cyanoacrylate can work on small, close-fitting repairs, especially when clamping is difficult. I do not trust it on a part that flexes every time a drawer opens or a cover snaps on.
Some plastics are stubborn. Low-energy plastics, slick molded parts, and greasy surfaces often defeat household adhesives unless the label clearly lists that material family.
Low-energy plastics, painted surfaces, and contaminated metal
Bond failure is often a prep problem disguised as a glue problem. Dust blocks contact. Oil and wax act like release agents. Rust scale and chalky paint separate from the base material under load.
For metal, remove corrosion and degrease. For glossy paint, scuff if the adhesive instructions allow it. For plastics, clean off hand oils and soap residue, then test on an unseen area if the material is uncertain.
What is the difference between wood glue, epoxy, and super glue?
Wood glue is for close-fitting porous joints and usually needs clamps, epoxy is a two-part adhesive that fills small gaps and bonds many rigid materials, and super glue is a fast-setting option for tiny tight repairs. They fail for different reasons, so choosing by speed alone causes many repeat repairs.
PVA wood glue
PVA is the right answer for most indoor wood repairs when the joint fits properly. It cleans up with water while wet. Some formulations dry waterproof. It usually needs clamps for full holding power, and clamp pressure matters: enough to close the joint, not so much that the adhesive is squeezed out and the glue line starves.
Epoxy
Epoxy comes as a two-part system. It is useful on wood repairs, metal, ceramic, and other harder substrates. It has gap-filling ability, so it can rescue repairs where a perfect close fit is gone.
Its common failure mode is poor mixing or rushed handling. If the parts are moved before cure, the bond may look solid but break early under load.
Cyanoacrylate adhesive
Super glue sets fast and helps with tiny repairs where no clamp can reach. It works best on small, tight-fitting surfaces. It does not like large gaps, repeated flexing, or heavy peel stress, which is why a cracked plastic hinge often fails again when repaired with super glue alone.
When do polyurethane glue, construction adhesive, contact cement, silicone, rubber cement, and hot-melt glue make sense?
Use polyurethane glue when moisture cure and some flexibility help, construction adhesive for structural panel and trim bonding, contact cement for laminates and sheet goods, silicone for wet moving joints, rubber cement for temporary flexible bonding, and hot-melt glue for quick light-duty tack. These products solve different problems and should not be treated as interchangeable.
Polyurethane glue: moisture cure, expansion, waterproofing, and cleanup limits
Polyurethane glue can bond wood, stone, metal, plastic, and other materials. It forms a flexible, waterproof bond. It also needs moisture to cure and expands as it dries.
That expansion is the trap. Homeowners often assume the foam means extra strength. In visible repairs, the opposite problem shows up: messy squeeze-out, a rough seam, and a bond line that looks full but is partly foam. Use a light application, support the joint well, and expect cleanup. It is sold in different formulations, so follow the cure method listed on the product.
Construction adhesive and contact cement
Construction adhesive is commonly used for home repair bonding such as studs, panels, and subfloors. It is stronger than general-purpose craft glues and better suited to irregular back-side bonding where perfect clamp pressure is impossible.
It should not replace wood glue in fine furniture joints, precision dowel repairs, or any close-tolerance part that needs a thin, hard glue line. Construction adhesive is thicker and less suited to exact joint closure.
Contact cement is a different kind of job, with very little room for repositioning once the surfaces touch. It is best for sheet goods and laminates, has high initial grab, and gives almost no repositioning once the coated surfaces touch. Careful alignment is the whole game.
Silicone, rubber cement, and hot-melt glue
Silicone adhesive or sealant is often better for filling gaps and sealing than for high-strength bonding. It belongs around sinks, tubs, and moving joints, not in a chair rung or a load-bearing bracket repair.
Rubber cement is generally for temporary or flexible bonding. Hot-melt glue gives quick tack for light-duty household fixes. Neither belongs in a permanent structural repair. Sticky putty products are even further from true repair adhesives; Walmart lists sticky putty products that are reusable and marketed as not drying out, which makes them useful for positioning and display, not for load-bearing fixes.
Why do home glue repairs fail?
Most failed repairs come from bad prep, wrong adhesive choice, poor clamp pressure, overapplication, or handling the part before full cure. The repeat offenders are dusty surfaces, wet bonding, starved wood joints, foaming polyurethane in visible seams, and silicone used where real structural bond strength was needed.
Dust, oil, old finish, and wet surfaces
Dust acts like ball bearings. Oil and cleaner residue block contact. Old finish can peel away under the bond. Wet surfaces are especially bad unless the adhesive chemistry is made for that condition.
Weak wet bonds are common on outdoor trim and bathroom repairs. If the material is damp, the cure may stall, the bond line may dilute, or contamination may stay trapped under the adhesive.
Overclamping, underclamping, and starved glue lines
Underclamping leaves a wood joint open. Overclamping can squeeze out too much adhesive, leaving a starved joint. Both fail, just in different ways.
Clamp pressure should close the joint and keep it from creeping. It should not be so aggressive that the parts are forced dry against each other.
Foaming, squeeze-out, and moving the repair too soon
Polyurethane foaming is not extra bonding power. It is part of the cure behavior, and too much of it usually means too much product or poor joint control. Squeeze-out from any adhesive is a clue that spread rate needs work, though a tiny bead is often normal.
Moving the repair before full cure breaks bonds quietly. The part looks aligned. The chemistry is not done.
How should I apply, clamp, and cure adhesive for a stronger repair?
Dry-fit first, clean the surfaces, apply a thin even coat suited to the adhesive family, clamp only enough to close the joint, and wait for full cure before loading or sanding. Better repairs come from joint control and patience more than from using a bigger bead of glue.
Dry-fit first and control squeeze-out
Assemble the repair without adhesive first. Check alignment, clamp placement, and whether the parts actually meet. This step catches warped pieces, missing chips, and joints that need cleaning before any glue goes on.
Then apply the adhesive in a controlled film or small bead, depending on the family. More is rarely better. A flooded joint makes cleanup harder and can leave a weaker bond line.
Clamp pressure that closes the joint without starving it
For PVA wood glue, pressure matters a lot because the joint wants a thin, continuous glue line. Use enough force to close the joint and stop movement. Stop there.
For epoxy, light clamping or firm support is often enough. For contact cement, pressure after alignment helps seat the sheets. For super glue, hand pressure during the initial grab is usually the main control.
How to verify cure before use, sanding, or paint
Do not judge by surface hardness alone. Check whether the repair still has odor, cold tack, or creep when lightly loaded. If squeeze-out is still rubbery, the interior likely needs more time.
Wait longer in cool rooms and on thick joints. Full cure beats a repeat repair.
How should I store glue so it lasts longer?
Store adhesives sealed, clean at the nozzle, and away from heat, freezing, and moisture unless the label says otherwise. PVA thickens after repeated contamination, polyurethane can cure from air moisture in the bottle, and super glue often shortens its life once the cap area gets fouled.
Shelf-life basics by adhesive family
PVA lasts best with a clean cap and no sawdust or dirty brush dipped back into the bottle. Super glue dislikes air exposure and skin oils around the tip. Epoxy lasts longer when resin and hardener caps never get swapped. Polyurethane is especially sensitive to moisture entering the container.
Moisture, heat, freezing, and air exposure problems
Heat ages many adhesives faster, and high temperatures can weaken adhesive use in service. Freezing can ruin some water-based glues. Moisture triggers cure in polyurethane and can spoil the bottle before the next job.
Store indoors in a steady spot, not in a damp shed if the product dislikes moisture, and not in a place that bakes in summer.
Signs an adhesive has aged out
Discard adhesive that has separated oddly, formed lumps, cured around the nozzle into strings or plugs, or no longer spreads the way it should. With epoxy, cloudy contamination or crystallized parts can create trouble. With super glue, a bottle that grabs weakly or skins over immediately is often done.
How room temperature affects indoor glue performance
Most indoor adhesives cure reliably only within specific temperature ranges. PVA and wood glues need a warm, steady room, cyanoacrylate performs best in moderate warmth with low humidity, and epoxy typically requires slightly higher temperatures to fully harden. Working outside these ranges slows curing, weakens bond formation, or causes the adhesive to skin over before parts are properly joined.
Before starting any repair, check both the ambient air and the surface temperature of your materials. Cold substrates can stall a bond even if the room feels comfortable. This breakdown of indoor glue temperatures explains exactly when to warm the room, preheat materials, or adjust the adhesive itself to prevent failed repairs.
Frequently asked questions
Can I use construction adhesive instead of glue?
Construction adhesive can replace general glue for panels, trim backs, blocking, and subfloor work where surfaces are broad and slightly irregular. It should not replace wood glue in fine joinery or epoxy in precise mixed-material repairs, because it is thicker and less suited to tight, exact bond lines.
What happens if I glue surfaces that are dusty or wet?
Dust, oil, soap film, and water can block contact or weaken cure, so the adhesive sticks to contamination instead of the material. The result is a bond that peels or creeps early. Clean, dry, stable surfaces give far better odds unless the product is made for damp conditions.
How long does glue need to cure before I can use the repair?
Use the label timing, but treat set time and full strength as different stages. A joint that feels firm may still fail under load if handled too early. Wait for full cure before sanding, painting, or putting stress on the repair, especially with epoxy and wood glue.
What glue works best for flexible repairs like rubber or fabric?
For flexible repairs, use an adhesive or sealant that stays flexible after cure, or use rubber cement when the bond is temporary and light-duty. Silicone works better when the joint also needs sealing and movement. Super glue and rigid epoxies usually crack free on parts that flex often.
How do I keep glue from foaming or squeezing out too much?
Use less adhesive, dry-fit first, and clamp or support the parts so the joint closes cleanly. Polyurethane glue foams as it cures, so a small amount goes a long way. On wood joints, excess squeeze-out often means overapplication, while a totally dry seam can mean overclamping.
When should I choose a sealant instead of an adhesive?
Choose a sealant when the main job is blocking water, allowing movement, or filling a seam that will keep shifting. Silicone fits that role well. Choose an adhesive when the repair must carry load or hold alignment, because many sealants do not provide the bond strength a structural repair needs.
Sponsored / affiliate links. As an Amazon Associate I earn from qualifying purchases. I may earn additional commission from eligible campaigns.