Basement Wall Condensation vs True Leaks
Basement wall condensation usually shows up as broad dampness on cool surfaces during humid weather. A true leak stays localized, returns after rain or snowmelt, and may show up as drips or a wet seam. Mix them up, and you can repair the wrong thing while the moisture source keeps working. This guide compares timing, location, and weather patterns so you can sort condensation from leakage and pick the right fix.
| Factor | Basement wall condensation | true leaks | Winner |
|---|---|---|---|
| Where moisture shows up | Widespread on cool wall faces, often as clammy surfaces or damp air | Local to one crack, joint, cove joint, or pipe penetration | tie |
| Timing | Often tracks humid weather, summer heat, or winter temperature swings | Often worsens after heavy rain or snowmelt | tie |
| Surface clues | No puddles at first; may feel cool, damp, and musty | May leave stains, efflorescence, peeling paint, or standing water | true leaks |
| Best first fix | Humidity control, dehumidifier, and air movement | Crack repair, drainage correction, or waterproofing system work | tie |
| Risk of the wrong fix | Sealing the wall can trap moisture if the issue is vapor condensation | A dehumidifier will not stop active water entry | true leaks |
How to tell condensation from a leak
If moisture appears over a wide area, changes with humidity, and has no clear entry point, suspect Basement wall condensation first. If the wet spot tracks with rain, snowmelt, one crack, or a joint line, true leaks are more likely. A foil test, a moisture meter, and a timing check against weather usually separate the two.
Check timing against weather and season
Condensation often appears when warm, humid air meets cooler concrete or masonry. That makes summer basement dampness and winter wall sweating useful clues. A true leak often returns after precipitation or snowmelt, even when indoor humidity is lower.
Match the moisture pattern to the location
Wall-body dampness points differently than a wet line at the floor edge or water around a pipe. A cove joint is the seam where the wall and floor meet, and that seam often becomes a seepage point when groundwater pressure builds outside. A crack in the middle of a wall suggests a different repair path than a wet patch at a penetration.
Use a foil test and a moisture meter
For the foil test, tape a square of foil to the wall and leave it for about 24 hours. If the outside of the foil is wet, humid air is the source. If the wall side is wet, water is coming through the wall surface or from behind it. A moisture meter can help compare one area to a dry control spot nearby.
What basement condensation looks like

Basement wall condensation forms when humid air meets cooler concrete or masonry surfaces. It often looks like clammy walls, musty air, or dampness without visible puddles. The problem can come and go with weather, and it often improves when you lower indoor humidity and run air across the wall surfaces.
Clammy walls and damp air
Touch is often the first clue. The wall feels cool and slightly wet, but there may be no stain line or obvious entry point. That pattern fits vapor condensing on the surface rather than liquid water pushing through from outside.
Say your unfinished basement feels sticky in July, the concrete block wall is damp from waist height down, and no water appears after a dry week. That pattern points more toward condensation than a leak, especially if a foil test shows moisture on the outside of the foil.
Winter wall sweating
Cold masonry can sweat when indoor air is humid, even in winter. The wall may bead moisture after laundry use, long showers, or other indoor moisture sources. If the dampness tracks indoor humidity swings instead of rain, humidity control is the right first move.
Summer humidity on cool masonry
Summer often makes the difference obvious. Warm, humid air enters the basement and condenses on cooler wall surfaces, especially in corners and behind stored items where air movement is weak. A dehumidifier can help here, but only if the issue is surface condensation and not water entry.
What a true basement leak looks like
A true basement leak involves water entry through cracks, joints, penetrations, or drainage failures. It often worsens after heavy rain or snowmelt and may leave efflorescence, stains, mold growth, peeling paint, or standing water. Unlike condensation, the wetness usually has a repeatable source and path.
Rain-only seepage and puddles
If the floor is dry for days and then a wet seam appears after a storm, think leak. Water can enter through a crack, the wall-floor joint, or a failed drainage system. Recheck the same spot after the next storm to confirm the pattern.
Stains, efflorescence, and peeling paint
White powder on masonry, dark tide marks, and paint that blisters or flakes are classic signs of water moving through the wall. Those clues fit liquid water carrying minerals through the material more than pure vapor condensation.
Cracks, joints, and pipe penetrations
F1 points to wall cracks, wall seepage, and above-grade water entry as common leak paths. Pipe penetrations deserve special attention because they can drip only when outside water pressure rises. A small opening can look harmless until the next storm exposes it.
Condensation vs. true leak diagnostic grid
Use this grid as a quick field guide. Match the symptom to the most likely cause, then use the test and next step to avoid treating one problem like the other. The goal is to separate humid-air condensation from actual water intrusion before you buy a repair.
| Symptom | Likely cause | Quick test | Next step |
|---|---|---|---|
| Summer clammy walls | Basement wall condensation | Foil test shows moisture on the outside | Lower humidity and add air movement |
| Winter wall sweating | Basement wall condensation | Moisture rises when indoor humidity rises | Use a dehumidifier and reduce indoor moisture sources |
| Rain-only seepage at the cove joint | true leaks | Wet line appears after storm or snowmelt | Check drainage, sump pump, and perimeter drain |
| Dampness around pipe penetrations | true leaks | Moisture localizes at the pipe opening | Seal the penetration and inspect for outside water entry |
| Musty air with no puddles | Basement wall condensation | Measure humidity and compare to a dry room | Improve dehumidification and airflow |
| Efflorescence on one wall | true leaks | Mineral crust returns after wet weather | Inspect cracks, joints, and drainage paths |
| Peeling paint near the floor edge | true leaks | Moisture meter reads higher at the seam | Look for cove-joint seepage or slab-edge entry |
| Damp whole wall after running a humidifier or drying laundry | Basement wall condensation | Foil test and indoor humidity check line up | Reduce indoor moisture before sealing anything |
Why the cove joint leaks
The cove joint is the wall-floor joint, and it is a common seepage point when hydrostatic pressure pushes groundwater toward the basement. That pressure can force water through the seam even when the wall itself looks sound. Surface sealant alone often fails if the pressure source is still active.
Hydrostatic pressure at the wall-floor joint
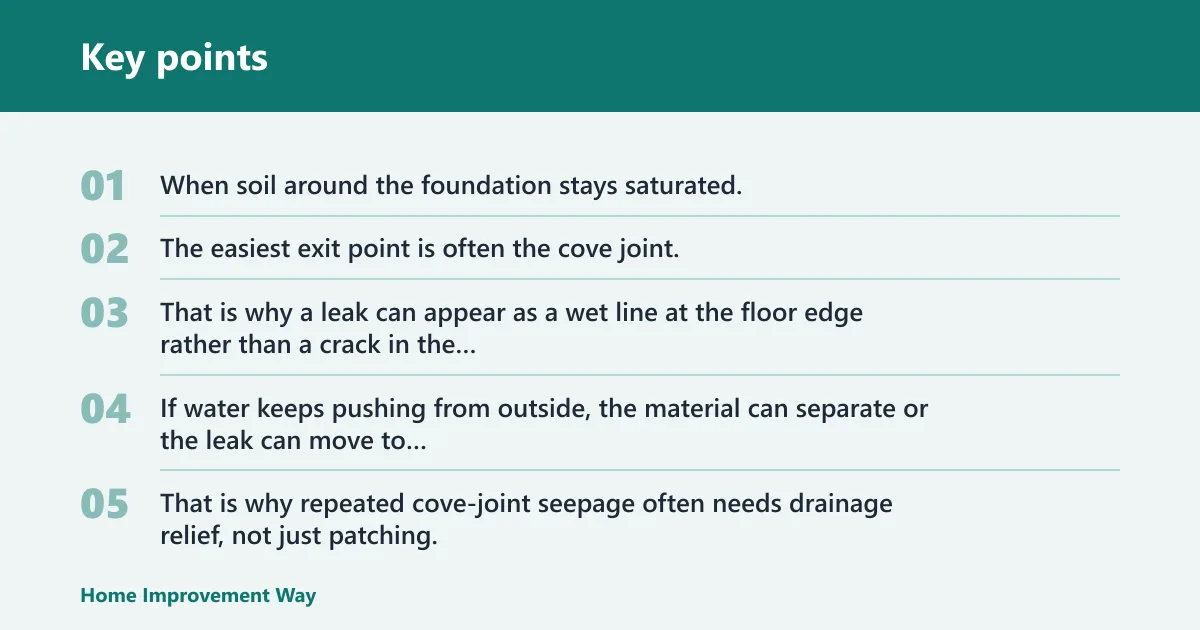
When soil around the foundation stays saturated, groundwater pressure can build against the basement shell. The easiest exit point is often the cove joint. That is why a leak can appear as a wet line at the floor edge rather than a crack in the wall body.
Why sealant alone often fails
Sealant does not remove pressure. If water keeps pushing from outside, the material can separate or the leak can move to another weak point. That is why repeated cove-joint seepage often needs drainage relief, not just patching.
What fixes each problem?
Choose the fix after you know the cause. Condensation calls for humidity control and air movement. True leaks call for crack repair, drainage correction, or both, depending on where the water enters and how often it returns.
Dehumidifiers, airflow, and humidity control for condensation
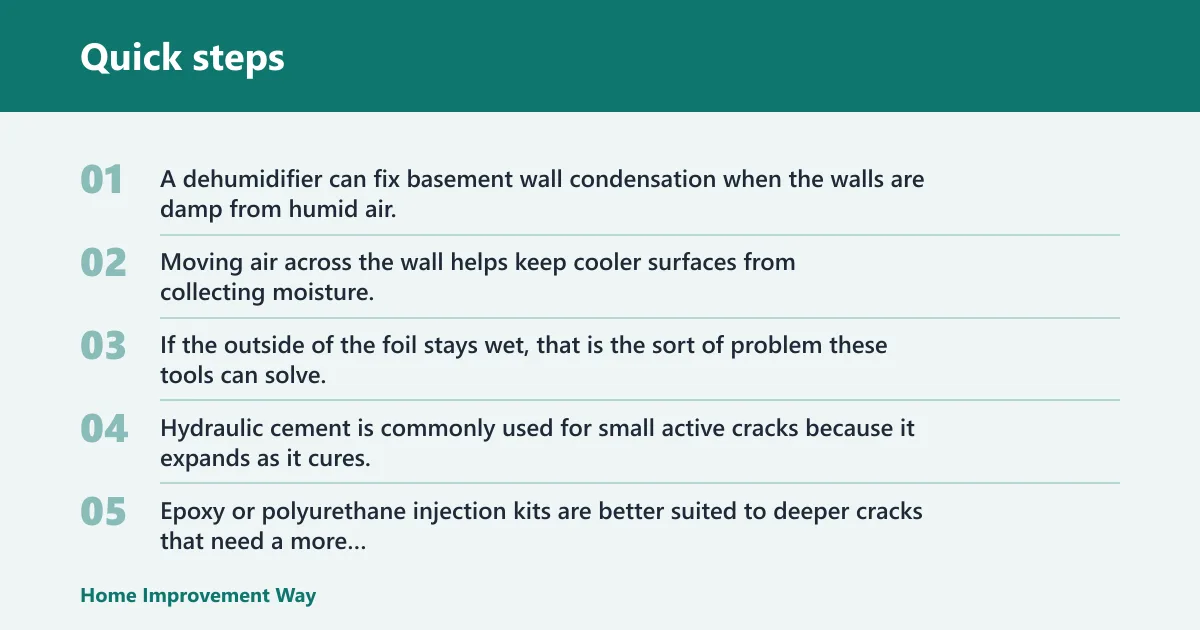
A dehumidifier can fix basement wall condensation when the walls are damp from humid air, not liquid water. Moving air across the wall helps keep cooler surfaces from collecting moisture. If the outside of the foil stays wet, that is the sort of problem these tools can solve.
Hydraulic cement, epoxy, or polyurethane for cracks
Hydraulic cement is commonly used for small active cracks because it expands as it cures. Epoxy or polyurethane injection kits are better suited to deeper cracks that need a more complete fill through the wall. Those products are for crack sealing, not for pressure-driven seepage from a failing drainage setup.
Sump pumps and interior drainage for recurring seepage
If water keeps showing up at the cove joint or along the wall after storms, sump pumps and interior drainage may be part of the answer. A sump pump collects and moves water away from the foundation, and a weeping tile or perimeter drain can capture water at the footing. Older systems can clog over time, which is why recurring seepage often needs more than a surface patch.
Waterproof coatings and sealers
Waterproof masonry coating can help on cleaned, dry masonry surfaces, and a common application is two coats. It may slow minor seepage, but it does not solve hidden drainage problems. If the real issue is condensation, coating the wall can trap moisture in the wrong place.
A common first-timer mistake is to coat a damp basement wall because it looks wet, then discover the wall still sweats behind the coating. That is why the first question should be where the moisture comes from, not which product looks strongest on the shelf.
When should you call a waterproofing contractor?
Call a contractor when leaks recur after rain or snowmelt, the dampness is widespread, or you suspect drainage failure, hydrostatic pressure, or a nonworking sump pump. If the wall-floor joint stays wet or the leak returns after a repair, the problem is probably bigger than a surface crack.
Recurring or widespread dampness
If several walls are damp at once, or the problem comes back in the same season every year, the source may be outside the wall surface. Older homes may have little to no waterproofing on exterior basement walls, and code typically requires waterproofing only to the base of the walls. That can leave the lower foundation vulnerable when drainage fails.
Hidden drainage failure
When a leak keeps returning after patching, look at gutters, downspouts, grading, and subsurface drainage. F2 says downspouts should discharge at least 6–10 feet from the foundation. F3 gives a common yard-slope target of about a 5% grade, or 6 inches over 10 feet. If the slope and discharge are wrong, interior sealants may only delay the next leak.
Signs of pressure-driven seepage
Water at the cove joint, a nonfunctioning sump pump, or seepage that changes with storms all point toward pressure-driven entry. That is the point where drainage correction, sump service, or a perimeter-drain fix matters more than another round of sealant.
Choose Basement wall condensation if…
Choose Basement wall condensation if the wall is broadly damp, the air feels humid, and the problem changes with season rather than storms. Choose true leaks if the moisture is localized, returns after rain or snowmelt, or comes from a crack, cove joint, or penetration. That split keeps you from sealing the wrong problem.

Frequently asked questions
Is my basement damp because of condensation or a true leak?
If the dampness is widespread, seasonal, and tied to humid indoor air, Basement wall condensation is more likely. If the wet area is localized and shows up after rain or snowmelt, a true leak is more likely. The quickest check is a foil test plus a weather timing check.
How do I tell if basement wall moisture is from humidity or water intrusion?
Look at pattern and timing. Humidity causes broader surface dampness, while water intrusion tends to be localized and repeat after storms. A moisture meter and a 24-hour foil test help separate wall sweating from actual water entry through the wall or joint.
What does condensation on basement walls look like compared with a leak?
Condensation usually looks like clammy, cool, damp masonry with musty air and no puddles. A leak more often leaves stains, efflorescence, peeling paint, or standing water at one spot. A wet seam at the floor edge points more toward seepage than surface condensation.
How can I test whether my basement wall is leaking after rain?
Mark the damp area, wait for the next rain, and check whether the same spot gets wetter. Inspect the cove joint, cracks, and pipe penetrations. If the wetness grows after storms but stays dry in dry weather, the wall is probably leaking rather than sweating.
What causes water to come in where the basement wall meets the floor?
That seam is the cove joint, and groundwater pressure can force water through it when drainage is poor. Hydrostatic pressure is a common cause. If the seam keeps wetting up, the fix often involves drainage relief, a sump pump check, or perimeter drain work, not just a surface patch.
Can a dehumidifier fix basement wall condensation?
Yes, if the problem is condensation from humid air. A dehumidifier lowers indoor moisture and can stop surfaces from sweating. It will not stop a true leak, because water entering through a crack, joint, or drain failure will keep coming in until the entry path is fixed.
Sponsored / affiliate links. As an Amazon Associate I earn from qualifying purchases. I may earn additional commission from eligible campaigns.