Basement Waterproofing
Basement waterproofing works best when you match the repair to the water path: outside grading and gutters for surface runoff, crack injection for isolated wall leaks, interior drainage plus a sump for recurring seepage, and exterior membrane excavation for widespread hydrostatic pressure. Pick the wrong method and you can trap moisture, miss structural cracks, ruin finished materials, and pay twice. This guide ties common basement symptoms to the right repair, its limits, and the next checks to make.
What basement waterproofing actually means


Water management, sealing, and humidity control are different jobs
Basement waterproofing is a set of different repairs, not a single paint or a one-size contractor package. Some methods move roof and yard water away from the foundation. Some collect water at the slab edge. Some seal one leak path. Some only lower indoor air moisture.
That difference matters. A dehumidifier can fix condensation on cold pipes or walls, but it will not stop rain-driven seepage at a cove joint. A wall coating can slow dampness through bare masonry, but it cannot resist active hydrostatic pressure.
Why the right fix depends on where the water appears
Location gives you the first strong clue. Water on the wall face points to seepage through masonry, cracks, or a failed window well. Water at the wall-floor joint often points to hydrostatic pressure or footing-drain trouble. Water only on stored boxes or ductwork may be condensation from indoor air instead.
Start with the source before you pick a product. A leak at a poured-concrete crack needs a different repair than damp concrete block, a sweating supply line, or a puddle that shows up only after a heavy storm.
Foundation waterproofing vs damp-proofing
Damp-proofing and waterproofing are not the same. Damp-proofing is usually the thin asphalt coating applied during original construction. It resists soil moisture vapor. It does not resist hydrostatic pressure or active water flow. Foundation waterproofing is a broader water-control approach that may include drainage board, membrane, footing-drain work, crack repair, grading, and sump management.
That difference matters in older homes and mixed-material foundations. A house may still have original damp-proofing on the exterior wall, yet need crack repair, drainage correction, or an interior perimeter drain because the assembly was never built to manage standing groundwater.
📊 The Basement Guide says mold can begin forming within 24 to 48 hours. Source: Complete Basement Waterproofing Guide: How to Stop Leaks and….
How do you diagnose a wet basement before buying anything?
Start with where the moisture appears, when it appears, and what the foundation is made of. Separate condensation, plumbing leaks, and HVAC sweating from true seepage first. Then match the symptom to poured concrete, block, stone, brick, or mixed masonry before choosing a product or system.
Start with symptom location and timing
Watch for a pattern after rain, snowmelt, irrigation, or humid weather. Efflorescence, a white powdery mineral residue, is an early warning sign because it shows moisture moving through masonry before puddles appear. This Old House lists efflorescence as a basement warning sign.
Check the wall face, individual cracks, the wall-floor joint, the slab surface, around windows, and around utility penetrations. Staining at the cove joint, peeling paint, rusty fasteners, wet carpet tack strips, and bowed drywall in a finished basement point to different entry paths.
Rule out condensation, plumbing, and HVAC moisture first
A 12×12-inch aluminum foil square can help you tell condensation from seepage. Bob Vila also recommends a 1-foot square piece of aluminum foil for this check. Tape the foil tightly to the suspect wall or slab. If moisture forms on the room side, think condensation. If it forms behind the foil, think moisture moving through the material.
Also inspect supply lines, drain lines, water heaters, condensate pumps, and ductwork. Waterproofing is the wrong fix for a leaking hose bib inside the wall or a sweating uninsulated duct.
Match the symptom to the foundation type
Poured concrete, concrete block, brick, stone, and mixed masonry act differently. Poured-concrete walls can often take polyurethane injection for isolated cracks. Block walls may look damp because moisture moves through mortar joints or even fills the cores. Stone and rubble foundations have many irregular paths, so a simple crack-filler approach rarely solves the full problem.
Cold joints and cove joints are common leak paths in basements with slabs. In older homes, original damp-proofing may be minimal, mortar may be weathered, and multiple materials may meet at one corner. That changes both diagnosis and repair order.
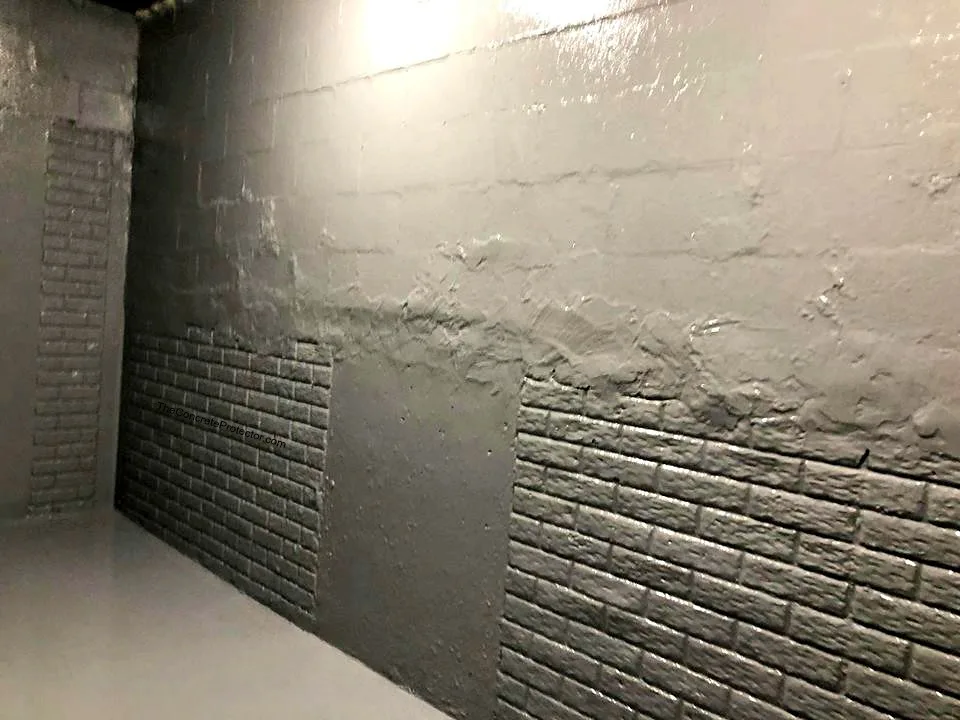
Basement waterproofing decision matrix
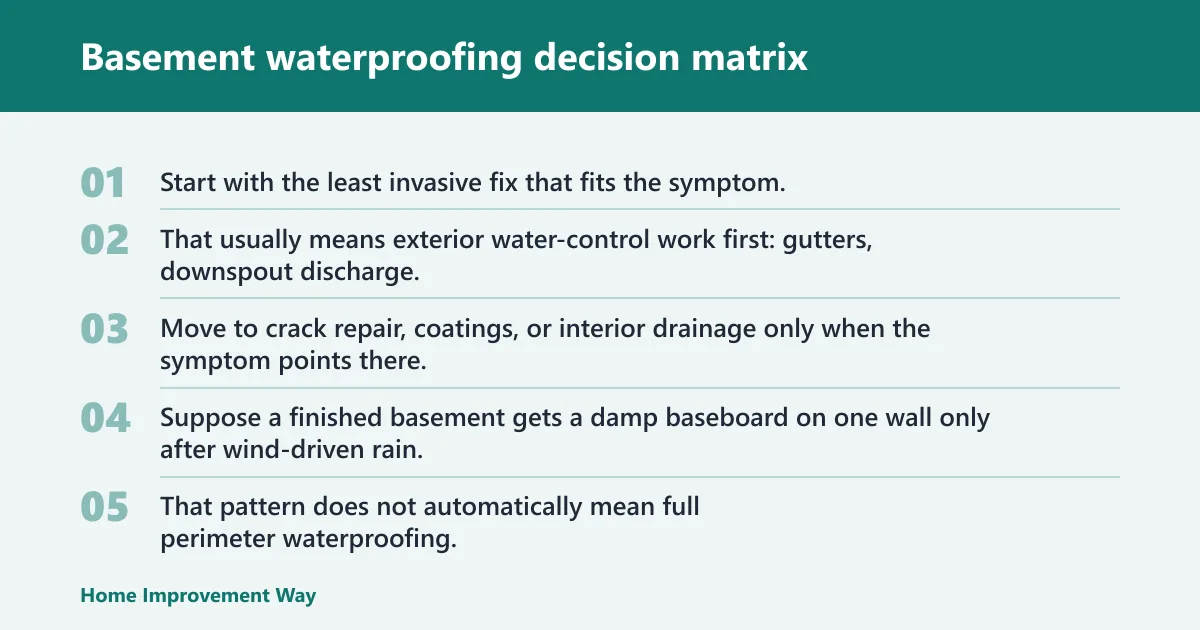
Symptom-to-solution table
| What you see | Most likely source | First test to run | Least-invasive fix that can work | When a pro is needed |
|---|---|---|---|---|
| White efflorescence on wall | Moisture migrating through masonry | Foil test on wall; check after rain timing | Improve gutters, downspouts, grading; use masonry coating only on bare, clean wall if no active seepage | Recurring wet wall, bowing finishes, or block wall saturation |
| Water where wall meets floor | Hydrostatic pressure at cove joint or footing-drain failure | Mark puddle area after storms; inspect exterior discharge points | Correct runoff first; hydraulic cement for localized gaps can help temporarily | Repeated seepage usually calls for interior perimeter drain and sump |
| Single vertical crack leaking in poured concrete | Isolated crack seepage | Trace crack from top to bottom; check if width is stable | Polyurethane injection kit, commonly priced around $60–$120 | Widening crack, offset surfaces, or repeated movement |
| Horizontal crack or widening stair-step crack | Structural movement and soil pressure | Measure change over time; inspect wall plumb | No coating or filler as a stand-alone fix | Structural evaluation is warranted promptly |
| Condensation on walls, pipes, or ducts with no rain pattern | High indoor humidity | Foil test; inspect cold surfaces and ventilation | Dehumidifier, insulation on cold lines, air sealing as needed | If moisture persists despite humidity control or mold appears |
| Puddles after storms near one wall or window | Surface runoff, short downspout, window well issue | Watch runoff during a storm; inspect well drain and grading | Clean gutters, extend downspouts, regrade, repair well cover or drain | If runoff control fails or excavation access is complex |
| Wet block wall over a broad area | Porous block, exterior saturation, hydrostatic pressure | Check for dampness pattern across mortar joints and lower courses | Exterior drainage corrections first; interior coating only for dampness, not flowing water | Recurring wetness often needs drainage design, not paint |
| Sump runs often or basement depends on pump every storm | High groundwater or interior drain already handling water load | Check pump operation, discharge point, and backup status | Service pump, clear discharge, add battery-backup or water-powered backup | If cycling is extreme, backup is absent, or water still rises |
How to use the matrix without overspending
Start with the least invasive fix that fits the symptom. That usually means exterior water-control work first: gutters, downspout discharge, splash management, grading, and yard runoff control. Move to crack repair, coatings, or interior drainage only when the symptom points there.
Suppose a finished basement gets a damp baseboard on one wall only after wind-driven rain. That pattern does not automatically mean full perimeter waterproofing. It often points first to gutter overflow, grade, or a window well that fills and spills inward.
What causes water to come through basement walls or floors?
Water enters basements through several paths, and the path matters more than the stain. Common causes include hydrostatic pressure, poor grading, clogged gutters, short downspouts, yard runoff, porous block, foundation cracks, failed window wells, footing-drain problems, plumbing leaks, and indoor humidity mistaken for seepage.
Hydrostatic pressure and why wall coatings often fail
Hydrostatic pressure is the force of water-saturated soil pushing against foundation walls and slab edges. It drives seepage through cracks, cold joints, and cove joints. Once that pressure builds, paint-on products rarely solve the cause. Drainage is usually the real fix.
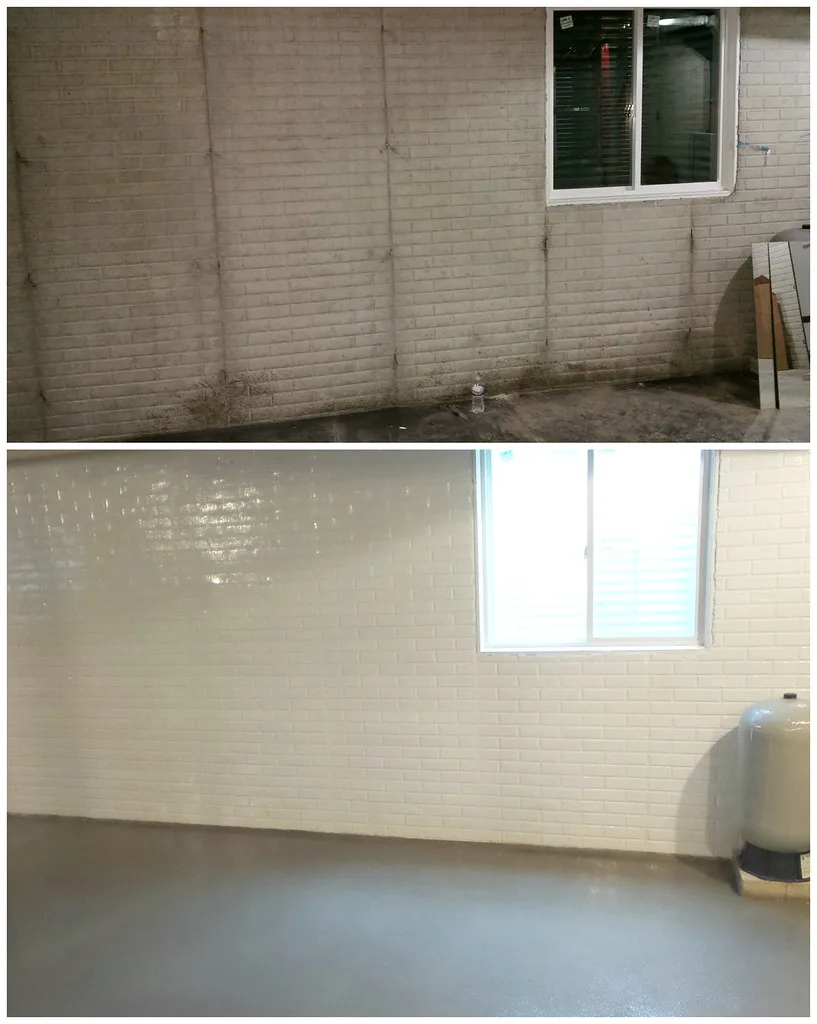
That is why a masonry waterproofing coating belongs on damp masonry walls, not active pooling water. If water is being forced inward from saturated soil, the coating can blister, peel, or trap moisture in the wall.
Surface drainage failures
Roof water is the first thing to correct. Downspouts should be extended at least 6 feet from the foundation. This Old House says downspouts should extend at least 15 feet away from the foundation. The practical takeaway is simple: discharge well away from the wall, not at the footing.
A first grading target often cited is roughly 6 inches of slope over the first 10 feet. Clean gutters matter too. A leaking seam at the eave can drop hundreds of gallons in the wrong place over time, even if the basement leak appears in only one corner. (thisoldhouse.com)
Leak paths in the wall and slab
Foundation cracks, tie holes, mortar-joint defects, cold joints, and cove joints are common entry points. Poured-concrete cracks can often be injected. Block, brick, and stone walls need more caution because water may be moving through joints, cores, or multiple voids.
Picture a 1960s basement with painted block walls and a damp band 8 inches above the floor after every hard storm. That usually points to drainage, not failed paint. The location suggests pressure at the lower wall and slab edge.
Which basement waterproofing method fits each problem?
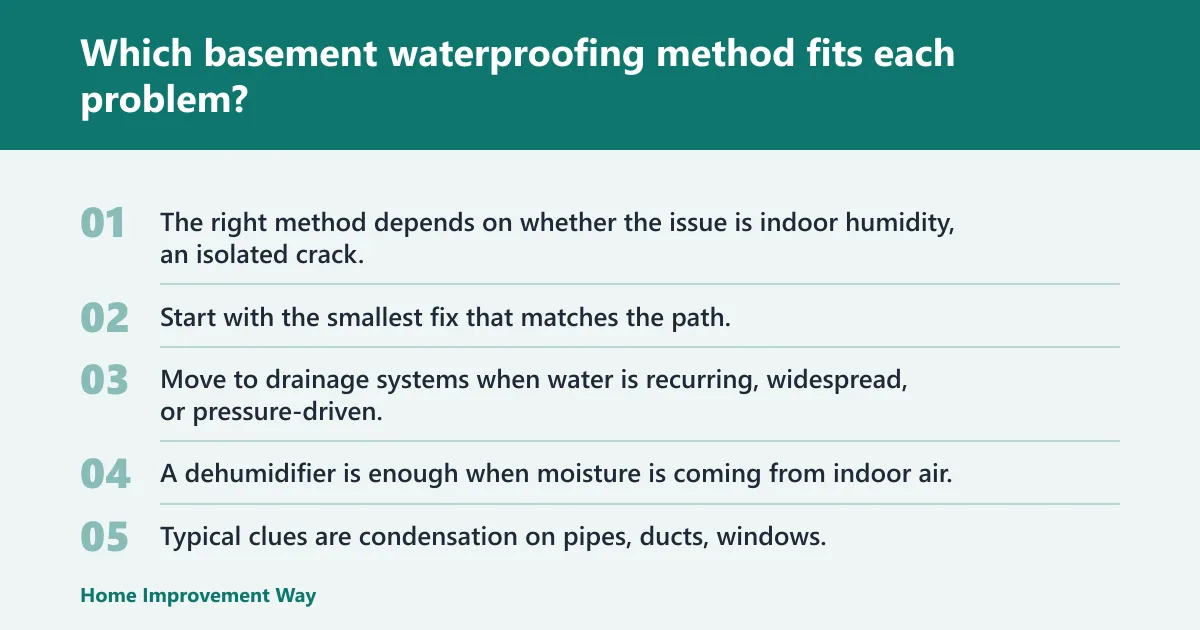
The right method depends on whether the issue is indoor humidity, an isolated crack, damp masonry, recurring cove-joint seepage, or broad groundwater pressure. Start with the smallest fix that matches the path. Move to drainage systems when water is recurring, widespread, or pressure-driven.
When a dehumidifier is enough instead of waterproofing
A dehumidifier is enough when moisture is coming from indoor air, not from the soil outside. Typical clues are condensation on pipes, ducts, windows, or foil-test moisture on the room side. It can fix musty air and surface dampness without structural waterproofing.
You still need diagnosis first. If hidden seepage sits behind drywall, a dehumidifier only masks the symptom. The Basement Guide says mold can begin forming within 24 to 48 hours, so drying and source control need to happen quickly.
When crack repair or hydraulic cement is the right first repair
For a stable, isolated poured-concrete crack, a polyurethane injection kit is often the first repair. Consumer guides commonly price these kits around $60–$120. Polyurethane stays flexible after curing, which helps on non-structural cracks that may move slightly.
Hydraulic cement is recommended for larger gaps and the cove joint. Bob Vila notes hydraulic cement expands and sets rapidly. It is commonly mixed to a putty consistency and pressed into larger voids, mortar-joint defects, and tie holes. It is not the answer for a widening structural crack.
When masonry waterproofing coating makes sense
Masonry waterproofing coatings fit damp wall surfaces, not flowing water or puddles. The wall should be bare and clean, with old paint, salts, and loose material removed. Application is typically two coats.
These coatings are substrate-sensitive. They are straightforward on sound concrete or masonry that is only damp. They are far less dependable on walls with active pressure, unstable old mortar, or paint layers that block bond.
When drainage systems are the real fix
If seepage keeps coming back at the slab edge or lower wall after storms, drainage is usually more important than sealers. An interior perimeter drain is installed along the slab edge with perforated pipe and gravel to route water to a sump pit and pump.
Interior perimeter drain systems are generally described as costing $4,000–$12,000. That broad range reflects basement size, access, finishes, pump needs, and disposal details. It fits recurring seepage better than repeated cosmetic patching.
Interior basement waterproofing methods
Interior perimeter drain and sump basics
An interior perimeter drain intercepts water where the slab meets the wall. Installers cut the slab edge, place perforated pipe in gravel, and direct collected water to a sump pit. The system manages water that has already reached the foundation perimeter.
The sump pump then usually moves collected water outside the home. A primary pump plus backup is the prudent setup because storms often bring both high water and power outages. Battery-backup or water-powered backup matters when the main pump cannot run.
Crack injection and substrate limits
Polyurethane injection is mainly for poured-concrete wall cracks. It is not a cure-all for block-wall cores, rubble foundations, or active structural movement. On mixed-material foundations, one visible crack may not be the only path.
Hydraulic cement also has limits. It is useful for larger gaps, mortar-joint defects, and localized cove-joint leaks, but it does not relieve hydrostatic pressure behind the wall.
Finished basement sequencing
Waterproof first, rebuild later. Stop water entry, dry the assembly, verify moisture conditions through at least a few storms or wet periods, then replace insulation, drywall, trim, flooring, and stored contents in that order.
A common first-timer mistake is reinstalling drywall after one dry week. If the real issue is storm seepage at the slab edge, the new baseboard and flooring can be wet again at the next heavy rain.
Exterior basement waterproofing methods
First-line exterior water control
Begin outside unless the symptom clearly points elsewhere. Clean gutters. Fix leaking seams. Extend downspouts well away from the foundation. Correct splash blocks, settled backfill, and hardscape that pitches toward the house.
French drains are gravel-filled trenches with perforated pipe that redirect water away from the foundation when yard drainage is poor. They help when runoff is the problem, especially on lots that collect water against one wall.
Excavation, membranes, and footing-drain repair
Exterior foundation waterproofing becomes the next step when water pressure is broad, repeated, and clearly below grade. Luxcando describes an exterior waterproofing membrane or coating applied after excavation. That work may also include drainage board and footing-drain repair or replacement.
This is more disruptive and sensitive to site access than interior work. Porches, decks, lot lines, mature trees, walkways, and neighboring structures can make full excavation difficult or expensive.
Older homes and mixed-material foundations
Older homes often mix stone, brick, and patched concrete. Mortar condition matters. Existing damp-proofing may be thin or deteriorated. Footing drains may be absent or clogged. In those cases, the best plan often combines water-control outside with selective interior management inside.
That is also where a surface sealer can mislead you. If the wall is irregular and moisture is moving through many joints, patching one spot rarely solves the whole water path.
Basement waterproofing interior vs exterior: which is better?
Neither method is automatically better. Interior systems manage water after it reaches the foundation, while exterior systems try to keep water from reaching the wall in the first place. Choose by failure mode, site access, wall type, finish level, and whether the issue is isolated or widespread.
What each method solves well
Interior systems work well for recurring cove-joint seepage, lower-wall seepage, and basements where excavation is blocked by a porch, deck, driveway, or tight lot line. Exterior systems work well where saturated soil is pressing against the wall and broad below-grade protection is needed.
Interior drainage does not dry exterior soil. Exterior membrane work does not fix indoor humidity from condensation. Each method solves a different problem.
Can you waterproof a basement without digging?
Yes, sometimes. Homeowners can often solve the problem without excavation when the issue is short downspouts, poor grading, surface runoff, condensation, or a stable poured-concrete crack. Interior perimeter drains also avoid full exterior digging.
Usually not, when exterior membranes or footing drains have failed across a broad area, when a retaining condition traps water against the wall, or when the only durable fix requires access to the outside face of the foundation.
When interior and exterior measures need to work together
Some basements need both. For example, a home may need gutter and grading work outside, crack injection at one poured-concrete wall, and a sump backup because groundwater remains high in major storms. Method stacking is normal when more than one water path is active.
How to do basement waterproofing yourself safely?
Safe DIY work usually includes diagnosis, gutter and downspout corrections, grading touchups, foil testing, some poured-concrete crack injections, and prep for coatings on bare masonry. Stop the DIY plan when the wall is moving, flooding is recurring, excavation is required, or the foundation is mixed and deteriorated.
DIY jobs that are usually reasonable
- Clean and repair gutters so runoff does not spill beside the wall.
- Extend downspouts at least 6 feet from the foundation; more distance is often better where the lot allows.
- Restore a grading slope of roughly 6 inches over the first 10 feet where feasible.
- Run the foil test to separate seepage from condensation.
- Inject a stable poured-concrete crack with a polyurethane kit if the wall shows no movement.
- Apply a masonry waterproofing coating only to bare, clean masonry with no standing water.
Prep rules and product compatibility
Poured concrete is the best candidate for injection repair. Concrete block needs caution because water can move through joints and cores. Stone and rubble walls are poor candidates for simple injection kits. Slab-edge details need attention because cove-joint seepage can bypass a wall coating that looks perfect.
For coatings, remove loose paint, salts, and dirt. If water is actively entering, stop and reassess. Coating over active seepage usually fails.
Red flags that stop a DIY plan
- Horizontal cracks or widening stair-step cracks
- Wall bowing, displacement, or new door misalignment above
- Recurring puddles at the cove joint after every storm
- Wet block walls across a broad area
- Finished basements with hidden moisture behind drywall
- Need for excavation, footing-drain replacement, or major sump work
Is waterproofing a basement worth it?
It is worth it when the fix matches the failure mode and prevents repeated damage. The value rises with recurrence, finished-space risk, musty air, mold exposure, and the cost of repairing drywall, flooring, storage, and paint again. It is not worth it when the true problem is humidity or plumbing.
Cost framing by failure mode and scope
Low-cost work usually means drainage maintenance: gutter cleaning, downspout extensions, and modest grading touchups. Modest material cost often means one poured-concrete crack repair, with polyurethane injection kits commonly priced at $60–$120. Medium-cost work may include a dehumidifier, sump replacement, or window-well correction.
High-cost work includes interior perimeter drainage, often described in the $4,000–$12,000 range, and excavation-based exterior waterproofing where access and depth drive price. Local labor, disposal, finishes, and utility obstacles shift totals a lot, so broad bands are more honest than one average.
When waterproofing is the wrong fix
If the basement is dry except for summer humidity, start with a dehumidifier and air-sealing checks. If the moisture comes from a plumbing leak, appliance overflow, or sweating HVAC line, fix that source first. If the wall is moving, structural repair comes before waterproofing details.
Frequently asked questions
How do I waterproof a basement?
Waterproof a basement by matching the method to the water path. Start with diagnosis, then correct gutters, downspouts, grading, and runoff. Use crack injection for isolated poured-concrete leaks, hydraulic cement for larger gaps in appropriate spots, and interior drainage with a sump for recurring seepage.
What should I do if water comes in where the wall meets the floor?
Water at the wall-floor joint usually points to cove-joint seepage driven by hydrostatic pressure or footing-drain trouble. Start by checking runoff control outside. A localized hydraulic-cement patch may help briefly, but recurring seepage often means an interior perimeter drain and sump are the proper repair.
When is a dehumidifier enough instead of waterproofing?
A dehumidifier is enough when the problem is condensation or high indoor humidity rather than exterior seepage. Use the foil test to check. If moisture forms on the room side, air moisture is likely the issue. If moisture appears behind the foil, look for seepage instead.
Foundation waterproofing vs damp proofing: what changes?
Damp-proofing is typically a thin asphalt coating installed during original construction to resist soil moisture vapor. Foundation waterproofing is a broader below-grade water-control system that may include membranes, drainage, crack repair, and sump handling. Damp-proofing does not resist hydrostatic pressure or active water flow.
Can I waterproof a basement without digging?
Yes, if the issue is surface runoff, short downspouts, minor grading defects, condensation, or an isolated poured-concrete crack. No, not always. Widespread below-grade water pressure, failed footing drains, and some exterior membrane problems usually require excavation or a full interior drainage approach.
basement waterproofing interior vs exterior
Interior basement waterproofing is usually better for managing recurring seepage where excavation is hard or impossible. Exterior waterproofing is usually better when the main problem is saturated soil pressing against the wall. The better choice depends on symptom pattern, wall type, access, and whether one or several water paths are active.
Sponsored / affiliate links. As an Amazon Associate I earn from qualifying purchases. I may earn additional commission from eligible campaigns.