How to Waterproof a Basement Wall From the Inside
For interior basement wall waterproofing, use a cementitious coating on sound concrete, a crack-injection plus coating approach on block, and only a drainage or masonry repair plan for brick if the wall is actively leaking through mortar joints. If you ignore the water path, you can trap moisture, worsen efflorescence, and damage finishes. This guide shows which inside method fits each wall type, what materials to use, and when to stop and call a pro. Efflorescence is a salt deposit left behind as water moves through masonry and evaporates, so it is a clue that moisture is traveling through the wall, not just sitting on the surface.
What you’ll need


- Stiff brush or scrub pad
- Shop vacuum
- Mild cleaner and clean water
- Fans or a dehumidifier
- Moisture meter, if available
- Masonry patch, hydraulic cement, or crack repair kit for poured concrete
- Cementitious waterproof coating for sound concrete surfaces
- Interior drainage channel or interior drainage system
- Sump pump kit
- Backer rod and masonry sealant where appropriate
- Safety glasses, gloves, and a dust mask
Which interior fix matches your wall leak?
| Wall material | Leak symptom | Likely cause | Recommended inside fix | What to avoid | Red-flag conditions that mean interior waterproofing alone is not enough | DIY or pro | Best first check | Likely failure if you choose the wrong fix |
|---|---|---|---|---|---|---|---|---|
| Poured concrete | Narrow wet line, drip, or crack seepage | A crack is the leak path | Crack repair kit or crack injection, then a compatible coating on sound areas | Coating over an active crack without repair | Crack widens, shifts, or leaks again right after drying | DIY if the crack is stable and localized; pro if the crack is moving or structural | Check whether the crack is wet only during storms or is wet all the time | The coating peels, water reappears at the crack, or the crack telegraphs through the finish |
| Concrete block | Damp blocks, wet mortar joints, water at the base | Block cores or mortar joints are carrying water | Drainage strategy, relief path, and sump pump if water is moving through the wall | Surface coating alone on a wall that still relieves water from the cores | Repeated seepage, hollow-sounding damaged blocks, or bulging | Usually pro if water is active or the wall is damaged; DIY only for minor, dry prep and finish work after drainage | Look for wet joints versus a single crack | Water shifts behind the coating, pushes out at another joint, or degrades the block face |
| Brick foundation wall | General dampness or multiple wet joints | Porous masonry or failed joints | Masonry-appropriate sealing plus vapor control when the wall is damp, drainage or repair when joints actively leak | Trapping moisture behind finishes | Running water, crumbling mortar, or repeated efflorescence after repair | DIY for light prep and vapor control on a stable wall; pro for repointing, active leaks, or structural movement | Inspect mortar joints for crumbling or open voids | Moisture gets locked behind the finish, accelerating mortar decay and staining |
| Any of the above at the wall-floor joint | Water line at the base where wall meets slab | Seepage at the joint and pressure beneath the slab edge | Interior drainage channel or system paired with a sump pump | Trying to paint over the joint only | Water rises after heavy rain or the floor stays wet beyond the joint | Pro if you need trenching, pump sizing, or backup power planning; DIY only for very simple kits and dry, stable conditions | Confirm whether the base leak returns after rain or snowmelt | Water continues to enter, saturate finishes, and migrate under flooring |
Where is the water coming in?
Check the wall-floor joint first, then look for cracks, block joints, or porous masonry. Separate dampness from active seepage before you buy anything. Damp walls can sometimes be handled with surface preparation; running water or recurring wet lines usually means you need drainage, crack repair, or both. Efflorescence often marks the drying path of moisture moving through masonry, so treat it as evidence of transport, not just a cosmetic stain.
Start with the base of the wall
- Dry the area with fans and remove loose material.
- Mark the highest wet point and the exact line where the wall meets the floor.
- Check after the next rain for a fresh line, not old staining.
- Look for efflorescence, which often points to moisture moving through masonry.
Say your poured concrete wall shows a single 1/16-inch crack near a utility shelf and the wall is dry everywhere else. A localized repair is the right first move. Suppose the whole lower 12 inches of a block wall feels damp after storms. That pattern usually points to water moving through the wall, not a single crack. When the failure pattern is broad or recurring, a surface coating alone is usually the wrong fix because it does not address the pressure path behind the wall.
What should you do before you seal anything?
Before you apply any coating or membrane, confirm that the wall is clean, dry enough for the product, and no longer actively leaking. Seal only after loose material, salts, and previous finishes are removed. If moisture is still moving through the wall or slab edge, stop and switch to crack repair or drainage instead of trapping the water behind a new layer.
Use these basic prep standards
- Clean off dust, paint, efflorescence, and loose mortar.
- Let the wall dry until surface moisture is gone.
- Widen a crack only if the repair product calls for it; keep the profile uniform.
- Patch voids, then let repairs cure per the product label before coating or finishing.
A common first-timer mistake is coating a wall the same day it was washed. That traps moisture behind the finish and can cause peeling or new damp spots. If the wall is still dark after drying time, wait longer or move to drainage instead of sealing in the problem. Many waterproof coatings and repair products depend on a sound substrate; if the wall is not dry and stable, the bond fails before the water problem is solved.
How do you repair poured concrete cracks?
Poured concrete is the best candidate for inside crack repair when the crack is the leak path. Use epoxy injection when the crack is stable and structural bonding is the goal; use polyurethane injection when the crack is stable and the main goal is stopping water. Use a crack repair kit for a localized leak, then cover the repaired area only after it cures and stays dry. If the crack is widening, offset, or still moving, stop and call a pro. Crack repair works on a path, not on ongoing structural movement or hydrostatic pressure that keeps re-opening the gap.
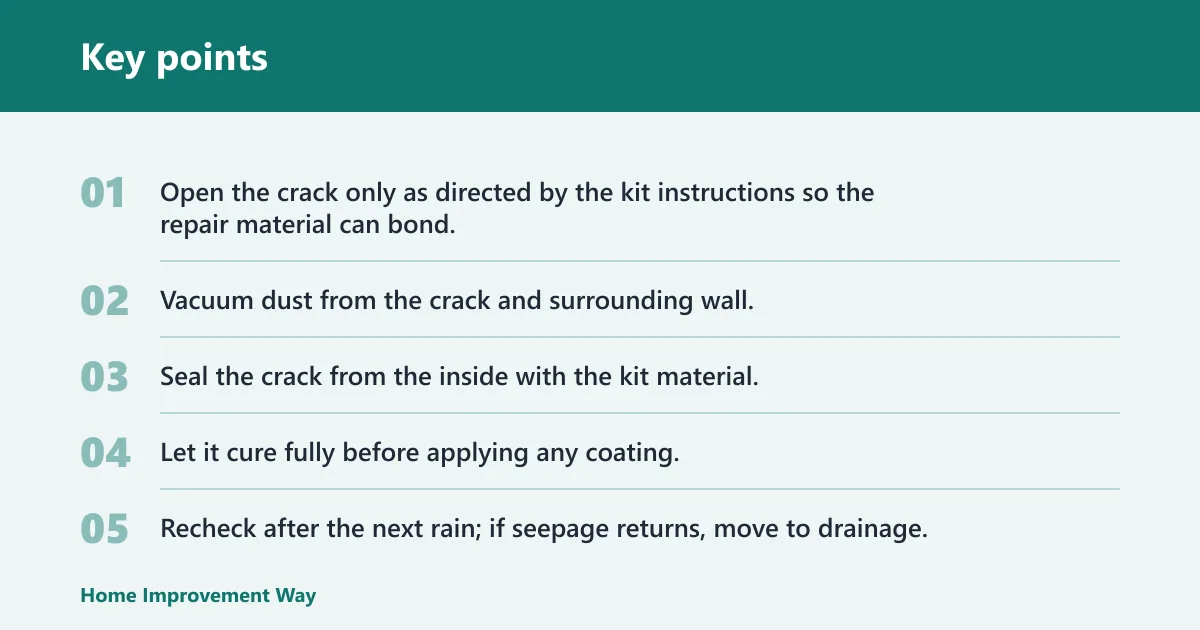
Step-by-step crack repair
- Open the crack only as directed by the kit instructions so the repair material can bond.
- Vacuum dust from the crack and surrounding wall.
- Seal the crack from the inside with the kit material.
- Let it cure fully before applying any coating.
- Recheck after the next rain; if seepage returns, move to drainage.
If that did not work, the crack may be a symptom of hydrostatic pressure rather than the whole problem. In that case, an interior drainage system and sump pump are the next step. A coating alone will not stop a wall that keeps taking on water from below the slab edge or through adjacent joints. Interior drainage systems generally work by collecting seepage at the perimeter and moving it to a sump, which is more effective than trying to stop all water with a surface coating alone.
Can you waterproof block walls from inside?
Yes, but not with surface coating alone if the blocks are carrying water through their cores or mortar joints. Concrete block walls often need a relief path, then drainage to collect and move the water away. A coating can help after the leak path is controlled, not before. That matches standard drainage practice: relieve the pressure, collect the water, and pump it away rather than sealing the wall while water is still moving through it.
How block walls need to be handled
- Inspect the wall for wet mortar joints, damp block faces, and water at the base.
- Look for hollow, cracked, or loose sections that suggest structural trouble.
- Use drainage or a weep-path strategy if water is moving through the cores.
- Pair the drainage with a sump pump so collected water leaves the basement.
Do not close off a block wall that still needs relief. If you coat over active core seepage, the water can shift to another joint or push behind the finish. Interior waterproofing works here only when the drainage path is part of the plan, because the wall has to be able to shed water before it can be safely sealed or finished.
Can you waterproof a brick wall from inside?
Brick foundation walls can be damp because masonry is porous, but they can also leak through open mortar joints. If water is running through joints, you need drainage or repair, not a finish layer that traps moisture behind the wall. Mortar deterioration and open joints are common causes of visible leakage in older brick foundations, so the first check is whether the joints are simply damp or actually failing.
What brick needs before finishing
- Test whether the wall is damp or actively leaking.
- Repoint failing mortar joints where they are open or crumbly.
- Keep finishes off the wall until the masonry is stable and dry enough for the product.
- Do not rely on interior sealing for old brick walls that still need to dry to the inside.
Picture a brick wall that feels cool and shows white powder, but no water is dripping. That is a better match for repair and drying than for a drainage system. If the same wall starts weeping at the joints during storms, stop the finish work and treat the leak path instead. White powder is consistent with moisture moving through masonry and drying at the surface, which is why the wall should be diagnosed before it is sealed.
How should drainage and sump systems be sized and set up?
Interior drainage systems collect seepage and redirect it before it reaches the finished space. They work well at the wall-floor joint and are often paired with a sump pump. Pump selection should match the expected inflow, the vertical lift to the discharge point, and the basin and discharge setup. The key is not just the pump body; it is the collector, basin, check valve, discharge route, and backup strategy working together.
What a proper drainage setup needs
- Place the drainage path where water enters most often, usually along the wall-floor joint.
- Connect the drainage collector to a sump basin or pump pit sized for the installation.
- Route discharge away from the foundation so water does not return next to the wall.
- Use a check valve if the pump setup requires one.
- Plan for backup power if the basement floods during outages.
Underground downspouts can help by diverting roof water away from the foundation, but buried lines can fail or dump water too close to the house if they are installed poorly. Treat them as part of the water-management plan, not as a substitute for interior drainage when the wall is already leaking. Discharge and downspout best practice is to move roof runoff well away from the foundation and keep outlets clear, sloped, and free-flowing so water does not return to the base of the wall.
What should you do before buying parts?
Before you buy a coating, crack kit, or drainage system, confirm three things: the wall material, the leak location, and whether the water is active or seasonal. That diagnosis tells you whether you need repair, drainage, or both. It also helps you avoid the most common mistake: choosing a finish when the wall needs a water-management fix first.
Common mistakes and when to call a pro
Call a pro when a wall is actively saturated, bulging, cracking wider, or still leaking after repair. Also stop if repeated seepage keeps returning, if efflorescence comes back fast, or if finishes are trapping moisture behind them. Those are signs that interior waterproofing alone is not enough. If the drainage path, discharge route, or sump design is uncertain, professional help can prevent a system that simply relocates the problem.
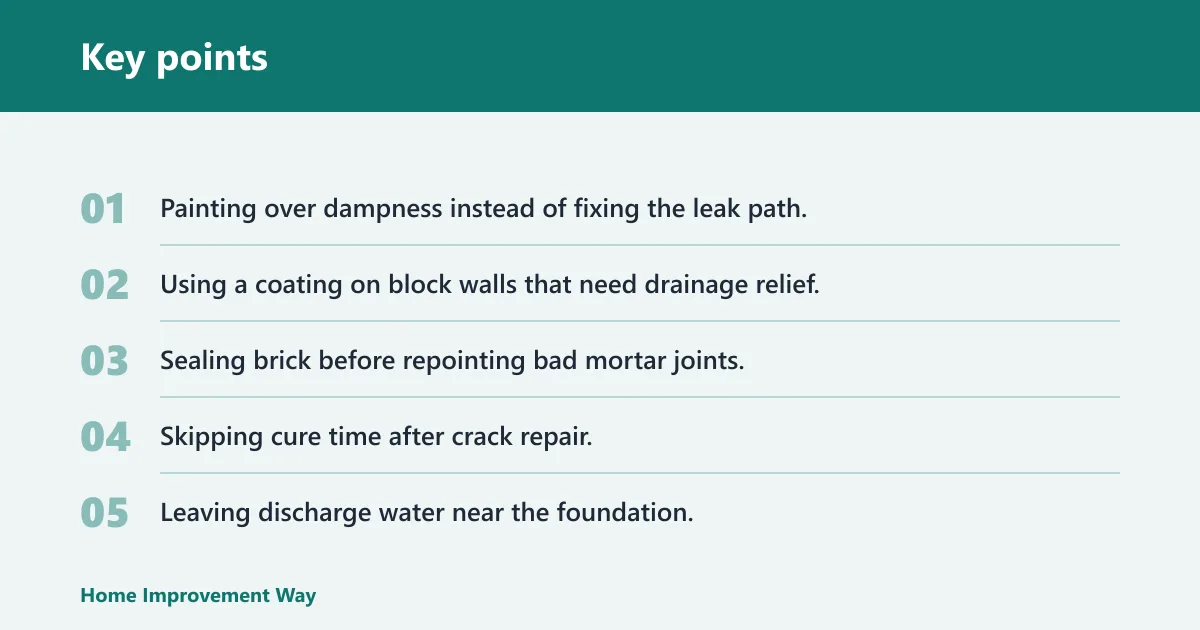
Common mistakes to avoid
- Painting over dampness instead of fixing the leak path.
- Using a coating on block walls that need drainage relief.
- Sealing brick before repointing bad mortar joints.
- Skipping cure time after crack repair.
- Leaving discharge water near the foundation.
If the wall is sound, dry enough, and the leak path is known, interior basement waterproofing can work without exterior digging. The best approach depends on whether water is entering through a crack, through block cores or mortar joints, or at the wall-floor joint. Interior methods are most reliable when they are paired with the right drainage path and discharge plan instead of a coating-only approach.
Frequently asked questions
Can you waterproof a basement wall from the inside?
Yes, when the wall is sound and the leak path is known. Interior methods work best for seepage, cracks, and wall-floor joint leaks. They do not fix every case. Active saturation, moving cracks, or repeated leakage after repair usually means the problem is beyond a simple inside coating. When water is entering faster than the wall can dry, drainage is usually the real solution.
How do you waterproof a basement wall from the inside?
First, identify whether the issue is a crack, a joint leak, or general dampness. Then choose the matching fix: crack repair for poured concrete, drainage for wall-floor joint seepage, or drying and repair for damp masonry. Finish only after the wall is clean, dry, and the repair has cured. That sequence matters because sealing too early can trap moisture and make the problem harder to solve.
Sponsored / affiliate links. As an Amazon Associate I earn from qualifying purchases. I may earn additional commission from eligible campaigns.
 Basement Foundation Repair Sealant - Polyurethane Waterproof Coating for Concrete, Wood, Outdoor, Roof, Walls, Garden (300g, Black)
 KINJOEK Paint Brush 14 Packs 1 Inch, Home Wall Trim House Chip Paintbrush Set, Professional Multi-Purpose Home Repair Tools for DIY Paint Stains Varnishes Glues Acrylics Cabinet Deck Fence Edge Door