How to Measure a Room for Crown Molding Before You Buy
Measure every wall, add the full perimeter, then add 10% to 15% for waste. Choose lengths that match your longest runs and the corner layout. If you skip corner counts and waste, you can end up short on material, with extra trips, added cuts, and visible mismatches. This guide shows how to turn room measurements, corner types, and spring angle into a crown molding buy list.
Quick answer: Measure at the ceiling line, include every wall segment, and do not subtract doors or windows. Add about 10% waste for a simple room, 15% for rooms with more corners or outside corners, and more only if the layout is unusually complex. Then convert the total into the stock lengths the store sells.
What you’ll need


- Tape measure.
- Pencil and paper for a room sketch.
- Calculator or phone for waste and stock-length math.
- Stud finder.
- Square or the product label to confirm spring angle.
- Note card to mark any blocking you may need to add.
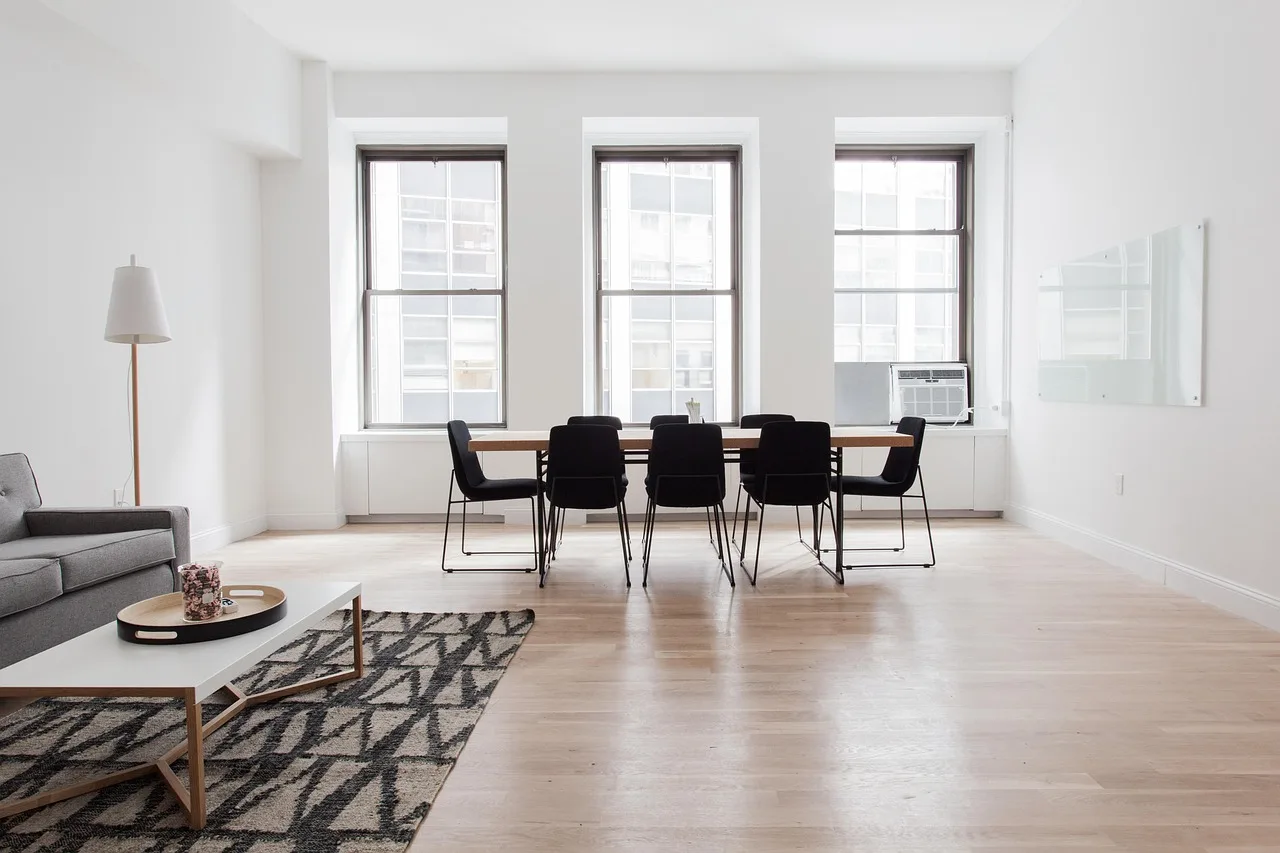
Measure every wall that will get crown, sketch the room on paper, and total the full ceiling perimeter before you buy. Round each wall up to the nearest foot, mark every inside corner, outside corner, and short wall break, then confirm the spring angle on the product label or with a square.
Sketch the room before you pull a tape
Draw the room as a simple shape and label each wall segment in order. That is how you separate a plain rectangle from a room with alcoves, bay faces, or a short return wall that changes the cut count.
- Draw the room outline on paper.
- Label each wall segment in order around the room.
- Mark every inside corner and outside corner.
- Record any short wall break, alcove, bay face, or soffit.
Measure the full ceiling perimeter, not the openings
Take each wall measurement at the ceiling line, not halfway down the wall, and do not subtract doors or windows from the total run. Crown follows the top line, so the purchase total should match the full path where the molding will sit, including wall space above openings.
Say your dining room has four walls and two windows. You still count the full wall run around the room, because the crown crosses above those openings. The openings change fastening and cut placement, not the purchase perimeter.
Mark inside corners, outside corners, and short wall breaks
Inside corners are often coped for a tighter fit, while outside corners usually need miters and extra length for fit. If the room is not close to square, note the corner count early; it changes waste more than most people expect.
Rooms with bays, soffits, or more than four corners usually need more offcuts than a plain four-corner rectangle. That is why room shape matters before you choose stock lengths.
How do you measure crown molding for the ceiling line?
Measure at the ceiling line, wall to wall, because that is the line the crown occupies. Do not use a mid-wall tape reading for purchase planning, and do not remove doors or windows from the total. Record each segment separately so you can match the room sketch later.
Builder and DIY references consistently measure crown from the ceiling line and keep openings in the total because the molding still spans the full top perimeter. That approach gives you a buy list based on the actual run, not a reduced number that underestimates material.
Use the top edge as your reference
If the wall bows or the ceiling line is uneven, keep the measurement reference consistent from wall to wall. A laser line can help you hold the same top reference, but the purchase total still comes from the full run around the room.
For planning, think in wall segments, not in isolated lengths. That makes it easier to assign stock pieces later and to avoid ordering a length that cannot be carried into the room or fit around a corner path.
How do corner angles change your order?
Corner angle affects cut layout and waste. A room may have common 90-degree corners, but bays, angled returns, and irregular layouts can differ, which changes both the cut math and the amount of extra stock you should buy.
Check whether the room is close to 90 degrees
A square room usually has 90-degree inside corners, but you should confirm each corner if the room has a bay, alcove, or outside return. Crown cuts are set by both the corner angle and the spring angle, so guessing here can throw off the purchase count.
Separate inside corners from outside corners
Inside corners are often coped for a tighter fit. Outside corners are usually mitered and can consume more waste because both sides need extra length and careful trimming. Count them separately on the sketch so you do not underbuy for the harder joints.
| Corner type | Typical joint choice | Buy-list impact | Best use case |
|---|---|---|---|
| Inside corner | Coped joint | Usually less waste than an outside corner, but still count the segment fully | Most standard room corners |
| Outside corner | Mitered joint | Often needs extra trim and test-fit allowance | Returns, posts, and projected wall edges |
Note where coped joints or miters affect waste
A coped inside corner can reduce dependence on a perfect square corner, which helps on older walls. An outside corner usually needs a mitered pair and more room for fitting. Both should be counted before you decide how much stock to buy.
Suppose a room has six inside corners and two outside corners. That is not the same as an ordinary rectangle, even if the perimeter is similar. The extra corner work usually pushes the purchase from a simple 10% allowance toward 15% or more.
How much extra crown molding should you buy?
Buy extra based on room shape, corner count, and your confidence level. A basic four-corner room usually needs about 10% waste, rooms with bays, soffits, or a first attempt usually need about 15%, and many short runs or complex layouts can justify about 20%.
Add the right waste for the room type
The practical range is 10% to 15% for most rooms, with 20% reserved for complex layouts, many short pieces, or a first-time installation where trimming errors are more likely. Keep the guidance consistent across the project: use the lower end only for simple, straight runs and the higher end when corner work or fit uncertainty rises.
| Room type | Base perimeter | Corner count | Waste | Total to buy | 8 ft stock | 12 ft stock | 16 ft stock |
|---|---|---|---|---|---|---|---|
| Square room | 40 ft | 4 | 10% | 44 ft | 6 lengths | 4 lengths | 3 lengths |
| Irregular room | 54 ft | 8 | 15% | 63 ft | 8 lengths | 6 lengths | 4 lengths |
| First-time installer | 68 ft | 6 | 20% | 82 ft | 11 lengths | 7 lengths | 6 lengths |
Use stock length to shape the order
Choose stock length around the room layout, transport limits, and how many joints you can tolerate. Longer lengths can reduce seams, but shorter pieces are easier to move through a house and fit around tight corners or stairs.
Manufacturer installation guides and saw-setting tables are the best source for spring-angle setup because exact saw settings depend on both the spring angle and whether the crown is cut nested or flat. Common profiles are often 38° or 45°, but you should verify the actual profile before you order or cut.
Crown molding worksheet
Use this worksheet to turn the room sketch into a purchase list. Start with the full ceiling perimeter, add the waste allowance for the room type, then round up to the stock lengths that the store actually sells.
| Room segment | Length | Corner count | Cut risk note | 8 ft pieces | 12 ft pieces | 16 ft pieces |
|---|---|---|---|---|---|---|
| Wall 1 + Wall 2 + Wall 3 + Wall 4 | 40 ft | 4 | Basic rectangle, mostly inside corners | 5 base / 6 with waste | 4 base / 4 with waste | 3 base / 3 with waste |
| Bay + adjoining walls | 54 ft | 8 | Multiple short runs, outside corners | 7 base / 8 with waste | 5 base / 6 with waste | 4 base / 4 with waste |
| First full room attempt | 68 ft | 6 | Learning cuts, extra trimming likely | 9 base / 11 with waste | 6 base / 7 with waste | 5 base / 6 with waste |
| Wall segment | Length | Inside corners | Outside corners | Spring angle | Stock-length mix | Waste % | Final pieces to order |
|---|---|---|---|---|---|---|---|
| Wall A | 12 ft | 1 | 0 | 38° or 45° verified | 1 x 12 ft or 2 x 8 ft | 10% | 2 x 8 ft or 2 x 12 ft total room allocation |
| Wall B + return | 18 ft | 1 | 1 | 38° or 45° verified | 1 x 12 ft + 1 x 8 ft, or 2 x 12 ft | 15% | 3 x 8 ft or 2 x 12 ft total room allocation |
| Wall C + Wall D | 22 ft | 2 | 0 | 38° or 45° verified | 2 x 12 ft or 1 x 16 ft + 1 x 8 ft | 10% | 3 x 8 ft or 2 x 12 ft total room allocation |
Room checklist
- Spring angle confirmed on the label or with a square.
- Inside corners counted separately from outside corners.
- No doors or windows subtracted from the ceiling perimeter.
- Short wall breaks, bays, or soffits marked on the sketch.
- Longest stock length fits the room and the path into the house.
- Stud locations marked before purchase planning.
- Blocking noted where crown will not land on solid backing.
How to figure out how many lengths of crown molding to order
Divide the waste-adjusted total by the stock length, then round up to the next whole piece. That gives you the order quantity for 8 ft, 12 ft, or 16 ft stock, and it keeps the buy list tied to the actual room layout instead of a guess.
Use the same total for every stock length
For a 44-foot order total, you need about 6 pieces of 8-foot stock, 4 pieces of 12-foot stock, or 3 pieces of 16-foot stock. For a 63-foot total, you need about 8, 6, or 4 pieces, respectively. For an 82-foot total, you need about 11, 7, or 6 pieces.
Mark studs and blocking before you finalize the cart
Heavy crown needs fastening support, so locate studs and note where blocking may be needed before you buy. Studs and joists matter because purchase planning is not only about footage; it is also about where the molding can be anchored cleanly along the ceiling line.
Common mistakes
The biggest errors are simple and expensive: subtracting windows or doors, buying before the spring angle is confirmed, mixing up calculate crown molding miter angle with bevel angle, and forgetting extra waste for outside corners or unsupported spans. Each one can leave you short or force an awkward patch.
- Do not subtract openings from the ceiling perimeter.
- Do not buy before confirming the spring angle on the profile or label.
- Do not treat miter angle and bevel angle as the same number.
- Do not ignore outside-corner waste.
- Do not skip studs, joists, and blocking when planning support.
One common first-timer mistake is measuring a 12-by-14 room, subtracting a pair of windows, and then ordering too little stock. The crown still runs the full top edge, so the ceiling perimeter stays unchanged even though the openings interrupt the wall below.
Another common first-timer mistake is mixing layout math with purchase math. The stock count comes first. The exact cut angles come later, after the profile and corners are confirmed.
Frequently asked questions
How do I measure a room for crown molding before buying it?
Measure every wall at the ceiling line, add the lengths for the full perimeter, and round up each wall to the nearest foot. Then add waste based on the room shape, confirm the spring angle, and convert the total into 8 ft, 12 ft, or 16 ft stock counts.
Do I include doors and windows when measuring crown molding?
Yes, keep them in the total. Builder references and common DIY measuring guides treat the full ceiling run as the buying number because crown follows the top edge, including the wall space above openings.
How much extra crown molding should I buy for waste?
Use about 10% for a basic four-corner room, 15% for bays, soffits, or a room with more corners, and 20% for many short runs or more complex layouts. If the room has lots of outside corners, favor the higher end of that range.
What angle is crown molding cut for a 90-degree corner?
The cut depends on both the spring angle and whether you cut the crown nested or flat. For common 38° and 45° profiles, saw-setting tables and manufacturer guides give different miter and bevel settings, so check the profile before using a number.
Should I measure crown molding at the ceiling line or lower on the wall?
Measure at the ceiling line. That is the actual run crown occupies, so it is the only measurement that gives a correct purchase total. Lower wall readings can be distorted by wall taper, uneven plaster, or trim interference.
How do I measure crown molding for a room with inside and outside corners?
Sketch the room, label each corner type, and count inside and outside corners separately. Use coping for many inside corners and miters for outside corners, then add extra waste because outside corners usually need more trim and fit work.
What spring angle does my crown molding have?
Check the product label first. If it is not printed there, use the molding profile itself and a square to confirm the spring angle. The common profiles are often 38° or 45°, but the exact number should come from the specific molding you bought.
How do I figure out how many lengths of crown molding to order?
Add the room perimeter, apply the waste percentage for the room type, then divide by the stock length and round up. For example, a 63-foot total means 8 pieces of 8-foot stock, 6 pieces of 12-foot stock, or 4 pieces of 16-foot stock.
Sponsored / affiliate links. As an Amazon Associate I earn from qualifying purchases. I may earn additional commission from eligible campaigns.