Crown Molding Guide
Size crown molding by ceiling height first: for 8-foot ceilings, a roughly 2 1/2- to 4-inch face is a practical starting point, then match its visual weight to your baseboards, casings, and room size. Go too large, and a small room looks top-heavy. Go too small, and the trim reads cheap or mismatched. This guide shows how to size profiles, match existing trim, estimate footage and waste, choose materials, and prep walls and corners before you buy or cut.
What you’ll need
- Tape measure
- Notebook or printed room sketch sheet
- Pencil and painter’s tape for marking walls
- Stud finder
- Ladder
- Miter saw with a stable crown-molding setup and repeatable angle stops
- 18-gauge brad nailer with 1 1/4- to 2-inch brads matched to molding thickness and framing
- Construction adhesive for built-up rails and short sections with weak nailing
- Crown molding sample dimensions or catalog specs
- Base trim or flat stock if planning a built-up assembly
- Caulk and wood filler for final fitting
How do you size crown molding for your room?
Start with three inputs: ceiling height, room scale, and the size of the trim already in the room. Then judge the crown by projection onto the wall and ceiling, not face width alone. In most 8-foot rooms, moderate projection looks balanced. Oversized projection makes the ceiling feel lower and the room feel heavier.
Use projection, not face width alone
Two moldings with the same face width can look very different once installed. One may project farther onto the ceiling and wall, which gives it more visual weight. In an 8-foot room, that matters more than the catalog width.
A simple planning sequence works best: set a projection target first, then choose a profile shape that delivers that target, then decide whether one-piece or built-up construction makes sense. That keeps style in line with proportion.
Start with ceiling height, then room scale
Ceiling height sets the upper limit. Room size fine-tunes it. In a small bedroom with short wall runs, even molding that technically fits an 8-foot ceiling can still feel too heavy if it projects too far.
For 8-foot ceilings, a crown projecting more than 5 inches may look too dominant in an 8-foot room. Treat that as a warning line, not the goal. Most rooms at that height look better below it, especially when the baseboards and door casing are modest. (familyhandyman.com)
Match the trim family by visual weight
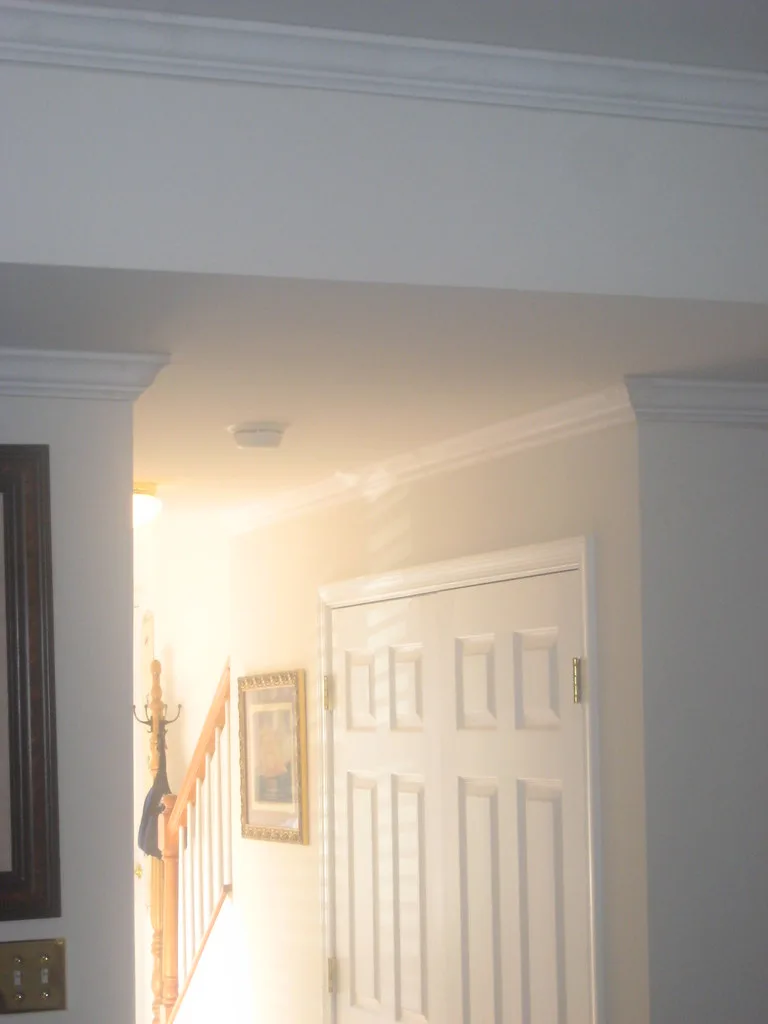
Baseboards and casing set the scale that crown has to answer. If the room has slim colonial casing and short base trim, a deep, stacked crown can look disconnected. If the room already has tall casing heads or heavier base trim, a slightly fuller crown usually fits better.
Picture a bedroom around 11 by 12 feet with 8-foot ceilings, modest door casing, and a basic baseboard. A large built-up crown can make the top of the room feel busier than the rest. A simpler one-piece profile with moderate projection keeps the trim family consistent.
What you’ll need to plan cuts and fastening
Planning is where tool choices start to matter. Crown molding is usually an intermediate project, it often takes multiple days, and cost varies, so it helps to settle on the cutting and fastening method before you buy stock.
Miter saw setup for crown work
A miter saw is the main cutting tool for crown molding. Repeated inside and outside corners go faster when the saw setup stays consistent, especially if your saw or workflow favors left-bevel or left-set repeat cuts. That cuts down on reorientation mistakes when several corners use the same setup.
Paper-thin adjustment cuts matter. When a corner is barely open, shaving the end by a sliver is usually better than recutting a whole piece shorter and ruining the opposite end.
Brad nail gun, adhesive, studs, and joists
A brad nail gun makes fastening easier because crown often needs one hand on alignment and one on support. It works best when you already know the nailing targets. Locate wall studs and ceiling joists before estimating final piece breaks, because those locations affect where scarf joints and hard transitions can land.
Construction adhesive helps in two places: behind rail or base pieces in a built-up system, and on short sections where you cannot catch framing cleanly with nails alone. That eases fastening on uneven framing and on profiles that do not sit tight against both surfaces.
Layout supplies that prevent proportion mistakes
Make a simple sketch of the room before doing any math. Then run 2-inch-wide masking tape around the walls and ceiling where the crown will land. The tape should cover about half an inch under the rail trim. This gives you a full-room preview of projection and drop before any stock is cut.
How do I measure a room for crown molding before buying?
Measure each wall run, sketch every corner, and mark interruptions before calculating footage. Count inside corners, outside corners, and likely scarf joints, then locate studs and ceiling joists. That turns a rough perimeter into a realistic buying list, which is much more accurate than multiplying room length and width alone.
Step-by-step measuring workflow
- Sketch the room outline and label every wall.
- Measure each wall length separately and write the number on the sketch.
- Mark doors, windows, cabinets, beams, soffits, and ceiling height changes.
- Count inside corners, outside corners, and long runs likely to need scarf joints.
- Locate studs and ceiling joists and mark those positions on painter’s tape.
- Use masking tape lines to preview the crown’s wall drop and ceiling projection.
What to mark besides wall length
Interruptions change both cutting and visual proportion. A tall kitchen cabinet bank may force the crown to die into a side panel. A beam may create short return pieces. A stair opening may break runs that would otherwise look balanced.
Suppose a dining room has one 16-foot wall, one cased opening, and two outside corners wrapping a chimney bump-out. The total footage may seem modest, but outside corners and short returns drive waste up faster than the perimeter suggests.
Why studs and joists belong on the sketch
Stud and joist locations are not only install notes. They affect whether a one-piece crown can be fastened cleanly and whether a built-up system will be easier. If a room has poor nailing at the ceiling edge, rail pieces with adhesive may save time and fit better.
How wide should crown molding be for an 8-foot ceiling?
For an 8-foot ceiling, a roughly 2 1/2- to 4-inch face is a common starting range, and projection helps determine whether it looks balanced. In small rooms, stay toward the lighter end. Once projection pushes past moderate depth, the crown can feel heavy even when the listed face width sounds reasonable.
Practical range for most 8-foot rooms
The range above works because it leaves enough presence to read as intentional without dragging the eye downward. Rooms with narrow baseboards, plain casing, or limited wall area usually look best near the smaller end. Larger living rooms can take a fuller profile if the projection stays controlled.
When small rooms need less crown than the ceiling chart suggests
Charts often ignore room width and furniture scale. A tiny office, bath, or guest room can look crowded with ornate profiles that reach deep onto the ceiling. Simpler shapes with less projection usually preserve more visual height.
Say your room is 9 by 10 feet with an 8-foot ceiling and standard casing. A catalog profile listed at 4 inches wide may still feel oversized if its spring angle throws a lot of material onto the ceiling. A flatter, cleaner profile in the same width can read much lighter.
When built-up crown gets too heavy
A built-up assembly is not automatically the better choice. The recommended three-piece crown molding technique uses standard crown molding plus two pieces of base trim. It is presented as cheaper than single-piece crown of similar size, but the size still has to fit the room.
Built-up crown makes the most sense when the room already has heavier trim or the ceiling height can support more projection. On a low ceiling, stacked rails can create a thick band that shortens the wall visually before the main crown even starts.
Should you use one-piece or built-up crown molding?
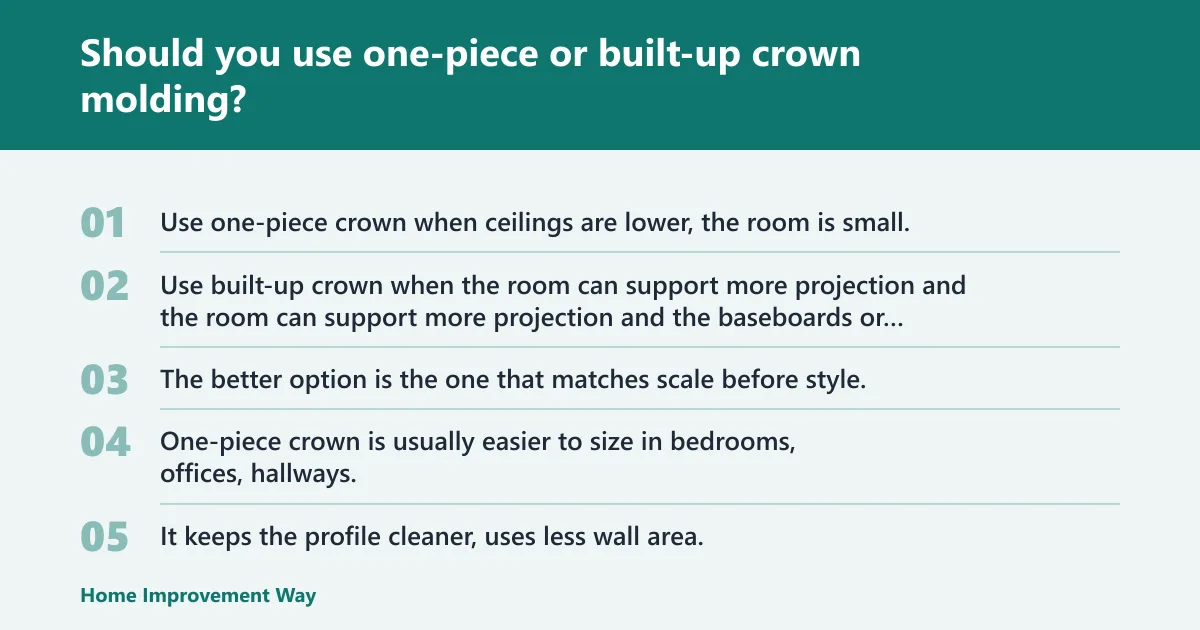
Use one-piece crown when ceilings are lower, the room is small, or the rest of the trim package is modest. Use built-up crown when the room can support more projection and the baseboards or casing already have more weight. The better option is the one that matches scale before style.
Where one-piece crown is the better fit
One-piece crown is usually easier to size in bedrooms, offices, hallways, and other 8-foot rooms with simple trim. It keeps the profile cleaner, uses less wall area, and avoids the extra horizontal lines that can crowd a low ceiling.
Traditional profiles also tend to read more honest at smaller sizes. If the room has standard casing and a basic baseboard, a single molding with moderate projection is often the cleanest answer.
Where built-up systems make sense
A built-up system uses one crown piece plus flat rail elements, often made from base trim, to create a larger assembly. The common version uses two pieces of base trim with the crown. That makes larger profiles more affordable and lets you tune the final wall drop and ceiling reach.
It also changes installation. Rail or base pieces go up first, and those pieces often work better with construction adhesive along with nails. If nailing conditions are poor at the ceiling line, those rail pieces can create a more forgiving base for the final crown.
Side-by-side comparison
| Category | Typical scale | Best room fit | Visual effect | Install notes |
|---|---|---|---|---|
| Small one-piece crown | Light face and modest projection | Small rooms, 8-foot ceilings, simple trim | Keeps visual height, low profile | Fewer parts, careful corner cutting |
| Medium one-piece crown | Mid-range face and projection | Average living rooms, dining rooms, bedrooms | Balanced presence | Good all-around choice if trim scale matches |
| Three-piece built-up crown | Larger assembly from crown plus two base pieces | Bigger rooms, heavier trim packages | Stronger shadow lines and more mass | More layout, more fastening steps, often cheaper than similar large one-piece crown |
How do I choose a crown molding style that matches existing trim?
Match crown to the room’s trim family by scale, line, and projection rather than copying every profile detail. If baseboards and casing are plain, choose a simpler crown with similar restraint. If they are heavier and more shaped, a fuller crown can work, provided the ceiling height supports it.
Read the room’s existing trim language
Look at three things together: baseboard height, casing width, and how much relief those pieces have. Sharp, simple casing pairs best with cleaner crown profiles. More stepped or curved casing can support a crown with deeper shadow lines.
Do not force an exact profile match
Crown does not need to repeat every bead or cove in the casing. It needs to feel related. Matching visual weight matters more than matching every contour. A simplified crown often looks more intentional than a busy profile scaled down too far.
What to compare if you sample profiles
Compare projection, spring angle, and trim-family fit. Hold the sample where it will sit, or mock the drop and projection with tape. A profile that looks good on the floor can become too dominant once it takes up both wall and ceiling area.
How much extra crown molding should I buy for waste?
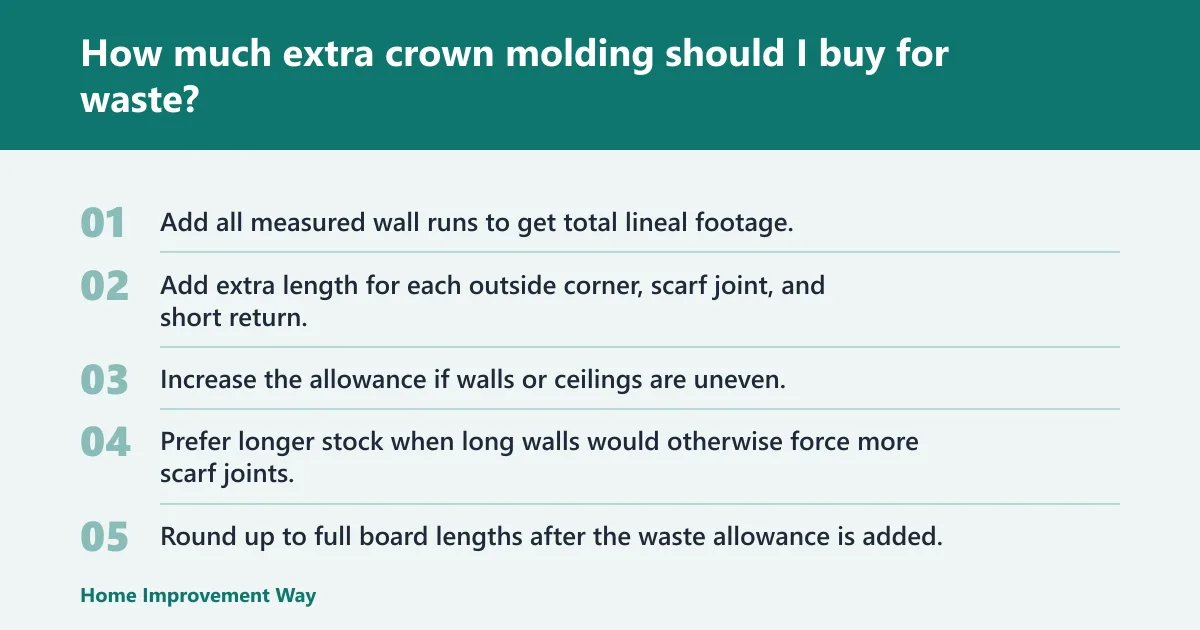
Buy waste according to corner count, scarf joints, and room difficulty, not a flat percentage alone. A near-square room with four inside corners wastes far less than a room with outside corners, short returns, and uneven walls. Longer stock lengths also reduce scarf joints and lower waste.
Step 3: calculate quantity and waste before buying
- Add all measured wall runs to get total lineal footage.
- Add extra length for each outside corner, scarf joint, and short return.
- Increase the allowance if walls or ceilings are uneven.
- Prefer longer stock when long walls would otherwise force more scarf joints.
- Round up to full board lengths after the waste allowance is added.
Crown molding sizing worksheet
| Room | Ceiling height | Total wall length | Desired projection | Trim family match | Corner count | Recommended profile range | Waste allowance |
|---|---|---|---|---|---|---|---|
| Small bedroom | 8 feet | 42 feet | Light to moderate | Plain casing, modest base | 4 inside, 0 outside | 2 1/2- to 3 1/2-inch one-piece crown | Add 10% to 15% |
| Living room | 8 feet | 58 feet | Moderate | Medium casing, taller base | 6 inside, 2 outside | 3- to 4-inch one-piece crown or restrained built-up assembly | Add 15% to 20% |
| Dining room with bump-out | 8 feet | 52 feet | Moderate | Detailed casing, medium base | 6 inside, 4 outside | 3- to 4-inch one-piece crown; built-up only if trim is already heavy | Add 20% to 25% |
| Open family room | 9 feet or more | 76 feet | Moderate to fuller | Heavy casing, taller base | 8 inside, 2 outside | Medium one-piece or three-piece built-up crown | Add 15% to 20% |
How to use the worksheet
Fill in the room name, ceiling height, full wall length, and the projection you want the crown to have on the wall and ceiling. Then note whether the existing trim is plain, medium, or heavy. Finally, count inside and outside corners and choose the profile range that fits the room’s scale.
If the room has several outside corners, short cabinet returns, or wavy walls, move to the higher waste line. If long uninterrupted walls dominate the room, longer stock can reduce scarf joints and pull the allowance back down.
Step 4: plan the cut and fastening approach
Pick one repeatable cutting workflow, mark nailing targets before the first cut, and use adhesive where the profile or framing limits clean fastening. That sequence reduces recuts and helps the crown stay aligned when walls and ceilings are less than perfect.
Use a repeatable miter saw routine
- Choose one saw orientation and keep it consistent for repeated corner types.
- Label inside and outside corner pieces before cutting the final stock.
- Cut test scraps first when changing spring angle or profile family.
- Make paper-thin adjustment cuts to close small gaps.
- Dry-fit each corner before fastening full runs.
Fasten to framing, then tune problem areas
Locate studs and ceiling joists first and use them as the primary fastening targets. A brad nail gun helps hold the piece while alignment is still being adjusted. When a section crosses weak backing or a built-up rail sits between framing points, construction adhesive helps stabilize the assembly.
If that didn’t work
If a one-piece crown will not sit tight because the wall and ceiling are uneven, move to the next more forgiving approach: install flat rail pieces first, then fit the crown to that built-up base. If the room still shows visible variation, reduce projection rather than forcing a larger profile to bridge gaps it cannot hide.
Common mistakes
Choosing by face width alone
Catalog width is easy to compare, but projection is what changes the room. Avoid this by taping out the wall drop and ceiling reach before buying.
Using the same size crown in every room
An open living room and a small bedroom rarely need the same profile. Size each room separately, even if the trim family stays consistent across the house.
Ignoring low-ceiling visual weight
In 8-foot rooms, heavy projection can make the ceiling feel lower. Keep the profile simpler and lighter when wall area is limited or casing is modest.
Underbuying because corner waste was missed
Outside corners, scarf joints, and short returns eat stock. Use the worksheet and move up a waste band when the room shape is awkward.
Planning fasteners before finding framing
Crown holds better when studs and ceiling joists are located early. Mark them on tape so joints and piece breaks can be planned around real support.
Forcing a mismatched trim style
A heavy ornate crown above plain casing often looks added on. Match the room’s trim family by visual weight and line, even if the exact motifs differ.
Prevention
Keep offcuts labeled by corner type and saw orientation during the whole project. That simple sorting step reduces mirrored-cut mistakes when installation stretches across multiple days.
Frequently asked questions
How do I size crown molding for my room?
Start with ceiling height, then adjust for room size and existing trim scale. In most 8-foot rooms, begin with a 2 1/2- to 4-inch face and check the actual wall and ceiling projection. If the crown visually outweighs the baseboards and casing, size down or simplify the profile.
How wide should crown molding be for an 8-foot ceiling?
A 2 1/2- to 4-inch face is the practical starting range for many 8-foot rooms, but projection decides whether it stays balanced. Once projection grows too deep, the room can feel top-heavy. A crown projecting more than 5 inches may look too dominant in an 8-foot room.
What crown molding profile looks best in a small room?
Small rooms usually look best with a simpler one-piece profile and modest projection. Cleaner shapes preserve visual height better than heavily layered profiles. If the room also has plain casing and a basic baseboard, keep the crown restrained so the trim package reads consistent rather than crowded.
How do I measure a room for crown molding before buying?
Make a simple sketch of the room, measure each wall run, and mark doors, windows, cabinets, and ceiling breaks. Count inside and outside corners, then note likely scarf joints. Locate studs and ceiling joists before buying so the cut plan and fastening plan work together.
How much extra crown molding should I buy for waste?
Use a room-based allowance instead of one flat number. A simple room with four inside corners may need about 10% to 15% extra, while rooms with outside corners, short returns, and uneven walls often need 15% to 25%. Longer stock lengths can reduce waste by cutting scarf-joint count.
Should I use one-piece or built-up crown molding?
Use one-piece crown for smaller rooms, lower ceilings, and lighter trim packages. Use built-up crown when the room has more scale and the existing trim is heavier. The common three-piece method uses standard crown molding plus two pieces of base trim, and it is often cheaper than a similar-size single piece.
Sponsored / affiliate links. As an Amazon Associate I earn from qualifying purchases. I may earn additional commission from eligible campaigns.