How to Store Saw Blades Without Rust or Dull Edges
Store saw blades dry, flat, or in individual sleeves. Keep storage at roughly 50% relative humidity or lower when you can, add silica gel or another desiccant in closed storage, and keep teeth from touching metal. In humid, swinging environments, condensation can form on cool steel surfaces; rust and residue then follow. This guide shows a blade-storage system for circular, miter, table saw, and bandsaw blades with humidity control, separation, and a pre-use inspection.
Fast recommendation: For garages and seasonal storage, use a sealed bin or cabinet with desiccant and individual sleeves. For a toolbox, use a lined divider system so teeth do not strike metal. For routine use, dry storage is usually enough; reserve a thin rust inhibitor film for blades that will sit for weeks or months, then wipe it off before cutting.
4-step storage system: clean off pitch and dust, dry the blade completely, isolate the teeth from other metal, and control moisture in the storage space. That sequence reduces corrosion risk, helps prevent carbide damage, and makes it easier to tell whether a blade needs cleaning, sharpening, or replacement when you pull it back out.
Why blades rust and dull in storage


Moisture is the main problem. In garages and shops, temperature swings can create condensation on bare steel, and that moisture can lead to surface rust. In closed or poorly ventilated storage, even a blade that looked dry can pick up moisture overnight. Once corrosion starts, it can move past the surface layer and leave pitting that is harder to clean and more likely to affect balance and cut quality.
Pitch, resin, and sawdust also matter. Residue traps moisture against the steel and can make a blade cut hotter, feed harder, and leave burned workpiece edges. Excess buildup can be mistaken for dullness, so a dirty blade is not always a worn blade. Blade-cleaning guidance from manufacturers and woodworking suppliers generally emphasizes removing resin before storage so buildup does not harden on the steel.
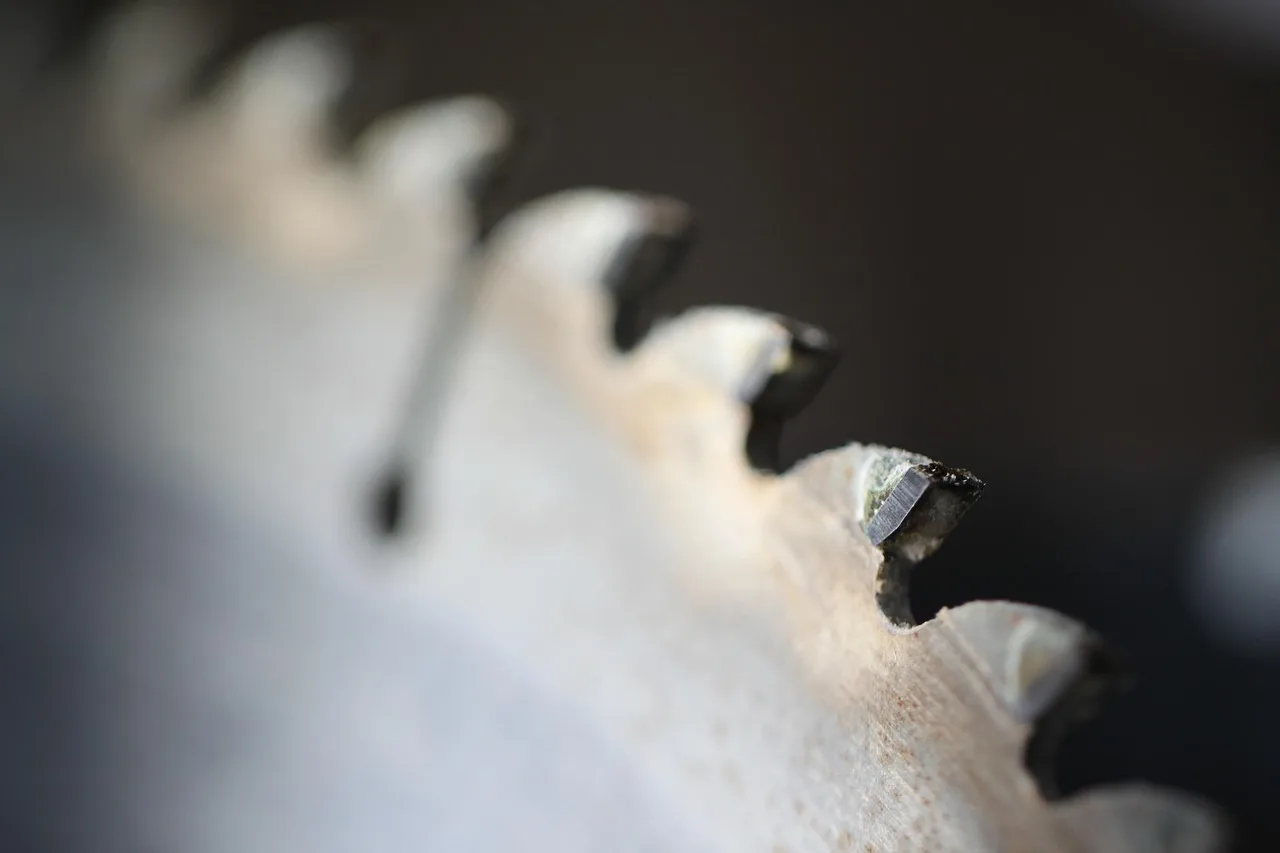
Stored contact causes a second kind of damage. Teeth can nick steel shelves, rub against another blade, or chip carbide tips. That damage is separate from rust, and it is one reason physical separation matters as much as dryness. Preventing tooth contact also helps avoid edge damage that can shorten blade life and reduce cut quality.
What you’ll need
- A non-flammable blade cleaner that is also non-toxic and biodegradable
- A nylon brush or brass brush for residue removal
- Dry rags or lint-free cloths
- Gloves for handling cleaned blades
- A rust inhibitor that leaves a thin protective film on steel blades
- Silica gel packs or other desiccant packs
- Blade sleeves, wraps, dividers, or lined cases
- Labels for blade type and size
- A drawer, wall rack, sealed bin, or cabinet with dry storage
How do you keep saw blades from rusting?
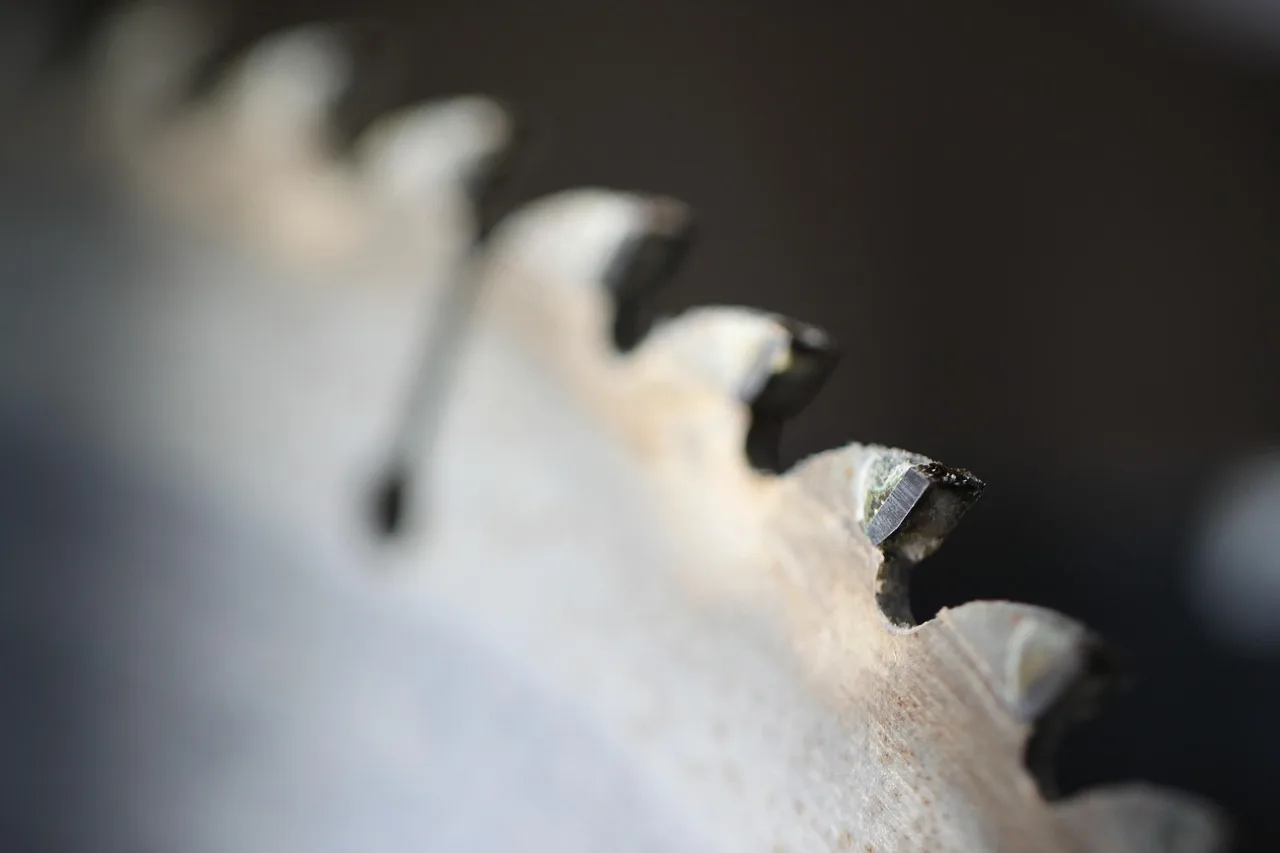
Clean off residue before storage, dry the blade completely, and keep the storage space dry. For long-term storage, the goal is not only a clean blade but a dry blade in a low-humidity container or cabinet. A sealed bin with desiccant is better than an open shelf in a damp garage, especially when the room cycles from warm to cool and leaves condensation on steel.
If a 10-inch table saw blade is wiped clean but goes back into an open bin in a shop that swings from warm afternoons to cool nights, condensation can form on the steel even when the blade looked dry at setup. The fix is humidity control, not another quick wipe. For table-saw-specific storage, a sleeve or divider that keeps the teeth from touching other metal matters as much as a dry cabinet.
If that did not work, check the storage space first. A sealed cabinet or bin with fresh desiccant usually protects better than a toolbox drawer that opens and closes all day. Moisture control is most reliable when the blade is enclosed, separated, and easy to inspect before use.
- Remove the blade and clean off pitch, resin, and sawdust before storage.
- Dry both faces, the arbor hole, and the teeth until no moisture remains.
- Store the blade in a dry container, not loose against other tools.
Step 1: Clean the blade before storage
Use a blade cleaner with a 15-minute soak time only if the product label supports that soak time, then scrub residue with a nylon or brass brush. That combination removes buildup without the abrasion that can nick carbide tips or tooth edges. Avoid steel brushes, since they can scratch the blade and shorten its service life. When the cleaner loosens the pitch, stop as soon as the steel is free of visible residue.
Cleaning before storage can reduce corrosion, and it also helps separate true wear from dirt. A dirty blade can require more feed pressure, and residue can cause burned workpiece edges. If buildup is the only issue, cleaning can restore performance enough to avoid unnecessary sharpening. For published cleaning guidance, blade makers and woodworking suppliers commonly recommend a dedicated blade cleaner or a resin-removing soak followed by a soft brush rather than aggressive abrasion.
- Remove the blade from the saw before cleaning.
- Place it in the cleaner and leave it for 15 minutes.
- Scrub the face, gullets, and plate with a nylon or brass brush.
- Rinse or wipe off cleaner residue, then dry the blade fully.
Should saw blades be stored dry or oiled?
Keep blades dry for everyday use, and use only a thin rust-inhibiting film when a blade will sit for weeks or months. The film should be light enough that it does not pool, drip, or hold grit. Before the next cut, wipe the blade so no excess inhibitor reaches the workpiece. Thin films are meant to reduce corrosion, not replace dry storage.
Use a rust inhibitor that is made for steel blades and that leaves corrosion protection without a heavy coating. The goal is a barely visible film, not a wet surface. If the blade will be used soon, a clean dry finish is usually enough inside a low-humidity storage space. Corrosion-prevention guidance from tool and metalworking sources generally favors a light, uniform barrier over a heavy oil layer that can collect dust.
Picture a carbide-tipped blade that will sit through a humid season in a garage cabinet. A light inhibitor film plus a desiccant pack is reasonable; a greasy coat is not, because it can attract dust and take longer to remove before use. If you choose to apply a film, treat it as a temporary protective layer for storage, not a routine cutting surface.
- Apply a thin protective film only if storage will be long term.
- Place the blade in a sleeve, wrap, or lined container.
- Wipe off all excess before reinstalling the blade.
Step 2: Separate and label every blade
Keep blade teeth from touching each other or loose metal. Use sleeves, wraps, dividers, or individual slots so edge-to-edge separation is maintained. Label each blade by type and size so you do not need to handle several blades to identify one saw blade later. Clear labels also make it easier to decide whether a blade belongs in routine service, sharpening, or retirement.
This matters for circular, miter, and table saw blades, which often share drawers or cases, and it matters even more for bandsaw blades. Bandsaw blades can kink if coiled poorly, and their teeth can nick each other if they are stacked without separators. Separate storage also reduces the chance of a chipped tooth being mistaken for a dull edge during setup.
- Place each blade in its own sleeve or wrap.
- Add dividers in drawers or bins so teeth cannot touch.
- Mark the label with blade type, diameter or length, and tooth count if needed.
What should you use to protect saw blades in a toolbox?
Use a lined case, padded insert, or a divider system that keeps the blade from loose hardware and other tools. A toolbox is acceptable only if the blade cannot slide into screwdrivers, sockets, or other metal objects. The main goal is edge-to-edge contact prevention, not hiding the blade in a drawer.
A bare toolbox drawer is a poor choice for loose storage. Teeth can strike metal corners each time the drawer opens or closes, and that impact can dull carbide tips even without visible rust. A simple liner or sleeve gives the blade a fixed position and reduces movement. If the toolbox is the only option, treat it like a transport case: isolated, padded, and easy to inspect before use.
Saw blade storage checklist
| Storage scenario | Use | Avoid | Pre-storage or pre-use check |
|---|---|---|---|
| Drawer | Lined tray, blade sleeve, rigid divider, label by type and size | Bare drawer bottoms, loose stacking, contact with wrenches or fasteners | Check for rust spots, bent teeth, chipped carbide, and remaining pitch |
| Wall rack | Individual hooks or slots with tooth guards and dry backing | Teeth touching metal hooks, open damp walls, blade-on-blade contact | Inspect the hanger points for metal wear and confirm the blade is fully dry |
| Sealed bin | Desiccant pack, sleeve or wrap, labeled blades, rust inhibitor if needed | Trapped moisture, unsealed wet blades, shared space with loose metal parts | Open the bin, check the desiccant, and look for surface rust or pitting |
| Toolbox | Padded insert, rigid divider, individual sleeve, lid closed when not in use | Loose blades, metal-on-metal impact, mixed hardware, wet storage | Confirm the blade cannot shift, the edge is isolated, and no condensation formed |
Decision mini-table: what the blade condition usually means
| What you see | Likely issue | What to do next |
|---|---|---|
| Light orange film that wipes away | Surface rust | Clean, dry, and recheck before reuse |
| Dark spots or rough depressions | Pitting | Inspect carefully; replace if the damage is deep or extensive |
| Missing or visibly damaged carbide points | Chipped teeth | Remove from service or send out for repair if appropriate |
| Heavy sticky coating but no tooth damage | Residue buildup | Clean first before deciding it needs sharpening |
Common mistakes
Storing a damp blade is a common way to invite rust. Dry it completely, including the arbor hole and tooth roots, before it goes away. A blade that feels dry on the face can still hold moisture in tight spots. In humid storage, that hidden moisture is enough to start corrosion.
Letting teeth rub against metal is another common error. That includes bare shelves, drawer hardware, hooks, and neighboring blades. Carbide tips are hard, but they can still chip from repeated impact. Use separators, sleeves, and a fixed storage position so the blade cannot move into hard surfaces.
Skipping the pre-use inspection causes the last problem. Look for surface rust, pitting, chipped teeth, bent teeth, and residue before you reinstall the blade. If rust is only cosmetic, cleaning may be enough. If pitting or tooth damage is present, the blade may need sharpening or replacement. In many cases, a dirty blade can imitate dullness, so cleaning comes before sharpening decisions.
- Wipe the blade dry after cleaning.
- Keep the blade off bare metal surfaces.
- Inspect before reuse, then clean again if residue returned.
How to store bandsaw blades
Store bandsaw blades uncoiled only if the manufacturer’s sleeve or hanger keeps the blade from kinking and the teeth from touching metal. A hanging loop, large-radius coil, or dedicated blade keeper is safer than a tight bend in a drawer. Bandsaw blades need more shape control than circular blades because bending damage can ruin tracking and shorten life.
Use a wrap or sleeve that keeps teeth isolated from the next blade and label the length and tooth pattern. If a bandsaw blade sits in a humid shop, use a sealed cabinet or bin with a desiccant pack so the coil is not both damp and compressed. Separation, dryness, and a large bend radius all matter for long service life.
Frequently asked questions
How do I keep saw blades from rusting in storage?
Clean off residue, dry the blade completely, and keep storage as dry as possible. Use silica gel or another desiccant in a sealed bin or cabinet, especially in a garage or shop with seasonal swings in temperature and humidity. Add a thin inhibitor film only for long storage, and avoid heavy oil that can trap dust or grit.
Should saw blades be stored dry or oiled: store them dry?
Store them dry for routine use. Use only a thin rust-inhibiting film when a blade will sit for weeks or months, and wipe the film off before the next cut. A heavy coat can attract dust and make the blade harder to clean later. Dry storage is the default; inhibitor film is the exception for longer rests.
Can a dirty blade look dull?
Yes. Excess buildup can be mistaken for dullness, and residue can also raise feed pressure and leave burned edges on the workpiece. Clean the blade first before deciding it needs sharpening. If the cut improves after cleaning, the issue was buildup rather than tooth wear. If the teeth still leave rough cuts after cleaning, then sharpening or replacement becomes more likely.
Sponsored / affiliate links. As an Amazon Associate I earn from qualifying purchases. I may earn additional commission from eligible campaigns.