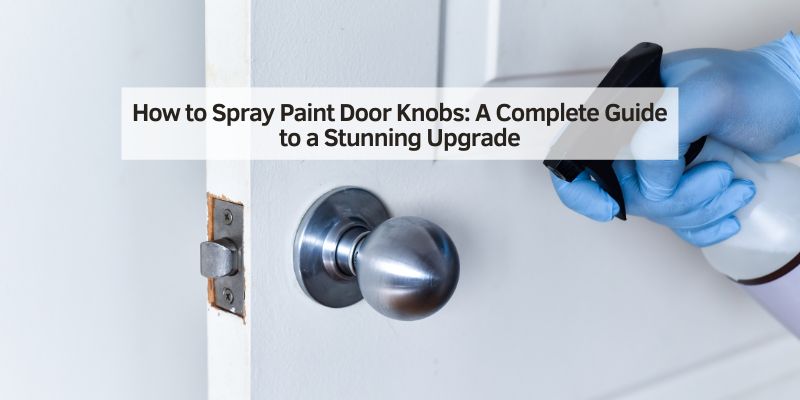
How to Spray Paint Door Knobs: A Complete Guide to a Stunning Upgrade
Hey there! If you’re looking to give your home a fresh, modern look without breaking the bank, you’re in the right place. I’ve been sprucing up my own home for years, and one of my favorite projects is transforming old, worn-out door knobs with a simple can of spray paint. It’s amazing how such a small change can make a huge difference!
Whether your door knobs are dull, scratched, or just screaming “outdated,” spray painting them is an easy, budget-friendly way to add style and charm. I’ve done this a bunch of times, and I’m excited to share everything I’ve learned with you. Let’s dive into how to spray paint door knobs and make them look brand new!
Why Spray Paint Your Door Knobs?
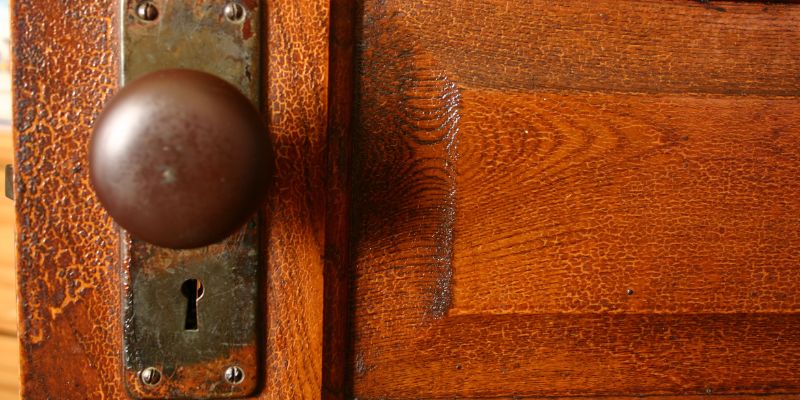
You might be wondering, why bother with door knobs? Well, let me tell you, door knobs are like the jewelry of your home. They’re small, but they catch the eye every time you walk through a door. Over time, they can get scratched, tarnished, or just plain boring. Replacing them can cost a fortune—new knobs can run $20 to $50 each, and if you’ve got a lot of doors, that adds up fast. Spray painting, on the other hand, costs just a few bucks and takes a couple of hours. I’ve turned brassy, dated knobs into sleek, modern ones for less than $15! Plus, it’s a fun project that lets you customize your home’s look. You can go bold with matte black, elegant with brushed nickel, or even playful with a pop of color.
What You’ll Need to Get Started
Before we jump into the process, let’s talk about what you’ll need. I like to gather everything beforehand so I’m not running to the store mid-project. Here’s a quick rundown of the supplies I use:
| Item | Purpose |
|---|---|
| Spray paint (primer + topcoat) | For a smooth, durable finish. Choose a paint made for metal or multi-surface. |
| Sandpaper (fine grit, 400-600) | To smooth out scratches and prep the surface. |
| Screwdriver | To remove the knobs from the doors. |
| Degreaser or rubbing alcohol | To clean off dirt, grease, and oils. |
| Painter’s tape | To protect areas you don’t want painted. |
| Drop cloth or old newspaper | To keep your workspace clean. |
| Gloves and mask | To stay safe from paint fumes and overspray. |
| Cardboard or scrap wood | To set up a painting surface for the knobs. |
I usually grab a can of spray primer (like Rust-Oleum or Krylon) and a topcoat in my desired finish. Metallic finishes like satin nickel or oil-rubbed bronze are my go-to for a classy look, but you can pick whatever suits your style. Make sure the paint is labeled for metal or multi-surface use—it’ll stick better and last longer.
Preparing Your Door Knobs for Painting
Preparation is key to getting a professional-looking finish. Trust me, I’ve learned this the hard way! Skipping these steps can lead to peeling paint or a bumpy surface, and nobody wants that. Here’s how I prep my door knobs:
First, I remove the knobs from the doors. Grab a screwdriver and take off each knob and its hardware. If your knobs have screws on the side or underneath, they’re usually easy to spot. Keep the screws in a small bag so you don’t lose them—I’ve made that mistake before, and it’s a hassle!
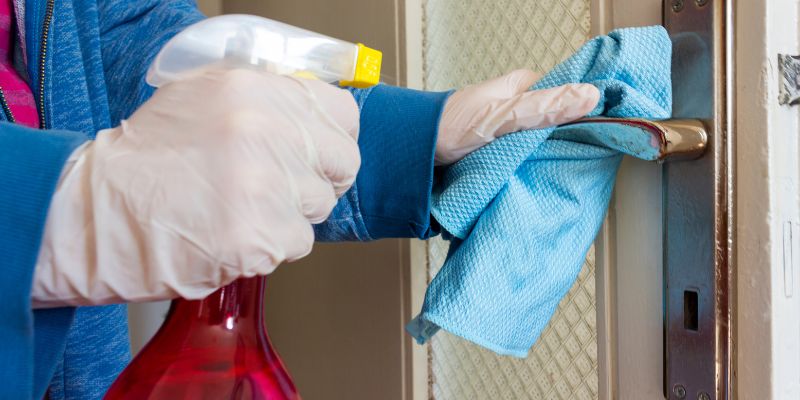
Next, I clean the knobs thoroughly. Door knobs get touched a lot, so they’re often covered in oils and grime. I use a degreaser like Krud Kutter or just some rubbing alcohol on a cloth. Wipe every nook and cranny until they’re squeaky clean. This step helps the paint stick properly.
Then, I lightly sand the knobs with fine-grit sandpaper (400-600 grit works great). This smooths out any scratches and gives the surface a bit of texture for the paint to grip. Don’t go crazy—just a gentle sanding will do. After sanding, I wipe them down again to remove any dust.
If your knobs have areas you don’t want painted, like the latch or screw holes, cover them with painter’s tape. I usually skip this if I’m painting the whole knob, but it’s handy for tricky designs.
Setting Up Your Painting Area
Now that your knobs are prepped, let’s set up a good workspace. I’ve tried painting in all sorts of places, and I’ve found that working outside or in a well-ventilated garage is best. Spray paint fumes can be strong, so you’ll want fresh air. Lay down a drop cloth or old newspapers to catch any overspray. I like to stick my knobs on a piece of cardboard or scrap wood so I can move them easily and paint all sides.
Here’s a tip: if you want to avoid getting paint on your hands, wear gloves. I also recommend a mask to avoid breathing in fumes. Safety first! Set up your knobs so they’re not touching each other—this prevents drips and ensures even coverage.
Priming Your Door Knobs
Priming is a step I never skip. A good primer creates a smooth base and helps the topcoat stick better. I’ve used Rust-Oleum Universal Bonding Primer with great results, but any metal-friendly primer will work. Here’s how I do it:
Hold the spray can about 10-12 inches away from the knob and spray in short, even bursts. Don’t hold the can in one spot, or you’ll get drips. Move your hand back and forth to cover the knob lightly. I usually do two thin coats of primer, letting each coat dry for about 20 minutes. Check the can for exact drying times, as they can vary.
After priming, your knobs should look smooth and evenly coated. If you see any rough spots, you can lightly sand them again and add another coat. Patience here makes a big difference!
Applying the Topcoat
Now comes the fun part—adding color! Choosing the right spray paint is important. I love Krylon Fusion for Plastic and Metal or Rust-Oleum Specialty Metallic for a shiny finish. Pick a color that matches your home’s vibe. Matte black is super trendy, while brushed nickel gives a timeless look.
Spray the topcoat the same way you did the primer: light, even bursts from 10-12 inches away. I do two to three thin coats, letting each one dry for 15-30 minutes. Thin coats prevent drips and give a smooth, professional finish. Make sure to rotate the knobs to get all sides. If you miss a spot, don’t worry—just add another coat once it’s dry.
One thing I’ve learned: don’t rush the drying process. Let the knobs dry for at least 24 hours before handling them. This ensures the paint cures properly and won’t chip easily.
Reinstalling Your Door Knobs
Once the paint is fully dry, it’s time to put the knobs back on. I usually wait a full day to be safe. Remove any painter’s tape you used, and check for any touch-ups needed. If you see a spot that’s uneven, you can lightly sand it and add another coat of paint.
Reattach the knobs to your doors using the screws you saved earlier. Make sure they’re secure but don’t overtighten, as that can strip the screws. Step back and admire your work—your doors will look like they got a high-end upgrade!
Tips for Long-Lasting Results
I’ve painted a lot of door knobs over the years, and I’ve picked up some tricks to make the finish last. First, avoid using harsh cleaners on your newly painted knobs. A damp cloth with mild soap is enough to keep them clean. Second, consider adding a clear coat of polyurethane spray for extra durability, especially for high-traffic doors. I’ve used this on knobs in my kitchen and bathroom, and it really helps prevent scratches.
Another tip: if your knobs are exposed to weather (like on an exterior door), choose a paint labeled for outdoor use. It’ll hold up better against moisture and UV rays. Finally, handle the knobs gently for the first week or so while the paint fully cures.
Common Mistakes to Avoid
I’ve made my fair share of mistakes, so let me save you some trouble. One big one is skipping the primer—without it, the paint can peel off in no time. Another is spraying too much paint at once, which leads to drips and an uneven finish. Go slow and use thin coats.
Don’t forget to clean the knobs thoroughly before starting. I once painted a knob without cleaning it properly, and the paint started chipping within a month. Also, make sure your workspace is dust-free. Tiny particles can stick to wet paint and ruin the smooth look.
Creative Ideas for Spray Painting Door Knobs
One of the best things about spray painting is how creative you can get. I’ve experimented with all sorts of finishes and colors. For a modern farmhouse look, I painted my knobs matte black, and it totally transformed my space. If you want something fancy, try a metallic gold or champagne bronze for a touch of elegance.
You can also mix and match finishes in your home. I painted the knobs in my living room a soft gray and kept the bedroom ones a classic brass. If you’re feeling bold, try a bright color like teal or red for a statement piece. Just make sure the color complements your door and decor.
Cost and Time Breakdown
Here’s a quick look at what you can expect in terms of cost and time:
| Aspect | Details |
|---|---|
| Cost | $10-$20 for spray paint, primer, and supplies (sandpaper, tape, etc.). |
| Time | 2-3 hours total (30 min prep, 1 hour painting, 24 hours drying). |
| Skill Level | Beginner-friendly; no special skills needed. |
For me, the low cost and quick turnaround make this project a no-brainer. You get a high-impact update for minimal effort!
Why I Love This Project
I’ve done a lot of DIY projects, but spray painting door knobs is one of my favorites. It’s so satisfying to see those old, scratched knobs turn into something sleek and stylish. Plus, it’s a project anyone can do—no fancy tools or skills required. I’ve even gotten my kids involved, and they love picking out colors. It’s a great way to refresh your home without spending a fortune or hiring a pro.
Conclusion
There you go—everything you need to know to spray paint your door knobs like a pro! I’ve had so much fun experimenting with this project, and I’m thrilled to share my tips with you. With just a few bucks and a couple of hours, you can give your home a fresh, stylish upgrade that’ll make you smile every time you open a door. So grab some spray paint, roll up your sleeves, and get ready to transform your space. You’ve got this!
Frequently Asked Questions
Can I spray paint door knobs without removing them from the door?
It’s possible, but I don’t recommend it. Removing the knobs makes it easier to get an even coat and avoids getting paint on your door. If you must paint them in place, use lots of painter’s tape and plastic to protect the door.
What type of spray paint is best for door knobs?
Look for spray paint labeled for metal or multi-surface use. Brands like Rust-Oleum or Krylon work great. I prefer paints with a built-in primer for extra durability.
How long does spray paint last on door knobs?
With proper prep and a clear coat, the paint can last several years. I’ve had knobs I painted three years ago still looking great with no chips.
Can I spray paint plastic door knobs?
Yes! Just make sure to use a spray paint designed for plastic, like Krylon Fusion. Sand and prime them first for the best results.
Do I need to sand the knobs before painting?
Sanding helps the paint stick better and smooths out scratches. It’s not always necessary for super smooth knobs, but I always do it to be safe.
How do I avoid drips when spray painting?
Use thin, even coats and keep the spray can moving. Hold it 10-12 inches away and don’t spray too much in one spot. Patience is key!
Can I paint exterior door knobs?
Absolutely, but use a spray paint made for outdoor use to withstand weather. A clear coat can add extra protection against rain and sun.