How to Use Graco Paint Sprayer Cabinets: Local Guide
Getting a smooth, factory-like finish on your cabinets can seem tough. Many people wonder how to use a Graco paint sprayer for cabinets, especially if they’re new to spraying. It might feel a little tricky at first.
But don’t worry! This guide breaks down How to Use a Graco Paint Sprayer for Cabinets: Local Guide into simple steps. We’ll make it easy for you to get professional results right at home.
Prep Work for Using a Graco Paint Sprayer on Cabinets
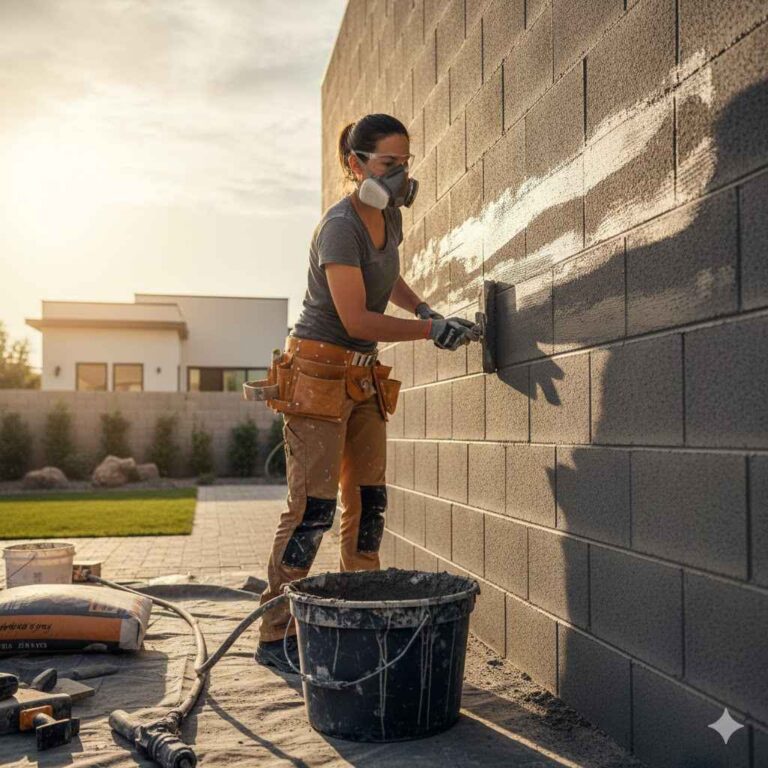
Before you even think about spraying, good preparation is super important. This step sets the stage for a flawless finish and makes cleanup much easier. It involves cleaning your cabinets, protecting areas you don’t want to paint, and making sure your workspace is ready.
A little time spent here saves a lot of frustration later.
Cleaning Your Cabinets Properly
Start by removing all hardware like knobs and hinges. This allows you to paint the doors and frames evenly. Then, give your cabinets a good cleaning.
Use a degreaser to remove any grease, grime, or food splatters. Kitchen cabinets often have a sticky film that paint won’t stick to well. A thorough wash with warm, soapy water or a dedicated cabinet cleaner is essential.
Rinse them well and let them dry completely. This ensures the paint has a clean surface to adhere to, preventing peeling or chipping down the line. Many DIYers skip this, leading to paint failure.
Masking and Protecting Your Workspace
Paint overspray can travel surprisingly far. To protect your floors, countertops, and walls, use plastic sheeting or drop cloths. Painter’s tape is your best friend here.
Use it to carefully tape off any areas you don’t want to paint, like cabinet interiors, the edges of your countertops, or walls adjacent to the cabinets. For larger areas, consider using a masking machine to apply tape and paper together. Ensure the tape is pressed down firmly to prevent paint from seeping underneath.
Ventilating the area is also key, especially if you’re working indoors. Open windows and doors, or use fans to circulate air. This helps paint dry faster and reduces fume buildup.
Sanding for Optimal Paint Adhesion
For the best results, a light sanding is usually recommended, even if your cabinets are currently painted. This process is called “scuff sanding.” It creates a slightly rough surface for the new paint to grip onto. Use a fine-grit sandpaper, like 180 or 220 grit.
Sand all surfaces that will be painted. You don’t need to remove the old finish entirely. The goal is just to dull the sheen and create a bit of tooth.
After sanding, wipe down all surfaces with a tack cloth or a damp rag to remove any dust. This dust can cause a gritty texture in your paint job if not removed. Proper sanding helps your new paint last much longer.
Setting Up Your Graco Paint Sprayer
Once your cabinets are prepped and your space is protected, it’s time to get your Graco paint sprayer ready. This involves assembling the sprayer, choosing the right spray tip, and thinning your paint if necessary. Setting up correctly ensures a smooth spraying experience and helps prevent clogs and uneven application.
A little attention to detail here makes a big difference in the final look.
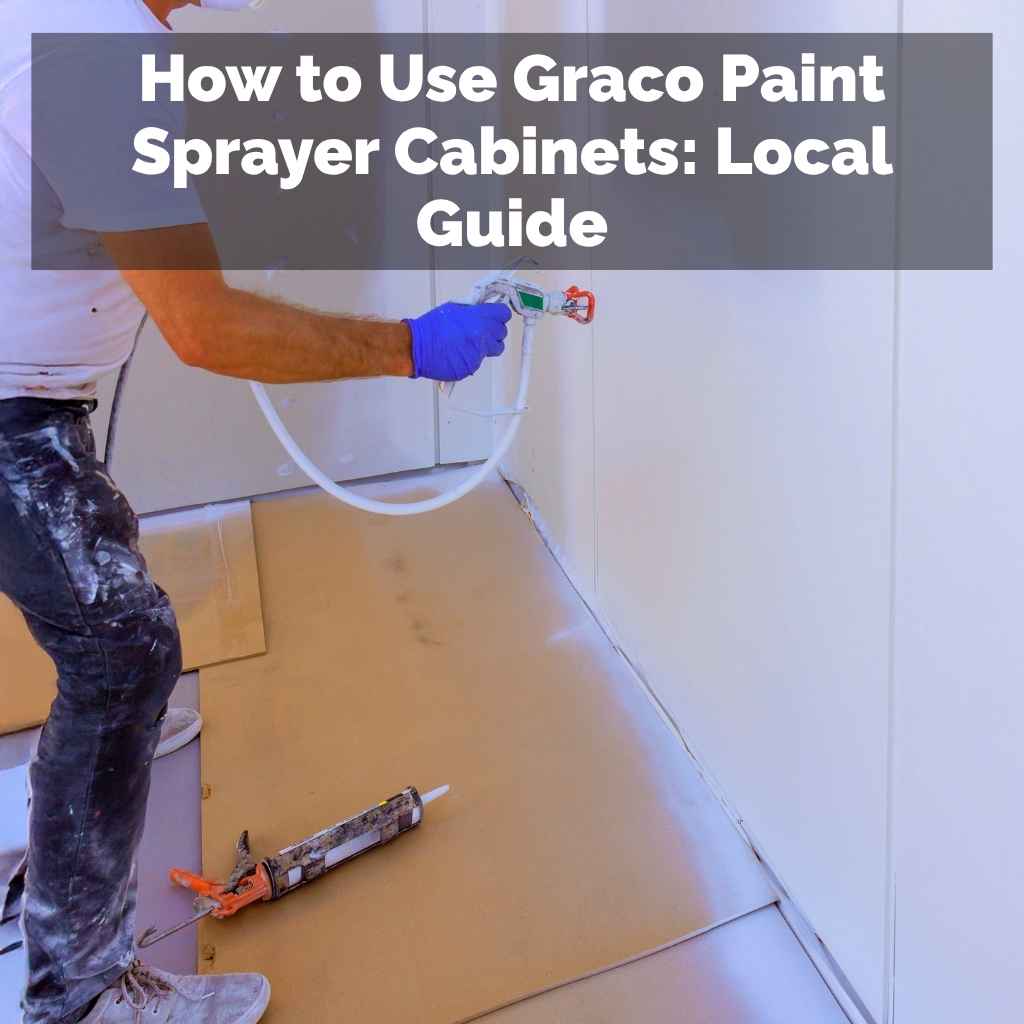
Assembling Your Graco Sprayer
Refer to your Graco sprayer’s manual for specific assembly instructions, as models vary. Generally, you’ll need to connect the pump to the base, attach the suction tube, and connect the spray hose to both the pump and the spray gun. Ensure all connections are secure to prevent leaks.
It’s wise to do a quick test run with water first to check for any issues. This familiarizes you with the parts and how they fit together. Understanding how to properly assemble and disassemble your sprayer will also make cleaning much faster and more efficient.
Choosing the Right Spray Tip
The spray tip is crucial for achieving a smooth finish. Graco sprayers use different tips designed for various materials and applications. For cabinets, a fine-finish spray tip is usually best.
These tips produce a finer atomization, leading to a smoother coating. The tip size is indicated by a three-digit number. The first digit refers to fan width, and the last two refer to the orifice size.
For cabinets, a common choice might be a 311 or 413 tip. A 311 tip means a 3-inch fan at 12 inches from the surface and an orifice of 0.011 inches. A larger orifice handles thicker paints better.
Always check the paint manufacturer’s recommendations for the correct tip size.
Thinning Your Paint for Spraying
Not all paints can be sprayed directly from the can. Many paints need to be thinned to the correct viscosity for optimal flow through the sprayer. Check the paint can or the paint manufacturer’s website for specific thinning instructions.
You’ll typically use a thinner recommended by the paint company, such as water for latex paints or mineral spirits for oil-based paints. Use a viscosity cup to measure how thick your paint is. The goal is to achieve a consistency that flows smoothly and evenly from the sprayer.
Over-thinning can weaken the paint’s durability, while under-thinning can lead to clogs and an uneven spray pattern. It’s a balancing act.
Techniques for Spraying Cabinets
Spraying cabinets requires specific techniques to achieve a uniform, streak-free finish. Understanding how to move the spray gun, maintain consistent distance, and overlap your passes is key. These techniques help prevent runs, drips, and missed spots, ensuring a professional look that mimics factory-applied finishes.
Proper Spray Gun Technique
Hold the spray gun at a consistent distance from the cabinet surface, typically 10-12 inches. Keep your wrist straight and move your entire arm, not just your wrist, to ensure smooth, even strokes. Start the spray gun trigger before you reach the edge of the surface and release the trigger after you pass the opposite edge.
This “edge start and stop” technique helps prevent heavy spots at the beginning and end of each pass. Keep your passes parallel and overlap each pass by about 50%. This ensures complete coverage without thick or thin areas.
Practice on cardboard first to get a feel for the movement and pressure.
Controlling Overspray and Runs
Overspray is the fine mist of paint that drifts away from your target. To control it, keep the spray gun perpendicular to the surface. Avoid tilting the gun, as this can lead to uneven application and overspray.
Runs and drips happen when too much paint is applied in one spot, or when gravity pulls the wet paint downwards. To prevent them, apply thin, even coats. It’s always better to apply multiple thin coats than one thick coat.
If you see a run starting, stop spraying immediately and gently smooth it out with a brush or rag while the paint is still wet. You can also adjust your spraying speed; moving too slowly can lead to drips.
Working in Sections
For cabinet doors and drawer fronts, it’s often best to spray them flat on a protected surface. This prevents runs and allows for more consistent coverage. Work on one side at a time.
Let the first side dry completely according to the paint manufacturer’s instructions before flipping and spraying the other side. For cabinet boxes, break down the work into manageable sections. Spray the interior shelves first, then the interior sides, and finally the exterior.
This methodical approach ensures you don’t miss any areas and allows you to manage the paint flow effectively. It also helps prevent accidental drips onto freshly painted surfaces.
A Local Success Story Using a Graco Paint Sprayer
Sarah, a homeowner in a nearby town, decided to refresh her outdated kitchen cabinets. She had heard about how to use a Graco paint sprayer for cabinets but felt a bit intimidated. She followed a local guide that emphasized preparation and practice.
She spent a full weekend cleaning, sanding, and masking her kitchen. She then borrowed a Graco sprayer from a friend and practiced on scrap wood for an afternoon. She learned to control the fan width and pressure.
When she started spraying her cabinets, she was amazed at the smooth, even finish. Her kitchen now looks professionally updated, and she saved thousands compared to hiring a pro. Her story shows that with the right approach and a bit of patience, anyone can achieve great results.
Choosing the Right Paint for Cabinet Sprayers
Not all paints are created equal when it comes to spraying cabinets. For the best results, opt for paints specifically designed for cabinets or high-traffic furniture. Latex enamels and oil-based enamels are popular choices.
Water-based acrylic enamels offer good durability and easier cleanup. Oil-based paints generally provide a harder, more durable finish, but they require mineral spirits for cleanup and have stronger fumes. Look for paints with good flow and leveling properties.
This means the paint will naturally smooth out on its own after being applied, reducing the appearance of brush strokes or spray patterns. Always check the paint can for instructions regarding spraying, including recommended tip sizes and thinning ratios.
Maintenance and Cleaning Your Graco Sprayer
Proper cleaning and maintenance are critical for the longevity and performance of your Graco paint sprayer. After each use, you must thoroughly clean the sprayer. If you used water-based paint, flush the system with water.
For oil-based paints, use the appropriate solvent (mineral spirits). Run the cleaning solution through the sprayer until it runs clear. Then, rinse with water if possible.
Don’t forget to clean the spray gun, hose, and intake tube. Many sprayers come with cleaning brushes and tools. Storing your sprayer properly, with a storage fluid in the pump to prevent corrosion, will also ensure it’s ready for your next project.
A well-maintained sprayer is a reliable sprayer.
Common Problems and Solutions
When using a Graco paint sprayer for cabinets, you might encounter a few common issues. If you notice sputtering, it could mean air is in the system or the paint is too thick. Try priming the pump again and thinning the paint slightly.
If the spray pattern is uneven or has “tails,” your spray tip might be worn, or you might not be releasing the trigger correctly at the beginning and end of your passes. Check your tip for wear and practice the edge start/stop technique. Clogged tips are often caused by debris in the paint.
Always strain your paint before putting it in the sprayer. If a clog occurs mid-spray, try flushing the tip with the cleaning solution or using a small pick to gently clear it. Always ensure the sprayer is depressurized before attempting to clear clogs.
Advanced Techniques and Tips for Cabinet Refinishing
Beyond the basics, a few advanced techniques can elevate your cabinet refinishing project. These tips help achieve a professional look, ensure durability, and make the process more efficient. Mastering these can turn a good paint job into a great one.
Achieving a Smooth, Streak-Free Finish
The key to a streak-free finish lies in consistent application and proper paint thinning. Ensure your paint is thinned to the correct viscosity. Practice your spray pattern on cardboard until you can achieve an even, misty fan.
Overlap each pass by at least 50% to avoid visible lines between passes. Keep the gun moving at a steady pace and maintain a consistent distance. Work in good light so you can see where you’ve sprayed and identify any areas that need a touch-up.
Thin coats are essential; they allow the paint to level out smoothly. If you’re using a latex paint, some painters add a leveling agent, but always follow the paint manufacturer’s recommendations.
Applying Multiple Coats Effectively
Cabinet refinishing usually requires at least two coats of paint, and sometimes three, depending on the paint color and coverage. Allow adequate drying time between coats as recommended by the paint manufacturer. Do not rush this step.
Ensure each coat is dry to the touch and lightly sanded with a very fine grit (320 grit or higher) to knock down any dust nibs or minor imperfections. Wipe away sanding dust with a tack cloth. This light sanding between coats helps ensure the subsequent coats adhere properly and creates a smoother final finish.
A good rule of thumb is to apply a primer first, then two or three topcoats.
Sealing and Protecting Your Newly Painted Cabinets
Once your final coat of paint is dry, applying a topcoat or sealer can significantly enhance durability and protect your cabinets from wear and tear. For water-based paints, a water-based polyurethane or acrylic sealer can be used. For oil-based paints, an oil-based polyurethane is suitable.
These sealers add a protective layer that resists scratches, stains, and moisture. Choose a finish that matches your desired sheen, such as satin, semi-gloss, or gloss. Apply the sealer in thin, even coats, following the same spraying techniques you used for the paint.
Proper sealing ensures your beautiful cabinet finish lasts for years to come.
Dealing with Different Cabinet Materials
The material of your cabinets can affect how you approach the painting process. Laminate cabinets, for example, require special primers to ensure adhesion because they are very smooth. Wood cabinets, especially bare wood, will need more coats of primer to prevent the grain from showing through.
MDF cabinets can absorb a lot of paint, so proper priming is key. Always research the best practices for the specific material of your cabinets. Some materials might benefit from different types of paint or preparation techniques.
For instance, extremely porous woods might need pore filler applied before priming.
FAQ
Question: How do I prepare my cabinets before spraying?
Answer: Thoroughly clean cabinets with a degreaser and warm, soapy water. Remove hardware. Lightly sand surfaces with fine-grit sandpaper to create adhesion.
Wipe away all dust with a tack cloth. Mask off surrounding areas carefully.
Question: What kind of paint is best for using with a Graco sprayer on cabinets?
Answer: Use paints designed for cabinets or furniture, like latex enamels or acrylic enamels. Check if the paint needs thinning for spraying and look for good flow and leveling properties.
Question: How far away should I hold the spray gun from the cabinets?
Answer: Hold the spray gun about 10-12 inches away from the surface. Maintain a consistent distance and move your entire arm for smooth, even passes.
Question: What if I get a paint run or drip?
Answer: Stop spraying immediately. While the paint is still wet, gently smooth out the run with a brush or rag. You can also try lightly sanding it down once dry and reapplying a thin coat.
Question: How do I clean my Graco paint sprayer after use?
Answer: If you used water-based paint, flush the system with water until it runs clear. For oil-based paint, use the recommended solvent (like mineral spirits). Clean all parts of the sprayer thoroughly and store with a storage fluid if recommended.
Wrap Up
Mastering how to use a Graco paint sprayer for cabinets is achievable with the right preparation and technique. By focusing on cleaning, sanding, proper setup, and consistent spraying, you can achieve a professional, beautiful finish. Don’t be afraid to practice first.
Your cabinets will look brand new.