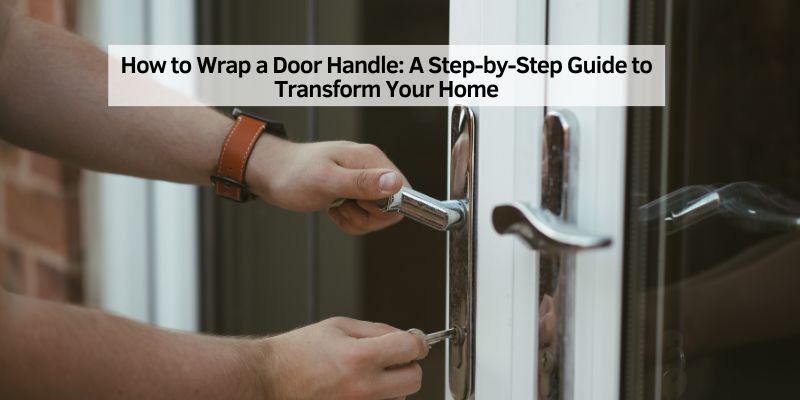
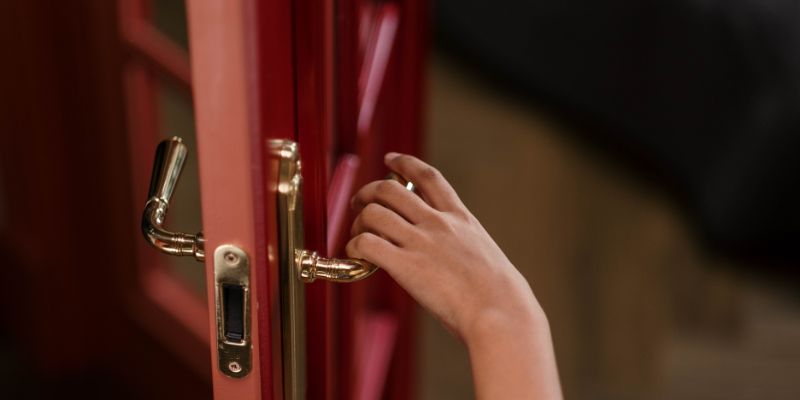
How to Wrap a Door Handle: A Step-by-Step Guide to Transform Your Home
Hey there! If you’re looking to give your home a fresh, stylish upgrade without breaking the bank, wrapping your door handles is a fantastic place to start. I’ve spent countless weekends tinkering with home improvement projects, and let me tell you, this one’s a game-changer. It’s simple, affordable, and adds a personal touch to your space. Whether you’re aiming to modernize outdated brass handles, add a pop of color, or protect your hardware from wear and tear, wrapping door handles can do wonders.
In this guide, I’ll walk you through everything I’ve learned about how to wrap a door handle, from choosing materials to mastering the technique. Let’s dive in and make your doors look amazing!
Why Wrap Your Door Handles?
When I first stumbled across the idea of wrapping door handles, I was skeptical. Could a simple wrap really make a difference? But after trying it, I’m hooked. Wrapping door handles is a quick way to refresh your home’s look without replacing expensive hardware. It’s also a great option if you’re renting and can’t make permanent changes. Plus, wraps protect your handles from scratches, fingerprints, and everyday wear, which is a big win for busy households.
Another reason I love this project is its versatility. You can choose from countless colors, textures, and finishes—think sleek matte black, shiny chrome, or even bold patterns. It’s a small change that makes a big impact, especially in high-traffic areas like entryways, kitchens, or bathrooms. And the best part? It’s budget-friendly and reversible, so you can experiment without commitment.
What You’ll Need to Get Started
Before we get into the nitty-gritty, let’s talk about what you’ll need. I’ve made the mistake of diving into projects without the right tools, and trust me, it’s frustrating. Here’s a rundown of the essentials:
| Item | Purpose |
|---|---|
| Vinyl wrap or adhesive film | The main material for wrapping; available in various colors and textures. |
| Utility knife or scissors | For cutting the wrap to size with precision. |
| Squeegee or credit card | To smooth out bubbles and ensure a tight fit. |
| Heat gun or hairdryer | To make the vinyl pliable and help it conform to curves. |
| Rubbing alcohol | For cleaning the handle to ensure the wrap sticks properly. |
| Microfiber cloth | To wipe down surfaces without leaving lint or scratches. |
| Measuring tape | To measure the handle and cut the wrap accurately. |
| Tweezers (optional) | For handling small pieces or fixing edges. |
I recommend picking a high-quality vinyl wrap designed for automotive or home use. Brands like 3M or VViViD are my go-to because they’re durable and easy to work with. You can find these online or at hardware stores. If you’re new to this, start with a matte or satin finish—they’re more forgiving than glossy ones when it comes to hiding imperfections.
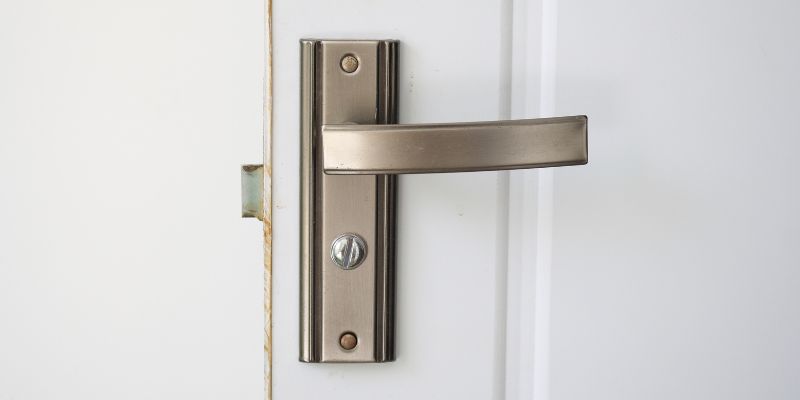
Preparing Your Door Handle
Preparation is key to a smooth wrap. I learned this the hard way when my first attempt ended up with bubbles and peeling edges because I skipped cleaning. Don’t make my mistake! Start by removing the door handle if possible. Most handles can be unscrewed with a screwdriver, but if yours is fixed, you can wrap it in place.
Next, clean the handle thoroughly. I use rubbing alcohol and a microfiber cloth to remove dirt, grease, and fingerprints. Make sure every nook and cranny is spotless—any residue can prevent the wrap from sticking. If your handle has scratches or rust, lightly sand it with fine-grit sandpaper to create a smooth surface. Once it’s clean, dry it completely. This step only takes a few minutes, but it makes a huge difference.
Choosing the Right Vinyl Wrap
Picking the right wrap can feel overwhelming with so many options out there. I’ve tried everything from classic black to faux wood grain, and each has its charm. Here’s what I consider when choosing:
- Durability: Look for wraps labeled as “high-performance” or “long-lasting.” These are thicker and resist wear better.
- Finish: Matte, gloss, satin, or textured—think about your home’s vibe. I love matte black for a modern look, but glossy wraps add a touch of elegance.
- Color: Match your wrap to your decor. Neutral tones like gray or white blend well, while bold colors like red or gold make a statement.
- Ease of Use: Some wraps are more forgiving for beginners. Check reviews to see if the material stretches easily or resists tearing.
If you’re wrapping multiple handles, buy enough material to cover them all. A standard roll of 12” x 60” vinyl is usually enough for several door handles. Measure your handles first to avoid running short.
Measuring and Cutting the Vinyl
Now, let’s get to the fun part—cutting the wrap. I always measure my door handle twice to be sure. Use a measuring tape to note the length, width, and any curved areas. Add an extra inch or two to each measurement for overlap—you can trim excess later.
Lay the vinyl wrap on a flat surface, adhesive side up. Use a pencil to mark your measurements, then cut the wrap with a utility knife or sharp scissors. I prefer a utility knife for cleaner edges, but scissors work fine if you’re careful. If your handle has complex curves, cut a slightly larger piece to give yourself wiggle room. For lever-style handles, you might need to cut multiple smaller pieces to cover each section.
Applying the Vinyl Wrap
This is where the magic happens. Peel back a small section of the vinyl’s backing to expose the adhesive. Start at one end of the handle and gently press the wrap onto the surface, smoothing it down as you go. I use my fingers to press it into place, then grab a squeegee or an old credit card to smooth out any bubbles.
For curved or tricky areas, use a heat gun or hairdryer on low heat to soften the vinyl. This makes it stretchy and easier to mold around edges. Be patient here—rushing can lead to wrinkles. If you’re wrapping a round knob, start at the top and work your way down, overlapping the vinyl slightly as you go. For lever handles, wrap each section separately for a seamless look.
If you mess up, don’t panic! Most vinyl wraps are forgiving. Just peel it off and try again. I’ve had to redo sections plenty of times, and it’s no big deal.
Trimming and Finishing the Edges
Once the wrap is applied, you’ll likely have some excess vinyl hanging off the edges. This is where your utility knife comes in handy. Carefully trim the excess, leaving a small overlap to tuck under the edges for a clean finish. I like to use tweezers to help tuck the vinyl into tight spots, like around screws or seams.
After trimming, go over the entire handle with your squeegee to ensure the wrap is secure. If you notice any bubbles, poke them gently with a pin and smooth them out. Then, use your heat gun or hairdryer again to set the vinyl in place. This step locks in the adhesive and makes the wrap more durable.
Maintaining Your Wrapped Door Handle
One of the best things about vinyl wraps is how low-maintenance they are. I’ve had some of my wrapped handles for over a year, and they still look brand new. To keep them in top shape, wipe them down with a damp microfiber cloth when they get dirty. Avoid harsh chemicals or abrasive scrubbers, as they can damage the wrap.
If you notice edges starting to lift, apply a tiny bit of heat and press them back down. For extra protection, you can add a clear sealant over the wrap, but I haven’t found it necessary for indoor handles. If you’re wrapping outdoor handles, choose a weather-resistant vinyl and check it regularly for wear.
Creative Ideas for Wrapping Door Handles
Once I got the hang of wrapping door handles, I started experimenting with creative ideas. Here are a few that have worked well for me:
- Mix and Match: Use different colors or textures for each room. I wrapped my kitchen handles in stainless steel-look vinyl and my bedroom handles in soft gray for a cohesive yet varied look.
- Pattern Play: Try patterned wraps like carbon fiber or wood grain for a unique touch. I used a wood grain wrap in my study, and it looks surprisingly realistic.
- Seasonal Swaps: Change wraps for holidays or seasons. A red wrap for Christmas or a pastel one for spring can add festive flair.
- Kids’ Rooms: Use bright, fun colors or even glow-in-the-dark vinyl for kids’ door handles. My niece loves her neon green handle!
The possibilities are endless, so don’t be afraid to get creative. Wrapping is reversible, so you can always switch it up if you change your mind.
Common Mistakes to Avoid
I’ve made plenty of mistakes while learning to wrap door handles, so let me save you some trouble. First, don’t skip cleaning—it’s the number one reason wraps fail. Second, avoid stretching the vinyl too much when applying it, as this can cause it to tear or peel later. Third, don’t use too much heat; a low setting is enough to make the vinyl pliable without melting it.
Another tip is to avoid cheap, low-quality wraps. They might save you a few bucks, but they’re harder to work with and don’t last as long. Finally, take your time. Rushing leads to sloppy results, and you want your handles to look professional.
Benefits of Wrapping vs. Replacing Door Handles
You might be wondering why not just replace the handles altogether? I’ve gone down that road, and while new handles are great, they’re expensive—often $20 or more per handle. Wrapping, on the other hand, costs just a few dollars per handle. It’s also faster and doesn’t require tools like drills or new hardware.
Plus, wrapping lets you customize your handles in ways that off-the-shelf options can’t match. I couldn’t find a rose gold handle that fit my budget, but a rose gold vinyl wrap gave me the exact look I wanted. And if you’re renting, wrapping is a no-brainer since you can remove it without damaging the original hardware.
Wrapping Outdoor Door Handles
If you’re wrapping an outdoor handle, like on your front door, there are a few extra things to keep in mind. Outdoor handles face weather, sunlight, and more wear, so choose a vinyl wrap rated for exterior use. I used a UV-resistant wrap on my front door handle, and it’s held up beautifully through rain and sun.
Make sure to clean the handle extra thoroughly, as outdoor surfaces collect more grime. After applying the wrap, check it every few months for signs of peeling or fading, especially in harsh climates. If you live in a rainy or humid area, consider adding a clear protective coating for extra durability.
Where to Buy Vinyl Wraps
Finding the right vinyl wrap can be tricky if you don’t know where to look. I usually shop online for the best selection. Amazon has a wide range of brands, and you can read reviews to find reliable options. Home Depot and Lowe’s also carry vinyl wraps in their automotive or home decor sections. If you want something unique, check out specialty retailers like Metro Restyling or VinylFrog—they offer tons of colors and textures.
When buying, double-check the dimensions of the roll to ensure you have enough for your project. If you’re new to wrapping, consider ordering a sample pack to test different finishes before committing to a full roll.
Tips for Beginners
If you’re new to wrapping door handles, don’t worry—it’s easier than it looks. Start with a simple, flat handle to build your confidence. I began with a basic round knob, and it was much less intimidating than a lever handle. Practice on a spare piece of vinyl first to get a feel for how it stretches and sticks.
Watch a few YouTube tutorials for visual guidance—I found them super helpful when I was starting out. And don’t be afraid to make mistakes. My first wrap wasn’t perfect, but by the third handle, I felt like a pro. Take your time, and you’ll get the hang of it.
How Long Does It Take?
The time it takes to wrap a door handle depends on your experience and the handle’s shape. My first attempt took about 30 minutes because I was being extra careful. Now, I can wrap a handle in 10-15 minutes. If you’re doing multiple handles, set aside an afternoon to tackle them all. Cleaning and prep take the most time, but once you’re in the groove, the actual wrapping goes quickly.
Conclusion
Wrapping door handles is one of those projects that feels intimidating at first but turns out to be surprisingly simple and rewarding. I’ve transformed every handle in my home, and I can’t believe how much it’s elevated the look of my space. From choosing the perfect vinyl to mastering those tricky curves, this guide covers everything I’ve learned through trial and error. It’s a budget-friendly, creative way to make your home feel fresh and personalized. So grab your supplies, put on some music, and give it a try. I promise you’ll love the results as much as I do. Happy wrapping!
Frequently Asked Questions
Can I wrap a door handle without removing it?
Yes, you can wrap a handle without removing it, but it’s trickier. I’ve done it both ways, and removing the handle makes it easier to get a smooth finish. If you can’t remove it, take extra time to clean and wrap carefully around screws or tight spots.
How long do vinyl wraps last on door handles?
In my experience, a good-quality vinyl wrap lasts 1-3 years indoors with normal use. Outdoor wraps may last less time, depending on the weather. Using UV-resistant vinyl and checking edges regularly helps them last longer.
Can I remove the wrap if I don’t like it?
Absolutely! That’s one of my favorite things about wraps—they’re removable. Just peel it off slowly, and use rubbing alcohol to clean any adhesive residue. It won’t damage the original handle.
Is wrapping door handles safe for rentals?
Yes, wrapping is renter-friendly. I’ve used wraps in my apartment without any issues. They peel off cleanly, leaving no damage, as long as you apply and remove them carefully.
Can I wrap rusted or damaged door handles?
You can, but you’ll need to prep them first. I’ve wrapped slightly rusted handles by sanding them lightly to smooth the surface. If the damage is severe, consider replacing the handle for the best results.
What’s the best vinyl wrap for beginners?
I recommend starting with a matte or satin vinyl from a brand like 3M or VViViD. They’re easier to work with and hide small mistakes better than glossy wraps. Look for ones labeled “beginner-friendly” in reviews.