Restore Kitchen Cabinets: Proven, Effortless
Yes, you can restore kitchen cabinets without sanding and varnishing! This guide offers proven, effortless methods to refresh your cabinets, focusing on cleaning, simple repairs, and updated hardware for a stunning, like-new look with minimal fuss.
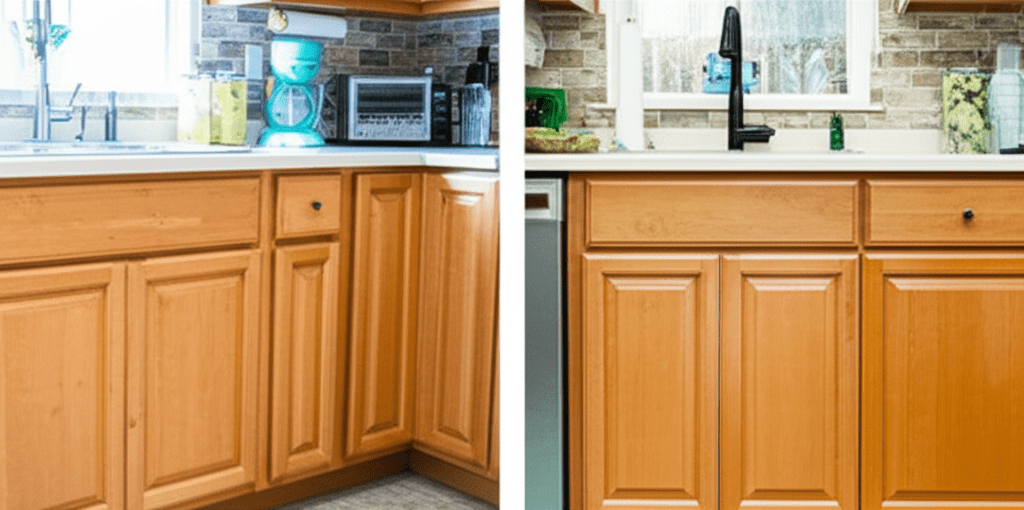
Are your kitchen cabinets looking a little tired? Maybe the finish is dull, or they just don’t feel as bright as they used to. It’s a common kitchen woe, and the thought of a big renovation can be overwhelming. But what if I told you that you don’t need to sand down every surface or apply new varnish to bring them back to life? You can absolutely restore your kitchen cabinets to a fresh, appealing state with simpler, less labor-intensive methods. We’re talking about achieving impressive results without the mess and hassle of traditional refinishing. Get ready to transform your kitchen’s heart with these easy, proven techniques. We’ll walk through it step-by-step, so you can feel confident tackling this project yourself.
Why Restore Your Kitchen Cabinets?
Restoring your kitchen cabinets isn’t just about making them look pretty. It’s a smart way to update your kitchen’s style, boost your home’s value, and save a significant amount of money compared to a full cabinet replacement or even a complete repaint. Over time, cabinet finishes can degrade due to daily use, moisture, and cleaning products. You might notice dull spots, minor scratches, or just a general lack of vibrancy. Instead of shelling out thousands for new cabinets, a good restoration can revitalize the ones you already have, giving your kitchen a whole new feel without the hefty price tag.
Effortless Restoration: The No-Sand, No-Varnish Approach
The beauty of this method is that it focuses on what makes the biggest impact with the least amount of work. We’ll concentrate on deep cleaning, addressing minor imperfections, and refreshing the hardware. This approach is perfect for beginners because it minimizes the risk of mistakes and avoids the often-intimidating processes of sanding and varnishing. Think of it as a super-powered refresh, not a complete overhaul.
What You’ll Need: Your Essential Toolkit
Gathering the right supplies is half the battle. For this effortless restoration, you won’t need a workshop full of tools. Here’s a straightforward list:
- Mild All-Purpose Cleaner: Look for one that’s safe for finished wood or laminate.
- Microfiber Cloths: Several clean cloths are essential for cleaning and buffing.
- Soft-Bristled Brush or Old Toothbrush: For getting into nooks and crannies.
- Wood Filler or Putty Stick: For minor dings and scratches (choose a color that matches your cabinets).
- Putty Knife or Spreader: To apply wood filler smoothly.
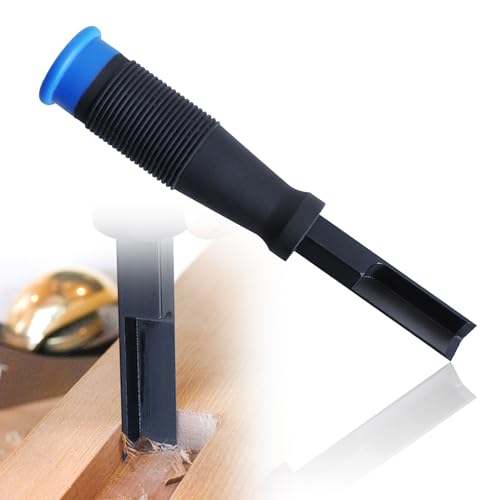
- Fine-Grit Sandpaper (Optional, very fine like 220-grit): Only for smoothing filler, not for overall sanding.
- Touch-Up Paint or Stain Pen: To match your cabinet color for any deeper scratches.
- New Cabinet Hardware: Knobs and pulls that fit your style.
- Screwdriver: To remove and install hardware.
- Degreaser (Optional, for greasy buildup): A kitchen-specific degreaser can be very effective.
- Protective Gloves: To keep your hands clean.
- Safety Glasses: Always a good idea when working with cleaning products.
Step-by-Step: Your Effortless Cabinet Refresh
Let’s get your cabinets looking fantastic. Follow these simple steps:
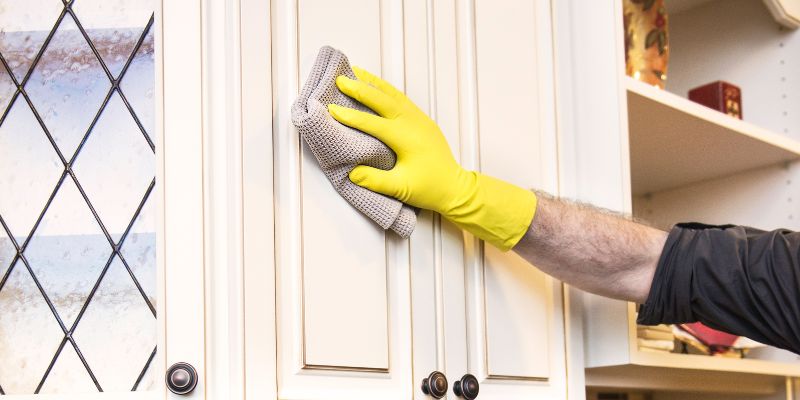
Step 1: The Deep Clean – Removing Grime and Grease
This is the most crucial step for a truly refreshed look. Kitchen cabinets are notorious for collecting grease, food splatters, and general grime. A thorough cleaning will reveal the true condition of your cabinets and make any subsequent steps more effective.
- Empty the Cabinets: Remove everything from your cabinets. This gives you full access and prevents items from getting dirty.
- Prepare Your Cleaning Solution: Mix a mild all-purpose cleaner with warm water in a bucket. If you have stubborn greasy areas, you might opt for a dedicated kitchen degreaser, but always test it in an inconspicuous spot first. For a natural option, a solution of equal parts white vinegar and water can also work wonders. You can learn more about effective cleaning solutions from resources like the EPA’s guide to greener cleaning products.
- Clean the Surfaces: Dip a microfiber cloth into your cleaning solution, wring it out well so it’s damp, not dripping. Wipe down all cabinet doors and drawer fronts. Work in sections, and rinse your cloth frequently in the cleaning solution or with fresh water to avoid spreading dirt.
- Tackle Tough Spots: For stubborn spots or greasy buildup, a soft-bristled brush or an old toothbrush is your best friend. Gently scrub these areas. For very tough grease, a kitchen degreaser applied directly (and then wiped clean) might be necessary.
- Don’t Forget Edges and Crevices: Use the damp cloth or the soft brush to clean the edges of doors, drawer fronts, and any decorative grooves.
- Rinse and Dry: After cleaning each section, wipe it down with a clean cloth dampened with plain water to remove any cleaner residue. Immediately follow up with a dry microfiber cloth to buff and dry the surface completely. This prevents water spots and streaks.
Step 2: Addressing Minor Imperfections – Dings, Dents, and Scratches
Even after a good clean, you might notice small dings or scratches. These can easily be fixed without sanding.
- Assess the Damage: Look closely at any nicks or scratches. Are they superficial, or do they go deep into the wood?
- For Superficial Scratches: Sometimes, a good buffing with a dry microfiber cloth after cleaning can minimize the appearance of very light scratches. For slightly deeper ones, a furniture polish or wax can help fill them in.
-
For Dings and Deeper Scratches: Use a putty stick or wood filler. Choose a color that closely matches your cabinets.
- Apply a small amount of filler with a putty knife, pressing it gently into the scratch or ding.
- Smooth the excess filler so it’s flush with the cabinet surface.
- Let the filler dry completely according to the product’s instructions.
- Once dry, if there’s any slight bump, you can very gently buff it with an ultra-fine grit sandpaper (220-grit or higher). Be extremely careful not to sand the surrounding cabinet finish.
- Color Matching: If the filler is a slightly different color, or if you have deeper gouges that the filler didn’t completely hide, you might need a touch-up paint or stain pen. Use the pen to carefully fill in the scratch, matching the surrounding color as closely as possible. Again, practice on an inconspicuous area first if you can.
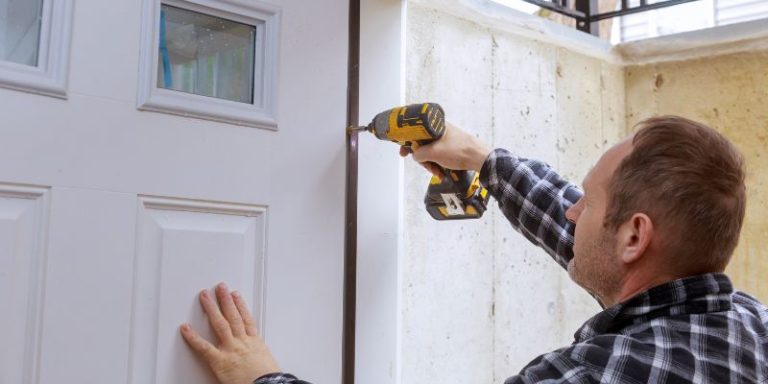
Step 3: The Hardware Refresh – A Quick Style Update
This is arguably the easiest and most impactful step. New hardware can completely change the look and feel of your cabinets.
- Remove Old Hardware: Using your screwdriver, carefully unscrew the old knobs and pulls. Keep the screws, as you might be able to reuse them if the new hardware uses the same hole spacing.
- Measure for New Hardware: If you’re buying new pulls, measure the distance between the screw holes (this is called the “center-to-center” measurement). Ensure your new hardware has the same spacing, or be prepared to drill new holes (which is a bit more involved).
- Choose Your Style: Consider your kitchen’s overall aesthetic. Modern kitchens might suit sleek, minimalist pulls, while a farmhouse or traditional kitchen could benefit from more ornate knobs or handles.
- Install New Hardware: Align your new knobs or pulls with the existing holes. Insert the screws from the inside of the cabinet door or drawer front and tighten them into the hardware. Don’t overtighten, as this can strip the screw hole or damage the cabinet.
Step 4: Optional Enhancements – For That Extra Polish
If you’re feeling a bit more ambitious or want to take your restoration a step further, consider these:
- Cabinet Polish: After cleaning and any repairs, applying a good quality furniture polish can add a lovely sheen and provide a protective layer.
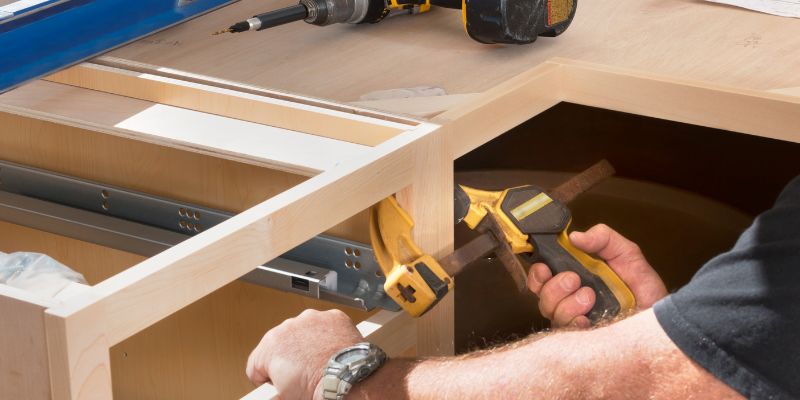
- Update Hinges and Slides: If your cabinet doors are sagging or drawers are sticking, consider replacing the hinges or drawer slides. This is a bit more involved but can make a huge difference in functionality. You can find guides on how to replace cabinet hinges from reputable sources like This Old House.
- contact paper/Liner: For the inside of cabinets or the back of glass-front cabinets, consider adding decorative contact paper for a pop of color or pattern.
Comparing Restoration Methods: Why This Works
It’s helpful to see how this effortless method stacks up against more traditional approaches. Here’s a quick comparison:
| Method | Effort Level | Time Commitment | Mess Factor | Skill Required | Typical Result |
|---|---|---|---|---|---|
| Effortless Refresh (Clean, Repair, Hardware) | Low | 1-2 Days | Minimal | Beginner | Clean, updated look, minor imperfections hidden. |
| Painting Cabinets | Medium-High | 3-7 Days | Moderate (dust, fumes) | Intermediate | Completely new color, professional finish possible with care. |
| Refinishing (Sanding & Varnishing) | Very High | 1-2 Weeks | High (dust, fumes, multiple coats) | Advanced | Brand new wood finish, can be stunning but labor-intensive. |
As you can see, the effortless refresh prioritizes speed, ease, and minimal mess, making it ideal for beginners who want to see significant improvements without a major undertaking.
Tips for Success and Avoiding Common Pitfalls
Even with an easy method, a few tips can ensure your project goes smoothly:
- Always Test Cleaners: Before applying any cleaner or degreaser to your entire cabinet, test it on a small, hidden area (like the underside of a shelf or the back of a door) to ensure it doesn’t damage the finish.
- Work in Good Lighting: Proper lighting will help you spot dirt and imperfections more easily.
- Be Patient with Drying Times: Whether it’s cleaner residue or wood filler, allow adequate drying time before moving to the next step.
- Don’t Over-Wet: Using too much liquid can damage wood finishes or cause swelling. Damp cloths are key.
- Hardware Alignment: Take your time when installing new hardware to ensure it’s straight. A slightly crooked knob can be surprisingly noticeable.
Frequently Asked Questions (FAQ)
Q1: Can I really restore my cabinets without sanding at all?
A: Yes! This method focuses on deep cleaning, cosmetic repairs with fillers, and hardware updates. Sanding is typically reserved for when you want to completely change the paint color or apply a new varnish, which is a much more intensive process.
Q2: My cabinets are laminate. Can I use these methods?
A: Absolutely. The cleaning and hardware replacement steps are perfect for laminate cabinets. For dings and scratches on laminate, use a laminate repair kit or a colored putty stick designed for laminate surfaces. Avoid harsh cleaners or excessive scrubbing, as these can damage the laminate layer.
Q3: What if my cabinets have a lot of deep scratches?
A: For deep scratches that go through the finish, you’ll need to use wood filler or a touch-up pen. For very deep gouges that might affect the cabinet’s structure, you might consider a more involved repair or, in some cases, replacing that specific door or drawer front if possible.
Q4: How often should I clean my kitchen cabinets?
A: A quick wipe-down with a damp cloth after cooking can prevent grease buildup. A more thorough cleaning every 3-6 months is generally recommended to keep them in good condition.
Q5: Can I change the color of my cabinets with this method?
A: This specific “effortless” method is designed to refresh the existing finish. If you want to change the color, you would typically need to sand and paint or stain, which is a different, more involved project.
Q6: What kind of screwdriver do I need for cabinet hardware?
A: Most cabinet hardware uses standard Phillips head screws. It’s always a good idea to have a set of screwdrivers with different head types and sizes on hand, just in case.
Conclusion
Restoring your kitchen cabinets doesn’t have to be a daunting or time-consuming project. By focusing on a thorough cleaning, addressing minor imperfections with simple fillers, and updating your hardware, you can achieve a dramatically refreshed look without the mess and effort of sanding and varnishing. These proven, effortless techniques empower you to tackle this DIY task with confidence, breathing new life into your kitchen and making it a space you’ll love even more. So grab your microfiber cloths and new knobs, and get ready to see your cabinets shine!