When To Stain New Pressure Treated Wood Deck (Best Timing)
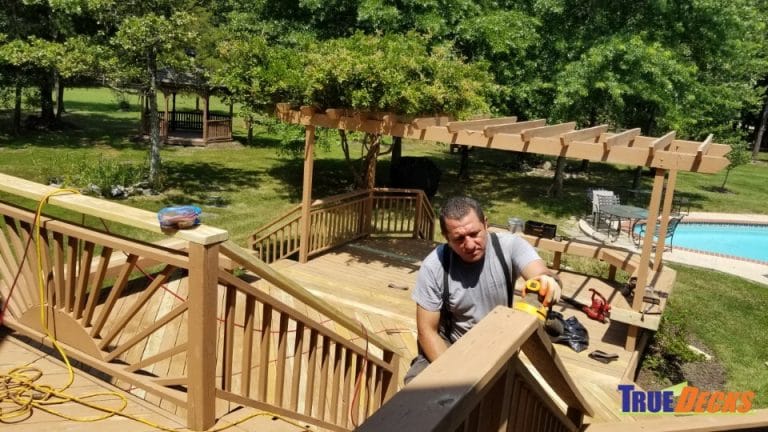
It’s exciting to have a brand new deck, isn’t it? That fresh wood smell, the smooth surface. You’re probably already picturing barbecues and lazy afternoons.
But then the question pops up: “When can I stain this new pressure treated wood?” It feels like a puzzle. You want to protect your investment, but you don’t want to mess it up. This is super common, and honestly, a little confusing for many homeowners.
We’ll break it down so you know exactly what to do.
Knowing when to stain new pressure treated wood is key. Most new decks need time to dry out fully before staining. This can take anywhere from a few weeks to several months, depending on weather. Staining too soon traps moisture. This can lead to peeling, cracking, and rot. Waiting allows the wood to breathe and prepare for a protective finish.
Understanding Pressure Treated Wood and Newness
So, what’s the deal with new pressure treated wood? When wood is treated, it’s forced to absorb a special liquid. This liquid helps keep bugs and rot away.
But this liquid adds a lot of moisture to the wood. It’s like a sponge soaking up water. Even though it’s designed to protect the wood long-term, this added moisture is what we need to manage before we can seal it with a stain.
Think of it like painting a damp wall. The paint won’t stick right. It might bubble up or peel off later.
Wood is similar. If you put a stain on wood that’s still too wet, the stain can’t soak in properly. It sits on the surface.
This means it won’t offer the best protection. Plus, trapping that moisture inside the wood is actually bad for it. It can lead to problems down the road.
This treatment process often uses copper compounds. These are what give the wood a greenish tint sometimes. Over time, this color fades.
That’s another sign the wood is drying out. But the greenish color isn’t the main clue for staining time. It’s the moisture content we’re really watching.
We want that moisture to escape naturally.
The Crucial Drying Period: Why Waiting is So Important
This is where most people get a little impatient. Everyone wants their deck to look finished. But that waiting period is incredibly important.
It’s not just a suggestion; it’s a necessary step. If you rush this, you could be looking at a much bigger headache later.
Imagine your deck is a big, thirsty plant. When it’s brand new and full of treatment moisture, it doesn’t need more liquid. It needs to dry out.
If you keep watering it (staining it too soon), you’ll drown it. The roots (the wood fibers) can’t breathe. They get waterlogged.
When wood stays too wet for too long, certain types of fungi can start to grow. Yes, even in pressure treated wood. The treatment helps a lot, but constant dampness is a challenge for any wood.
These fungi can break down the wood structure. This leads to rot and a weaker deck. Nobody wants that.
Also, that trapped moisture has to go somewhere. When the sun heats the wood, the water inside turns to steam. This steam pushes outwards.
It can push the stain off the surface. This causes the stain to peel and flake. It looks messy and means you have to re-do the job sooner than you’d like.
It’s a lot of work you could have avoided by just waiting.
How to Tell When Your New Deck is Ready
This is the million-dollar question! How do you know for sure? There are a few good ways to check.
You don’t need fancy tools for most of them. Simple observation works well.
First, let’s talk about the weather. This is a big factor. If you live in a very humid area, your deck might take longer to dry.
If you’re in a dry, sunny climate, it might dry faster. Rain is also a big reset. If it rains a lot, it’s like starting the drying clock over in some ways.
Sunny, warm, breezy days are your best friends for drying.
So, what should you look for? Color Change: New pressure treated wood often has a greenish tint. As it dries, it will turn a more natural wood color, usually a grayish-brown.
This is a good visual cue. Surface Feel: Does the wood feel damp to the touch? Even on a sunny day, if it feels cool and wet, it’s not ready.
Dry wood will feel like normal wood – not cold and damp. * Water Beading Test: This is a very reliable test. Sprinkle some water on the deck surface.
If the water beads up like it does on a waxed car, the wood is still too sealed by the treatment moisture. If the water soaks into the wood quickly, it’s likely ready. You might see dark spots where the water hits.
That’s good!
The water beading test is something you can do anytime. Just grab a glass of water and a small bowl. Pour a little water in a few spots on the deck.
If it soaks in within a few minutes, you’re golden. If it sits on top in little balls, you need to wait longer. Repeat this test every week or so.
The Water Beading Test Explained
What it is: A simple way to check wood absorbency.
How it works: Water beads up on hydrophobic (water-repelling) surfaces. Untreated, dry wood is somewhat absorbent. Pressure treated wood, especially when new and wet, is very water-repellent.
As it dries, it becomes more absorbent.
What to look for: Water soaking into the wood within 5-10 minutes means it’s ready for stain. Water beading means it needs more drying time.
How Long Does It Actually Take?
This is where the variation comes in. There’s no single magic number. It truly depends on your location, the weather, and the specific wood treatment.
However, we can give you some general timelines.
General Rule of Thumb: Many experts suggest waiting at least 4-6 weeks for new pressure treated wood. Some say wait up to 3-6 months. For very humid climates or if it’s been a wet season, you might need to wait even longer, perhaps up to a year.
Yes, a full year in some cases!
I remember a project I did a few years back. It was in the Pacific Northwest. Lots of rain!
The contractor said we had to wait at least 6 months. I was skeptical. But after 6 months, the wood was still a bit damp when I did the water test.
We waited another month. Then, finally, it was ready. The stain went on beautifully and has held up great for years.
On the flip side, I had a client in Arizona. Super dry heat. Their deck was ready in about 4 weeks.
It was completely different! So, don’t just go by a date. Always do the tests.
Here’s a quick way to think about it:
- Dry, Sunny Climates: Often ready in 4-8 weeks.
- Moderate Climates: Usually needs 8-12 weeks.
- Humid or Rainy Climates: Can take 3-6 months, sometimes more.
The wood needs to dry from the inside out. This takes time. The surface might look dry, but the inside can still be holding onto moisture.
Be patient. It’s worth it.
Common Mistakes to Avoid
We’ve talked about waiting. What else can go wrong? People want to protect their decks, and sometimes that leads to mistakes.
Mistake 1: Staining right away. We’ve covered this. It’s the biggest one. It leads to peeling, flaking, and poor protection.
Mistake 2: Not cleaning the deck first. Even if it’s new, dirt can settle on it. You might have sawdust from construction. Or leaves might have blown onto it.
You need a clean surface for the stain to stick. A good scrub is usually needed.
Mistake 3: Using the wrong type of stain. Not all stains are created equal. For pressure treated wood, you want a stain that’s designed for it. Look for products that offer good UV protection and water repellency.
Some stains are for bare wood, others for previously sealed wood. Make sure you pick the right one for new, bare wood.
Mistake 4: Not applying enough stain. Many people try to save on stain by applying it too thinly. This doesn’t offer enough protection. You need a good, even coat.
Follow the manufacturer’s instructions for application. It might mean two coats.
Mistake 5: Staining in bad weather. Don’t stain when it’s too hot, too cold, too humid, or if rain is expected. Check the weather forecast. Most stains need a specific temperature range to dry properly.
And you definitely don’t want rain to wash away your hard work.
Let’s look at another common error. People sometimes confuse staining with sealing. While a stain does offer some sealing properties, its primary job is color and UV protection.
A dedicated water repellent sealer is different. You usually apply a stain first, let it dry, and then potentially apply a sealer. But for a new deck, a good quality stain is often enough protection initially.
Quick Checklist Before Staining
- Is it dry? (Water beading test: water soaks in)
- Is it clean? (No dirt, dust, or debris)
- Is the color faded? (Green tint gone, grayish-brown appearance)
- What’s the weather like? (Mild temps, no rain for 24-48 hours)
- Do I have the right stain? (For new, pressure treated wood)
- Do I have enough stain? (Plan for proper coverage)
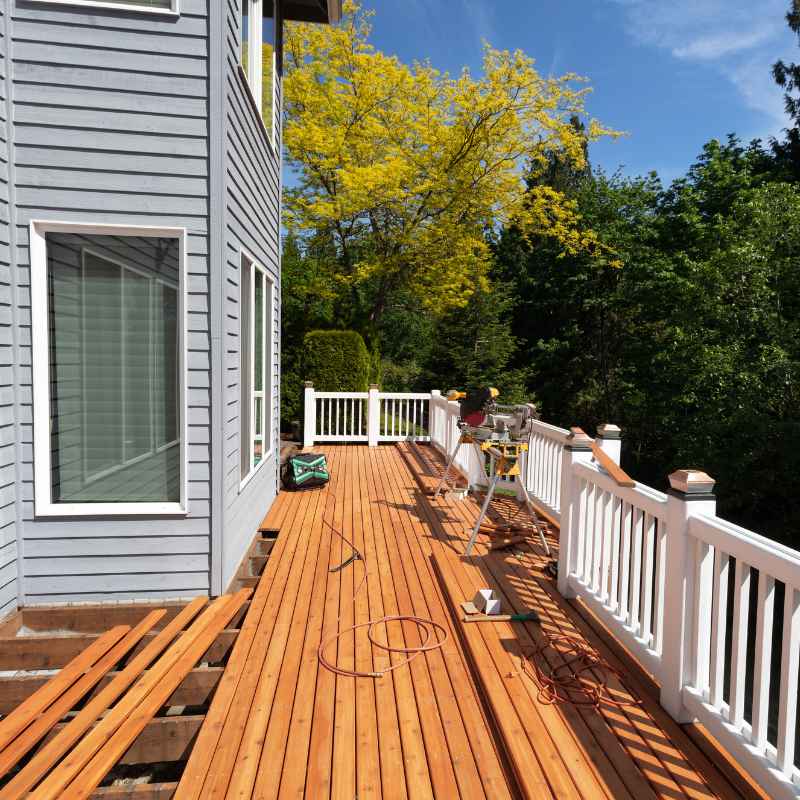
Preparing Your New Deck for Stain
Once you’ve passed the waiting game and your deck is dry, it’s time to get it ready for stain. This prep work is just as important as the drying time.
1. Clean the Deck: Even new decks can get dirty. You might have sawdust from the construction, dirt tracked in by workers, or maybe some natural debris has fallen on it.
You can use a stiff broom and some water. For tougher grime, a deck cleaner specifically designed for wood is a good idea. Make sure to rinse it thoroughly.
2. Sanding (Optional but Recommended): New pressure treated wood can sometimes have a rough surface, or there might be small splinters. A light sanding can make the surface smooth and more receptive to the stain.
Use a medium-grit sandpaper (like 80-grit) on a pole sander or orbital sander. Don’t go too crazy; you don’t want to remove the wood grain.
3. Sweep and Vacuum: After cleaning and sanding, make sure all dust and debris are completely gone. A broom and dustpan work, but a shop vac is even better for getting into the cracks.
4. Test the Stain: Always do a test patch in an inconspicuous area. This helps you see how the stain looks on your specific wood.
It also confirms that the wood is ready. Let the test patch dry completely to see the final color.
5. Protect Surrounding Areas: Use drop cloths to protect any plants, siding, or other surfaces near the deck that you don’t want to get stain on.
The goal here is a clean, dry, and smooth surface. The stain will penetrate better, look more even, and last longer if the wood is properly prepped.
Choosing the Right Stain for Your New Deck
With so many options out there, picking the right stain can feel overwhelming. For new pressure treated wood, we’re looking for specific qualities. These will ensure good color, protection, and longevity.
Types of Stains:
Transparent/Toner: These show the most wood grain. They add a hint of color and UV protection. Great for highlighting the natural beauty of the wood.
Semi-Transparent: These offer more color than toners and still allow some wood grain to show through. They provide better UV protection. Semi-Solid: These have more pigment.
They cover more of the wood grain but still offer a natural look. Good for a bit more color depth. Solid Color: These look like paint.
They cover the wood grain completely and offer maximum UV protection. They are great for hiding imperfections but don’t look like natural wood. They can also be harder to re-coat later.
For a new pressure treated deck, most people opt for semi-transparent or semi-solid stains. They balance protection with the look of natural wood. If you want to keep that fresh wood look, a toner or transparent stain is also an option, but it will need reapplication more often.
Important Features to Look For:
UV Protection: The sun’s rays can break down wood fibers. A good stain has UV blockers to prevent this graying and damage. Water Repellency: Keeping moisture out is crucial.
Look for stains that also act as water repellents. * Penetrating vs. Film-Forming: You want a stain that penetrates the wood rather than forming a thick film on top.
Penetrating stains move with the wood as it expands and contracts, reducing the risk of peeling.
Always read the product label carefully. It will tell you if the stain is suitable for new decks and pressure treated lumber. Some manufacturers might have specific recommendations or products for newly treated wood.
Stain vs. Sealant: What’s the Difference?
Stain: Primarily adds color and UV protection. It soaks into the wood. Can offer some water repellency.
Sealant: Primarily repels water and protects against stains. It often forms a protective barrier on the surface. Usually clear or adds a sheen.
Combined Products: Many stains today offer both color and sealing properties.
For new decks: A good quality stain that includes water repellency is usually the best starting point.
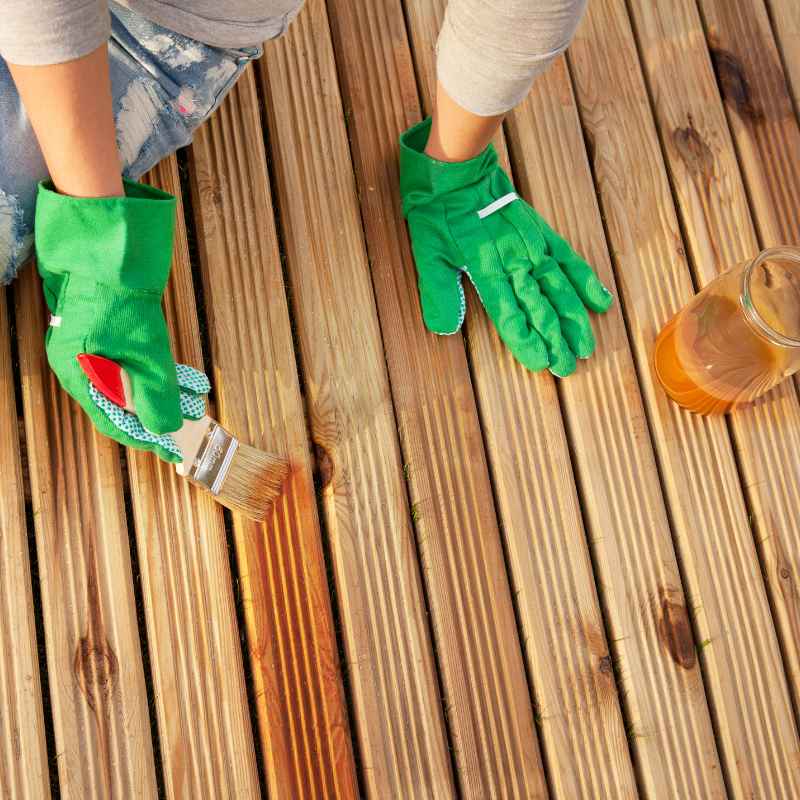
Application Tips for a Beautiful Finish
You’ve waited, you’ve cleaned, you’ve chosen your stain. Now for the fun part: applying it!
1. Read the Can: Seriously, read the instructions on the stain can. Every product is a little different.
It will tell you the best way to apply it, how long it takes to dry, and any special tips.
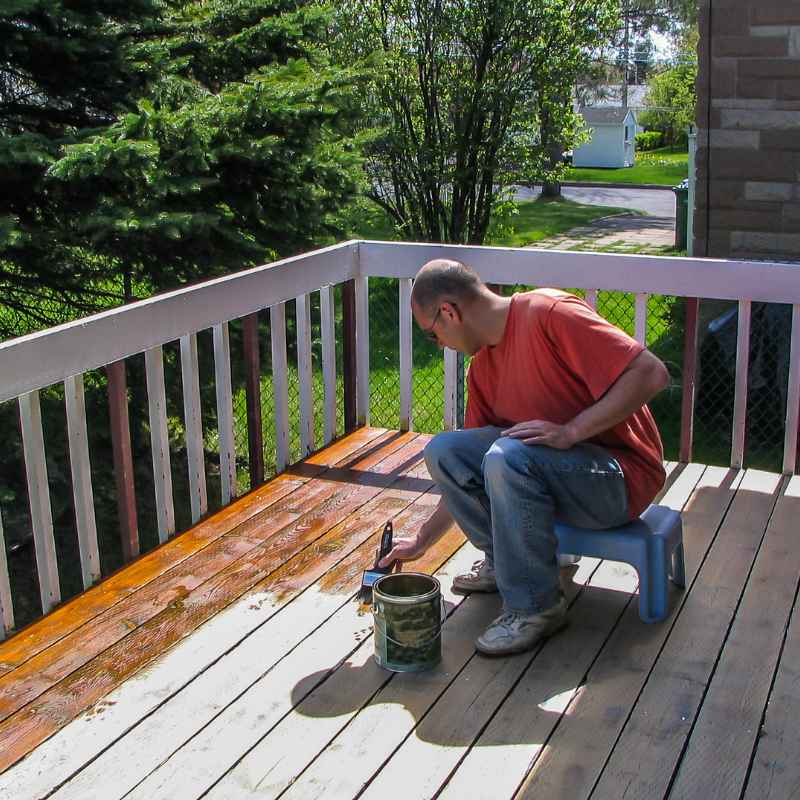
2. Work in Sections: Don’t try to stain the entire deck at once. Work on a few boards at a time, going from one end to the other.
This helps you avoid lap marks – those darker lines where one section meets another that wasn’t stained at the same time.
3. Use the Right Tools: A good quality brush or roller makes a big difference. For decks, a stain pad or a wide brush is often used.
Some people prefer a sprayer, but you’ll still need to back-brush to ensure even penetration.
4. Apply Evenly: Apply the stain in long, even strokes. Follow the grain of the wood.
Don’t let it pool up in any one spot. If you see excess stain sitting on the surface after a few minutes, wipe it up with a rag.
5. Check for Dryness: Before applying a second coat (if recommended), make sure the first coat is dry to the touch. This usually takes a few hours, but can be longer in humid conditions.
6. Clean Up: Clean your brushes and tools immediately after use. Water-based stains clean up with soap and water.
Oil-based stains require mineral spirits or a specific cleaner.
It might seem like a lot of steps, but taking your time now will mean a deck that looks great and lasts for years. It’s about building a good foundation of protection for your outdoor living space.
What If I Can’t Wait? Are There Any Workarounds?
I get it. Sometimes life happens, or you just really want that deck ready for a party. While I strongly advise against staining too early, there are a couple of things to consider if you feel you absolutely must get some protection on faster.
These are not ideal, and they come with risks.
1. The “Quick Dry” Test: If you do the water beading test and the water soaks in very quickly, it might mean the wood is drying out faster than usual. This is still not a guarantee.
You still need to consider the minimum time frames. If it’s only been a week or two, even if it passes the water test, it might still be too soon for the stain to properly adhere and protect against moisture from within.
2. A Clear Water Repellent (Not a Stain): Some manufacturers offer clear water repellents that are designed to be applied to newer wood sooner than stains. These are essentially sealers.
They provide a basic layer of protection against water absorption and can help reduce swelling and warping. However, they don’t offer the UV protection and color of a stain. You would still need to stain the deck later, once it’s fully dry and ready.
3. The Risk: The main risk with these workarounds is still trapped moisture. If the wood is not fully dry, any finish applied too soon can peel, crack, or prevent the wood from breathing correctly.
This can lead to faster deterioration of the wood and the finish. It’s like putting a bandage on a wound that’s still bleeding. It might cover it up, but it doesn’t solve the underlying problem.
My best advice here is to be patient. It’s a short waiting period in the grand scheme of a deck’s lifespan. A properly stained deck can last 10-15 years or even longer.
Rushing the process can cut that lifespan in half. Think of the waiting period as an investment in the future beauty and durability of your deck.
I often tell clients to plan their staining for late summer or early fall. That way, they’ve had the whole spring and summer for the wood to dry out naturally. Then, the weather is usually cooler and more stable for application.
It’s a good time for upkeep projects.
What Happens If I Stained Too Soon?
You might be reading this and thinking, “Oh no, I already stained my deck!” Don’t panic. It happens. The key is to know what to look for and what to do about it.
Signs of Staining Too Soon:
Peeling or Flaking: This is the most obvious sign. The stain isn’t sticking to the wood. It’s starting to bubble up and peel off, especially in areas with direct sun or heavy traffic.
Cracking: Similar to peeling, the stain might be cracking because the wood underneath is expanding and contracting due to moisture. Uneven Color: The stain might look patchy or blotchy. This can happen when some areas of the wood absorb the stain and others don’t because of moisture differences.
Mold or Mildew Growth: If moisture is trapped, it can encourage mold and mildew growth on the surface of the stain or under it. * Wood Looks Dark or Wet Constantly: Even on a dry day, some areas might appear darker, as if they are always wet.
What to Do:
If you notice these issues, you’ll likely need to remove the existing stain. This is a process that requires time and effort. 1.
Cleaning: Start with a thorough cleaning. Use a deck cleaner that’s designed to remove old finishes. You might need to scrub.
2. Stripping: If cleaning isn’t enough, you may need a chemical deck stripper. Follow the product instructions carefully.
Wear protective gear. 3. Rinsing: After stripping, rinse the deck thoroughly.
A power washer on a low setting can help, but be careful not to damage the wood. 4. Brightening: Use a wood brightener to restore the wood’s natural color and pH balance after stripping.
5. Drying: Let the deck dry out completely. This is the most crucial step!
You might need to wait another several weeks or months. Perform the water beading test again to confirm it’s ready. 6.
Re-stain: Once the deck is confirmed dry, you can re-stain it properly.
This is why waiting is so important. Fixing a failed stain job is much harder than waiting a few extra weeks. It’s a harsh lesson for some homeowners, but one that pays off in the long run when done right the first time.
The Long-Term Benefits of Patience
Waiting for your new pressure treated deck to dry is more than just a step; it’s an investment. It’s an act of stewardship for your home and your property.
When you stain a properly dried deck, you’re not just adding color. You’re sealing in that protection. You’re adding a barrier against harsh UV rays, which cause graying and wood degradation.
You’re adding a defense against moisture, which can lead to rot and decay.
This means your deck will look better for longer. It will resist fading and wear more effectively. It will be less prone to developing those annoying splinters or becoming soft and spongy from rot.
Furthermore, a well-maintained deck adds value to your home. It’s an attractive feature that people look for. A deck that looks neglected can actually detract from your home’s appeal and value.
So, taking the time to do it right the first time is a financially sound decision as well.
Think about the cost of materials and labor. Staining isn’t cheap. If you have to re-stain or repair a deck because you rushed the process, you’re doubling down on those costs.
Patience upfront saves money and effort down the line.
It’s a simple concept, really. Wood needs to be ready for its protective coat. Pressure treated wood, while treated, still needs to dry out from the treatment process.
By allowing this natural drying, you ensure the stain can bond properly, protect effectively, and last as long as possible. It’s the best way to enjoy your beautiful new deck for many years to come.
Frequently Asked Questions About New Deck Staining
Can I power wash a new pressure treated deck before staining?
Yes, you can power wash a new pressure treated deck, but it’s best done after it has had some time to dry. If you power wash, use a low pressure setting (around 500-800 PSI) and a wide fan tip. Hold the wand at least 12 inches away from the wood. Aggressive power washing can damage the wood fibers, opening them up too much and potentially causing issues for stain adhesion. It’s often better to let the wood dry naturally and then clean it with a stiff brush and a deck cleaner if needed. If you do power wash, you’ll need to let it dry thoroughly afterward, which might set back your staining timeline.
Does the color of pressure treated wood matter for staining timing?
The color of pressure treated wood can be a general indicator, but it’s not the most reliable measure of when it’s ready to stain. New wood often has a greenish tint from the treatment chemicals. As it dries, this tint usually fades to a grayish-brown. While a faded color suggests drying, it doesn’t guarantee that the internal moisture content is low enough. Always rely on the water beading test or a moisture meter for accurate results, rather than just the wood’s appearance.
Can I use a deck sealer instead of a stain on new pressure treated wood?
You can apply a deck sealer to new pressure treated wood, but the same drying rules generally apply. Sealers also need dry wood to penetrate and form a protective barrier. Applying a sealer too soon can trap moisture. Some clear water repellents might be usable a bit sooner than stains, but they offer less UV protection. Most people prefer to stain for both color and protection. If you choose to seal first, ensure the wood is still adequately dry, and you’ll likely want to stain it later for better protection and aesthetics.
What is the best way to check moisture content in new wood?
The most accurate way to check moisture content is with a dedicated wood moisture meter. These are relatively inexpensive tools that you can find at hardware stores. You insert the probes into the wood, and it gives you a digital reading of the moisture percentage. For deck staining, you generally want the moisture content to be below 15-17%. The water beading test is a good visual indicator, but a moisture meter provides a precise number and is the best method if you want absolute certainty.
Should I stain my deck the same day it rains?
No, you should not stain your deck the same day it rains, even if the surface appears dry. Rain adds significant moisture to the wood. The wood needs time to dry out completely, both on the surface and deeper within. After rain, you’ll need to wait for several dry, sunny, and breezy days to allow the wood to re-dry sufficiently. Always perform the water beading test or use a moisture meter to confirm it’s ready before applying any stain.
How often should I re-stain my pressure treated deck?
The frequency of re-staining depends on several factors, including the type of stain used, the amount of sun and weather exposure, and foot traffic. Generally, a semi-transparent stain might last 2-3 years, while solid stains can last longer, perhaps 3-5 years. Transparent stains will need reapplication more often, possibly every year. A good rule of thumb is to check the deck annually. If water no longer beads up, or if the color is fading significantly, it’s probably time for another coat.
Conclusion: The Patience Pays Off
Getting your new deck ready for stain is a process. It requires a little patience. But understanding why you need to wait is key.
By letting the wood dry properly, you ensure the stain adheres well. This provides the best protection against the elements. You’ll end up with a beautiful deck that lasts much longer.
So, do the water test, watch the color, and trust the process. Your future deck enjoyment will thank you for it.