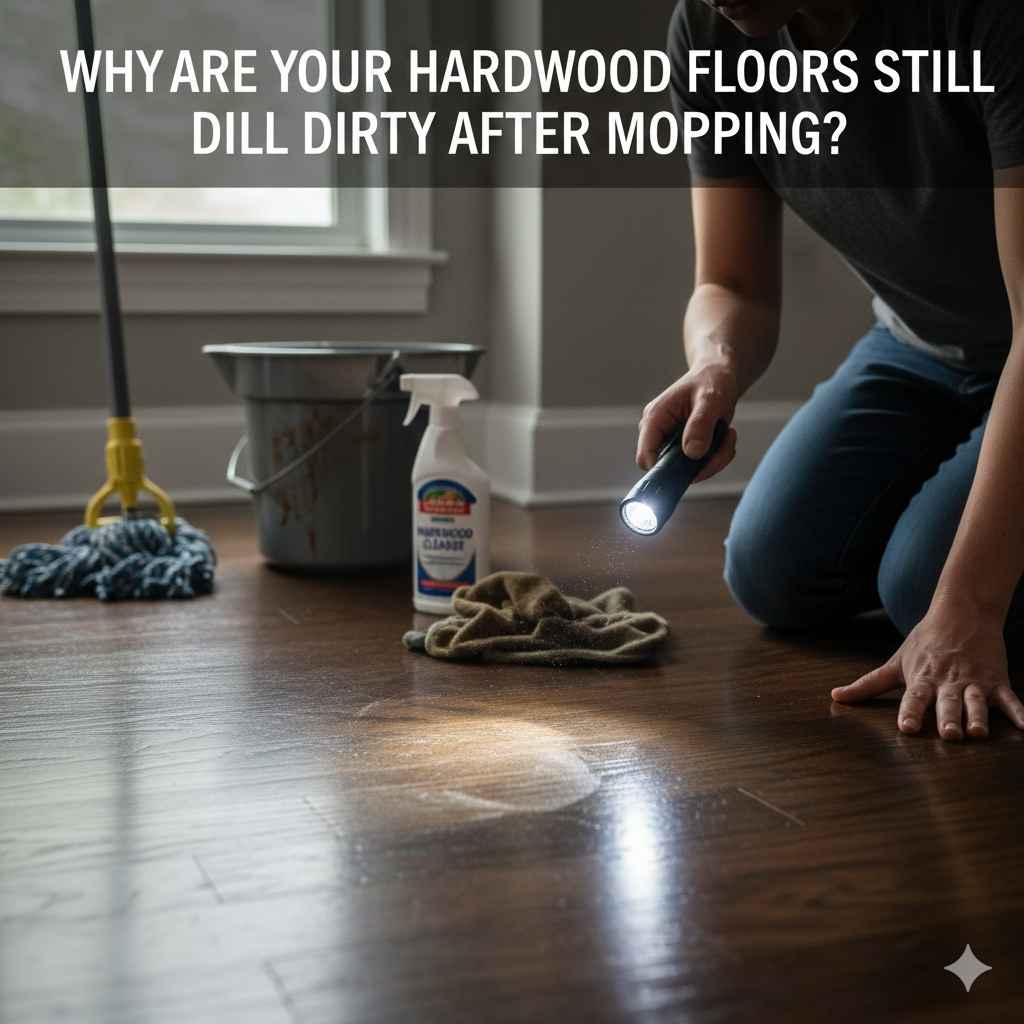
Why Are Hardwood Floors Still Dirty After Mopping?
It’s super frustrating when you mop your hardwood floors, and they still look dirty, right? You’re not alone! Many people struggle with this, especially when they’re first learning how to clean hardwood properly. Why Are Hardwood Floors Still Dirty After Mopping? This can happen for a few simple reasons. Don’t worry, though, because we’re going to break down the most common problems and give you a clear, step-by-step solution. Ready to discover why your floors aren’t as clean as you want them to be? Let’s get started!
The Common Culprits: Why Hardwood Floors Remain Unclean
The quest for sparkling hardwood floors often leads to disappointment when the mop leaves streaks or doesn’t seem to make a difference. Several factors contribute to this, and recognizing them is the initial step toward achieving a truly clean surface. It’s often not the fault of the mop itself, but more about what’s happening before, during, and after mopping. The type of cleaning solution, the pre-cleaning steps, and even the water you use can affect the final result. Identifying these problems allows you to make informed adjustments to your cleaning routine.
Incorrect Cleaning Solutions and Their Impact
Using the wrong cleaner on your hardwood floors is a frequent error. Harsh chemicals can damage the finish, leaving behind residue that attracts dirt. General-purpose cleaners, while good for other surfaces, can be too abrasive or leave a sticky film on wood. This film captures dust and debris, creating the illusion of dirtiness. Choosing a cleaner specifically made for hardwood is essential. Look for pH-neutral formulas that won’t strip away the protective coating or dull the wood’s appearance.
Always follow the manufacturer’s directions on the cleaning product for dilution and usage, to avoid damaging the hardwood and affecting your cleaning results. Remember, some cleaning products are more suitable for certain types of flooring.
- Harsh Chemicals: Strong cleaners can damage the floor’s finish over time.
- Sticky Residue: General-purpose cleaners may leave a film that traps dirt.
- Incorrect Dilution: Using too much cleaner can lead to streaks.
- Lack of Compatibility: Not all cleaners are suitable for all hardwood types.
- Damage Risk: Using unsuitable cleaning products risks shortening the lifespan of your floor.
The Importance of Pre-Cleaning and Dust Removal
Before you even think about mopping, you need to eliminate loose dirt and debris. This pre-cleaning stage is really important because it prevents you from just spreading dirt around. If you skip this step, the mop will push dirt and dust across the floor, making it look streaky and even dirtier. It’s similar to sweeping a mess under a rug – it only hides the problem temporarily. Use a broom, vacuum, or a microfiber dust mop to pick up all the loose particles before you start mopping. This will ensure that your mop can actually clean, rather than just move the dirt around.
- Dust and Debris: Remove loose dirt before mopping for cleaner results.
- Sweeping or Vacuuming: Choose the right method for your floor type.
- Microfiber Mops: Can efficiently collect dust and dirt.
- Preventing Streaks: Pre-cleaning helps avoid streaks during mopping.
- Effective Cleaning: Ensures that the cleaning solution can truly clean.
Mopping Techniques and Their Impact
The method you use to mop is as important as the cleaner you pick. Using too much water is a common mistake. Hardwood doesn’t like a lot of moisture, so you don’t want to soak it. Excess water can seep into the wood, leading to damage like warping or mold growth. Another common mistake is not changing the water or rinsing the mop frequently. When your mop is dirty, it just spreads dirty water across the floor, leaving streaks and grime behind. Wring out your mop well each time you dip it into the cleaning solution, and change the water frequently to keep it clean. Working in small sections also helps you maintain control and avoid over-saturating the floor.
- Excess Water: Avoid soaking the floors to prevent damage.
- Mop Condition: Clean the mop head or use a clean one regularly.
- Water Changes: Frequently swap out dirty water for a clean solution.
- Sectioning: Work in small areas for efficient cleaning.
- Drying Quickly: Ensure the floor dries quickly after mopping.

Understanding the Basics: Hardwood and Cleaners
To keep hardwood floors looking great, it’s essential to understand the properties of the wood itself and how cleaning products interact with it. Hardwood is a natural material, and different types have different needs. Knowing these basics can significantly improve the effectiveness of your cleaning efforts. By taking the right steps, you can help preserve the beauty and durability of your hardwood for years to come.
Types of Hardwood Floors and Their Care
Different types of hardwood floors require distinct cleaning approaches. Solid hardwood, made from a single piece of wood, can be sensitive to moisture. Engineered hardwood, with a wood veneer over layers of plywood, tends to be more stable, but still needs care. Unfinished hardwood requires sealing before cleaning, while pre-finished hardwood has a protective coating. Before you start cleaning, identify the wood type and finish to choose the most suitable products and methods. Each type has its own strengths and weaknesses.
- Solid Hardwood: Sensitive to moisture, needs careful cleaning.
- Engineered Hardwood: More stable, but still needs protection.
- Unfinished Hardwood: Requires sealing before cleaning.
- Pre-finished Hardwood: Has a protective coating.
- Proper Identification: Key to using suitable products and methods.
Choosing the Right Cleaning Products for Hardwood
The right cleaning solution makes all the difference. As mentioned before, opt for cleaners specially formulated for hardwood floors. These products are usually pH-neutral to prevent damage to the finish. Look for those that are specifically designed for your type of floor. Avoid harsh chemicals, as they can strip away the protective coating, leaving the wood vulnerable. Always read and follow the product’s instructions for dilution and application. Some hardwood floor cleaners may also have ingredients to restore shine or provide a protective layer, enhancing the appearance and helping with the long-term care of your floor.
- pH-Neutral Cleaners: Safe for hardwood finishes.
- Specific Formulations: Choose the correct cleaner for your floor.
- Avoid Harsh Chemicals: Prevents finish damage.
- Product Instructions: Always follow guidelines on the label.
- Protective Qualities: Some products enhance shine and protection.
The Role of Water in Hardwood Floor Cleaning
Water can be the hardwood floor’s friend or foe. Too much water can lead to damage. Hardwood absorbs water, causing it to warp, swell, or even encourage mold growth. The amount of water and how you use it is important. When mopping, wring the mop out thoroughly. You want the mop to be damp, not dripping. Clean your mop frequently, changing the water when it gets dirty. This prevents dirty water from being spread back on the floor. Quick drying is also crucial. Good air circulation can help the floor dry quickly after mopping.
- Moisture Control: Preventing excess water is important.
- Damp Mop: Use a damp mop, not a wet one.
- Frequency of Rinsing: Clean and change the water often.
- Rapid Drying: Good air circulation is essential.
- Long-Term Protection: Proper water management prolongs floor life.
Step-by-Step Guide to Sparkling Hardwood Floors
Achieving truly clean hardwood floors can feel simple with a structured approach. This step-by-step guide helps you break down the process into manageable actions. Following these steps helps you tackle common cleaning issues and achieve amazing results. These steps guide you from pre-cleaning to drying, ensuring you get the best possible outcome.
Preparation: Tools and Supplies
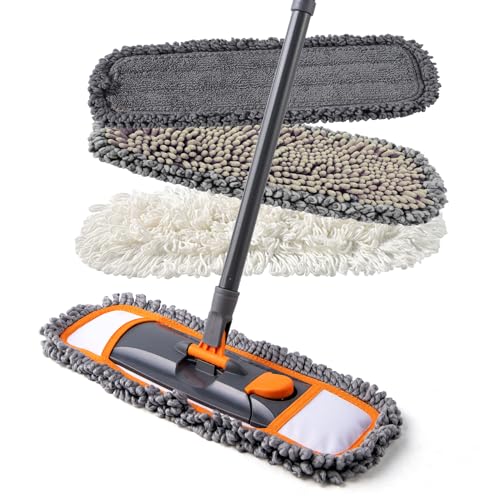
Before you start, gather everything you’ll need. This ensures a smoother and more efficient cleaning process. You’ll need a broom or vacuum to sweep up debris, a hardwood floor cleaner, a mop (preferably a microfiber mop with a washable head), a bucket, and water. A spray bottle can be useful for spot cleaning. Be sure you have all the tools and products required, so you can focus on the cleaning itself. The right gear helps you work effectively, and the right tools will affect the quality of your clean. Make sure you also consider any safety information about the cleaning products.
- Broom or Vacuum: For pre-cleaning and dirt removal.
- Hardwood Cleaner: A pH-neutral solution for hardwood.
- Microfiber Mop: Highly absorbent for effective cleaning.
- Bucket and Water: For the cleaning solution.
- Spray Bottle: Convenient for spot-cleaning.
Cleaning Steps: From Pre-Cleaning to Mopping
The cleaning routine should start with pre-cleaning and end with proper drying. First, sweep or vacuum the floors thoroughly to remove any loose dirt, dust, and debris. Prepare the cleaning solution according to the product instructions. The amount of cleaner used will affect your results. Always wring your mop thoroughly. Start mopping in a corner and work your way across the room in small sections. Remember to frequently rinse the mop and change the water as needed. After mopping, let the floor air dry completely. The key is to remove dirt, clean efficiently, and dry quickly.
- Pre-Cleaning: Sweep or vacuum before you start mopping.
- Solution Preparation: Prepare cleaning solution.
- Mopping Technique: Work in small sections.
- Rinsing and Water Changes: Rinse mop often, change water when needed.
- Drying: Allow the floor to air dry.
Post-Cleaning: Maintaining Cleanliness
After mopping, maintaining cleanliness is key to keeping your floors looking their best for longer. Regular maintenance can stop dirt from building up and will extend the time between deep cleans. Consider sweeping or vacuuming your floors a few times a week to remove dirt. Place doormats at entryways to capture dirt. Wipe up spills immediately to prevent stains and water damage. By creating a consistent maintenance routine, you will keep your floors clean, and the amount of work needed to keep them clean will decrease over time. Consider an ongoing schedule and stick to it.
- Regular Sweeping/Vacuuming: Maintain daily.
- Doormats: Trap dirt before it enters the home.
- Immediate Spill Cleaning: Prevent stains.
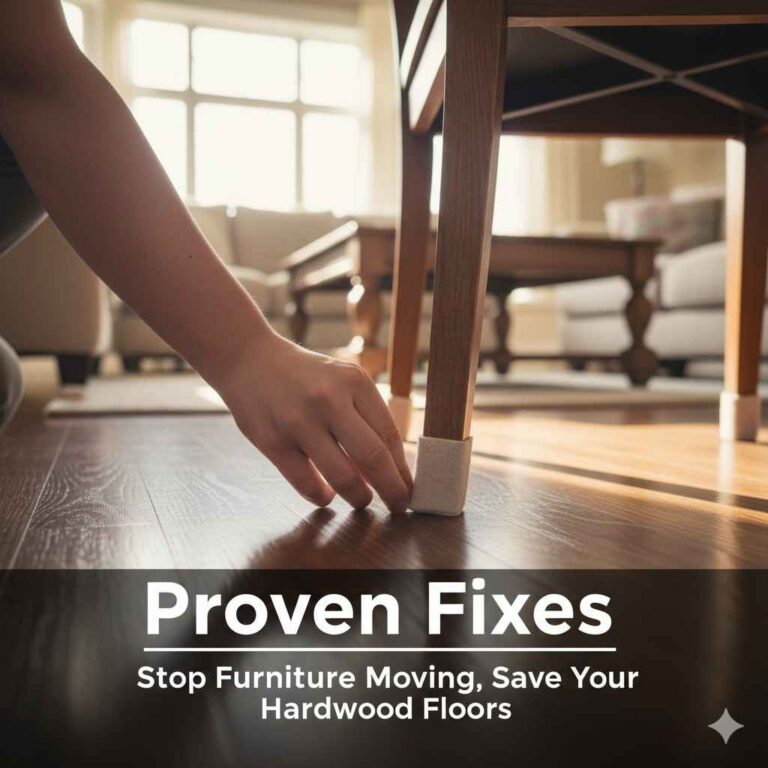
- Protective Measures: Use felt pads on furniture legs.
- Consistent Routine: Maintains and extends floor cleanliness.
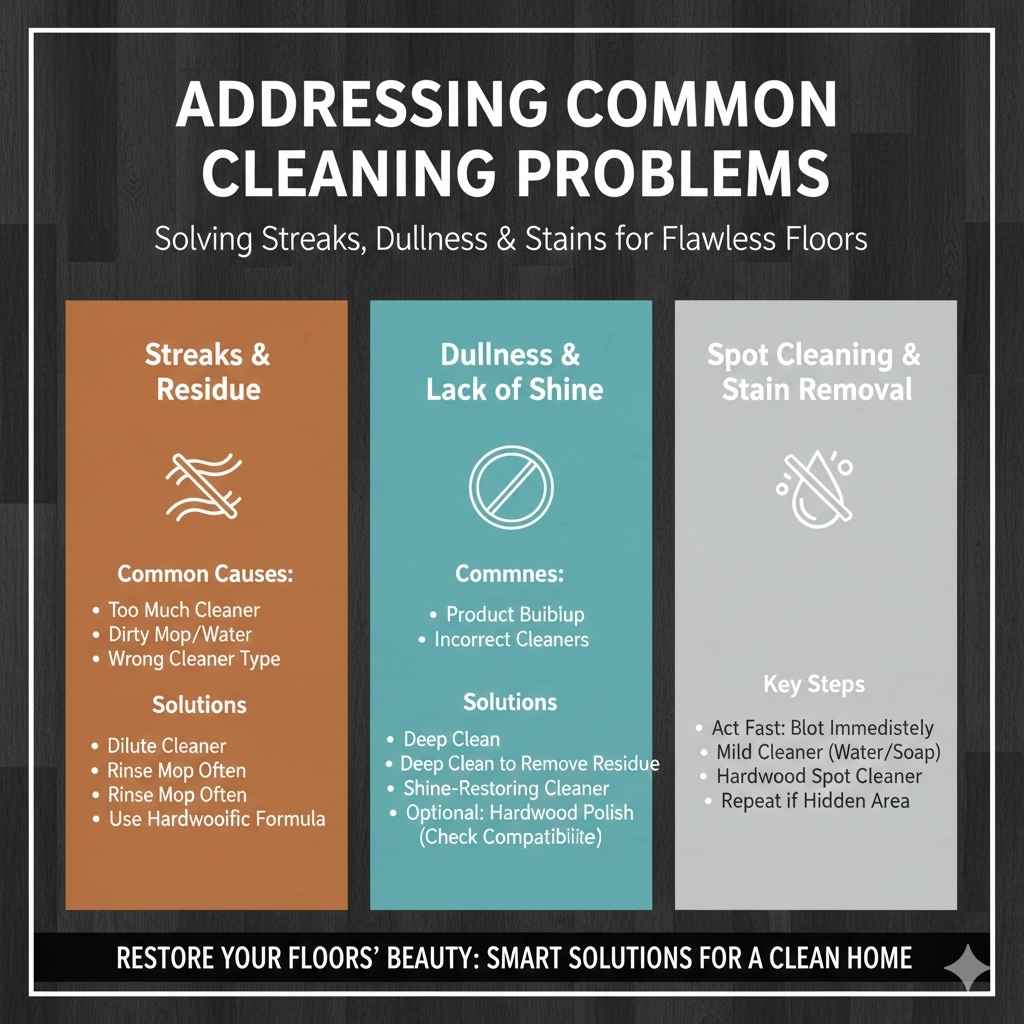
Addressing Common Cleaning Problems
Even with the best preparation, problems can still arise during hardwood floor cleaning. From streaks to dullness, these issues can be frustrating, but they usually have easy solutions. Here, we’ll address some common issues that many people face when cleaning hardwood floors.
Removing Streaks and Residue
Streaks and residue are two of the most frequent complaints. They often show that something needs adjustment in your approach. Streaks usually come from using too much cleaner, not rinsing the mop often enough, or not drying the floor quickly. Residue can be the result of a cleaner that’s not suited for hardwood. If you have streaks, try diluting the cleaner and rinsing the mop head more frequently. For residue, you might need to change your cleaning product to something specifically designed for your floor. You may need to clean it to remove the initial residue. Then, make sure your mop and cleaning solution are compatible.
- Too Much Cleaner: Can cause streaks.
- Infrequent Rinsing: Leads to streaks.
- Incompatible Cleaner: Can leave residue.
- Proper Dilution: Adjust the amount of cleaner.
- Product Evaluation: Select a cleaner specifically for hardwood.
Dealing with Dullness and Lack of Shine
Dullness can happen after you clean, and it’s a sign that the floor’s finish needs attention. This is often caused by using the wrong cleaning products or by a buildup of residue. If your floor has lost its shine, consider using a hardwood floor cleaner that has shine-restoring properties. These types of cleaners can help revitalize the finish. If the problem is persistent, you might need to remove any built-up residue with a deep cleaning. You may also want to use a floor polish, but make sure that this is suitable for your floor type. Maintaining the shine on hardwood requires proper care and choosing products that are suitable for your floor.
- Incorrect Cleaners: Cause dullness.
- Residue Buildup: Can dull the finish.
- Shine-Restoring Products: Some cleaners restore shine.
- Deep Cleaning: Remove residue if needed.
- Floor Polish: Suitable for your floor type.
Spot Cleaning and Stain Removal
Dealing with spots and stains means acting quickly. Spills and stains can set in quickly, so the faster you act, the better your outcome. Start by blotting the stain with a clean cloth. For many spills, plain water is enough. Always use a hardwood floor cleaner designed to target stains on wood flooring, and never use abrasive cleaners. If the stain is persistent, spot-clean gently. Then, you can apply a specialized stain remover for hardwood floors. Try the cleaner in an unseen area first to ensure it doesn’t harm the finish. Quick action and the right products will help you get rid of spots and stains.
- Blotting: Tackle spills and stains fast.
- Gentle Cleaners: Use mild cleaners first.
- Spot Cleaners: Use hardwood-friendly spot cleaners.
- Test Area: Try cleaners in a hidden spot.
- Stain Remover: Get rid of persistent stains.
Frequently Asked Questions
Question: Why do my hardwood floors look streaky after mopping?
Answer: Streaks often result from using too much cleaning solution, not rinsing your mop often enough, or the floor not drying quickly enough. Try using less cleaner, rinsing the mop head more frequently, and ensuring adequate ventilation.
Question: Can I use a steam mop on my hardwood floors?
Answer: Steam mops are not generally recommended for hardwood floors. The heat and moisture from steam can damage the wood. Stick with a damp mop and hardwood floor cleaner.
Question: What’s the best way to remove sticky residue from my hardwood floors?
Answer: If you’re experiencing stickiness, you might have residue from an inappropriate cleaner. Try wiping the floor with a clean, damp mop, and consider using a hardwood cleaner designed to remove build-up. You may need to change cleaners if the problem persists.
Question: How often should I mop my hardwood floors?
Answer: The frequency depends on your home. Usually, mopping once a week is enough for moderate use. If you have pets or a lot of foot traffic, you may need to mop more often.
Question: What do I do if I accidentally used too much water on my hardwood floors?
Answer: If you used too much water, dry the floor quickly. Use towels or a dry mop to absorb the excess water. Good ventilation and air circulation can help prevent damage.
Final Thoughts
Keeping your hardwood floors clean and gleaming doesn’t have to be a tough job! The main reason why Why Are Hardwood Floors Still Dirty After Mopping? usually boils down to the right tools, techniques, and cleaning products. We’ve explored the importance of using the correct hardwood floor cleaner, prepping your floors, and using a proper mopping method. By following these steps, you’ll see a clear change, leaving your floors looking brighter and fresher. Don’t let streaks or dullness get you down. With a bit of practice and these simple tips, you can enjoy beautiful, sparkling floors. So, grab your supplies, get to work, and get ready to see the amazing results! You’ve got this!