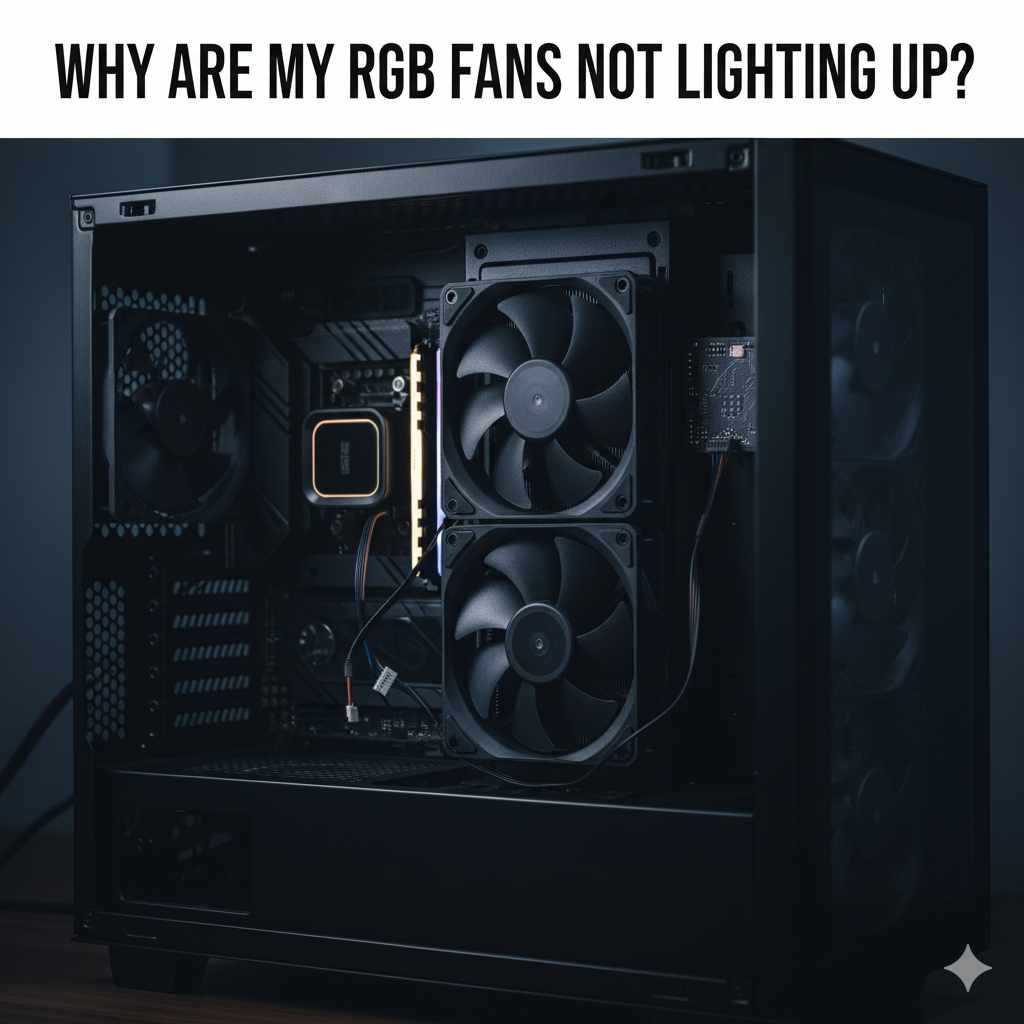
Why Are My RGB Fans Not Lighting Up? Essential Fixes
Quick Summary: If your RGB fans aren’t lighting up, don’t worry! It’s usually a simple fix. Check that all cables are securely plugged in, especially the RGB headers on your motherboard. Ensure your software is correctly configured and your drivers are up-to-date. A loose connection or a software glitch is the most common culprit.
Hey there, fellow DIYers! Ever fired up your computer, expecting a dazzling light show from your new RGB fans, only to be met with… darkness? It’s a common frustration, and I’ve been there myself more times than I care to admit. It can feel disheartening when your custom build isn’t quite living up to its flashy potential. But before you start thinking about returning those fans or calling in a professional, take a deep breath. Most of the time, this is a straightforward issue that you can fix yourself with a few simple checks. Think of it like making sure all your workshop tools are properly connected before you start a project – a loose wire can stop everything in its tracks!
We’re going to walk through the most common reasons why your RGB fans might not be glowing and give you clear, easy-to-follow steps to get them shining. We’ll cover everything from simple cable checks to software settings, so you can get back to enjoying that vibrant PC aesthetic. Let’s dive in and bring your rig to life!
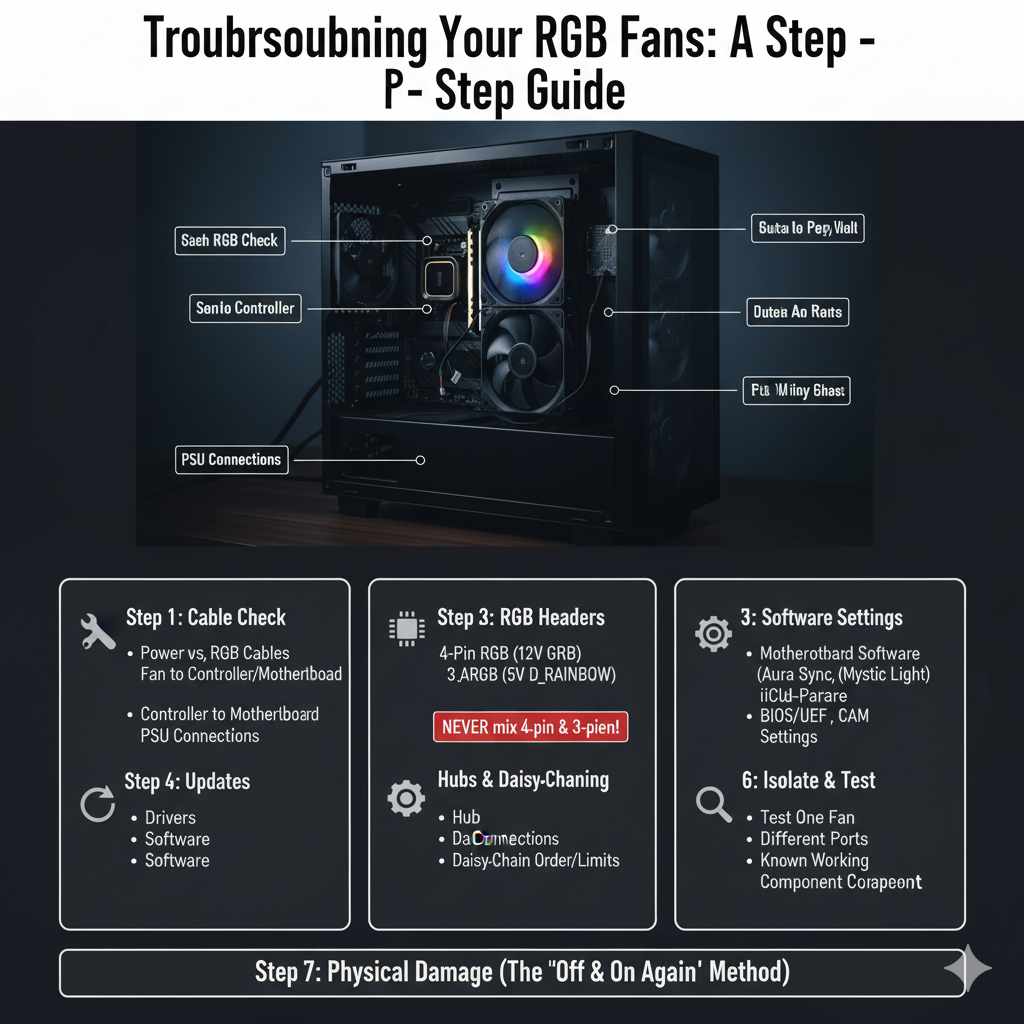
Troubleshooting Your RGB Fans: A Step-by-Step Guide
When your RGB fans decide to go on strike, it’s usually not a sign of a major problem. More often than not, it’s a simple connection issue or a setting that’s been overlooked. Think of troubleshooting like diagnosing a woodworking project; sometimes, a piece isn’t fitting right because a joint isn’t quite flush, or a screw is a little too loose. We just need to find that one small thing that’s out of place.
We’ll start with the most basic checks and work our way up. Remember, patience is key, just like when you’re carefully sanding a piece of wood to get that perfect finish. Grab a Phillips head screwdriver (if you need to open your case), a flashlight, and let’s get started!
Step 1: The Essential Cable Check – Are They All Connected?
This is by far the most common reason for unlit RGB fans. It’s easy to miss a cable, especially when you’re dealing with a lot of them in a PC build. It’s like forgetting to plug in your table saw before you flip the switch!
Power Cables vs. RGB Cables
It’s important to distinguish between the fan’s power cable and its RGB cable.
- Fan Power Cable: This is usually a 3-pin or 4-pin connector that plugs into your motherboard’s fan headers (marked as SYS_FAN, CHA_FAN, etc.) or a fan controller. This cable is what makes the fan spin.
- RGB Cable: This is the cable that carries the lighting information and power to the LEDs in the fan. It’s typically a 4-pin connector (for 12V RGB) or a 3-pin connector (for 5V addressable RGB or ARGB).
Where to Look for Loose Connections:
Open your PC case (make sure it’s powered off and unplugged from the wall first!). Using a flashlight, carefully inspect:
- Fan to Controller/Motherboard: Ensure the RGB cable from each fan is firmly seated in its designated port on your motherboard or RGB controller. Sometimes, these connectors have a small clip to keep them secure, but often they just push in. Give them a gentle wiggle to confirm they’re snug.
- Controller to Motherboard: If you’re using a separate RGB controller (often included with fan kits or cases), check the cable that connects the controller to your motherboard. This is often a USB header or a specific RGB header.
- Power Supply Unit (PSU) Connections: Some RGB controllers or hubs might require a SATA power connection directly from your PSU. Make sure this is plugged in securely.
Step 2: Understanding RGB Headers on Your Motherboard
Your motherboard is the central hub for all your components, including your RGB lighting. Knowing where to plug in those RGB cables is crucial. Think of it like knowing which outlet to plug your drill into – the wrong one won’t work!
Types of RGB Headers:
Motherboards typically have one or both of these types of headers:
- 4-Pin RGB Header (12V GRB): This header is for standard RGB strips and fans. It delivers a consistent color across all LEDs in a single strip or fan. The pins are usually labeled G, R, B, and +12V.
- 3-Pin Addressable RGB (ARGB) Header (5V D_RAINBOW or VDG): This header is for addressable RGB components, which allow for individual LED control, creating more complex lighting effects. The pins are usually labeled D, G, and +5V.
Important Note: Never plug a 4-pin RGB connector into a 3-pin ARGB header, or vice versa. They are not compatible and can damage your components. Always check the labels on your motherboard and the connectors on your fans/strips.
You can often find diagrams of your motherboard’s headers in its manual. If you don’t have the physical manual, a quick search for your motherboard model on the manufacturer’s website will usually bring up a digital copy.
Step 3: Software Settings – The Brains Behind the Lights
Even with everything plugged in perfectly, your RGB fans might remain dark if the software controlling them isn’t set up correctly. This is like having a perfectly wired lamp but forgetting to flip the switch on the wall!
Motherboard Manufacturer Software:
Most motherboard manufacturers provide their own software to control RGB lighting. Examples include:
- ASUS Aura Sync
- MSI Mystic Light
- Gigabyte RGB Fusion
- ASRock Polychrome SYNC
If your fans are connected to your motherboard’s RGB headers, you’ll likely need to use this software. Open it up and check:
- Device Detection: Does the software detect your RGB components? If not, it might indicate a connection issue or that the software isn’t running correctly.
- Lighting Profiles: Ensure that a lighting profile is enabled and not set to “off” or “disabled.” You might need to select a specific mode or color.
- Syncing: If you have multiple RGB devices, make sure they are set to sync or are individually configured as you desire.
Third-Party RGB Controllers and Software:
If your fans came with a separate RGB controller or hub, you might need to use the software provided by the fan manufacturer (e.g., Corsair iCUE, NZXT CAM, Thermaltake TT RGB PLUS). These programs often take over lighting control entirely, even if the fans are plugged into the motherboard headers. Check similar settings within these applications.
BIOS/UEFI Settings:
In rare cases, some RGB lighting control might be managed or even disabled within your motherboard’s BIOS/UEFI settings. To access this:
- Restart your computer.
- As it boots up, repeatedly press the key that brings you into the BIOS/UEFI setup (often DEL, F2, F10, or F12 – check your motherboard manual).
- Navigate through the menus. Look for sections related to “Onboard Devices,” “Peripherals,” “Advanced Settings,” or specifically “RGB Lighting” or “Aura RGB.”
- Ensure that the RGB lighting control is enabled.
- Save your changes and exit the BIOS/UEFI.
Remember, the exact location and naming of these settings vary greatly between motherboard manufacturers.
Step 4: Driver and Software Updates – Keeping Things Current
Just like any other piece of technology, the software that controls your RGB lighting needs to be up-to-date to function correctly. Outdated drivers or software can cause all sorts of glitches, including lighting issues.
Update Motherboard Drivers:
Visit your motherboard manufacturer’s website and download the latest drivers for your specific model. Pay attention to any chipset drivers or specific RGB utility drivers.
Update RGB Software:
Open your RGB control software (Aura Sync, Mystic Light, iCUE, etc.) and check for any available updates within the application itself. Most software will notify you when an update is ready, but it’s always good to check manually.
Operating System Updates:
Ensure your Windows (or other OS) is also up-to-date. Sometimes, OS updates include system-level changes that can affect how hardware and software interact.
Step 5: Checking Fan Hubs and Daisy-Chaining
Many modern PC builds use fan hubs or controllers to manage multiple fans from a single point. This can simplify wiring but also introduces another potential point of failure.
Fan Hub Connections:
If your fans connect to a hub:
- Hub to Motherboard: Ensure the hub is correctly connected to the motherboard (usually via USB header for control and sometimes a separate RGB header).
- Hub Power: Verify that the hub is receiving power, either from a SATA connector from the PSU or directly from the motherboard if it’s a powered header.
- Fan to Hub: Make sure each fan’s RGB cable is securely plugged into the correct port on the hub. Hubs often have numbered or labeled ports.
Daisy-Chaining:
Some RGB fans can be daisy-chained, meaning one fan’s RGB cable connects to the next, and so on, eventually leading back to the motherboard or controller. If you’re daisy-chaining, ensure:
- The first fan in the chain is properly connected to the motherboard/controller.
- Each subsequent fan’s RGB cable is securely plugged into the output of the previous fan.
- The total number of LEDs in the chain does not exceed the limit for that specific header or controller. This is crucial for addressable RGB (ARGB) setups. Exceeding the LED count can cause the lighting to malfunction or not light up at all. For example, a 3-pin 5V ARGB header might support around 60 LEDs, but this varies. Always check your motherboard or controller specifications.
Step 6: Testing Individual Components – Isolating the Problem
If you’ve tried the above steps and still have unlit fans, it’s time to do some detective work to pinpoint which component is causing the issue. This is like testing different pieces of wood to see which one has a knot that’s preventing it from joining smoothly.
Test One Fan at a Time:
Disconnect all but one RGB fan’s cable from the motherboard or controller. Try to get that single fan to light up. If it works, reconnect the next fan and test again. This process can help identify if a single faulty fan or cable is the culprit.
Test Different Ports:
If you have multiple RGB headers on your motherboard or ports on your controller, try plugging the problematic fan into a different port. This will tell you if the issue is with the fan itself or the specific header you were using.
Test with a Known Working Component:
If possible, try plugging a known working RGB component (like a small RGB strip) into the same header and using the same cables you were using for your fans. If the known working component lights up, it strongly suggests your fans or their cables are the issue. If the known working component also doesn’t light up, the problem might be with your motherboard’s header or the control software.
Step 7: Checking for Physical Damage
While less common, physical damage to the fan, cables, or connectors can prevent RGB lighting. This is like finding a crack in a piece of lumber that needs to be addressed.
Inspect Connectors:
Look closely at the pins inside the RGB connectors on both the fans and the motherboard/controller. Are any pins bent, broken, or pushed back? If you see bent pins on the motherboard header, do NOT try to force them back yourself unless you are very experienced, as you can easily damage the motherboard. For fan connectors, a gently bent pin might be carefully straightened with tweezers, but proceed with extreme caution.
Inspect Cables:
Look for any visible signs of damage to the RGB cables themselves – cuts, kinks, or exposed wires. Damaged cables should be replaced.
Step 8: The “Did You Try Turning It Off and On Again?” Method
Sometimes, a simple power cycle can resolve temporary glitches. This is the tech equivalent of a quick fix in woodworking.
- Shut down your computer completely.
- Turn off the power supply switch at the back of your PSU.
- Unplug the power cord from the wall outlet.
- Press and hold the power button on your PC case for about 15-20 seconds. This helps discharge any residual power.
- Plug everything back in and turn on the PSU switch.
- Boot up your computer and see if the RGB lights now work.
Understanding Different RGB Technologies
The world of RGB lighting can seem a bit confusing with all the different terms. Knowing the basics can help you understand why certain connections or software might be needed.
The two main types of RGB systems you’ll encounter for PC fans are:
| Feature | Standard 4-Pin RGB (12V) | Addressable RGB (ARGB) (5V) |
|---|---|---|
| Voltage | 12 Volts | 5 Volts |
| Connector Type | 4-pin (often labeled 12V, R, G, B) | 3-pin (often labeled 5V, D, G) |
| Lighting Control | Controls all LEDs with the same color at once. Effects are basic (e.g., solid color, fade between colors). | Allows individual control of each LED. Enables complex effects like rainbows, animations, and patterns. |
| Compatibility | Requires a 4-pin 12V RGB header on the motherboard or controller. | Requires a 3-pin 5V ARGB header on the motherboard or controller. |
| Potential Issues | Can sometimes cause color inaccuracies if voltage fluctuates. | Overloading the header with too many LEDs can cause issues or damage. |
It’s crucial to match your ARGB fans with ARGB headers and standard RGB fans with standard RGB headers. Trying to mix them can lead to no lights, incorrect colors, or even damaged components. If you’re unsure, consult your motherboard manual or the documentation that came with your fans.
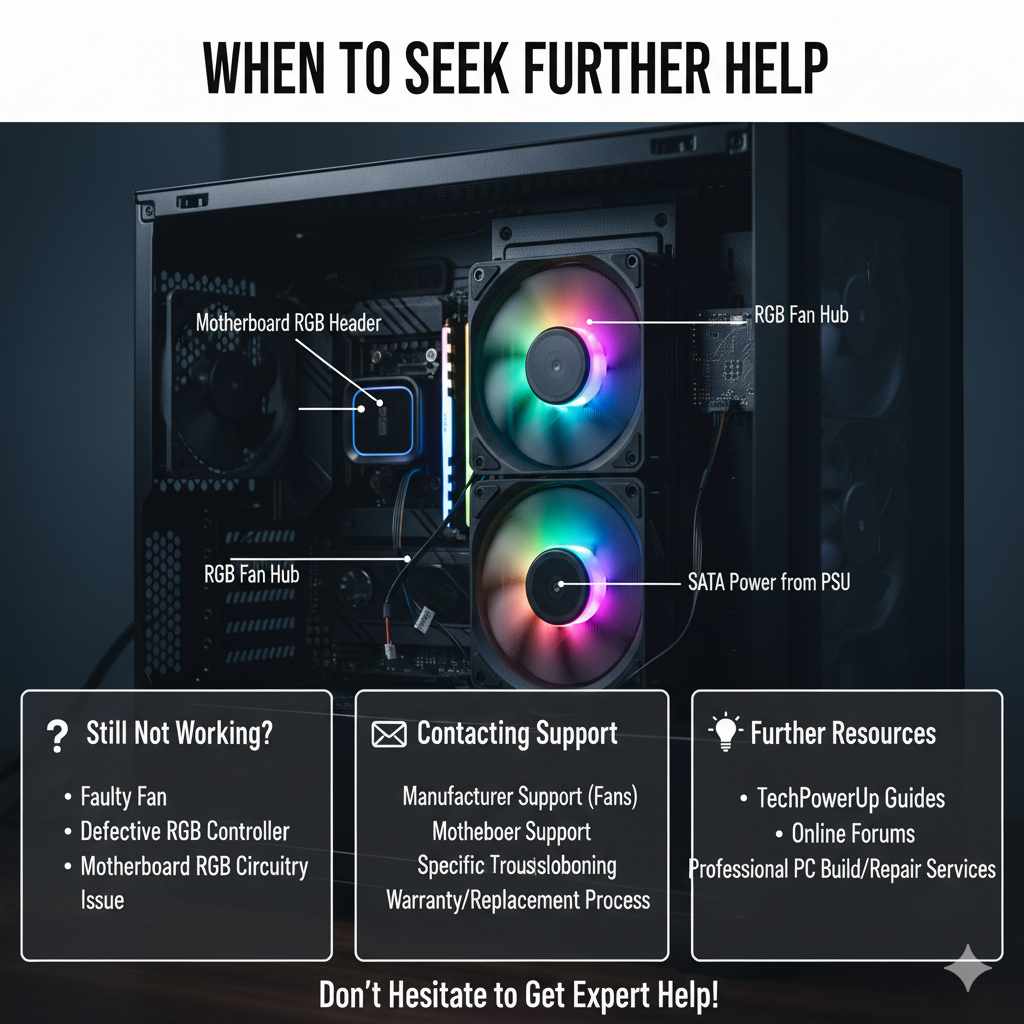
When to Seek Further Help
If you’ve gone through all these steps and your RGB fans still refuse to light up, it’s possible that there’s a more significant issue. This might be a faulty fan that needs replacement, a defective RGB controller, or even a problem with the RGB circuitry on your motherboard.
At this point, it might be time to reach out to the manufacturer of your fans or your motherboard for support. They can often provide more specific troubleshooting steps or guide you through the warranty and replacement process. Don’t hesitate to contact them – that’s what they’re there for! For more in-depth hardware troubleshooting, resources like TechPowerUp offer detailed guides and reviews that can be incredibly helpful.
Frequently Asked Questions (FAQ)
Q1: Can I plug my RGB fans directly into the power supply?
A: No, you cannot plug RGB fans directly into the power supply for lighting. RGB lighting requires specific data signals and voltage control from a motherboard header or an RGB controller. The power supply provides the raw power, but the control comes from elsewhere. You might plug a fan controller or hub into the PSU for power, but the RGB signal still needs to go to the motherboard or controller.
Q2: My RGB fans are spinning, but not lighting up. What does this mean?
A: This almost always means the fan’s power connection is correct (allowing it to spin), but the RGB connection or software control is the issue. Double-check your RGB cables are plugged into the correct headers, ensure your RGB software is running and configured correctly, and verify that the correct lighting profile is selected.
Q3: I have both 4-pin RGB and 3-pin ARGB fans. Can I use them on the same motherboard?
A: Yes, you generally can, as long as your motherboard has both types of headers. You must plug the 4-pin RGB fans into the 4-pin RGB headers and the 3-pin ARGB fans into the 3-pin ARGB headers. Never force a connector into the wrong header, as this can cause damage. You might need separate software control for each type if they are from different ecosystems.
Q4: How many RGB fans can I connect to a single motherboard header?
A: This varies greatly. For standard 4-pin 12V RGB, you can usually connect several fans or LED strips in a daisy-chain or to a splitter, as long as the total power draw doesn’t exceed the header’s capacity (often around 2A or 24W). For 3-pin 5V ARGB, the limit is usually based on the number of LEDs. A common limit for a single header is around 60 LEDs, but this can be less or more depending on the motherboard. Always check your motherboard manual for specific limits to avoid damaging the header or the LEDs.
Q5: I installed new RGB fans, and now none of my lights work. What happened?
A: This could indicate a short circuit or a power issue. Ensure all connections are correct and that no wires are pinched or exposed. If you connected multiple fans or a new controller, re-check all power (SATA or Molex) and data (RGB header) connections. Sometimes, a faulty component can draw too much power and disable the RGB controller or header on the motherboard.
Q6: Is it safe to mix RGB fans from different brands?
A: It’s generally safe to mix RGB fans from different brands if they use the same RGB technology (e.g., all 12V 4-pin RGB or all 5V 3-pin ARGB) and you are connecting them to compatible headers or controllers. However, controlling them all with a single software suite can be challenging. You might need to use the individual software for each brand or rely on motherboard software if it supports multiple ecosystems. For the best experience and easier control, sticking to one brand or ecosystem is often recommended.
Conclusion
Seeing your RGB fans light up is a fantastic part of building a personalized PC. When they don’t, it can feel like a setback, but as we’ve explored, the reasons are usually quite simple. From ensuring every cable is snug and in the right port to making sure your software is up-to-date and configured correctly, these steps cover the most common culprits. Remember that the world of PC building is all about methodical troubleshooting – much like a woodworking project where precision and attention to detail lead to great results. So, take your time, work through these checks systematically, and you’ll likely bring that beautiful RGB glow back to your rig in no time. Happy building, and enjoy the light show!