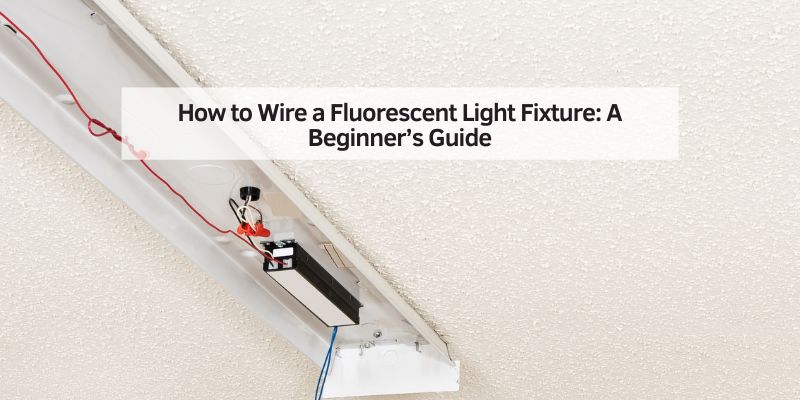
How to Wire a Fluorescent Light Fixture (Wiring Diagram)
Wiring a fluorescent fixture means matching black-to-black, white-to-white, and grounding the metal housing to the ground wire – NEC 410.42 requires that ground connection on any metal fixture. Skipping it, or crossing hot and neutral, can trip a breaker or shock you. This guide covers the full wiring diagram, tools, step-by-step installation, and LED ballast-bypass retrofits.
Why Bother Wiring a Fluorescent Light Fixture?
Fluorescent lights are awesome for a few reasons. They’re super energy-efficient, using up to 75% less power than old-school incandescent bulbs. They also spread light evenly, so no dark corners! I wired one in my basement, and it turned a creepy dungeon into a cozy workspace. Plus, they’re cheap to run, saving you cash on electric bills. But, they can be tricky to wire if you’re not careful, and old fixtures might need extra maintenance.
Tools and Materials You’ll Need
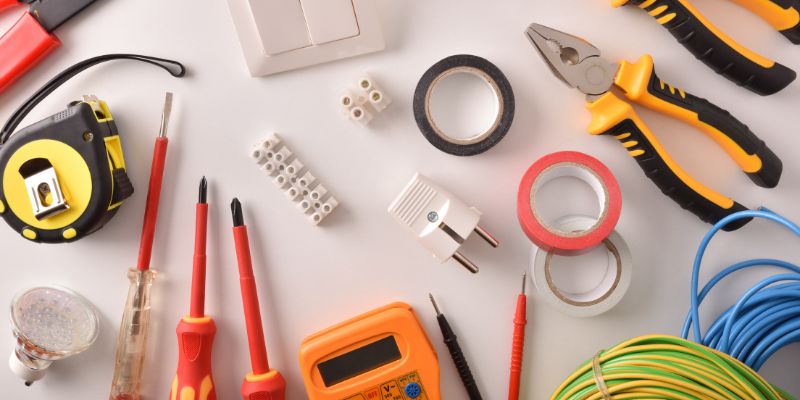
Before you start, grab these simple tools and materials. Most are probably in your toolbox already!
-
Tools:
- Screwdriver (flathead and Phillips)
- Wire stripper
- Voltage tester
- Drill (if mounting to studs)
- Stud finder
-
Materials:
- Fluorescent light fixture (check size: 2ft or 4ft are common)
- Fluorescent tubes (match your fixture’s wattage)
- Wire nuts
- Electrical tape
- Mounting screws or toggle bolts
- 14-gauge electrical wire (if extending circuits)
Table 1: Tool Cost Comparison
| Tool | Budget Option | Mid-Range Option | Why You Need It |
|---|---|---|---|
| Screwdriver | $5 | $15 | Tightens fixture screws |
| Wire Stripper | $10 | $20 | Strips wire insulation |
| Voltage Tester | $8 | $25 | Ensures power is off |
Caption: Budget tools work fine for small projects, but mid-range ones last longer.
Step-by-Step Guide to Wiring a Fluorescent Light Fixture
Here’s how to wire your fixture, broken down into easy steps. Follow along, and you’ll be flipping the switch in no time!
Step 1: Turn Off the Power
Safety first! Head to your circuit breaker and switch off the power to the area you’re working in. Use a voltage tester to double-check that the wires are dead. I learned this the hard way when I got a tiny zap—yikes!
Step 2: Pick the Perfect Spot
Find a spot on your ceiling or wall for the fixture. Use a stud finder to locate ceiling joists for secure mounting. Mark the spots with a pencil. If no studs are nearby, grab toggle bolts for drywall. My garage fixture went right over my workbench for max light.
Step 3: Prep the Fixture
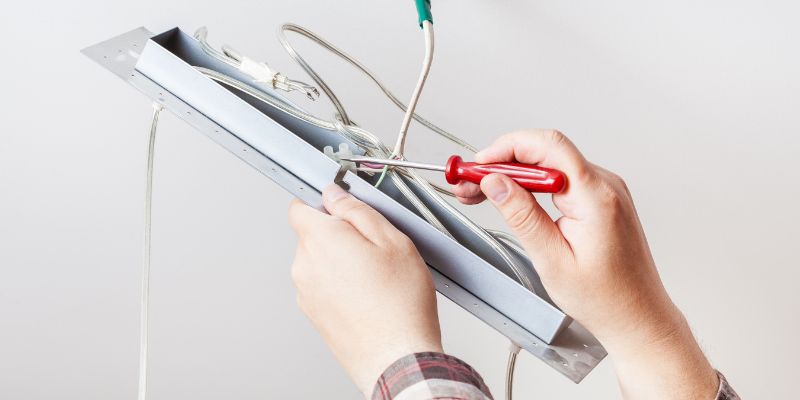
Open the fixture’s cover to access the wiring area. Most have knockouts (small metal tabs) for wires. Pop these out with a screwdriver. Feed your electrical wire through the knockout. If your fixture has a green or bare ground wire, you’re in luck—it’s ready for safe grounding.
📊 NEC 410.42 requires exposed metal parts of a light fixture (like the housing) to be bonded to an equipment grounding conductor – grounding a metal fluorescent fixture is not optional. – Source: NEC 410.42, via UpCodes
“I mixed up the black and white wires once in my basement – big mistake. The light didn’t work, and I had to redo it.”
Step 4: Connect the Wires
Match the wires from your ceiling to the fixture’s wires:
- Black (hot) to black
- White (neutral) to white
- Green or bare (ground) to green or the fixture’s metal frame
Use wire nuts to twist them together tightly, then wrap with electrical tape for extra safety. In my basement, I mixed up the black and white wires once—big mistake! The light didn’t work, and I had to redo it.
Step 5: Mount the Fixture
Line up the fixture’s holes with your pencil marks. Drill screws into the studs or use toggle bolts for drywall. Make sure it’s snug—fluorescent fixtures can be heavy. I used a level to keep mine straight; a crooked light is an eyesore!
Step 6: Install Tubes and Test
Pop in the fluorescent tubes (twist them into the sockets). If your fixture has a starter, make sure it’s locked in. Attach any diffusers or covers. Turn the power back on and flip the switch. If it flickers, check the tubes or starter—sometimes they’re finicky.
Fluorescent Fixture Wiring Diagram
| Ceiling Wire | → | Ballast Input | → | Lamp Sockets |
| Black (hot) | → | Ballast hot lead | → | Powers the tube circuit |
| White (neutral) | → | Ballast neutral lead | → | Completes the circuit |
| Green/bare (ground) | → | Fixture’s metal housing/frame (never through the ballast) | ||
On rapid-start ballasts, each tombstone gets two ballast wires (series wiring); on instant-start electronic ballasts, sockets are wired in parallel – check your ballast’s own wiring label to match the diagram exactly.
Best LED Ballast-Bypass Retrofit Pick
Sunco T8 LED Ballast-Bypass Tubes (10-Pack)
The exact ballast-bypass LED upgrade this guide’s retrofit tip recommends once your ballast fails.
- Best for: replacing a dead ballast with a direct-wire LED setup
- Why we picked it: ballast-bypass design skips future ballast replacement costs
- Main drawback: requires rewiring sockets, not a drop-in bulb swap
Compare more wiring essentials
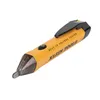 Option 1 Klein Tools Voltage Tester
|
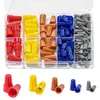 Option 2 Wire Connector Nuts Assortment
|
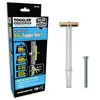 Option 3 TOGGLER SnapToggle Anchor
|
As an Amazon Associate we earn from qualifying purchases.
Benefits and Drawbacks of Fluorescent Lights
Fluorescent lights are great, but they’re not perfect. Here’s a quick rundown:
Table 2: Fluorescent vs. LED Lights
| Feature | Fluorescent | LED |
|---|---|---|
| Energy Use | Low (20-40W) | Lower (10-20W) |
| Lifespan | 10,000 hours | 50,000 hours |
| Cost | $10-20/fixture | $20-50/fixture |
| Light Quality | Good, even spread | Better, customizable |
Caption: LEDs last longer but cost more upfront. Fluorescents are budget-friendly.
Fluorescents save energy and spread light well, but they can flicker or hum if the ballast fails. LEDs are a pricier alternative but last longer and don’t need starters. I stick with fluorescents for big spaces like my garage because they’re cheap and bright.
Common Mistakes to Avoid
- Forgetting to turn off power: Always use a voltage tester. Shocks are no fun!
- Mixing up wires: Double-check black to black, white to white. A mix-up can short-circuit your fixture.
- Skipping the ground wire: This keeps things safe. Don’t ignore it!
- Using wrong tubes: Check the wattage and size (T8, T12, etc.) on your fixture’s label.
Pro Tip: Label your breaker switches. I taped a note to mine after flipping the wrong one twice!
My Personal Tips from Experience
After wiring a few fixtures, I’ve picked up some tricks:
- Buy extra wire nuts: They’re cheap, and you’ll lose one—trust me.
- Test tubes before mounting: Pop them in to check they work. Saves time if they’re duds.
- Keep a flashlight handy: Working in a dark room is no picnic.
- Consider LED retrofits: If your ballast dies, swap to LED tubes for less hassle – see Feit Electric’s ballast-bypass guide for the wiring steps.
Frequently Asked Questions
What’s a ballast, and why do I need it?
A ballast controls the electricity flowing to the fluorescent tubes. It stops them from burning out by giving the right amount of power. Without it, your light won’t work properly or might fizzle out fast.
Can I use LED tubes in a fluorescent fixture?
Yes, but you may need to bypass the ballast. Some LED tubes work with existing ballasts, while others need direct wiring. Check the tube’s label – the same ballast-bypass wiring applies as noted above.
How do I know if my fixture is grounded?
Look for a green or bare wire in the fixture. It should connect to the ceiling’s ground wire or metal box. If it’s missing, add a ground wire to the fixture’s frame for safety.
Why does my fluorescent light flicker?
Flickering usually means a bad tube, starter, or ballast. Try replacing the tube first—it’s the cheapest fix. If that doesn’t work, check the starter or ballast next.
Is wiring a fluorescent fixture safe for beginners?
Yes, if you follow safety steps. Always turn off the power, use a voltage tester, and double-check connections. If you’re unsure, call an electrician to avoid shocks or mistakes.
How long do fluorescent tubes last?
They last about 10,000 hours. That’s roughly a year if used 24/7. Replace them when they dim or flicker to keep your space bright.
Can I plug a fluorescent fixture into a wall outlet?
Yes, with a three-prong cord. Cut the fixture’s quick-connect, attach a grounded cord (black to black, white to white, green to ground), and plug it in.
Wrapping It Up
Wiring a fluorescent light fixture is easier than it looks. Grab your tools, turn off the power, match the wires, and mount it securely. You’ll have a bright, energy-saving light in no time! My garage glows now, and I bet your space will too. Try it out, and don’t be shy—share your project in the comments or ask me for more tips. Let’s keep the lights on!
Sponsored / affiliate links. As an Amazon Associate I earn from qualifying purchases. I may earn additional commission from eligible campaigns.