Where to Attach the Ground Wire on a Light Fixture (NEC 410.42)
A light fixture’s ground wire attaches to its grounding screw (usually green) or to a pigtail spliced to the electrical box’s ground wire – never to a random screw, which NEC 410.42 requires for any fixture with exposed metal parts. Skip it and a short circuit can make the whole fixture live. After installing dozens of fixtures, this guide covers exactly where that wire goes, what to do with no ground wire in the box, and when to call an electrician instead.
Why Grounding a Light Fixture Matters
Let’s start with the basics. Grounding a light fixture is one of those things that might seem like a small detail, but it’s a big deal when it comes to safety. The ground wire’s job is to provide a safe path for electricity to flow in case something goes wrong, like a short circuit. Without it, stray electricity could travel through the fixture’s metal parts, and if you touch it, you could get a nasty shock—or worse.
I remember the first time I skipped grounding because I thought it was optional. A friend who’s an electrician set me straight, explaining how grounding prevents fires and injuries. It’s like the seatbelt of your electrical system—always use it!
“Grounding isn’t optional – it’s what stops a short circuit from turning a metal fixture into a live wire. Think of it as the seatbelt of your electrical system.”
Grounding also keeps your home’s electrical system compliant with the National Electrical Code (NEC), which is a must in the USA. Most local building codes require proper grounding for light fixtures, especially if they have metal parts that could conduct electricity. So, whether you’re installing a ceiling fan, a wall sconce, or a simple flush-mount light, knowing where to attach the ground wire is key.
Understanding the Ground Wire: What It Looks Like
Before we get to the “where,” let’s make sure you can spot the ground wire. In most cases, the ground wire is either bare copper (no insulation) or covered in green insulation. Sometimes, it’s green with a yellow stripe. It’s different from the hot wire (usually black or red) and the neutral wire (usually white). If you’re looking at your light fixture’s wires and the ceiling’s wiring, the ground wire is the one that stands out.
I once worked on an older home where the ground wire was just a thin, bare copper strand tucked behind the others. It was easy to miss, but once I knew what to look for, it became second nature. If your fixture or home wiring doesn’t seem to have a ground wire, don’t panic—we’ll cover that scenario later.
Tools You’ll Need for the Job
Before you start, gather a few tools to make the process smooth. I’ve learned the hard way that having everything ready saves time and frustration. Here’s what I keep in my toolbox for light fixture installations:
| Tool | Purpose |
|---|---|
| Screwdriver (Phillips/Flathead) | To secure screws on the fixture or mounting bracket |
| Wire Strippers | To strip insulation from wires if needed |
| Voltage Tester | To ensure the power is off before working |
| Wire Nuts | To connect wires securely |
| Electrical Tape | To insulate connections |
| Pliers | To twist wires or tighten connections |
Having these tools handy makes the job feel less daunting. I always double-check that the power is off with my voltage tester before touching any wires—it’s a habit that’s saved me from some scary moments!
Best Voltage Tester Pick
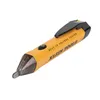
Klein Tools Non-Contact Voltage Tester – $16.94
The exact tool this guide’s Step 1 covers for confirming the power is actually off before touching any wires.
- Best for: confirming dead wires before you ever touch them
- Why we picked it: audible + flashing LED alarm, no accidental misreads
- Main drawback: non-contact testers can occasionally false-positive near other live wiring
Compare more grounding-job essentials
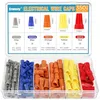 Option 1 350-Pc Wire Nut Assortment – $9.99
|
 Option 2 Klein Tools Wire Stripper – $17.64
|
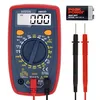 Option 3 AstroAI Digital Multimeter – $14.59
|
As an Amazon Associate we earn from qualifying purchases.
Step-by-Step: Where to Attach the Ground Wire
Now, let’s get to the main event—attaching the ground wire. I’ll break this down into clear steps based on my own experience installing dozens of fixtures. Whether you’re working with a new fixture or replacing an old one, these steps will guide you.
Step 1: Turn Off the Power
Safety first! Before you even think about touching wires, head to your circuit breaker and turn off the power to the area where you’re working. I use a non-contact voltage tester to confirm the wires are dead. One time, I assumed the breaker was off, and I got a small zap—lesson learned! Always verify.
Step 2: Identify the Ground Wire on the Fixture
Most modern light fixtures come with a ground wire. It’s usually a green or bare copper wire attached to the fixture’s metal frame or a grounding screw. Check the fixture’s mounting bracket or base. The grounding screw is often green and located on a metal part of the fixture. If you don’t see a ground wire or screw, look in the fixture’s manual—it might be tucked away or attached differently.
Step 3: Locate the Ground Wire in the Electrical Box
In the ceiling or wall’s electrical box, you’ll find the house’s wiring. Look for the bare copper or green wire—that’s the ground wire from your home’s electrical system. It’s usually connected to a grounding screw inside the electrical box or bundled with other ground wires if you have multiple circuits. In newer homes, this is straightforward, but in older homes, you might not find a ground wire. I’ll cover what to do in that case later.
Step 4: Connect the Ground Wires
Here’s where the magic happens. Take the ground wire from the light fixture and connect it to the ground wire in the electrical box. I like to twist the bare ends together with pliers to make a tight connection, then secure them with a wire nut. If the fixture’s ground wire is too short, you can use a pigtail (a short piece of ground wire) to bridge the gap. Attach one end of the pigtail to the fixture’s grounding screw and the other to the house’s ground wire.
If the electrical box has a grounding screw (usually green or marked), you can also attach the fixture’s ground wire directly to it. I’ve found that some metal electrical boxes are grounded themselves, so connecting to the box’s grounding screw works just as well.
Step 5: Secure the Connection
Once the wires are connected, tug gently to make sure they’re secure. I wrap the connection with a bit of electrical tape for extra protection, though this is optional. Then, carefully tuck the wires into the electrical box so they don’t get pinched when you mount the fixture.
Step 6: Mount the Fixture and Test
With the ground wire connected, proceed to connect the hot and neutral wires (black to black, white to white, usually). Mount the fixture to the electrical box, secure it, and install any bulbs. Then, turn the power back on and test the light. If it works and there’s no flickering, you’ve likely done it right!
What to Do If There’s No Ground Wire in the Electrical Box
I’ve worked on older homes—think pre-1960s—where the electrical box didn’t have a ground wire. It’s not uncommon in vintage houses, and it can make you second-guess yourself. Don’t worry; you’ve got options.
If the electrical box is metal and grounded (you can test this with a multimeter), you can attach the fixture’s ground wire to the box’s grounding screw. This uses the box itself as the grounding path. I did this in my old apartment, and it worked like a charm.
If the box is plastic or there’s no grounding system, you might be tempted to skip grounding, but that’s not safe. Instead, consult an electrician to upgrade your wiring. I learned this the hard way when a friend’s ungrounded fixture caused a circuit issue. An electrician can run a ground wire or suggest a safer workaround.
Common Mistakes to Avoid
Over the years, I’ve made my share of mistakes, and I’ve seen others do the same. Here are some pitfalls to watch out for:
- Skipping the Ground Wire: I get it—it’s tempting to ignore that extra wire. But grounding is non-negotiable for safety.
- Loose Connections: A wobbly ground wire connection can fail when you need it most. Always twist tightly and use a wire nut.
- Mixing Up Wires: Connecting the ground wire to a hot or neutral wire is a recipe for trouble. Double-check the colors.
- Working with Power On: I can’t stress this enough—always turn off the power. It only takes a second to check.
Grounding Different Types of Light Fixtures
Not all light fixtures are the same, and grounding can vary slightly depending on what you’re installing. Here’s how I approach different types:
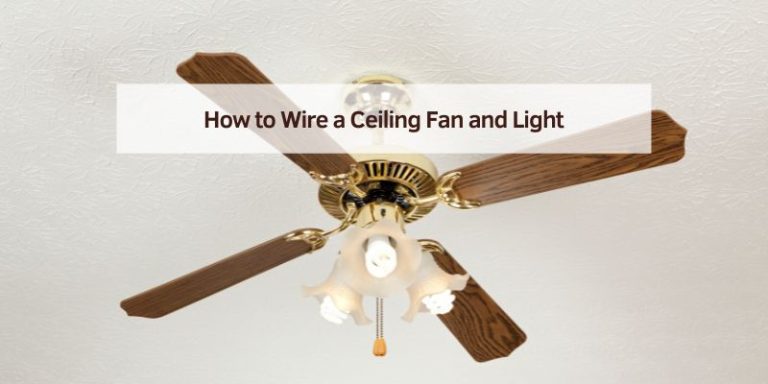
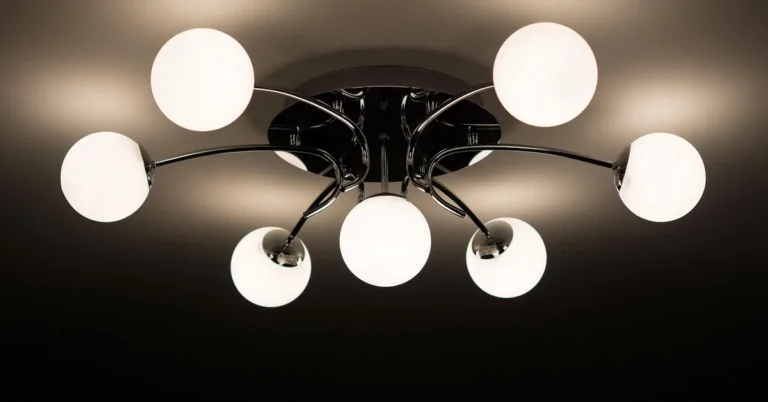
- Ceiling Fixtures (Chandeliers, Flush-Mounts): These usually have a grounding screw on the mounting bracket. Connect the fixture’s ground wire to the house’s ground wire or the box’s grounding screw.
- Wall Sconces: Similar to ceiling fixtures, but the grounding screw might be on the fixture’s backplate. Check the manual if you’re unsure.
- Ceiling Fans: Fans often have two ground wires—one for the fan and one for the light kit. Connect both to the house’s ground wire, usually with a single wire nut.
- Outdoor Fixtures: These need extra attention because they’re exposed to moisture. Ensure the ground connection is tight and consider using a weatherproof electrical box.
Why Grounding Codes Matter in the USA
Grounding and bonding aren’t the same thing, even though the terms get used interchangeably. Grounding connects the system to earth for voltage stabilization; bonding joins conductive metal parts together so a fault current has a low-impedance path back to the breaker, tripping it fast. A fixture can be bonded to the box without being properly grounded to earth – that distinction is why code inspectors check both, not just one.
In the USA, the NEC sets strict rules for grounding to keep homes safe. I’ve learned that inspectors can fail a home’s electrical system if fixtures aren’t properly grounded. If you’re selling your home or doing major renovations, ungrounded fixtures could cause delays or costly fixes. Plus, proper grounding protects your family from electrical hazards, which is reason enough to do it right.
Tips for a Professional Finish
After installing countless fixtures, I’ve picked up a few tricks to make the job look polished:
- Tidy Up Wires: Use wire nuts that fit snugly and tuck wires neatly into the box. A messy setup can cause issues later.
- Check for Compatibility: Ensure your fixture is rated for the voltage and bulb type you’re using. I once installed a fixture that wasn’t compatible with LED bulbs, and it flickered until I swapped it out.
- Label Your Breaker: If you’re working on multiple fixtures, label the breaker to avoid confusion later. It’s a small step that saves headaches.
When to Call an Electrician
I love DIY projects, but some situations call for a pro. If your home’s wiring is outdated, you’re dealing with aluminum wiring, or you’re unsure about grounding, get an electrician. I called one when I moved into a 1940s home with knob-and-tube wiring, and it was the best decision. They can also check if your electrical box is properly grounded, saving you from guesswork.
Conclusion
Attaching the ground wire on a light fixture might seem like a small step, but it’s a crucial one for safety and peace of mind. After years of tackling these projects, I can tell you that taking the time to ground your fixture correctly makes all the difference. You’re not just installing a light—you’re protecting your home and family from electrical hazards.
Whether you’re a first-time DIYer or a seasoned pro, following these steps ensures your light fixture is safe, functional, and up to code. So, grab your tools, double-check that power is off, and get to work. You’ve got this! And when that light flips on, you’ll feel like a pro, knowing you did it right.
Frequently Asked Questions
What if my light fixture doesn’t have a ground wire?
Some older or budget fixtures might not come with a ground wire, especially if they’re non-metallic. If the fixture has no metal parts that could conduct electricity, it might not need grounding. However, if it’s metal, you should add a ground wire or consult an electrician to ensure safety. I’ve seen fixtures without ground wires in older homes, and adding one was a simple fix with a pigtail.
Can I attach the ground wire to any screw?
No, only attach the ground wire to a designated grounding screw, which is usually green or marked. Using a random screw could fail to ground the fixture properly. I made this mistake once, and my electrician friend pointed out that it wasn’t providing a safe path for electricity.
Is it safe to install a light fixture without grounding?
It’s not safe to skip grounding if the fixture has metal parts. Without a ground wire, a short circuit could make the fixture live, risking shock or fire. If your home lacks a ground wire, talk to an electrician about upgrading your system. I’ve seen ungrounded fixtures cause issues, so it’s worth doing it right.
How do I know if my electrical box is grounded?
Use a multimeter to test if the electrical box is grounded. Set it to continuity mode, touch one probe to the metal box, and the other to the house’s ground wire. If it beeps, the box is grounded. I always test this in older homes to avoid surprises.
Do outdoor light fixtures need special grounding?
Yes, outdoor fixtures need tight, secure grounding because they’re exposed to moisture, which increases the risk of electrical issues. Use a weatherproof electrical box and ensure the ground connection is solid. I learned this when installing a porch light that got wet and tripped the breaker until I fixed the ground.
Sponsored / affiliate links. As an Amazon Associate I earn from qualifying purchases. I may earn additional commission from eligible campaigns.