12 Live Edge Wood Projects to Try (Budget Tips Included)
Live edge slabs from walnut, oak, or cedar turn into one-of-a-kind furniture when the wood is dried to 6–8% moisture content before you build — skip that step and even a well-designed coffee table can crack within a year. Cutting corners on drying or end-sealing is the single biggest reason DIY live edge pieces split. This guide covers 12 projects from coffee tables to key racks, plus the budget and finishing tip for each build.
Quick Answer
The easiest live edge wood projects for beginners are coasters, a key rack, or a small serving tray — each uses one slab, basic sanding, and a clear-coat or mineral-oil finish. Bigger builds like a coffee table or headboard need thicker, fully dried slabs (6–8% moisture) and hairpin legs or hardware, but follow the same core steps: sand, seal the edges, finish, and mount.
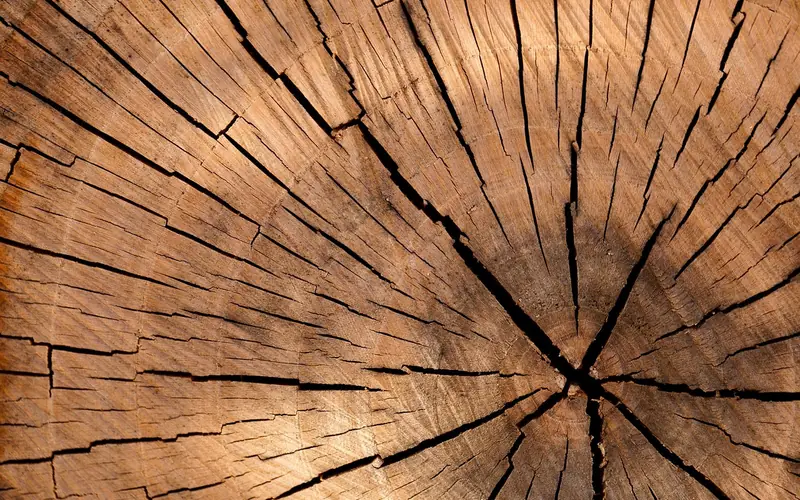
📊 Hardwood lumber destined for furniture is kiln dried to a 6–8% moisture content standard — using a wetter slab is the top cause of warping and cracking in DIY live edge builds. Source: Purdue University Extension, FNR-403-W
| Wood Species | Grain & Color | Best For |
|---|---|---|
| Walnut | Dark brown, rich straight grain | Coffee tables, headboards, statement pieces |
| Oak | Light tan, prominent open grain | Benches, shelves, high-wear surfaces |
| Cedar | Reddish tone, aromatic, naturally decay-resistant | Trays, coasters, and pieces that will see moisture |
Live Edge Wood Coffee Table: Rustic Centerpiece
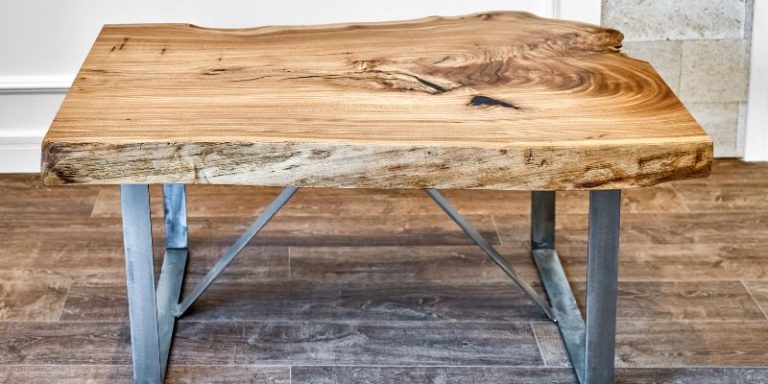
A live edge wood coffee table transforms your living room with its natural beauty and sturdy charm. The irregular edges make it a conversation starter, perfect for cozy gatherings. Browse our full edge wood project library for more ideas, or see our dedicated live edge table projects guide if a table is your main focus.
Inspired by rustic and modern designs, this project highlights the wood’s raw appeal.
- Choose a thick live edge slab (e.g., 2x24x48 inches) like walnut or cedar.
- Sand the top smooth with 80-220 grit, leaving edges natural, and seal with polyurethane.
- Attach metal hairpin legs or wooden supports with screws for stability.
- Style with books, candles, or a tray to enhance the rustic vibe.
- Place in the center of your seating area for maximum impact.
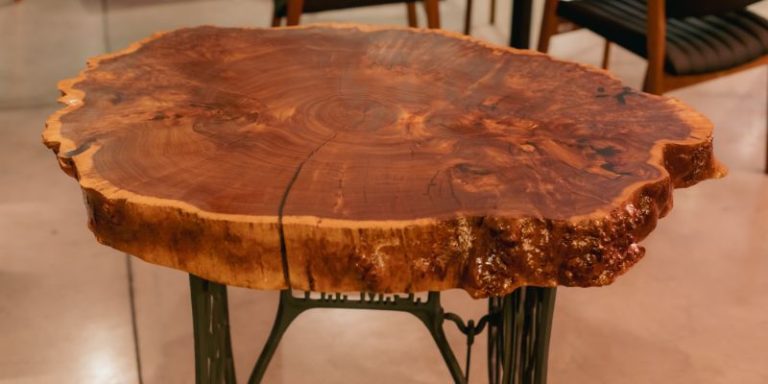
Pro Design Tip: Highlight knots or cracks with clear epoxy for a polished, natural look.
Budget Consideration: Source slabs from local sawmills or reclaim from fallen trees.
Live Edge Wood Wall Shelf: Organic Storage
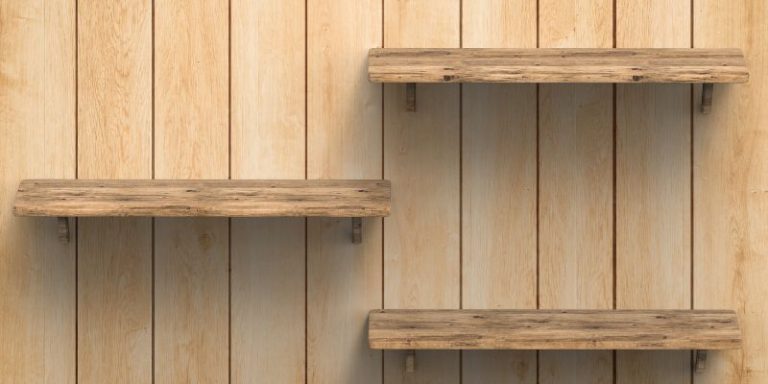
Craft a live edge wood wall shelf to add rustic storage with a natural twist. Its unique edges bring warmth and texture to any room, perfect for displaying decor or books. For more shelf-specific layouts, see our live edge shelving ideas guide.
Drawing from Scandinavian and farmhouse styles, this project is simple yet striking.
- Cut a live edge slab to 12-24 inches long, sanding the top and sealing with a clear coat.
- Attach L-brackets or floating shelf hardware underneath with screws.
- Mount on a wall with anchors, ensuring level placement.
- Style with plants, frames, or small baskets for a cozy look.
- Use in a living room, bedroom, or kitchen for versatile charm.
Pro Design Tip: Stain the underside lightly for contrast while keeping the edge natural.
Budget Consideration: Use smaller offcuts from larger slabs to save money.
Live Edge Wood Cutting Board: Kitchen Charm
A live edge wood cutting board adds rustic flair to your kitchen, doubling as a serving piece. Its natural edges make it both functional and decorative for everyday use.
Inspired by country and artisanal aesthetics, this project is beginner-friendly.
- Select a thin live edge slab (e.g., 1x10x16 inches) like oak or maple.
- Sand both sides smooth with 120-220 grit, sealing with food-safe mineral oil.
- Keep the live edge intact for a unique, organic shape.
- Use for chopping or serving cheese and bread at gatherings.
- Store upright or hang with a drilled hole and twine for display.
Pro Design Tip: Burn a small initial or leaf design for a personal touch.
Budget Consideration: Repurpose scraps from other projects for a free board.
Best Live Edge Finishing Pick
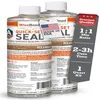
WiseBond Quick Set Seal Epoxy Kit – $38.95
Matches the epoxy-fill tip in the coffee table and wall art projects above — seals cracks and knots in live edge slabs without the long cure times of standard bar-top epoxy.
- Best for: sealing and filling cracks on epoxy river or wall-art pieces
- Why we picked it: fast-curing formula matches this guide’s tip for highlighting knots and cracks
- Main drawback: 1-quart kit only covers small-to-medium slabs; larger tables need multiple kits
Compare more live edge project supplies
 Option 1 Hairpin Furniture Legs (4-Pack) – $19.99
|
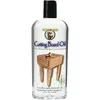 Option 2 Food Grade Mineral Oil 12oz – $9.49
|
 Option 3 Assorted Grit Sandpaper 48-Pack – $7.27
|
As an Amazon Associate we earn from qualifying purchases.
Live Edge Wood Bench: Natural Seating
Build a live edge wood bench for indoor or outdoor use, its raw edges adding rustic charm to your space. Perfect for entryways, patios, or gardens, it’s both sturdy and stylish.
Drawing from farmhouse and woodland designs, this project blends function with beauty.
- Choose a thick live edge slab (e.g., 2x12x48 inches) like cedar or walnut.
- Sand the top smooth, seal with outdoor polyurethane, and leave edges natural.
- Attach metal or wooden legs with screws or bolts for support.
- Add cushions or a blanket for comfort and warmth.
- Place by a door, under a tree, or near a fire pit for cozy seating.
Pro Design Tip: Fill cracks with colored epoxy for a bold, artistic accent.
Budget Consideration: Check local lumberyards for discounted slabs.
Live Edge Wood Wall Art: Organic Masterpiece
Create live edge wood wall art to bring nature’s beauty indoors, its natural edges serving as a rustic canvas. This project adds warmth and texture to any wall.
Inspired by bohemian and naturalist styles, it’s a creative standout.
- Use a live edge slab (e.g., 1x12x24 inches) like oak or cherry.
- Sand lightly and seal with a clear coat to preserve the wood’s grain.
- Burn or paint a design—think trees, stars, or abstract shapes.
- Mount with picture hangers or brackets for a secure display.
- Hang in a living room, bedroom, or hallway for organic charm.
Pro Design Tip: Add LED lights behind for a warm, glowing effect.
Budget Consideration: Use reclaimed wood or small slabs from craft stores.
Live Edge Wood Coasters: Rustic Tabletop Accents
Craft live edge wood coasters for a quick, small project that protects surfaces with natural style. Their irregular edges add a playful, rustic touch to any table.
Drawing from lodge and minimalist aesthetics, these are easy and giftable.
- Cut a thin live edge slab into 4×4-inch pieces, sanding smooth.
- Seal with food-safe mineral oil or polyurethane for durability.
- Keep the live edges intact for a unique, organic look.
- Make a set of 4-6, stacking with twine or a cedar holder.
- Use under drinks or as mini decor pieces on a tray.
Pro Design Tip: Burn a small design like a leaf or wave for added flair.
Budget Consideration: Source scraps from larger live edge projects.
Live Edge Wood Headboard: Bedroom Statement
A live edge wood headboard turns your bedroom into a rustic retreat, its natural edges creating a bold, organic focal point. Perfect for adding warmth and texture to your sleep space.
Inspired by cabin and modern rustic designs, this project is eye-catching.
- Select a wide live edge slab (e.g., 2x48x36 inches) like walnut or cedar.
- Sand the top smooth, seal with polyurethane, and leave edges raw.
- Attach to the wall with brackets or secure to a bed frame with bolts.
- Pair with neutral bedding and soft lighting for a cozy vibe.
- Position behind your bed for a dramatic, natural backdrop.
Pro Design Tip: Fill cracks with clear or tinted epoxy for a sleek finish.
Budget Consideration: Look for affordable slabs at local sawmills or online.
Live Edge Wood Serving Tray: Rustic Entertaining
Make a live edge wood serving tray to bring natural charm to your gatherings. Its raw edges and sturdy build make it perfect for serving snacks or drinks.
Drawing from farmhouse and artisanal styles, this project is both useful and beautiful.
- Use a live edge slab (e.g., 1x12x18 inches) like oak or maple.
- Sand smooth and seal with food-safe polyurethane or mineral oil.
- Attach handles (metal or rope) to the ends with screws or glue.
- Keep the live edges for a rustic, handcrafted look.
- Use for breakfast in bed or as a coffee table centerpiece.
Pro Design Tip: Add a burned border or name for a personalized touch.
Budget Consideration: Repurpose a slab from a local woodworker’s offcuts.
Live Edge Wood Clock: Natural Timekeeper
Craft a live edge wood clock for a rustic, functional piece that adds charm to any wall. Its natural edges make it a unique blend of nature and utility.
Inspired by minimalist and woodland designs, this project is simple yet impactful.
- Cut a live edge slab into a round or irregular shape (e.g., 12×12 inches).
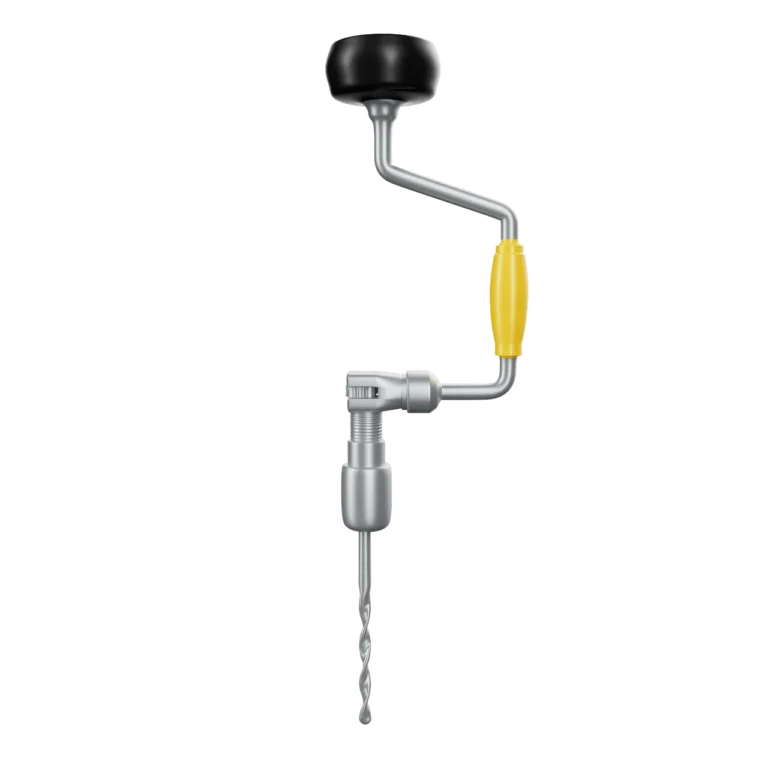
- Sand smooth, seal with a clear coat, and drill a center hole for clock hands.
- Attach a battery-powered clock mechanism (available at craft stores).
- Burn or paint numbers or markers along the edge for readability.
- Hang with a picture hanger or prop on a shelf.
Pro Design Tip: Use bold clock hands for contrast against the wood grain.
Budget Consideration: Buy inexpensive clock kits online or at craft shops.
Live Edge Wood Plant Stand: Organic Display
Build a live edge wood plant stand to showcase your greenery with rustic elegance. Its natural edges elevate small plants or succulents indoors or out.
Drawing from biophilic and modern rustic styles, this project is quick and charming.
- Cut a live edge slab to 10×10 inches, sanding the top smooth.
- Seal with outdoor polyurethane if used outside, or clear coat for indoors.
- Attach short wooden legs (e.g., 6-8 inches) with screws for height.
- Place a potted plant on top, letting the live edge frame the greenery.
- Use in a corner, on a porch, or beside a window for natural appeal.
Pro Design Tip: Stain the legs a contrasting color for a playful twist.
Budget Consideration: Use scrap wood for legs and a small slab.
Live Edge Wood Mirror Frame: Rustic Reflection
Create a live edge wood mirror frame to add organic beauty to your walls. The natural edges around a mirror bring warmth and a touch of the wild indoors.
Inspired by bohemian and farmhouse aesthetics, this project is a standout.
- Select a live edge slab (e.g., 1x24x24 inches) and cut a center hole for a round mirror.
- Sand smooth, seal with a clear coat, and attach the mirror with adhesive.
- Keep the live edges intact for a rugged, rustic frame.
- Hang with heavy-duty hangers in a bathroom, bedroom, or entryway.
- Pair with neutral decor or plants for a balanced look.
Pro Design Tip: Add a thin epoxy layer over the wood for a glossy finish.
Budget Consideration: Source affordable mirrors from thrift stores.
Live Edge Wood Key Rack: Rustic Organizer
Craft a live edge wood key rack for a small, practical project that keeps keys handy with natural charm. Its raw edges add rustic warmth to your entryway.
Drawing from minimalist and country styles, this is an easy, functional piece.
- Cut a live edge slab to 12×4 inches, sanding the top smooth.
- Seal with a clear coat to protect and enhance the wood’s grain.
- Attach 3-4 metal hooks along the bottom with screws.
- Mount on the wall with anchors or adhesive strips for quick setup.
- Burn or paint “Keys” or a small design for a personal touch.
Pro Design Tip: Use rustic hooks (e.g., antler-shaped) for extra charm.
Budget Consideration: Use cedar or oak scraps and inexpensive hooks.
Frequently Asked Questions
Is Live Edge Wood Furniture Worth the Cost?
Yes, for anyone who values natural grain and one-of-a-kind character — but check build quality first. Raw slabs run roughly $8–$20 per board foot, and pieces made from properly dried, well-sealed wood hold their value far better than trend-priced slabs that were never fully dried.
How Do You Keep a Live Edge Slab From Cracking?
Start with a slab dried to 6–8% moisture content, then seal the end grain immediately with wax-based end sealer or boiled linseed oil — most cracks start at the ends because moisture escapes there fastest. Store the finished piece in a stable, climate-controlled space afterward.
What Wood Species Works Best for Live Edge Projects?
Walnut, oak, and cedar are the most common choices. Walnut’s dark, straight grain suits statement pieces like coffee tables and headboards; oak’s open grain holds up to daily wear on benches and shelves; cedar resists decay, making it a better pick for trays and coasters exposed to moisture.
Do You Need Epoxy to Finish a Live Edge Project?
No. Epoxy is only necessary if you’re filling deep cracks, knots, or bark inclusions, or creating a river-table effect. For most smaller projects — coasters, cutting boards, key racks — a food-safe mineral oil or clear polyurethane topcoat is enough.
What Other Live Edge Wood Projects Can I Build?
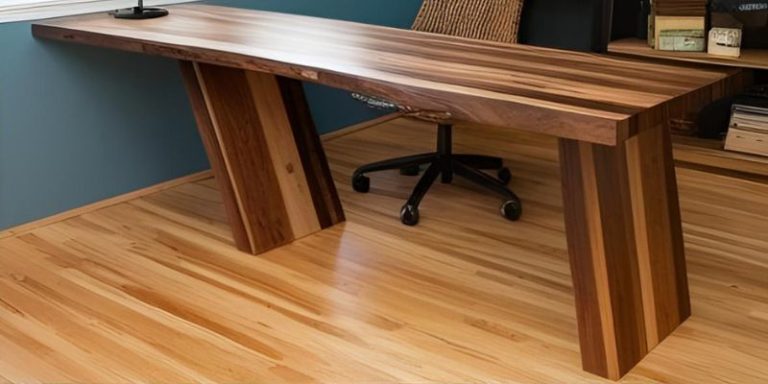
Beyond the 12 projects here, see our dedicated guides to live edge table projects, live edge shelving ideas, and live edge desk designs for more builds using the same slabs and finishing techniques.
Conclusion
Dried slabs (6–8% moisture), sealed end grain, and the right species for the job are what separate a live edge piece that lasts from one that splits within a year. Start small — coasters or a key rack — before committing a walnut or oak slab to a coffee table or headboard build.
Sponsored / affiliate links. As an Amazon Associate I earn from qualifying purchases. I may earn additional commission from eligible campaigns.