DIY Woodworking Projects with Scrap Wood
Match the project to the scrap you already have: thin offcuts suit organizers and inlays, 3/4-inch stock fits boxes and shelves, and long straight pieces work best for frames, stools, and small furniture parts. Choosing the wrong project wastes time, weakens joints, and can leave you buying new lumber anyway. This guide sorts DIY woodworking projects with scrap wood by size, thickness, species, and tool needs so you can choose a project that fits your leftovers.
What can you make from scrap wood?


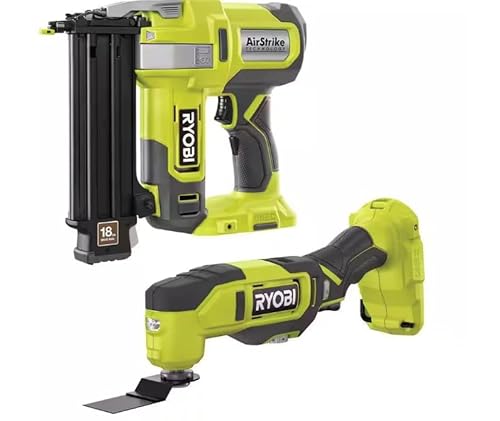
Scrap wood can become small decor, shop helpers, gifts, and simple home pieces when the offcut matches the project’s size and load needs. The best uses are compact builds that fit the scrap without forcing it. Thin pieces, short pieces, and slightly irregular pieces all have a place if you choose the right design.
Quick wins for small offcuts
Small, flat pieces work well for coasters, simple wall pieces, candle holders, and small organizers. Scrap wood coasters can be made in under an hour, and they usually need only sanding and finish. A thin or narrow offcut is fine if the design stays compact.
Projects that use longer boards
Long straight scraps are better for floating shelves, bath tables, small frames, and narrow utility parts. A longer offcut gives you more room for clean edges and stronger joints. If the piece is warped or twisted, keep it for shorter parts only.
Giftable and sellable ideas
Giftable projects are usually the ones that finish cleanly and feel complete in the hand: coasters, cribbage boards, cutting boards, and small trays. Sellable items need straight grain, clean edges, and a finish that looks intentional. A rough project can still be useful, but buyers notice sloppy sanding and mismatched patchwork fast.
Decorative vs. useful builds
Decorative scrap projects are forgiving because they do not need heavy wear resistance. Useful builds need better layout, better fastening, and a closer look at grain direction and thickness. If you want a project that earns shelf space, choose a form that solves a small storage or daily-use problem.
Scrap wood project selector table
This table helps you match the offcut to the project before you cut. The goal is to avoid forcing a short, warped, or odd-shaped scrap into a build that needs straight, matching pieces. As a quick rule: if your scrap is thin and flat, build coasters or inlays; if it is about 3/4 inch thick and straight, build a tray or cutting board; if it is long and straight, build shelves or a bath table.
| Offcut size | Wood type | Required tools | Hardware cost | Finish time | Difficulty | Best-use case |
|---|---|---|---|---|---|---|
| Small flat pieces, roughly coaster-sized | Pine, oak, walnut, or other stable scrap | Sander, saw, finish applicator | Near zero | Under an hour | Beginner | Scrap wood coasters for gifts or table protection |
| About a board foot of straight hardwood | Hardwood only | Saw, clamps, sander | Low if you already have glue and finish | One afternoon | Beginner to intermediate | Scrap wood cutting board or serving tray |
| Thin, straight strips | Pine or other stable softwood | Drill, template, sandpaper | Low | Under an afternoon | Beginner | Cribbage board with evenly spaced peg holes |
| Leftover 2x4s and scrap pine | Pine | Saw, drill, clamps, sander | Low to moderate | Less than an afternoon | Intermediate | Floating shelves that can be stained to match decor |
| Small offcuts with enough depth for a shallow recess | Stable hardwood or softwood | Drill, glue clamps, saw | Low | Short build plus cure time | Intermediate | Magnetic shelf for razors, scissors, and other small items |
| Wide, flat scrap with enough length for both ends | Stable wood that resists warping | Saw, drill, sander, clamps | Low | One afternoon | Beginner to intermediate | Bath table for a book, tablet, or drink |
How to read the table
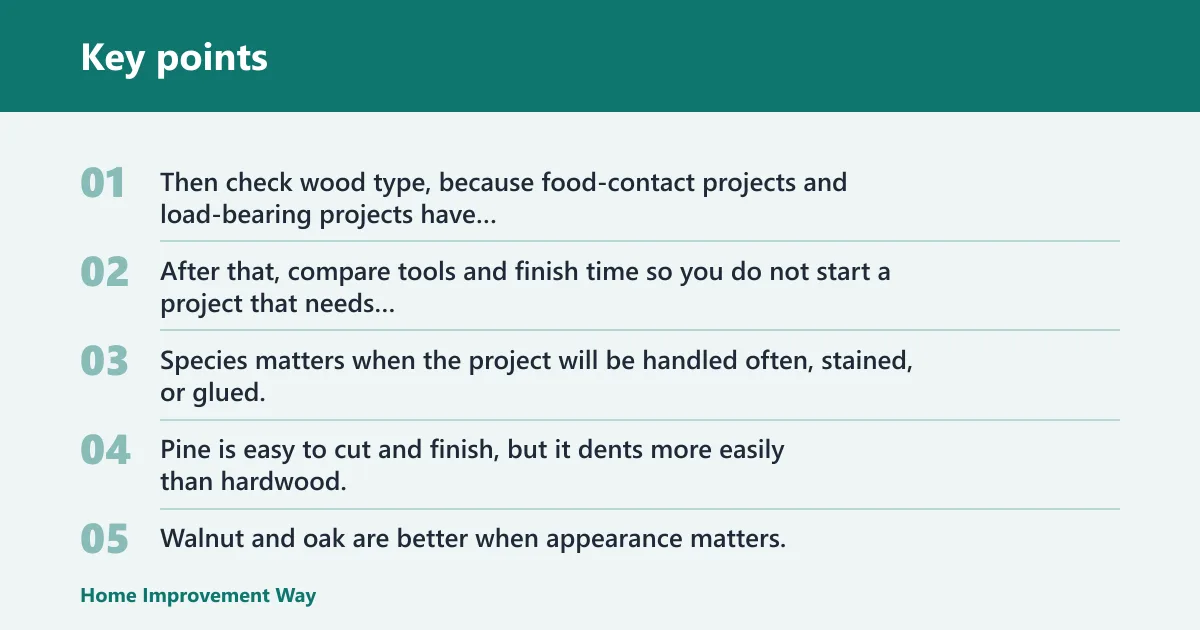
Use the offcut size column first. Then check wood type, because food-contact projects and load-bearing projects have different requirements. After that, compare tools and finish time so you do not start a project that needs equipment you do not have.
Offcut size and species match
Species matters when the project will be handled often, stained, or glued. Pine is easy to cut and finish, but it dents more easily than hardwood. Walnut and oak are better when appearance matters, and hardwood is the safer choice for cutting boards. For decision-making, the Wood Database notes that density, hardness, and movement vary significantly by species, so matching the species to the job is part of choosing stable scrap, not just pretty scrap.
Tools, hardware cost, and finish time
Hardware cost can stay near zero if you already have glue, sandpaper, and finish. More complicated builds need magnets, screws, or templates, but those parts are still inexpensive compared with buying new lumber. If you want a low-commitment project, choose one that finishes in an hour or an afternoon. For a true beginner-friendly setup, a saw, drill, clamps, sanding block or random-orbit sander, tape measure, and square are the minimum useful set.
Best-use case for each project
Pick the project by purpose, not by leftover pride. A 1 1/2 board feet pine offcut is useful for mountain wall art, and that project can be completed in an afternoon. One board foot of hardwood is a better fit for a cutting board or serving tray than for a shelf that needs more span and strength. If your scrap is short and flat, build coasters or small organizers; if it is long and straight, build shelves or a bath table; if it is only a narrow strip, build a cribbage board or trim piece.
How do you choose the right offcut?
Measure usable length, width, and thickness before you commit to a project. Then check for warp, cracks, short grain, and species match. Board feet help compare stock volume, so you can tell quickly whether you have enough material for the project you want or just enough for a smaller build. The standard board-foot formula is thickness × width × length ÷ 144, using inches, so a 1-inch × 6-inch × 24-inch board equals 1 board foot.
Measure usable length, width, and thickness
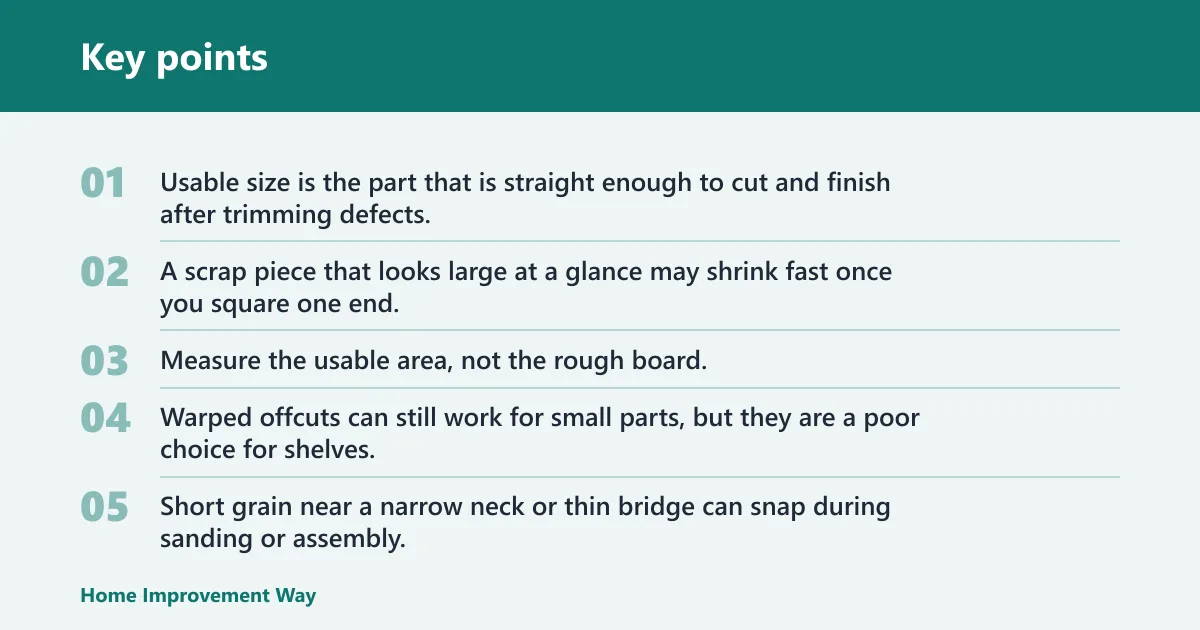
Usable size is the part that is straight enough to cut and finish after trimming defects. A scrap piece that looks large at a glance may shrink fast once you square one end, remove checks, and cut away torn grain. Measure the usable area, not the rough board.
Check for warp, cracks, and short grain
Warped offcuts can still work for small parts, but they are a poor choice for shelves, boards, and anything that needs a flat glue-up. Short grain near a narrow neck or thin bridge can snap during sanding or assembly. Cracks near screw holes or edge glue lines usually mean that piece should be shortened or skipped.
Match species to the job
Use stable hardwood for food-contact items, straight pine for painted or stained decorative work, and matching species when the project needs a uniform look. Mismatched species can stain unevenly and move differently with humidity. That is a common reason a project looks patchy even when the joinery is sound.
Use board feet to compare stock
Board feet are a simple way to estimate usable wood volume and compare project needs. If a project calls for about a board foot and your scrap pile adds up to less than that after trimming, the project will likely need more lumber. The hardwood lumber industry commonly uses the board-foot standard, and using it here keeps the estimate practical instead of vague.
Say your scrap pile includes a straight pine board that is about 24 inches long and roughly 3/4-inch thick by 4 inches wide. That piece is fine for a narrow shelf lip or a small wall project, but it is a poor choice for a wide cutting board because the width and species do not match the job.
Easy one-afternoon projects
One-afternoon projects work best when you want a quick result without a long glue-up or a lot of layout. The best choices here are simple shapes, repeatable cuts, and finishes that dry fast enough for same-day handling. These are the best match for low-commitment scrap use.
Scrap wood coasters
Coasters are the easiest giftable build in the list. They can be made in under an hour, and the process is simple: cut square or round blanks, sand all faces and edges, and apply a finish. Thin flat scraps are enough, and the project tolerates small flaws well.
- Cut the scrap into matching coaster blanks.
- Square the edges or round the corners.
- Sand the faces and edges smooth.
- Apply oil, stain, or clear topcoat as appropriate.
- Let the finish cure before stacking or gifting.
Cribbage board template project
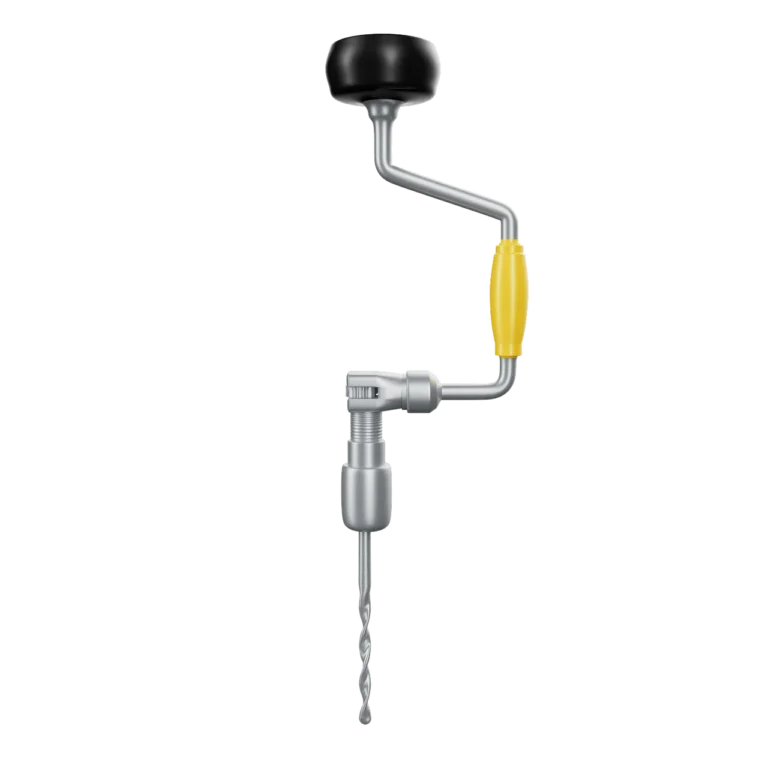
A cribbage board is a good choice when you have a straight offcut and want a project that feels more polished. The peg holes are laid out with a cribbage board template, and you can drill them with a drill press, cordless power drill, or hand drill. Even spacing is what makes the layout look finished.
- Trim the board to a straight, comfortable size.
- Mark the path for the peg holes with a template.
- Drill the holes evenly and keep the depth consistent.
- Sand the board, including the hole edges.
- Finish it with a clear coat or oil that suits the wood.
Magnetic shelf
A magnetic shelf is a compact wall-mounted organizer for razors, scissors, and similar small items. It uses magnets and glue, so the build stays small and practical. Choose a scrap piece that is thick enough for a shallow recess and stiff enough to stay flat on the wall. Neodymium magnets should be set in a snug recess and secured with epoxy or a comparable gap-filling adhesive; a loose magnet can pop out under vibration or repeated use.
- Cut the shelf body from a flat scrap piece.
- Lay out magnet locations and shallow recesses.
- Glue in the magnets and let the adhesive cure fully.
- Sand the shelf smooth and finish it.
- Mount it where the stored items will clear the wall.
Useful larger offcut builds
Larger offcuts can turn into home or shop pieces that do real work. These projects need better fit and finish than coasters, but they still stay manageable when you choose the right scrap. If the piece is straight and thick enough, usefulness goes up fast.
Floating shelves
Floating shelves can be made with leftover 2x4s and scrap pine, and they can be completed in less than an afternoon. A stained finish can help them match existing decor. Keep the profile simple and the boards straight, because the shelf will look better and mount more cleanly. For general home use, 3/4-inch stock is a practical minimum for the visible shell, while the actual load path should be reinforced with proper cleats or brackets rather than relying on face boards alone.
- Pick straight stock and cut the shelf parts to length.
- Assemble the shelf body with square corners.
- Sand the visible faces and soften sharp edges.
- Stain or paint the shelf to match the room.
- Mount it using hardware that matches the wall type and the shelf design.
A bath table is a simple accessory for a book, tablet, or drink, and it works well with small offcuts that are wide enough to span the tub. The design should stay flat, stable, and easy to wipe down. This is a useful project when you want function without a lot of hardware. Use stock thick enough to resist flex; 3/4-inch material is a practical minimum for a short bath bridge, and thicker stock is better when the span is wide or the piece carries a book and drink at the same time.
- Measure the tub width and the usable scrap width.
- Cut a flat board or two-piece top to fit the span.
- Add a stop or small ledge if the item needs to stay put.
- Sand all faces and seal the wood well.
- Let the finish cure fully before use near water.
Can you make a cutting board from scrap wood?
Yes, but only from suitable hardwood scraps. A cutting board or serving tray can be completed in one afternoon, and it is a strong fit if you have about a board foot of scrap hardwood. Do not use treated, contaminated, or questionable reclaimed wood for food-contact items. Food safety guidance from the USDA and FDA is clear: avoid old finishes, unknown coatings, and porous contamination sources on food-contact surfaces.
Use only suitable hardwood scraps
Choose hardwood that is clean, dry, and free of old finish, glue squeeze-out, paint, or unknown contaminants. Straight grain helps the board stay stable and look better after sanding. If the scrap is too narrow for a full board, a serving tray may be a better fit than a cutting surface. Dense hardwoods are generally preferred because they hold up better to repeated knife contact and sanding refreshes.
Avoid unsafe reclaimed wood
Skip any piece that may have been exposed to chemicals, spills, mold, or shop contamination. Reclaimed wood can look attractive and still be wrong for food use. If the source is questionable, keep the piece for a decorative project instead of a kitchen item. For food-contact work, the safest path is clean, known material with no uncertain history.
Sand, glue, and finish choices
Glue the pieces with even pressure, sand through the grits until the surface is smooth, and choose a finish that is appropriate for food-contact use. Oil finishes are common on small boards because they are simple and easy to renew. A clear topcoat can work for serving trays, but it should still cure fully before use. If you plan to oil a board, use a finish labeled for food-contact use and avoid finishes that remain tacky or can transfer flavor.
A common first-timer mistake is using a pretty pine offcut for a cutting board because it is already on hand. Pine dents more easily, and the board usually looks worn sooner than a hardwood board. Save that piece for a shelf or a painted build instead. Pine also has more noticeable seasonal movement and is more prone to knife marks, so it is a poor decision for a cutting surface even when the piece is wide enough.
How do you keep scrap wood projects from looking cheap?
Clean edges, matched proportions, and a thoughtful finish matter more than fancy material. Projects look cheap when the cuts are rough, the sanding stops too soon, or the color choice fights the wood. A simple design with tight joints usually reads better than a crowded one. When mixing species, use a finish strategy that reduces blotching and contrast surprises instead of amplifying them.
Use consistent proportions
Keep parts visually balanced. Narrow pieces need careful spacing, and thick edges should look intentional rather than accidental. If the scrap is awkward, shorten the design so the final object feels planned instead of improvised.
Sand and break edges
Raw saw marks make small projects look unfinished fast. Sand the faces smooth, ease the corners, and remove glue squeeze-out before finish goes on. Even a simple project looks more deliberate when the edges are softened and the surfaces reflect light evenly.
Choose the right finish
Stain helps match decor, paint hides mixed species, oil brings out grain, and a clear topcoat keeps the wood looking natural. Use the finish that fits the job. Small projects often benefit from one simple finish rather than a layered mix that hides the wood. Mixed-species panels can blotch if sanded unevenly or stained without a conditioner, so test on offcuts first and prefer paint or a clear finish when grain color and absorption vary too much.
Frequently asked questions
What to make with scrap wood
Start with the scrap size you actually have. Small flat pieces fit coasters and small organizers, straight strips fit cribbage boards and narrow shelves, and larger offcuts can become floating shelves or a bath table. If the wood is clean hardwood, a cutting board is also a strong option.
What to do with scrap wood
Sort it by size, species, and straightness, then choose one project instead of saving it forever. Keep the best hardwood for food-contact or visible work, and reserve rough or warped pieces for painted or hidden parts. That approach reduces clutter and helps you use the material sooner.
What are easy scrap wood projects for beginners?
Scrap wood coasters are the easiest place to start because they need few tools and finish quickly. A cribbage board is also beginner-friendly if you can drill evenly spaced holes. Both projects teach layout, sanding, and finishing without demanding complex joinery or a large pile of lumber.
What small scrap wood projects can I make in one afternoon?
Coasters fit under an hour, a cutting board or serving tray can finish in one afternoon, and floating shelves can be completed in less than an afternoon if the stock is ready. Mountain wall art is another quick build when you have about 1 1/2 board feet of pine.
What tools do I need for scrap wood projects?
Most small projects need a saw, sander, drill, clamps, and a way to apply finish. Some builds need a drill press, cordless power drill, or hand drill for layout work. Check the project first, because magnetic shelves, cribbage boards, and shelves each need a different tool mix.
How do I choose the right scrap piece for a project?
Measure the usable size, then check for warp, cracks, short grain, and species match. Compare the piece to the project using board feet when the amount of wood matters. If the scrap is too short, too twisted, or the wrong species, move it to a smaller project.
Can I make useful gifts from scrap wood?
Yes. Coasters, cutting boards, cribbage boards, and small trays are strong gift candidates because they look finished and get used. The best giftable pieces have smooth sanding, a clean finish, and a purpose that is easy to understand at a glance.
What scrap wood projects are best for selling?
Small, repeatable, and neatly finished projects sell best because they are easier to price and remake. Coasters, cribbage boards, trays, and compact shelves are good candidates. Avoid items that depend on highly unusual scraps unless the design itself makes the look feel intentional.
What finishes work best on small scrap wood projects?
Oil works well when you want fast application and a natural look. Stain helps match room decor, paint hides mismatched wood, and a clear topcoat protects decorative pieces. Choose the finish based on the project’s use, not just the color of the scrap.
Sponsored / affiliate links. As an Amazon Associate I earn from qualifying purchases. I may earn additional commission from eligible campaigns.