DIY Woodworking Projects with Pine Boards
For many DIY woodworking projects with pine boards, 1x boards are commonly used for shelves, wall organizers, and picture frames, 2x boards are often used for benches or small furniture, and 3/4-inch plywood is typically used when flat panels are needed. Pick the wrong thickness or finish, and parts sag, split, or wear out fast. This guide matches pine-board project ideas to board thickness, tools, finish, and durability needs before you start cutting.
Pine is especially useful for beginner projects because it is soft, affordable, easy to cut and assemble, and sold in common board dimensions and grades. For sanding and finishing basics, see sanding wood. For food-related projects, see food-safe wood finishes and cutting-board care. For outdoor builds, see exterior wood sealers.
What can you do with pine boards?
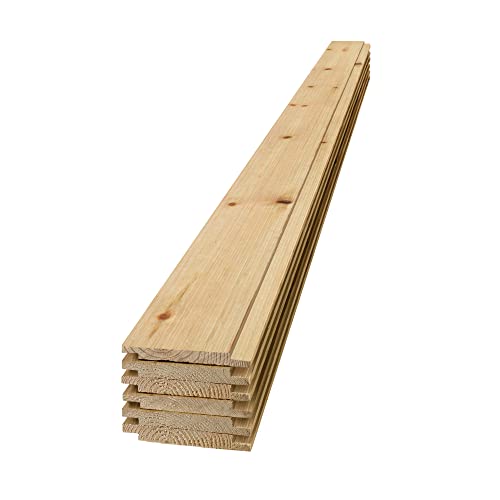

Pine boards work well for beginner projects because the wood is soft, affordable, easy to cut and assemble, and sold in common board dimensions and grades. Use them for home decor, storage, kitchen items, and simple furniture, then seal or finish the surface for durability. The USDA Forest Products Laboratory notes that softwoods like pine are easier to dent than many hardwoods, so finish choice and board thickness matter when the piece will be handled often.
If you want a project that finishes fast, pine is a practical starting point. It cuts cleanly with basic tools, accepts paint well, and can be stained or distressed when you want a different look.
Best pine projects for home decor
Good starter decor builds include shelves, picture frames, signs, and trays. These pieces usually need straight cuts, a few fasteners, and a finish that fits the room rather than heavy structural strength.
A common first-timer mistake is using a thick board where a lighter one would do. A 1x board is often enough for a wall shelf or sign, while thicker stock adds weight and can make mounting harder.
Best pine projects for storage and organization
Storage boxes, drawer dividers, and wall organizers fit pine well because the boards are easy to size and screw together. These projects reward careful measuring and square assembly more than advanced joinery.
Suppose you build a 12-inch by 18-inch entry tray from 1x pine. If the corners are slightly out of square, the tray still works, but the lid, if any, will not sit cleanly. Clamp first, then fasten.
Best pine projects for kitchen use
Cutting boards and serving pieces need a different approach. Use a food-safe finish after sanding and before use, and choose sanded, smooth stock with no loose knots near the working surface. Not every finish that is casually described as “food-safe” is suitable for direct food-contact prep surfaces; for cutting boards, choose finishes specifically intended for food contact and follow the product label and cure instructions. Serving trays are less demanding than cutting boards because they are not used for knife work or repeated moisture exposure.
Side-grain cutting boards make a solid first woodworking project. The build uses five basic steps: cut the boards, glue the strips, trim the edges, sand through the grits, and season the surface. The board materials use wood ¾ to 1 inch thick, and the glue should dry for 24 hours before sanding and trimming.
Pine project selector
This table helps you match the project to the board thickness, tools, finish, and risk before you buy lumber. The tool count includes the basic woodworking tools most beginners already expect: saw, drill, hammer, measuring tape, sandpaper, clamps, and safety glasses.
| Project | Use case | Recommended thickness | Skill level | Tool count | Estimated lumber cost band | Finish type | Common failure risk | Max recommended span/load cue | Indoor/outdoor flag | Board type | Best for beginners |
|---|---|---|---|---|---|---|---|---|---|---|---|
| Wall shelf | Home decor | 1x boards | Beginner | 5 | $ | Paint or clear seal | Sagging from a thin shelf board | Light decor only; short span with bracket support | Indoor | Clear or knotty | Yes |
| Picture frame | Home decor | 1x boards | Beginner | 5 | $ | Paint, stain, or clear seal | Corner gaps from poor miter cuts | No load-bearing span; keep corners tight | Indoor | Clear | Yes |
| Rustic sign | Home decor | 1x boards | Beginner | 5 | $ | Paint, distressing, or weathering | Blotchy paint or overdistressing | No load-bearing span; wall-hung display only | Indoor | Knotty | Yes |
| Storage box | Organization | 1x to 1×2 boards | Beginner | 6 | $ | Paint or protective sealing | Weak fasteners at the corners | Light household storage only; avoid heavy loads | Indoor | Clear or knotty | Yes |
| Tray | Serving or catchall | 1x boards | Beginner | 5 | $ | Food-safe finish for serving use | Rough sanding on the handle edges | Carry light serving loads only; not for cutting | Indoor | Clear | Yes |
| Cutting board | Kitchen use | ¾ to 1 inch | Beginner to intermediate | 6 | $$ | Food-safe finish | Moisture damage from skipped sealing | Knife work surface; choose thickness that resists warp | Indoor | Clear, straight-grained lumber | Yes |
| Planter | Outdoor or patio use | 1×2 to 2x boards | Intermediate | 7 | $$ | Outdoor wood finish | Rot and finish failure from moisture | Soil load plus wet-dry cycling; keep walls stout | Outdoor | Knotty or plywood | No |
| Bench | Functional furniture | 2x boards | Intermediate | 7 | $$ | Protective sealing or paint | Fastener pullout or surface dents | Seat load; use thicker stock and support spans | Indoor or outdoor | Clear or knotty | No |
| Small stool | Functional furniture | 2x boards | Intermediate | 7 | $$ | Protective sealing or paint | Weak joints from undersized screws | Person-bearing load; keep legs and rails robust | Indoor | Clear | No |
| Wall organizer | Organization | 1x boards | Beginner | 5 | $ | Paint or clear seal | Warping from uneven sealing | Light hanging storage only | Indoor | Clear or knotty | Yes |
| Small side table | Functional furniture | 2x boards | Intermediate | 7 | $$ | Paint or stain with sealing | Blotchy stain on soft pine | Tabletop use; keep top flat and legs stable | Indoor | Clear | No |
| Decorative crate | Home decor or storage | 1×2 to 1x boards | Beginner | 6 | $ | Paint, stain, or weathered finish | Loose joints from thin fasteners | Light storage or display only | Indoor | Knotty | Yes |
How to read the table
Start with use case, then choose thickness. A shelf that only holds decor can stay in the 1x range, while a bench or stool needs thicker stock and better fastening because pine dents more easily than harder hardwoods. Pine also moves with changes in moisture, so good finishing and balanced sealing matter on both faces and edges.
The tool count is a planning number, not a shopping list for every model. If you already own a drill, clamps, or a sander, your actual setup may be smaller.
Common failure risks by project type
Soft pine dents easily, and stain can turn blotchy when the surface is not prepared evenly. On outdoor or kitchen pieces, moisture is the bigger risk. On joinery-heavy projects, weak fasteners can split ends or loosen over time.
Match the finish to the risk. Paint hides minor grain issues. Clear sealers keep the wood look. Exterior-rated finish is needed if pine goes outside because it needs moisture and UV resistance. For exterior hardware, use galvanized or stainless fasteners and screws rated for outdoor use, not interior drywall screws.
How do you choose the right pine board?
Pick the board thickness from the load and the location, not from the saw you own. Thin pine works for decorative pieces and light storage, while thicker stock is better for benches, stools, and any part that takes repeated handling. The University of Tennessee Extension and other wood science sources note that pine’s softness makes it more prone to denting than many denser species, so board selection should account for wear as well as appearance.
Board thickness by project use case
Use 1x boards for signs, frames, trays, and wall shelves. Use 1×2 boards when you need a lighter frame with extra stiffness. Use 2x boards for benches, small tables, and other furniture parts that need more depth and screw holding.
For flat panels or boxed surfaces where you need stability, 3/4-inch plywood can make sense. It is useful for cabinet sides, back panels, and tabletops that need a flatter panel than solid pine usually gives.
When to pick clear pine versus knotty pine
Choose clear pine for painted furniture, clean edge joints, or projects where stain needs to look more even. Knotty pine works better for rustic signs, weathered decor, and casual storage where knots add character instead of causing a flaw.
Large knots near cut lines can weaken thin parts. If a knot sits close to a miter corner or shelf front, move the cut or choose a different board.
How common board sizes affect waste and cost
Common lengths and widths help you keep waste down because you can often lay out several short parts from one board. The best way to estimate lumber cost is to sketch the cuts first, then count offcuts that remain too short for another part.
If a project needs four 18-inch rails, one longer board may be more efficient than several short ones. That matters most on small projects, where the lumber bill can rise when you buy extra boards to avoid awkward scrap.
Beginner pine projects that are easy to finish
These four projects are good starting points because they keep the cutting list short and the finishing simple. They also show how to adjust pine for different jobs without changing the whole build process.
Shelf
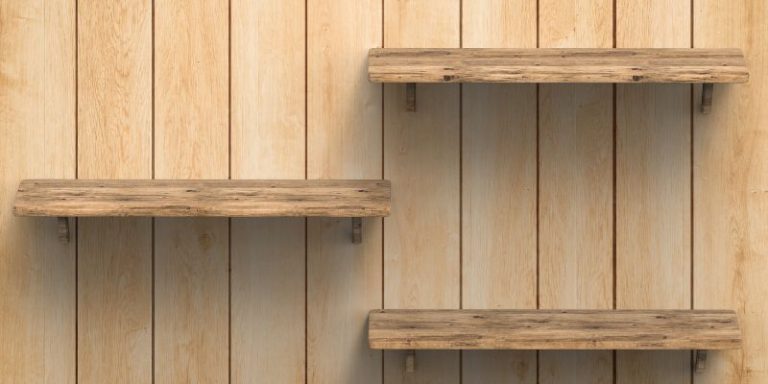
A simple shelf uses one face board, two side supports, and a back cleat or bracket system. Keep the front edge square, predrill for screws, and seal all exposed surfaces before mounting so the board does not cup unevenly.
- Choose a board thickness that matches the span and expected load.
- Use wall anchors or studs appropriate to the shelf weight.
- Sand the front edge thoroughly because it is the most visible and handled surface.
Frame
A picture frame needs accurate miter cuts and light clamping pressure. Sand the mating edges before assembly, then check the diagonals before the glue sets. Paint hides small gaps better than clear finish.
- Dry-fit all four corners before applying glue.
- Use a sanding block to keep miters flat.
- Keep finish thin near inside corners so the opening stays crisp.
Sign
A rustic sign is one of the fastest pine projects because the board can stay flat and simple. Paint the background first, add lettering, then distress only the raised edges and corners if you want a worn look.
- Use knotty pine if you want a more rustic pattern.
- Keep distressing selective so the piece still looks intentional.
- Seal the finished face if the sign will be handled often.
Storage box
A storage box is useful because it teaches square assembly without requiring complex joinery. Use 1x to 1×2 boards, predrill screw holes, and check the corners with a measuring tape and a square before the glue dries.
- Use a square layout before fastening the sides.
- Choose clear pine for a cleaner painted look.
- Keep the bottom panel supported to reduce sag.
Can pine boards be used outside?
Yes, pine boards can be used outside, but only with the right protection. Outdoor pine needs a finish that resists moisture and UV exposure, and it benefits from sealant or stain plus hardware that handles weather better than basic indoor fasteners.
Planters and benches
Planters and benches are the main outdoor pine projects on this list. Planters need careful sealing on every face. Benches need thicker stock, sound joints, and enough finish to slow water entry from the top, underside, and end grain.
Do not leave raw pine on a patio and expect it to hold up. The wood can absorb moisture quickly, then swell, stain, and soften at the edges.
Outdoor wood finish basics
An outdoor wood finish should defend against water and sunlight. In practice, that usually means a stain or sealant rated for exterior use, with attention to end grain, corners, and hidden edges where moisture lingers. Manufacturer instructions for exterior coatings often emphasize recoat timing, full cure, and complete coverage of end grain to reduce early failure.
Apply the finish before assembly when possible. If that is not practical, at least coat the cut ends and inside faces before final fastening.
Moisture, UV, and fastener choices
Moisture damage often starts at screw holes and exposed end grain. Use exterior-rated hardware, keep the fastener heads flush, and avoid thin stock in locations that will stay wet. For outdoor joinery, galvanized or stainless screws are a better choice than plain interior fasteners because they are made to resist corrosion.
For a planter, line the inside only if the lining does not trap water against the wood. Drainage matters more than extra finish when the piece will hold wet soil.
How do you finish pine wood?
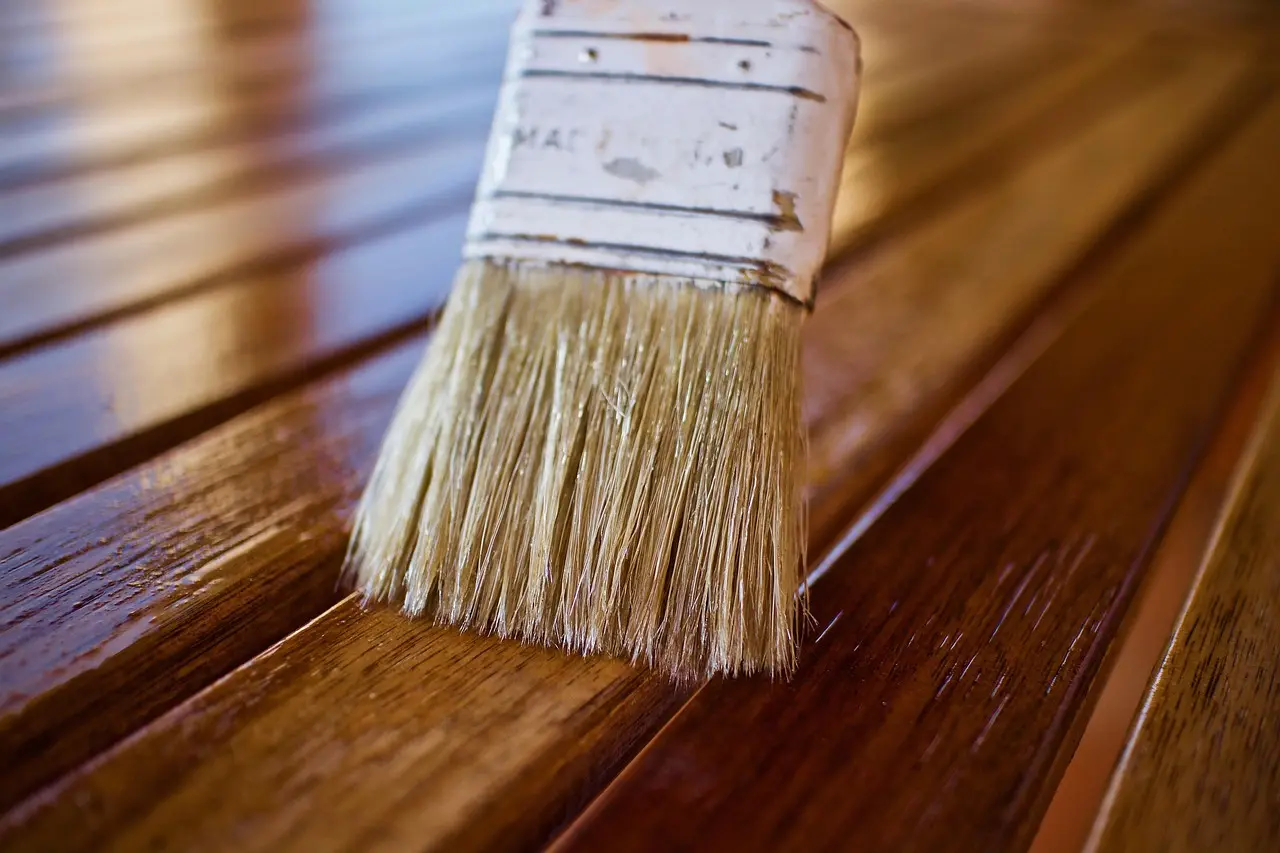
Finish pine by sanding, then choosing stain, paint, or a protective sealer based on the project use case. For decorative indoor pieces, the goal is appearance. For kitchen items and outdoor pieces, protection matters more, and the finish should match the exposure. Finishing guidance from woodworking associations and finish manufacturers consistently emphasizes sanding evenly, removing dust between coats, and following the product’s cure schedule.
Sanding sequence and grit ranges
Use the suggested sandpaper grits in order: 80, 100, 150, and 220. Start coarse enough to remove milling marks, then work finer so the finish has a smooth base. For the cutting-board project, the glue should dry for 24 hours before sanding and trimming. The Woodworkers Guild of America and major finish makers recommend sanding with the grain, stepping through grits gradually, and removing dust before applying finish.
Sand with the grain whenever possible. That keeps scratches from showing through stain or clear finish.
Stain, paint, and protective sealing
Stain works best when you want the grain to stay visible, but pine can blotch if the surface is uneven. Paint hides those blotches and is often the safer choice for signs, organizers, and painted furniture. Protective sealing is the simplest route when you want the natural wood look.
If you want a cleaner stain result, keep the sanding uniform and avoid patchy glue squeeze-out. Uneven absorption is the usual reason pine looks streaky after staining.
Food-safe finish for cutting boards and serving items
Cutting boards and serving pieces need a food-safe finish that is non-toxic and food-contact safe. Apply it after sanding and before use. The seasoning process for the cutting-board build includes waiting 24 hours after applying oil. Serving trays can use a food-contact-safe finish when they will carry food, but cutting boards require a finish specifically appropriate for direct food-contact prep surfaces.
That final wait matters because the surface should not feel oily or tacky before the board goes into service. The finish should be smooth, dry to the touch, and fully wiped down.
How can you make pine boards look weathered?
Make pine look weathered by creating small, uneven wear marks rather than crushing the whole surface. Light distressing, muted paint, and thin stain layers can give a worn look without making the board look damaged or weak.
Distressing without overdoing it
Start with light sanding on corners, edges, and spots that would naturally wear first. Keep the marks selective. If every face is heavily gouged, the project reads as damaged instead of aged.
A common first-timer mistake is hitting every edge with the same intensity. Real wear usually shows up where hands touch, where boards rub, and where paint would chip first.
Weathered paint and stain effects
For a weathered paint effect, use a base coat, then a lighter top coat that you sand back in a few spots. For a weathered stain effect, keep the stain thin and uneven, then finish with a protective seal so the look lasts.
Raw pine takes weathered looks well because the grain shows through quickly. That also means the finish can look busy if you add too much contrast. Hold back on both paint layers and sanding.
How to keep the finish durable
Weathered does not have to mean fragile. Once the look is right, add a clear protective sealer or topcoat that fits the project. That keeps the finish from rubbing off on shelves, signs, and trays.
If the piece will be handled often, skip heavy distressing on the top edge and handhold areas. Those spots wear first anyway.
Frequently asked questions
What can you do with pine wood?
You can build shelves, frames, signs, storage boxes, planters, benches, trays, and cutting boards with pine wood. It is a strong fit for beginner projects because it cuts easily, assembles with basic tools, and comes in common board sizes and grades for quick layout.
How can you make pine wood harder?
Pine does not become hardwood, so the practical way to make it harder is to protect the surface. A good sealer, paint, or topcoat helps it resist dents, moisture, and wear better. For high-touch pieces, choose thicker stock and avoid thin parts that flex easily.
What types of pine boards should I use for furniture or decor?
Use 1x boards for decor, wall organizers, trays, and small shelves. Use 2x boards for benches, stools, and small tables. If the project needs a flat panel, 3/4-inch plywood can help. Clear pine suits painted or clean-looking pieces, while knotty pine fits rustic decor.
Sources: USDA Forest Products Laboratory; University of Tennessee Extension; Woodworkers Guild of America; manufacturer technical sheets from major wood-finish brands on sanding, cure time, food-contact labeling, and exterior-use requirements.
Sponsored / affiliate links. As an Amazon Associate I earn from qualifying purchases. I may earn additional commission from eligible campaigns.