DIY Woodworking Projects with 2x4s
Choose a DIY woodworking project with 2x4s by matching board count to the job: about 4 to 6 boards for small indoor builds, about 8 to 12 for storage pieces, and more only if the project truly needs it. Pick poorly, and you waste money on warped stock, extra cuts, and a build that is too heavy or too weak for the space. This guide sorts 2×4 project ideas by board count, tool simplicity, and whether they belong indoors, in storage, or outside.
Buying checklist: check the actual size you need, choose straight boards with minimal twist, match the wood to the environment, and buy a little extra if the plan uses long spans or visible faces. For outdoor projects, also plan the finish before you cut, because weather protection is part of the build, not an afterthought.
What 2x4s are best for?
A 2×4 board is the most commonly used lumber for construction and framing, and it is also a low-cost pick for DIY wood projects. The catch is that stud-grade 2x4s are cheaper than higher-grade boards, and they may not be as straight. For furniture or decor, that means board selection matters more than price alone.
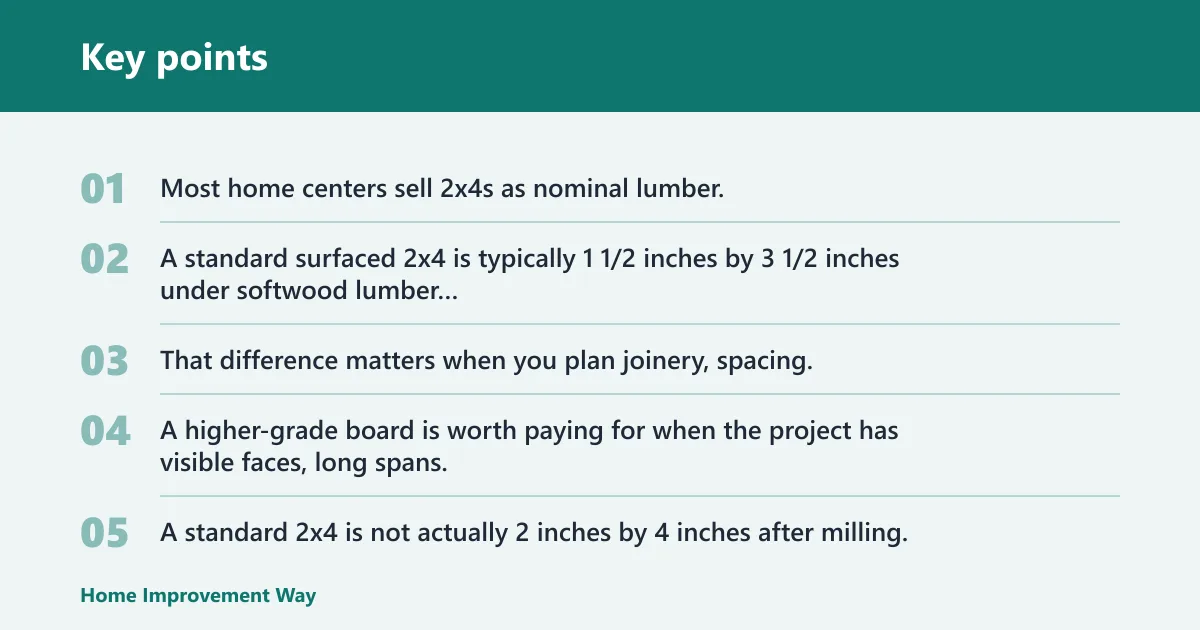
Most home centers sell 2x4s as nominal lumber, so the label says 2×4 even though the actual size is smaller. A standard surfaced 2×4 is typically 1 1/2 inches by 3 1/2 inches under softwood lumber dimension standards. That difference matters when you plan joinery, spacing, or a project that must fit a wall opening. A higher-grade board is worth paying for when the project has visible faces, long spans, or tight alignment needs.
Nominal size vs actual size
A standard 2×4 is not actually 2 inches by 4 inches after milling. Builders and DIYers still call it a 2×4, but the finished board is smaller. That matters when you are planning shelves, a console table, or a cabinet organizer, because the real thickness affects fit and fastener layout. When dimensions have to be exact, plan from the actual size, not the nominal label.
Why stud-grade boards vary
Stud-grade boards are meant for framing, where a little bend is easier to hide than in furniture. They are cheaper than higher-grade boards, but they can vary more in straightness and surface quality. For a bench or table, that means you may need to sort through several boards to find usable stock. Straightness usually matters more than price for visible DIY builds.
When a better board is worth it
Choose a better board when the 2×4 will stay visible, carry weight over a long distance, or sit where small defects will stand out. A desk top, nightstand face frame, or outdoor side table can look rough fast if the stock starts twisted or badly crowned. For hidden framing, plain stud-grade boards are usually fine.
For exterior projects, finish choice matters as much as lumber choice. Extension guidance from universities such as Penn State Extension on exterior wood finishes notes that sunlight and moisture drive most finish failures, so paint or an exterior-rated system is usually the better long-term option for exposed surfaces. For weather-resistant species options, cedar and redwood are commonly used because they naturally resist decay better than many softwoods.
What 2x4s are best for outdoor use?
For outdoor use, pick boards that are straight, minimally split, and easy to seal on all sides before assembly. Cedar or redwood can be a good choice when the project will live outside and the wood will stay visible. For painted outdoor builds, standard pine or fir can work if the finish is maintained and the end grain gets extra protection.
How do you pick straight 2×4 lumber?
Pick boards by checking crown, bow, twist, and split ends before they go in the cart. Straight lumber saves time and makes cuts line up more cleanly. If a board already looks stressed in the rack, it is more likely to fight you after you cut it.
Check for crown, bow, and twist
Hold the board at eye level and sight down its length. A bow curves along the face, a crown curves along the edge, and a twist is the hardest flaw to hide because the corners no longer sit in one plane. For furniture, twist is usually the worst defect because it throws off square joints.
Look for split ends and damage
Split ends weaken the board and can ruin a screw joint near the edge. Also skip pieces with deep knots, crushed corners, or water damage. A common first-timer mistake is grabbing the straightest-looking board from one end only, then noticing a twist near the middle after the cut list is already set.
Quick store checklist for usable boards
- Check both ends for splits.
- Sight down the board for bow or crown.
- Roll or flip the board to look for twist.
- Match the straightest boards to the longest cuts.
- Set aside pieces with heavy knots near screw locations.
Suppose you need a small console table and the plan calls for two long side rails. If one rail has a visible bow, you may still use it in a hidden brace, but not as a front edge. Put the best stock where the eye lands first.
What tools do you need for beginner 2×4 projects?

A beginner 2×4 setup is simple: a saw, a drill, clamps, a square, screws, nails, and sandpaper cover most small builds. The right tool choice depends on whether you want fast assembly or a cleaner furniture look. Screws are easier to adjust; nails can be quicker for some light builds.
Basic cut and drill setup
A miter saw or circular saw handles most 2×4 cuts, and a drill handles pilot holes and screw driving. A square helps keep corners at 90 degrees, which matters on benches, shelves, and tables. Clamps hold parts steady while you fasten them, and sandpaper knocks down sharp edges and rough faces.
Nails vs screws
Nails can work for simple framing-style projects, but screws give more control for furniture and storage builds. Screws also make it easier to pull a joint tight before the last turn. For beginner woodworking, screws are often the safer choice because you can back them out if the alignment is off.
How to prevent splitting
2x4s can split when you drive screws too close to the end or skip a pilot hole. Predrilling helps, especially near ends and in dry stock. Choose a screw length that fits the joint without bursting through the opposite face. If the board is narrow at the connection point, use clamps to keep it from shifting while you fasten it. As a rule, pilot holes are especially important near the ends of softwood members, where splitting risk is highest.
For screw selection, general guidance from manufacturers such as SPAX screw-length guidance is to use enough penetration for a secure hold without overdriving through the back face. In softwood 2×4 builds, that usually means matching screw length to the combined thickness of the joined pieces and leaving room for thread engagement.
2×4 project decision table
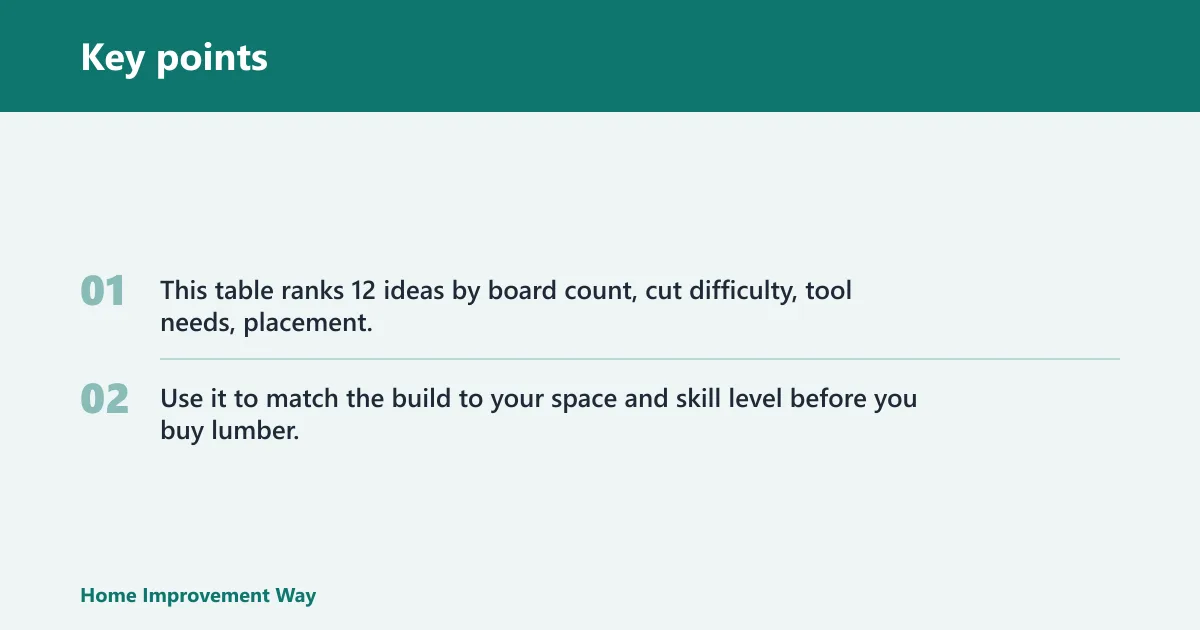
This table ranks 12 ideas by board count, cut difficulty, tool needs, placement, finish time, and common failure risks. Use it to match the build to your space and skill level before you buy lumber.
| Project idea | Lumber count | Estimated finished size | Approx cost range | Beginner suitability | Recommended screw length | Best board type | Cut difficulty | Tool needs | Use | Estimated finish time | Common failure risks |
|---|---|---|---|---|---|---|---|---|---|---|---|
| Blanket ladder | 1 to 2 boards | 18 to 24 in. wide x 60 to 72 in. tall | $10 to $25 | Very beginner-friendly | 1 1/4 in. to 1 5/8 in. | Clear pine or straight stud-grade pine | Low | Saw, drill, screws, sandpaper | Indoor | One afternoon | Uneven spacing, split ends |
| Cabinet organizer | 1 to 2 boards | 12 to 18 in. wide x 8 to 14 in. deep x 12 to 18 in. tall | $10 to $20 | Very beginner-friendly | 1 1/4 in. to 1 5/8 in. | Straight pine or utility fir | Low | Saw, drill, screws, square | Indoor | One afternoon | Racking, weak shelf supports |
| Plant stand | 2 to 3 boards | 12 to 16 in. square x 18 to 30 in. tall | $15 to $30 | Beginner-friendly | 1 5/8 in. to 2 in. | Cedar, redwood, or exterior pine | Low | Saw, drill, screws, clamps | Outdoor | One afternoon | Wobble, poor weather protection |
| Side table | 3 to 4 boards | 16 to 20 in. wide x 16 to 20 in. deep x 18 to 24 in. tall | $20 to $40 | Beginner-friendly | 1 5/8 in. to 2 in. | Clear pine or higher-grade pine for visible faces | Low to moderate | Saw, drill, screws, square | Indoor or outdoor | One afternoon | Top not flat, twisted legs |
| Shelves | 4 to 6 boards | 24 to 36 in. wide x 8 to 12 in. deep per shelf | $25 to $50 | Moderately beginner-friendly | 1 5/8 in. to 2 in. | Straight pine or select-grade lumber | Moderate | Saw, drill, screws, clamps | Indoor | One afternoon to a weekend | Sag, uneven wall attachment |
| Bench | 4 to 6 boards | 36 to 48 in. wide x 12 to 16 in. deep x 16 to 18 in. tall | $30 to $60 | Moderately beginner-friendly | 2 in. to 2 1/2 in. | Clear pine, cedar, or straight exterior lumber | Moderate | Saw, drill, screws, square | Indoor or outdoor | One afternoon to a weekend | Rocking legs, loose joints |
| Nightstand | 4 to 6 boards | 16 to 24 in. wide x 14 to 18 in. deep x 20 to 26 in. tall | $30 to $60 | Moderately beginner-friendly | 1 5/8 in. to 2 in. | Clear pine or premium pine for visible surfaces | Moderate | Saw, drill, screws, sandpaper | Indoor | One afternoon to a weekend | Square issues, rough visible edges |
| Console table | 6 to 8 boards | 36 to 48 in. wide x 10 to 16 in. deep x 28 to 34 in. tall | $40 to $80 | Intermediate beginner | 2 in. to 2 1/2 in. | Straight select pine or better-grade lumber | Moderate | Saw, drill, screws, clamps, square | Indoor | Weekend | Twist in long rails, uneven top |
| Desk | 6 to 8 boards | 42 to 60 in. wide x 20 to 30 in. deep x 28 to 30 in. tall | $50 to $100 | Intermediate beginner | 2 in. to 2 1/2 in. | Straight select pine or stronger grade for long spans | Moderate to high | Saw, drill, screws, clamps, square | Indoor | Weekend | Top sag, poor leg alignment |
| Outdoor bench | 6 to 8 boards | 40 to 60 in. wide x 16 to 20 in. deep x 18 to 20 in. tall | $45 to $90 | Intermediate beginner | 2 in. to 2 1/2 in. | Cedar, redwood, or pressure-treated lumber where appropriate | Moderate | Saw, drill, screws, clamps | Outdoor | Weekend | Weather exposure, cracked ends |
| Picnic table | 10 to 12 boards | 48 to 72 in. wide x 28 to 36 in. deep x 28 to 30 in. tall | $80 to $150 | Advanced beginner | 2 1/2 in. to 3 in. | Exterior-grade lumber with the straightest available stock | High | Saw, drill, screws, clamps, square | Outdoor | Weekend | Heavy weight, warped stretchers |
| Couch frame | 10 to 12 boards | 72 to 84 in. wide x 30 to 36 in. deep x 24 to 30 in. tall | $90 to $180 | Advanced beginner | 2 1/2 in. to 3 in. | Strong, straight lumber selected for long spans | High | Saw, drill, screws, clamps, square | Indoor or outdoor | Weekend | Overbuilt frame, poor weather finish |
Small 2×4 projects for one afternoon
The easiest DIY woodworking projects with 2x4s are usually the ones that use one or two boards and only basic cuts. Those builds are a good fit when you want a quick result, limited waste, and fewer chances to fight warped stock. They also suit leftover lumber better than full furniture plans.
One-board and two-board ideas
One-board projects include a blanket ladder, a small wall shelf, or a simple cabinet organizer. Two-board ideas can add a plant stand, a narrow side table, or a small storage rack. These small 2×4 builds can often be finished in one afternoon, which makes them a useful target for first-time builders and a practical use for offcuts.
Quick decor and utility builds
For interior use, a blanket ladder and cabinet organizer are good choices because they need limited cuts and little hardware. For a utility build, shelves can work well if the span stays short and the support points are placed carefully. These small projects are also a smart way to turn leftover wood into something useful instead of throwing it away.
Picture a narrow laundry room where the only open wall can fit a 24-inch shelf. A single warped board would make that shelf look off even if the cuts are correct. In that case, the project choice is less important than the stock you bring home.
Which 2×4 furniture projects are worth building?
Worthwhile 2×4 furniture projects are the ones that stay simple in shape and moderate in board count. Bench, table, console table, desk, and nightstand projects all make sense when you want sturdy furniture without a full cabinetmaking layout. The best versions keep the joinery direct and the board count under control.
Bench and side
A bench is one of the strongest furniture choices for 2x4s because the shape is simple and the load path is easy to understand. A side table is even simpler, with fewer boards and less joinery. Both are good first furniture builds if you want a visible result without a long cut list.
Table, console table, and desk
A table or console table needs straighter stock than a bench because the top and rails are more visible. A desk adds load concerns, especially if the top spans too far between supports. For these builds, a better-grade board can be worth the cost if it keeps the top flatter and the apron aligned.
Nightstand and similar small furniture
A nightstand is a good middle ground: small enough to finish without a huge lumber bill, but big enough to matter in a room. It also rewards careful board choice because the front edges stay in sight. If the project includes open shelves or drawers, plan for extra time and tighter cuts.
Are 2x4s good for outdoor furniture?
Yes, 2x4s can work for outdoor furniture, but they need the right finish or the right species. Outdoor builds should get paint, stain, or another weather-protective finish, and exposed edges need extra attention. For a natural look, redwood 2x4s are a weather-resistant option that makes sense for some exterior builds.
Paint, stain, and sealer choices
Paint gives the most covering protection, especially when you want to block sun and rain. Stain can keep the wood grain visible, but it usually needs more upkeep than paint on an exposed piece. A sealer can add another layer of protection, though the product choice should match the outdoor exposure and the lumber species.
When redwood 2x4s make sense
Redwood 2x4s make sense when the goal is a weather-resistant outdoor build with a more natural finish. They are a better fit for visible outdoor pieces such as a bench, side table, or plant stand where the wood itself is part of the look. They are not required for every outdoor project, but they can reduce the need for a heavy paint finish.
Outdoor builds that hold up better
Outdoor benches, side tables, and plant stands are better starting points than large couch frames or oversized picnic tables. Smaller builds have fewer joints to protect and less surface area to finish. Outdoor builds from a roundup often need stain or paint for protection, and that step should be part of the plan from the start.
How do I make a 4×4 with 2x4s?
You can make the look or footprint of a 4×4 assembly with 2x4s by laminating boards together, but it is not the same as using a true 4×4 post. Exact lamination options include two 2x4s face-to-face for a roughly 3-inch-thick built-up member, or four 2x4s arranged in a boxed or stacked assembly for a larger non-structural column look. Glue and clamps help, but they do not turn a built-up assembly into a code-rated structural post.
If the goal is a decorative column or a non-structural wrap, built-up 2x4s can work well. If the goal is a support post, a true structural member is the safer route. Do not substitute built-up 2x4s for load-bearing framing, deck posts, or similar structural uses unless the design is specifically engineered for that purpose.
How do you build a 2×4 project?
Most 2×4 projects follow the same basic workflow: choose a simple plan, buy straight boards, cut the pieces to size, dry-fit the joints, then predrill and assemble. After that, sand sharp edges and apply finish if the project will be visible or exposed. Keeping the process simple is the fastest way to avoid avoidable mistakes.
Simple 5-step workflow
First, pick the project and confirm the finished size. Second, buy straight 2x4s and the right screws for the joint depth. Third, cut all parts before assembly. Fourth, dry-fit the frame and square the corners. Fifth, predrill, fasten, sand, and finish the piece.
How to keep the build square
A square is more than a nice extra on 2×4 projects; it keeps the frame usable. Check both diagonals on simple rectangular builds and tighten clamps before driving the last screws. If one corner drifts, correct it while the joints are still movable. Once the fasteners are in, small alignment errors are harder to hide.
Frequently asked questions
What are the easiest DIY woodworking projects with 2x4s?
The easiest projects usually use one or two boards and only straight cuts, such as a blanket ladder, plant stand, cabinet organizer, or small shelf. These builds fit a beginner tool set and keep the failure risk low. They also let you sort through less lumber before you commit to a bigger project.
What can I build with one or two 2x4s?
With one or two 2x4s, you can build a blanket ladder, a small wall shelf, a cabinet organizer, a narrow side table, or a basic plant stand. Those projects are useful because they limit cost, reduce waste, and let you focus on board selection instead of a long cut list.
How do I keep 2×4 projects from cracking when I drive screws?
Predrill near ends, keep screws back from the edge, and choose the right screw length for the joint. Dry boards split more easily, especially at the ends. If the board is small or the joint is tight, clamp the pieces first so the screw is not forced to pull the wood into place.
What 2×4 projects can be finished in one afternoon?
Blanket ladders, cabinet organizers, small shelves, plant stands, and some side tables can often be finished in one afternoon when the cuts are simple and the lumber is straight. That makes them a good fit for people who want a quick win and a lower-stakes way to practice measuring, cutting, and fastening.
Can I use built-up 2x4s instead of a 4×4?
Built-up 2x4s can mimic a 4×4 appearance for decorative work, but they should not be treated as a structural replacement. Two boards laminated face-to-face can make a thicker member, while four boards can create a boxy column look. For load-bearing uses, use a true structural post or an engineered design.
Sponsored / affiliate links. As an Amazon Associate I earn from qualifying purchases. I may earn additional commission from eligible campaigns.