Bracket For Pendant Light: Essential Design
A sturdy bracket for a pendant light is crucial for secure installation, proper weight distribution, and a beautiful, balanced look. Choosing the right one ensures your light hangs safely and stylishly, enhancing your home’s ambiance without worry.
Hanging a pendant light can instantly transform a room, adding style and focused illumination. But sometimes, the simple act of attaching that beautiful fixture feels a bit… wobbly. You might be wondering, “What’s the best way to make sure this stays put?” The secret often lies in the humble, yet mighty, bracket. This isn’t just a piece of metal; it’s the foundation of your light’s design and safety.
Don’t let the thought of electrical work or heavy fixtures intimidate you. Understanding the role of the right bracket is the first step to a confident DIY installation. We’ll walk through everything you need to know, from picking the perfect style to ensuring it’s installed safely and securely. Get ready to illuminate your space with confidence!
What is a Pendant Light Bracket and Why is it Important?
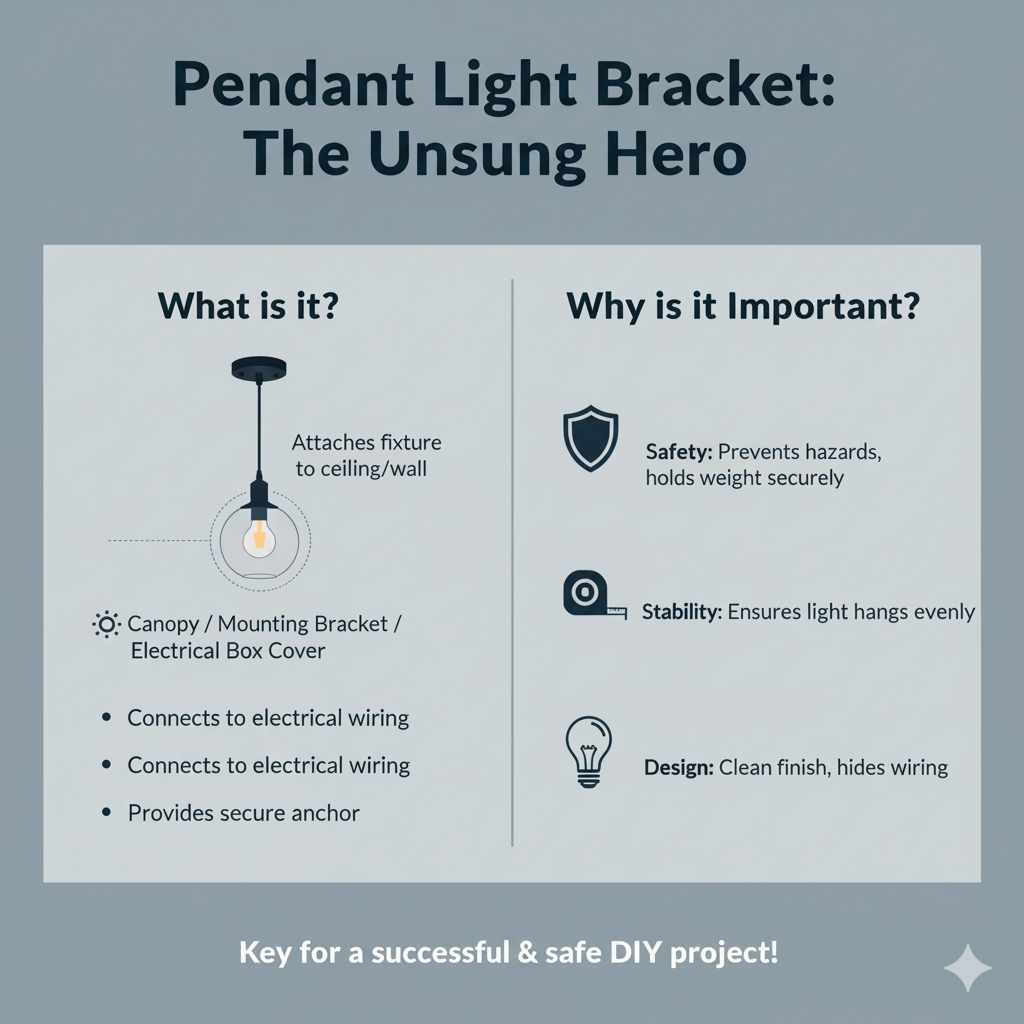
A pendant light bracket, also known as a canopy, mounting bracket, or electrical box cover, is the component that attaches your pendant light fixture to the ceiling or wall and connects it to the electrical wiring. Think of it as the anchor that holds your beautiful light securely in place. It’s not just about holding the weight; it plays a vital role in the overall design and safety of your lighting.
Without the proper bracket, your pendant light could hang unevenly, be a safety hazard, or simply not look as polished as it should. It’s the unsung hero of your pendant lighting installation, ensuring a clean finish and long-lasting stability. For DIYers, understanding this component is key to a successful and safe project.
Types of Pendant Light Brackets
When you’re choosing a bracket for your pendant light, you’ll find a few common types. Each has its own purpose and aesthetic. Knowing these will help you select the best one for your project and your home’s style.
Standard Ceiling Mount Brackets
These are the most common. They typically consist of a metal crossbar that attaches to the electrical box in your ceiling. The pendant’s stem or chain then hangs from this crossbar. The canopy, which is the decorative plate that sits flush against the ceiling, covers the electrical box and the mounting hardware, providing a neat finish.
- Pros: Widely available, versatile, suitable for most pendant lights, provides strong support.
- Cons: Can be basic in appearance, the canopy might need to match the fixture’s style.
Flush Mount Brackets
While pendant lights are typically hung lower, some designs might incorporate a flush-mount style bracket, especially for shallower fixtures or in areas with lower ceilings. These brackets are designed to sit directly against the ceiling, with the light fixture extending downwards from it. They often have a more compact and integrated look.
- Pros: Sleek and modern, good for low ceilings, less obtrusive.
- Cons: Limited design options for pendant styles, may not offer as much adjustability for hanging height.
Swag Hooks and Canopy Kits
For a more decorative and flexible installation, a swag hook can be used. This is a hook installed in the ceiling that the pendant’s cord is looped through. The electrical connection is then often hidden by a decorative canopy that sits at the ceiling, or sometimes, the cord is run along the ceiling and wall to a nearby outlet. This method allows you to hang the pendant away from the direct electrical box location.
- Pros: Adds a design element, allows for flexible placement, great for renters or when an outlet is nearby.
- Cons: Requires careful cord management, may need additional hardware like cord covers, ensure the hook is rated for the weight.
Adjustable Height Brackets
Some modern pendant lights come with specialized brackets that allow for easy adjustment of the hanging height. These often incorporate a pulley system or a secure locking mechanism within the canopy or stem, making it simple to change the light’s position without needing to re-wire or cut cords.
- Pros: Easy to adjust light height, great for evolving decor or different tasks.
- Cons: Can be more complex, might be specific to the fixture.
Essential Design Considerations When Choosing a Bracket
The bracket isn’t just functional; it’s a key part of your pendant light’s overall design. Choosing the right one means considering how it will look and integrate with your fixture and room. Here’s what to keep in mind:
Style and Finish Compatibility
The canopy of the bracket is what you see against your ceiling. It should complement the style and finish of your pendant light. If your pendant has a brushed nickel finish and a modern design, you’ll want a canopy with a similar finish and clean lines. A rustic bronze pendant might look best with a canopy that has a matte black or oil-rubbed bronze finish and a slightly more traditional shape.
Weight Capacity
This is perhaps the most critical safety consideration. Pendant lights can vary significantly in weight. Your bracket and the electrical box it attaches to must be able to support the fixture’s weight safely. Always check the specifications for both your pendant light and the mounting bracket. A light fixture that’s too heavy for its bracket can be a serious hazard.
For heavier fixtures, you might need a specialized mounting bracket or a reinforced electrical box. The National Electrical Code (NEC) provides guidelines for electrical installations, and it’s always a good idea to ensure your installation meets local building codes. For heavy fixtures, you may need to consult a qualified electrician or structural engineer.
Size and Proportion
The size of the canopy should be appropriate for the pendant light and the ceiling space. A very large canopy might overwhelm a small, delicate pendant, while a tiny canopy could look lost on a large, statement fixture. Ideally, the canopy should be slightly larger than the base of the pendant light itself to provide a clean overlap and cover the electrical box completely.
Ceiling Type and Installation Surface
The type of ceiling you have (e.g., drywall, plaster, wood, or a sloped ceiling) will influence the type of bracket and mounting hardware you need. Standard brackets are designed for flat ceilings. For sloped or vaulted ceilings, you’ll need a special sloped ceiling adapter or a swivel canopy that can accommodate the angle. Ensure your bracket is compatible with your ceiling material and that you have a secure mounting point.
Electrical Box Compatibility
The bracket attaches to an electrical box, which is recessed into the ceiling. Most standard pendant light brackets are designed to fit common octagonal or circular electrical boxes. However, some fixtures might require a specific type of box or a heavier-duty box if the fixture is particularly heavy. Always check that the bracket you choose is compatible with the existing electrical box or be prepared to replace the box if necessary. For guidance on electrical boxes, resources like HomeTips’ guide to electrical boxes can be very helpful.
How to Choose the Right Bracket for Your Pendant Light: A Step-by-Step Guide
Selecting the perfect bracket might seem daunting, but by following a few simple steps, you can ensure you make the right choice for a safe, secure, and stylish installation. Let’s break it down:
Step 1: Assess Your Pendant Light
Before you even look at brackets, get to know your pendant light. What is its style? What finish does it have (e.g., brass, black, chrome)? Most importantly, how much does it weigh? This information is usually found in the product manual or on the manufacturer’s website.
Step 2: Determine Your Ceiling Type
Is your ceiling flat, sloped, vaulted, or textured? This will dictate whether you need a standard bracket, a sloped ceiling adapter, or a special mounting system. Measure the height where you plan to hang the light to ensure you have enough clearance for the fixture and the desired hanging height.
Step 3: Check Your Electrical Box
Look up at your ceiling where the light will be installed. You should see a circular or octagonal electrical box. If there isn’t one, you’ll need to have one installed, which might involve hiring an electrician. If there is a box, note its type and condition. Ensure it’s securely mounted to a ceiling joist.
Step 4: Consider the Bracket Style and Finish
Match the bracket’s canopy style and finish to your pendant light and your room’s decor. For a modern look, opt for sleek, minimalist designs. For a traditional space, consider something more ornate. The finish should coordinate with the metal accents on your pendant light and other hardware in the room.
Step 5: Verify Weight Capacity
This is critical for safety. Ensure the bracket’s weight rating is significantly higher than the weight of your pendant light. Most standard brackets are designed for fixtures up to 50 pounds, but it’s essential to confirm. If your light is heavier, you’ll need a heavy-duty bracket and potentially a reinforced electrical box. The National Fire Protection Association (NFPA) offers excellent resources on electrical safety in the home.
Step 6: Look for Ease of Installation
As a DIYer, you’ll appreciate brackets that come with clear instructions and all the necessary hardware. Many brackets are designed for straightforward installation, often with universal mounting systems that fit standard electrical boxes.
Step 7: Read Reviews and Product Descriptions
Before purchasing, read what other users and professionals say about the bracket. Look for comments on durability, ease of installation, and how well it complements different types of pendant lights. Detailed product descriptions will often list dimensions, weight limits, and compatibility information.
Bracket vs. Fixture Weight Comparison Guide
Choosing a bracket that can safely support your pendant light is paramount. Here’s a general guide to help you understand common weight capacities. Always refer to the manufacturer’s specifications for both your light fixture and the mounting bracket, as these can vary.
| Typical Pendant Light Weight Category | Recommended Bracket Weight Capacity | Notes |
|---|---|---|
| Small/Lightweight (e.g., single glass shade, small metal pendant) | 15-30 lbs (approx. 7-14 kg) | Most standard mounting kits can handle this. |
| Medium (e.g., larger shades, multi-bulb fixtures, heavier materials) | 30-50 lbs (approx. 14-23 kg) | Standard “heavy-duty” mounting brackets are usually sufficient. |
| Large/Heavy (e.g., large chandeliers, multi-tiered fixtures, solid wood or metal designs) | 50+ lbs (approx. 23+ kg) | Requires specialized heavy-duty brackets and potentially a reinforced electrical box mounted directly to a ceiling joist. Consult an electrician. |
Remember, the electrical box itself also has a weight rating, and it must be securely attached to a ceiling joist or bracing. If you are unsure about the weight of your fixture or the integrity of your electrical box, it is always best to consult a qualified electrician.
Installation Tips for a Secure Bracket
A well-installed bracket is the foundation of a safe and beautiful pendant light. Here are some tips to help you get it right:
- Safety First: Turn Off Power! Before you do anything, go to your breaker box and turn off the power to the circuit you’ll be working on. Double-check with a non-contact voltage tester to ensure the power is off.
- Use the Right Tools: Have a stepladder, screwdriver set, wire strippers, voltage tester, and potentially a drill ready.
- Secure the Electrical Box: Ensure the electrical box is firmly attached to a ceiling joist or a brace. If it’s loose, the entire fixture will be unstable. You might need to add blocking or use a remodel box if you can’t access the joist directly. Resources like This Old House often have great visual guides for these types of tasks.
- Follow Bracket Instructions: Each bracket will come with specific instructions. Read them carefully and follow them precisely. Universal brackets often have adjustable arms to fit various electrical box sizes.
- Wire Correctly: Connect the wires from the pendant light to the corresponding wires in the electrical box (black to black, white to white, and ground to ground). Use wire nuts securely. If you’re unsure about wiring, this is a job for an electrician.
- Tighten Everything: Once the wires are connected and the fixture is hung on the bracket, ensure all screws and connections are snug but not overtightened, which could strip threads or crack materials.
- Check for Wobble: Gently tug on the fixture to ensure it feels solid and secure.
Common Problems and Solutions
Even with careful planning, you might run into a snag. Here are some common issues and how to fix them:
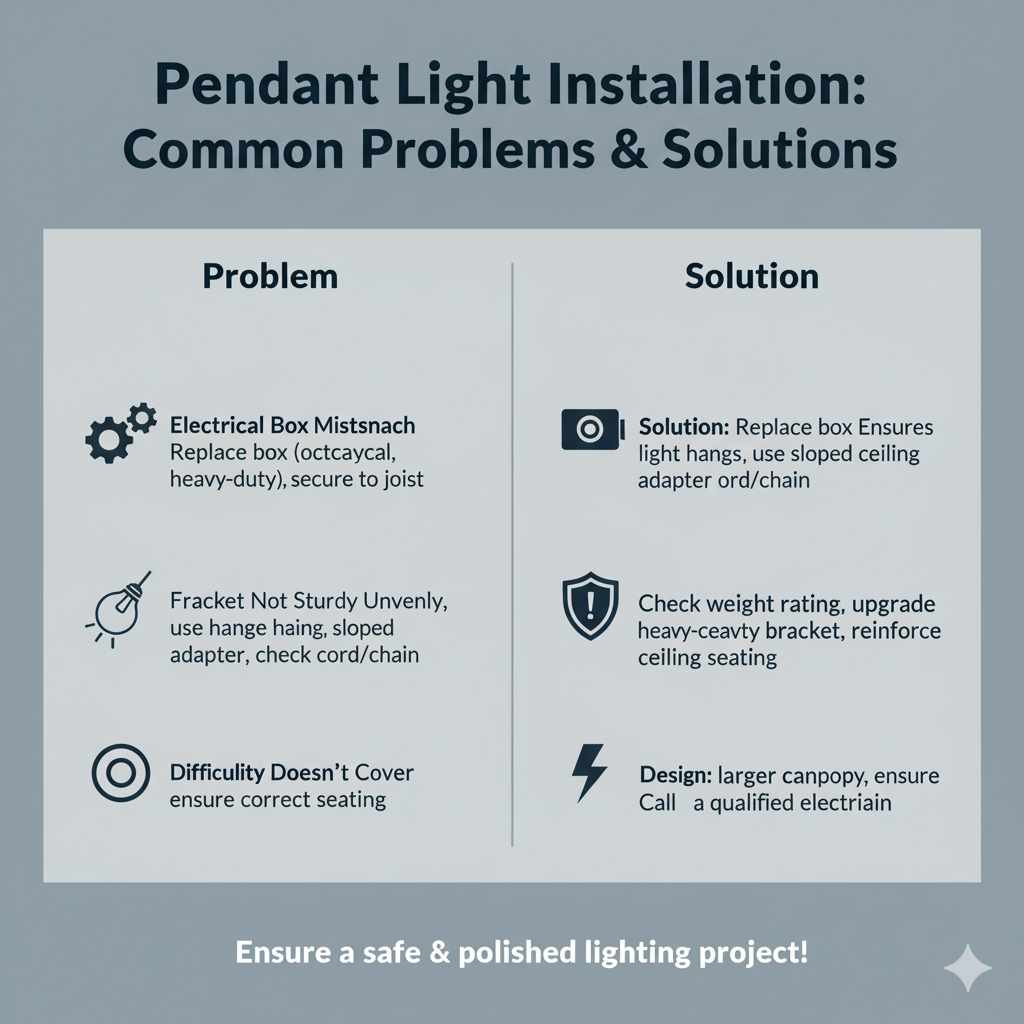
Problem: The Electrical Box is Too Small or the Wrong Shape
Solution: If your new bracket or fixture canopy doesn’t fit over the existing electrical box, you may need to replace the box. For standard pendant lights, an octagonal box is common. If you have a heavier fixture, you might need a metal box rated for heavier loads. Ensure the new box is securely mounted to a ceiling joist.
Problem: The Fixture Hangs Unevenly
Solution: This is often due to an improperly installed mounting bracket or an uneven ceiling. Ensure the bracket is perfectly level. If you have a sloped ceiling, you absolutely need a sloped ceiling adapter or a swivel canopy designed for that angle. Check that the chain or cord is not kinked or caught on anything.
Problem: The Bracket Doesn’t Seem Sturdy Enough
Solution: Double-check the weight rating of your bracket against the weight of your pendant light. If the light is heavier than the bracket’s rating, you must use a heavy-duty bracket designed for that weight. Also, ensure the electrical box itself is securely attached to the ceiling structure. For very heavy fixtures, consider reinforcing the ceiling joist or using a specialized support system.
Problem: The Canopy Doesn’t Cover the Electrical Box or Bracket
Solution: This usually means the canopy is too small for the fixture or the mounting hardware. Some fixtures come with different sized canopies, or you can purchase a larger universal canopy that matches the finish of your fixture. Ensure the canopy is seated correctly against the ceiling.
Problem: Difficulty Wiring the Fixture
Solution: Electrical wiring can be tricky and dangerous if not done correctly. If you’re not comfortable identifying wire colors or making secure connections, it’s best to call a qualified electrician. They can ensure the wiring is done safely and up to code.
FAQ About Pendant Light Brackets
Q: Do I need a special bracket for a sloped ceiling?
A: Yes, typically. Standard flat ceiling brackets won’t work on a slope. You’ll need a bracket with a swivel mechanism or a dedicated sloped ceiling adapter that allows the fixture to hang straight down.
Q: How heavy can a pendant light bracket hold?
A: Standard brackets are often rated for up to 50 pounds. However, this varies greatly. Always check the product specifications for both the bracket and your light fixture. Heavy-duty options are available for much heavier lights.
Q: Can I use any canopy with any pendant light?
A: Generally, the canopy comes with the pendant light fixture. If you’re replacing a canopy, you need to ensure it’s compatible with the fixture’s mounting system and covers the electrical box and mounting bracket securely.
Q: What is the difference between a bracket and a canopy?
A: The bracket is the internal structural component that attaches to the electrical box and supports the fixture’s weight. The canopy is the decorative plate that covers the bracket and electrical box, providing a finished look against the ceiling.
Q: Do I need an electrical box if I am using a swag hook?
A: Yes, you still need an electrical box to safely house the wiring connections. The swag hook attaches to the electrical box or a securely reinforced point in the ceiling, and the fixture’s wiring connects inside the box.
Q: What if my pendant light cord is too long?
A: You can shorten the cord. Most modern pendants have a way to adjust the cord length, often within the canopy or stem. If not, you can cut the cord to length, ensuring you leave enough wire to make the electrical connections inside the canopy and electrical box. Always consult the fixture’s manual or an electrician if unsure.
Conclusion: Illuminating Your Space with Confidence
Choosing and installing the right bracket for your pendant light is a fundamental step towards creating a safe, functional, and beautiful lighting feature in your home. It’s more than just a piece of hardware; it’s the guarantee that your stylish new light will hang securely and gracefully for years to come.
By understanding the different types of brackets, considering crucial design elements like style, finish, and weight capacity, and following careful installation steps, you can tackle this project with confidence. Remember, safety is always the top priority. Don’t hesitate to turn off the power at the breaker and use a voltage tester. If any part of the wiring or structural support feels beyond your comfort level, calling a professional electrician is always the wisest choice.
With the right bracket and a little know-how, you’re well on your way to transforming your space with the perfect pendant light. Enjoy the beautiful ambiance you’ve created!