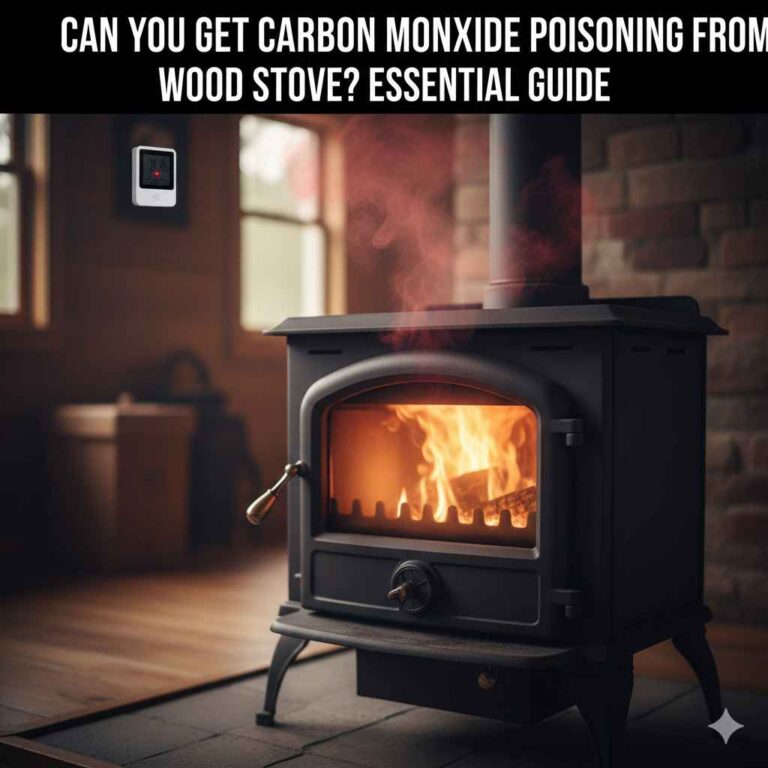
Can You Install A Wood Burning Stove Without A Chimney? Essential Guide
Yes, you can install a wood-burning stove without an existing chimney, but it requires installing a certified, modern venting system, often called a Class A chimney or double/triple-wall insulated pipe. It is crucial to follow strict local building codes and use approved components designed for safe operation without a masonry structure.
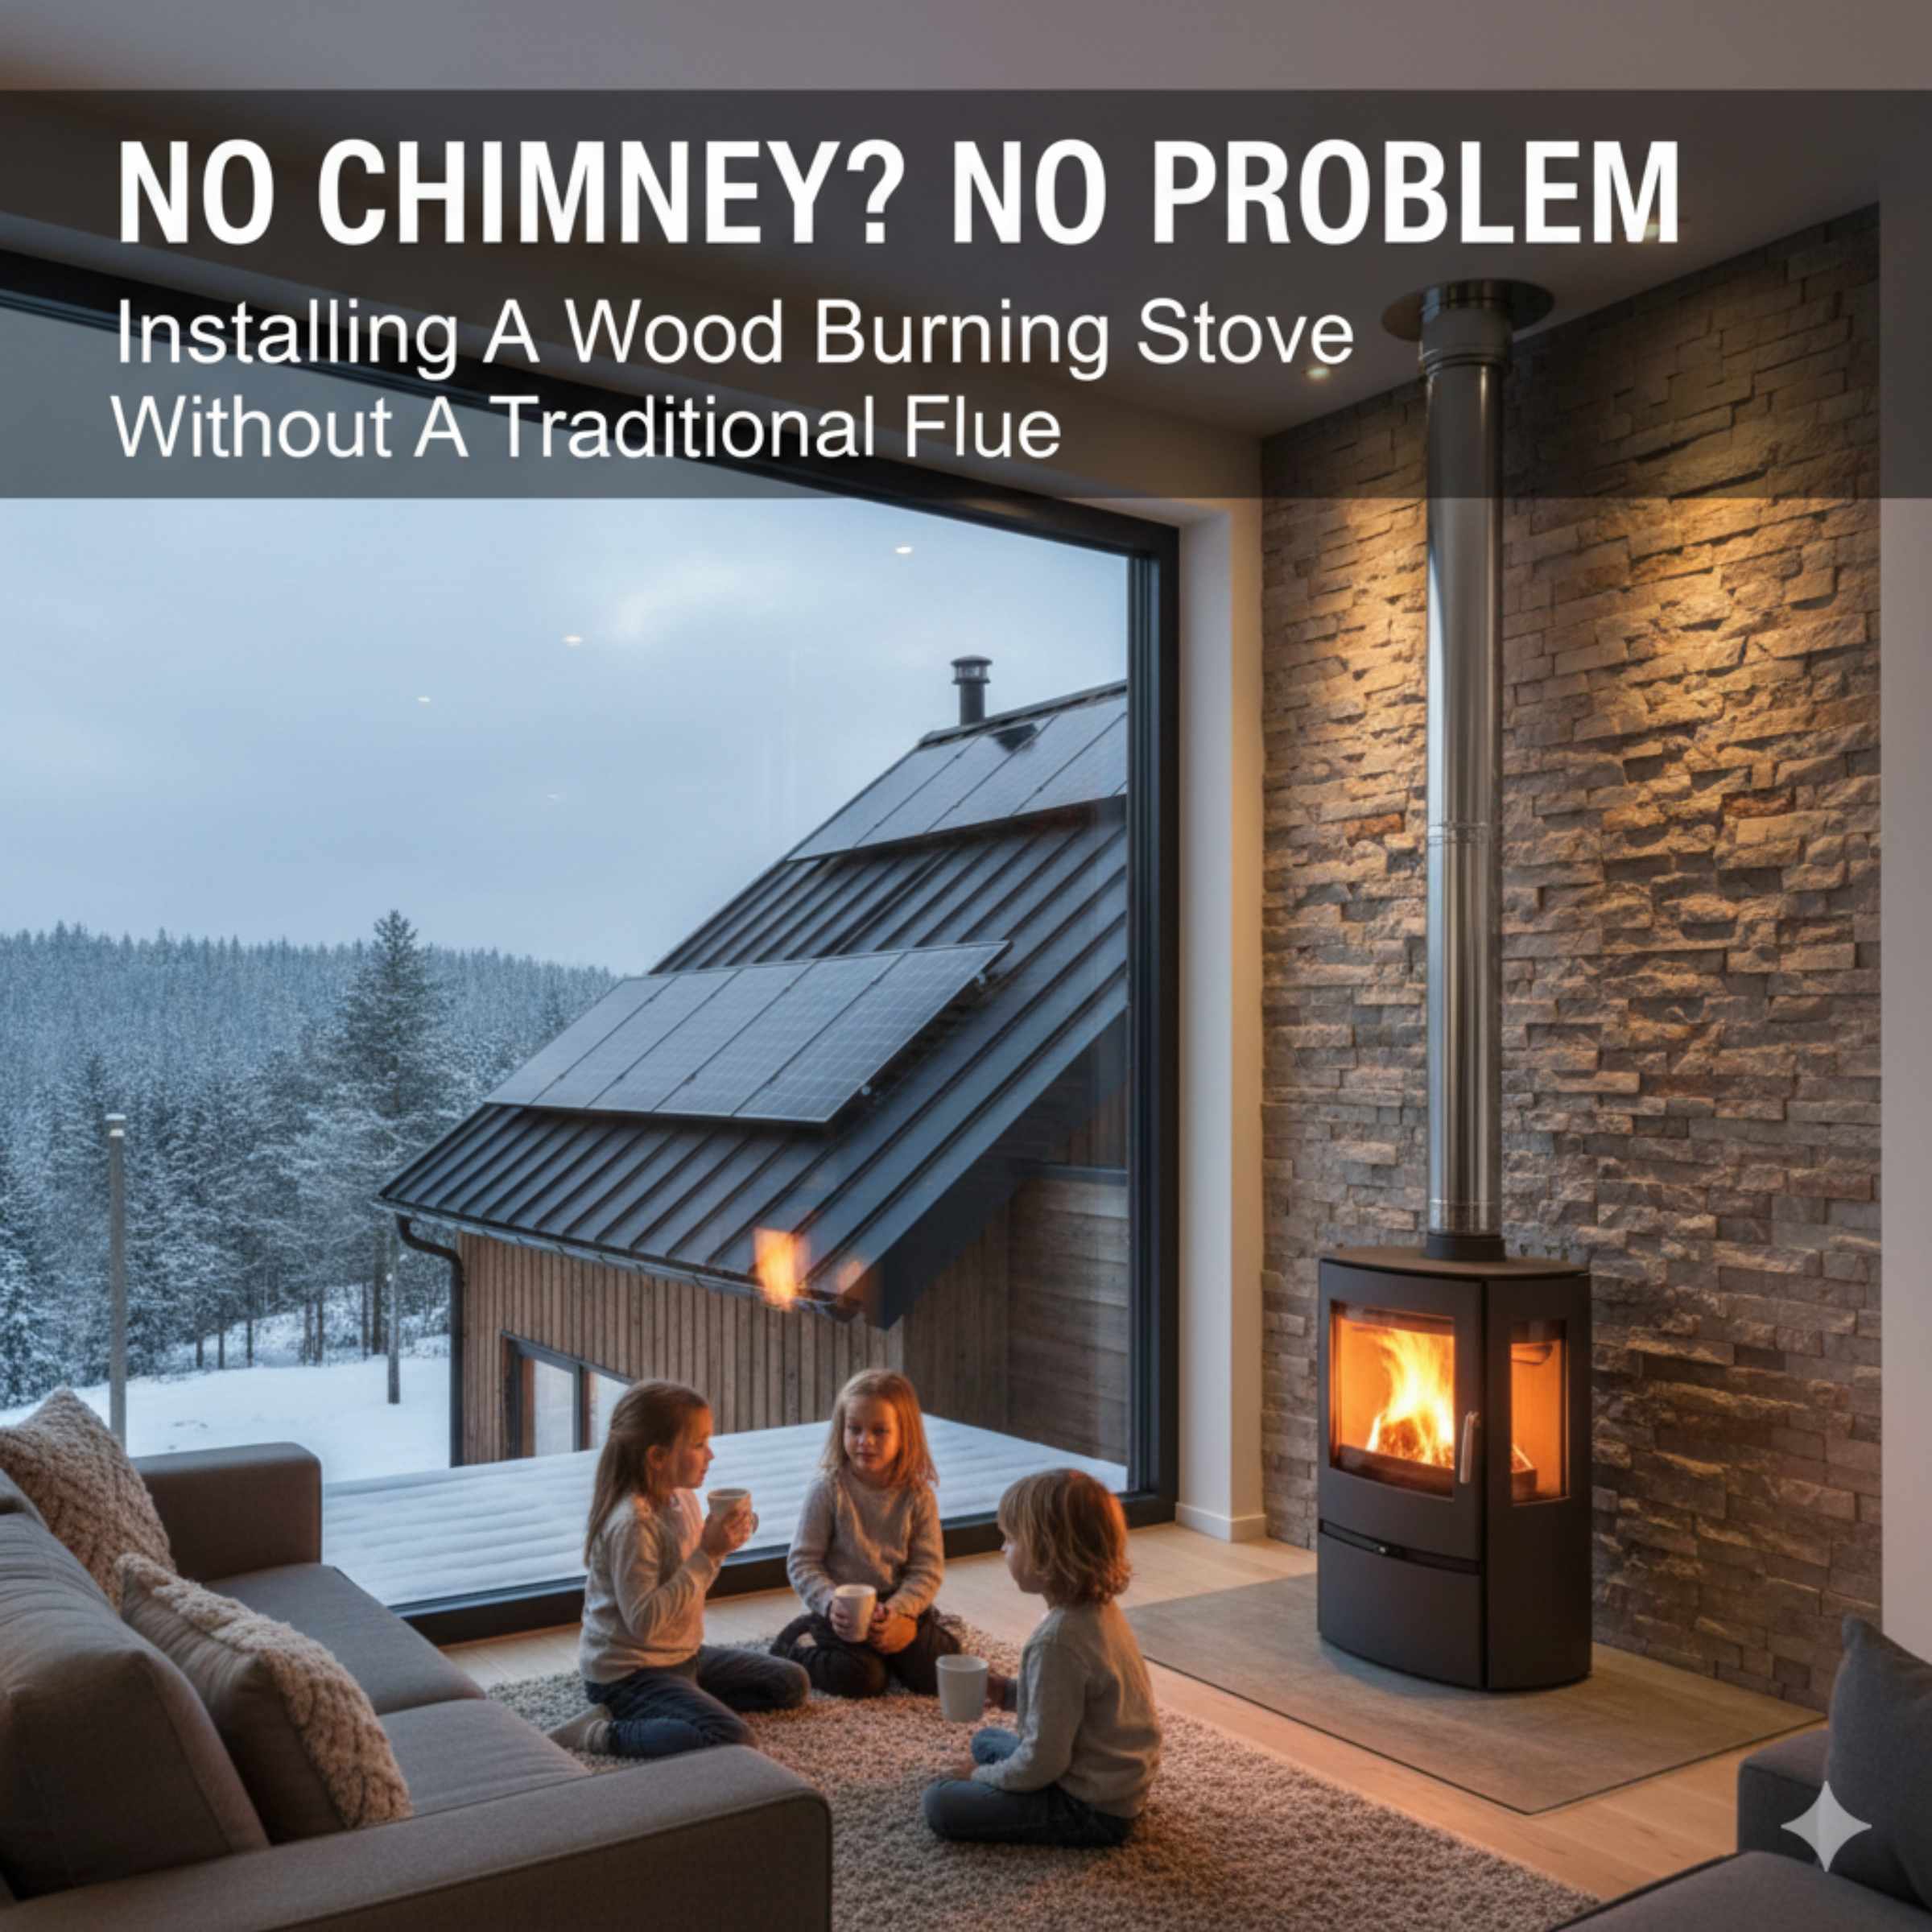
Thinking about adding the cozy warmth of a wood-burning stove to a room that lacks an old, ready-made chimney? You are not alone! Many homeowners face this exact puzzle when trying to upgrade their heating. Building or installing a whole new masonry chimney is a huge, expensive job. The good news is that modern safety standards allow for much simpler, factory-built venting solutions.
These systems let you place your stove almost anywhere—from a living room to a cabin wall. However, safety comes first. We need to use the right parts that handle high heat safely. This guide will walk you through the process, focusing on simple, reliable methods so you can enjoy that crackling fire confidently. Let’s explore how to vent your new stove safely and legally, even when you start with zero chimney.
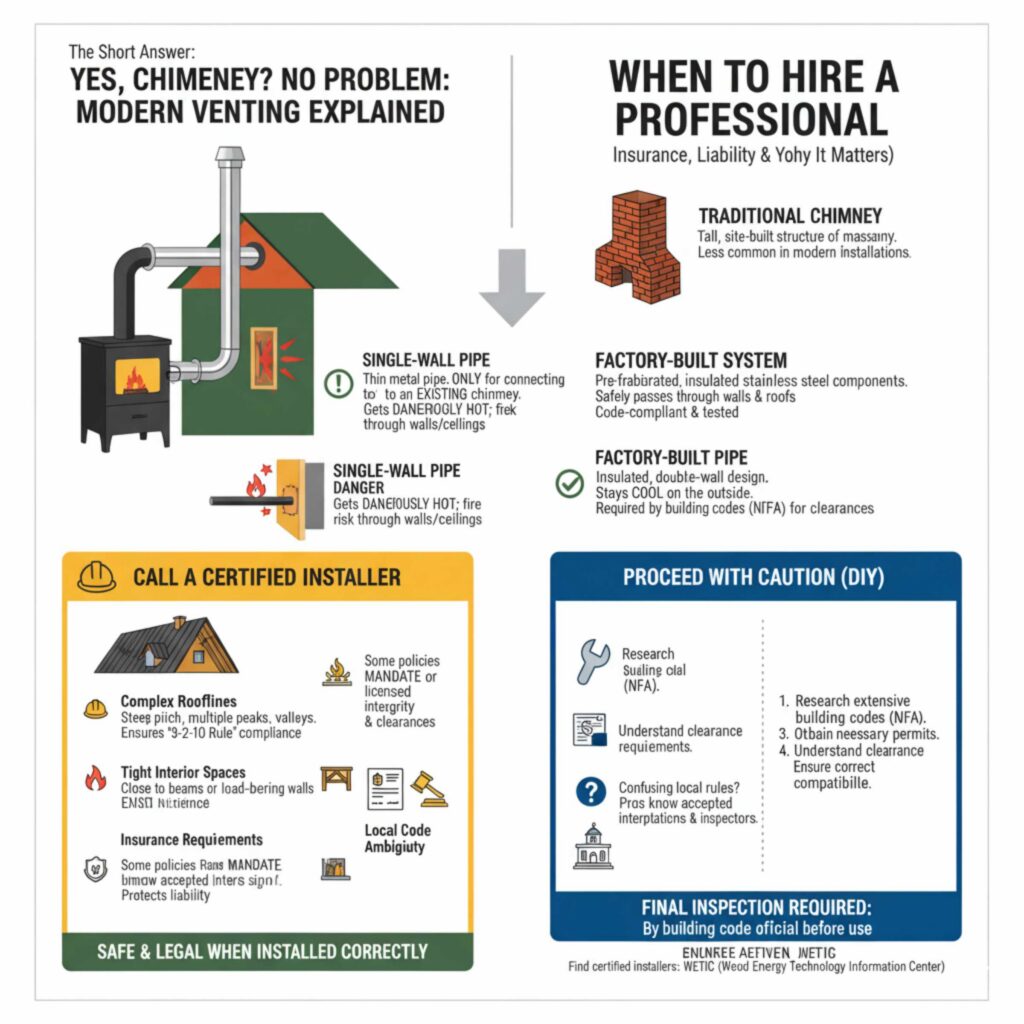
The Short Answer: Yes, But With Modern Vents
The traditional chimney is a tall structure built of brick or stone. When you don’t have one, you rely on what the stove industry calls a “factory-built chimney system.” These are not just simple stovepipes; they are specialized, tested systems.
These systems are designed to keep the outside of the pipe cool enough to safely pass through walls, ceilings, and roofs without causing a fire. You are essentially building a safe, insulated chimney from pre-approved components. This is a completely legal and safe method when done correctly.
Why You Cannot Use Single-Wall Pipe for Everything
When you look at a wood stove, you usually see a single, black metal pipe going up. This is single-wall stovepipe. It’s only okay for connecting the stove to an existing, fully functional chimney system that is already built and safe.
If you use single-wall pipe to go through a wall or ceiling into the open air, the outside of that pipe gets dangerously hot. It can easily ignite wood framing or drywall near it. Modern building codes, like those referenced by the National Fire Protection Association (NFPA), require clearance distances to combustible materials. Factory-built systems solve this clearance issue.
Understanding the Two Main Chimney Options
When installing a stove without an existing chimney, you must choose between two main types of venting systems. Both are rigorously tested for safety.
Option 1: Class A (HT) Insulated Chimney System
This is the gold standard for installing a stove where you need to pass through multiple combustible materials (like ceilings and roofs). Class A chimneys are built with three layers:
- An inner metal flue pipe.
- An insulating layer (usually ceramic material).
- An outer protective metal jacket.
Because they are so well insulated, they maintain safe surface temperatures on the outside, even when hot smoke passes through. This allows you to install them with much smaller clearances from wood framing compared to uninsulated pipes.
Option 2: Direct Vent Systems (For Specific Stoves)
This option is less about building a chimney and more about using a special type of stove called a “Direct Vent” stove. These stoves are completely sealed off from the room air they burn. They use a concentric (pipe within a pipe) system:
- The inner pipe vents combustion exhaust gases outside.
- The outer pipe draws fresh air from outside for the fire to burn.
These systems usually vent directly out a side wall and often require minimal clearance. They are very efficient and safe but only work with stoves specifically designed for this venting type. If you want a traditional open-fire wood stove, you need the Class A system.
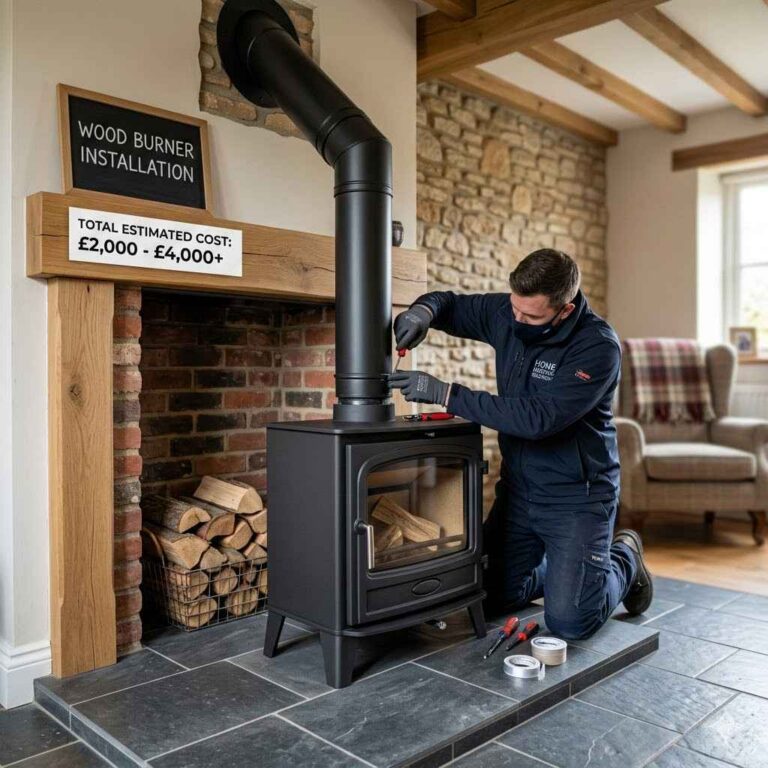
Step-by-Step Guide: Installing a Class A Chimney System
This process involves building a safe, insulated metal chimney from the stove up through your home structure. Always consult your local building department before starting; they will specify which codes (often the NFPA standards) you must meet.
Phase 1: Preparation and Safety First
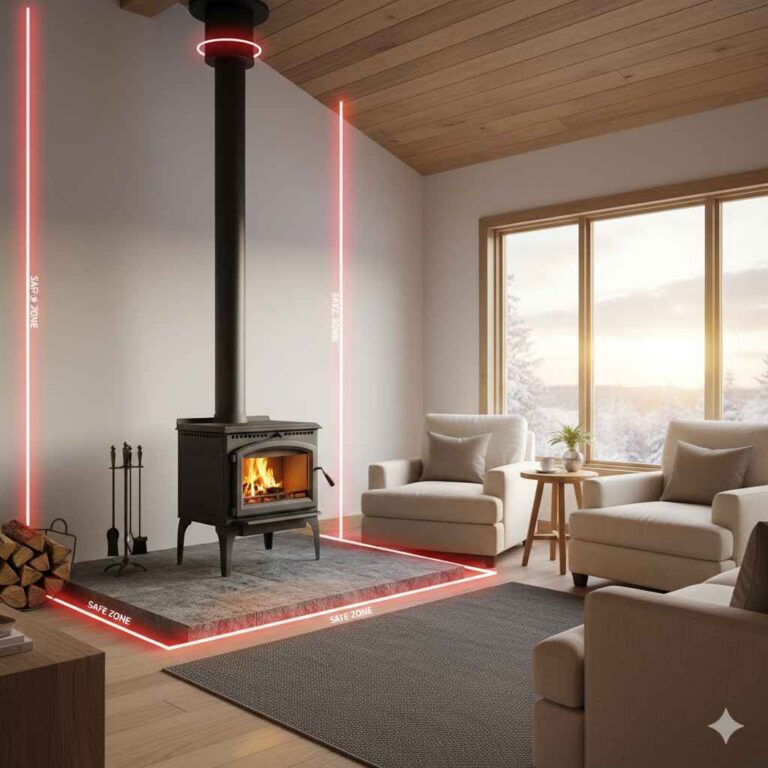
Safety clearances are non-negotiable. A wood stove installation is only as safe as the space you leave between the stove/pipe and flammable materials like drywall or wood studs.
Essential Tools and Materials Checklist
Gathering the right components upfront prevents dangerous substitution errors later.
| Component | Purpose | Note |
|---|---|---|
| Wood Stove | The heating appliance. | Must be UL listed for the chimney system you choose. |
| Class A Chimney Pipe | Insulated pipe sections. | Must match the stove’s outlet diameter (usually 6” or 8”). |
| Ceiling Support Box/Thimble | Connects the pipe to the roof penetration kit. | Must be rated for the required clearance distances. |
| Roof Flashing & Storm Collar | Keeps water out where the pipe exits the roof. | Critical for preventing roof leaks. |
| Chimney Cap/Rain Cap | Prevents rain, debris, and animals from entering. | Essential for draft and safety. |
| Non-Combustible Hearth Pad | Protects the floor beneath and around the stove. | Usually required to extend 18 inches in front. |
Phase 2: Establishing the Stove Location and Hearth
Choosing the spot dictates how the pipe must run.
- Select the Spot: Choose a location away from high-traffic areas and exterior doors. Remember, you will need a straight, vertical path upward if possible, or carefully planned offsets if running horizontally first.
- Install the Hearth Pad: Measure and construct a non-combustible hearth pad (stone, tile, or thick steel) beneath the stove area. Check local codes, but generally, it needs to extend at least 18 inches in front of the stove door and 8 inches to the sides and back.
- Install Wall Protection (If Needed): If the stove sits close to a combustible wall, you must shield it. This usually involves installing heat shields or creating an air gap, reducing the necessary clearance distance as allowed by the stove’s manual. For example, using 1-inch thick ceramic board spaced 1 inch away from the wall can often cut the required clearance in half.
Phase 3: Running the Chimney System Vertically
This is the most critical part: creating a safe path through the ceiling and roof.
- Determine Height Requirements: Building codes mandate that the top of the chimney must extend at least 3 feet above the point where it passes through the roof, AND at least 2 feet higher than any part of the roof within a 10-foot horizontal distance (the “3-2-10 rule”).
- Mark the Ceiling Penetration: Use the ceiling support box or thimble as a template. Mark the exact size needed to accommodate the outer casing of the Class A pipe, ensuring there is enough space for insulation and required air clearance around all wood framing members in the ceiling joist area.
- Cut the Ceiling Opening: Carefully cut the hole in your ceiling, removing any wood framing necessary to meet the clearance requirements for the chimney support box. Be mindful of electrical wiring or plumbing above.
- Install the Support Box: Secure the ceiling support box firmly to the ceiling joists. This box stabilizes the pipe where it passes into the attic space.
- Install Attic Insulation Shield (If Required): If the pipe runs through an unheated attic space, you might need an additional insulation shield kit to protect attic insulation from excessive heat transfer.
- Install the Roof Flashing: Once you reach the roofline, slide the metal flashing down over the pipe from the outside. Slide the flashing underneath the upper shingles so that water runs over it. Secure the flashing base to the roof decking.
- Secure the Storm Collar: Place the storm collar around the pipe, just above the flashing. This piece directs water outward and prevents it from running down the pipe and into the house. Seal all joints with high-temperature silicone sealant where appropriate.
- Install the Cap: Place the rain cap on top of the entire assembly.
Phase 4: Connecting the Stove and Final Checks
Now we connect the stove to the newly built chimney.
- Install the Stove Adapter: Connect the correct adapter (usually a short section of double-wall pipe) from the top collar of the wood stove up to the first section of the Class A chimney pipe.
- Assemble the Chimney Sections: Class A pipes typically lock together by pushing the male end (the end with the bead/ridge) into the female end (the socket end). Twist or secure them according to the manufacturer’s instructions (usually with three sheet metal screws per joint). Ensure the chimney rises vertically or follows the approved offset path using specialized elbows and braces.
- Connect to the Appliance: Ensure the pipe run from the stove collar to the Class A chimney entry point maintains all required clearances specified by the stove manufacturer.
- Cure the System: Before using the stove heavily, run a few small, hot fires to cure the paint on the stove and the insulation within the new chimney. This burns off any manufacturing oils and ensures the system is operating correctly before a long winter burn.
Understanding Clearances: The Safety Lifeline
Clearance distances are the space you must leave between any heating surface and anything flammable. When you don’t have a chimney, you rely entirely on the tested clearances of the components you install.
A factory-built, insulated Class A pipe is specifically rated to be installed with minimal clearance (often 2 inches) to combustible walls, provided you use the specific support boxes and flashing kits supplied by the manufacturer. A single-wall pipe, conversely, often requires 18 to 36 inches of clearance!
Reducing Clearances Safely
If your layout is tight, you can often reduce the required clearance distance, but only by using approved heat shielding techniques recommended by the stove or pipe manufacturer.
| Protection Method | Typical Clearance Reduction | Requirement |
|---|---|---|
| Single Wall, Unshielded Pipe | N/A (Use Standard Clearance) | Requires large space to combustibles. |
| Single Wall with Air Gap Shield (e.g., 1″ thick) | Up to 50% reduction | Must maintain an air gap behind the shield. |
| Double Wall Insulated Pipe (Class A) | Significant Reduction (often down to 2″) | Must be used for all roof/wall penetrations. |
Always refer to the installation manual for the exact reduction factor allowed. Never guess; safety depends on following these specified measurements.
The Difference Between Stovepipe and Chimney Pipe
This is a common point of confusion for beginners. Think of it like this:
- Stovepipe (Single Wall): This connects the stove collar to the base of the chimney system. It’s designed to get hot quickly, which helps draw the fire upward (draft). It must never pass through any structure or run near combustibles.
- Chimney Pipe (Double/Triple Wall, Class A): This is the insulated structure that passes through your home’s ceiling, attic, and roof. It stays cooler on the outside, making it safe for passing through structures.
You must use the correct component for the correct part of the run. Using stovepipe where chimney pipe is required is a leading cause of home fires related to stove installation.
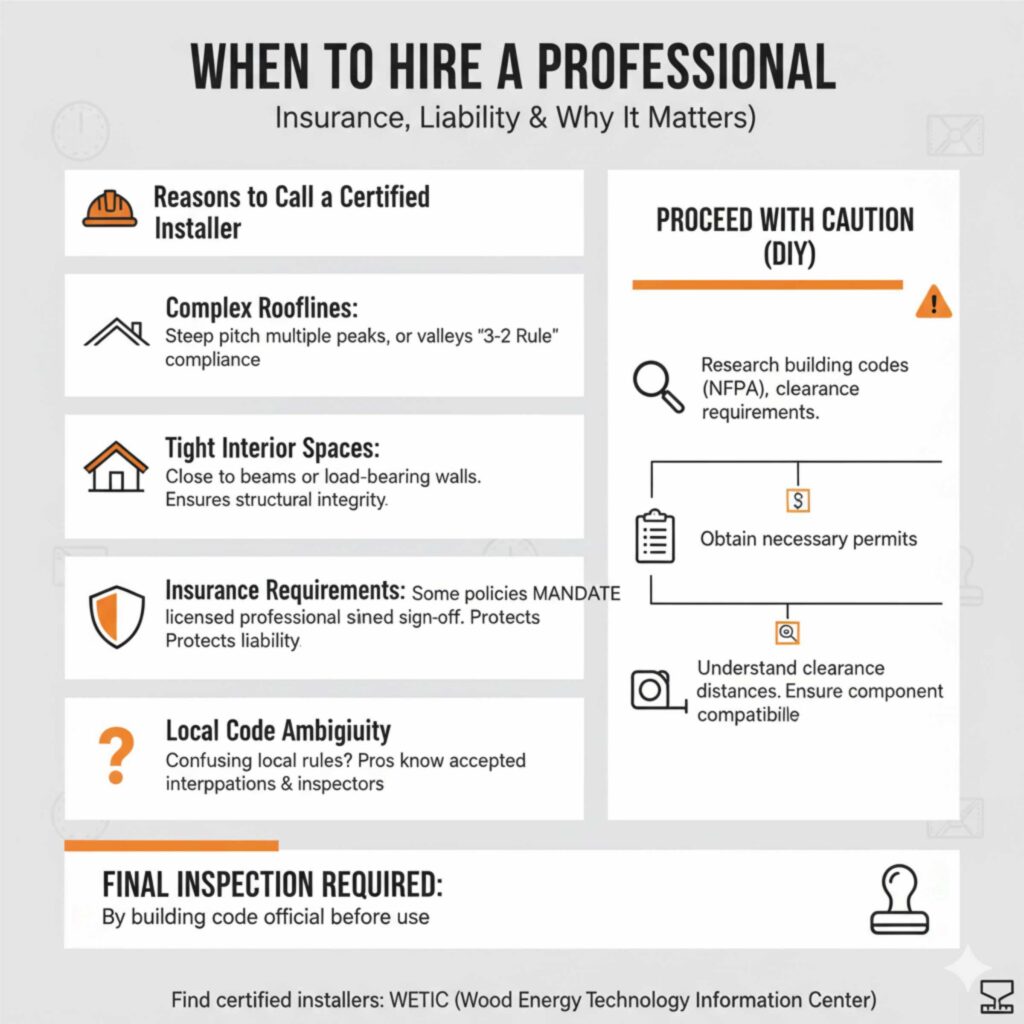
When to Hire a Professional (And Why It Matters)
While installing a factory-built chimney is achievable for a confident DIYer, there are times when professional help is absolutely the best choice. This isn’t about ego; it’s about insurance and liability.
Reasons to Call a Certified Installer
- Complex Rooflines: If your roof has a steep pitch, multiple peaks, or valleys that complicate achieving the 3-2-10 rule, an expert knows how to design the necessary offsets safely.
- Tight Interior Spaces: If you are extremely close to beams or load-bearing structures, a professional can confirm structural integrity before cutting holes.
- Insurance Requirements: Some home insurance companies require that all wood stove installations, especially those involving roof penetrations, be inspected and signed off by a licensed professional or the local fire marshal.
- Local Code Ambiguity: If your local building department is unclear on how to apply specific rules to your situation, a certified installer often has a working relationship with the inspectors and knows the accepted local interpretations.
If you decide to proceed DIY, remember that most jurisdictions require a final inspection by a building code official before you can legally operate the stove. You can find resources on finding certified installers through organizations like the Wood Energy Technology Information Center (WETIC).
Frequently Asked Questions (FAQ)
Q1: Can I just vent the stove out a nearby side wall without going through the roof?
A: Yes, but only if you are using a specific type of stove (like a direct vent stove) or if your stove manufacturer specifically approves a specialized “side wall exit kit” for their Class A chimney system. Standard wood stoves require venting above the roofline to ensure proper draft and safety clearances.
Q2: How much clearance is required if I use double-wall insulated pipe in my attic?
A: The required clearance depends entirely on the specific brand and model of the double-wall pipe you purchase. Generally, certified Class A pipe allows for 2 inches of clearance to combustibles in unheated spaces like attics, but you must confirm this in the product’s specific listing data.
Q3: Can I use flexible metal chimney liner instead of rigid pipe?
A: Flexible liners are typically only approved for relining an existing masonry chimney. For installing a new chimney system through a roof, you must use rigid, insulated Class A pipe sections designed for that purpose. Flexible liners are not rated for the exterior heat levels required for new installations.
Q4: What if I can’t meet the 3-2-10 rule for roof height?
A: If you absolutely cannot meet the 3-2-10 rule (for example, if the stove is too close to a taller section of the house), you might need to install a taller chimney extension system called a “High Wind/Low Clearance Adapter.” These specialized components extend the chimney safely above obstructions, but they require careful calculation by the manufacturer’s guide.
Q5: Do I need a special permit to install a stove without a chimney?
A: In almost every municipality in the US and Canada, yes, you need a permit. Installing any solid fuel-burning appliance involves cutting into walls and ceilings, which affects the structural integrity and fire safety rating of your home. Always check with your local building department first.
Q6: How hot does the outside of the Class A chimney pipe get?
A: A properly installed and functioning Class A insulated chimney is designed to remain below temperatures that would ignite surrounding building materials, often keeping the exterior surface below 200.
Conclusion:
So, can you install a wood-burning stove without a chimney? Absolutely—but only when it’s done the right way. Modern, factory-built venting systems like Class A insulated chimneys have made it possible to safely install a wood stove in homes that were never designed for one. These systems are engineered to handle extreme heat while maintaining safe clearances from combustible materials, making them a reliable alternative to traditional masonry chimneys.
The key takeaway is safety and compliance. You cannot improvise with standard stovepipe or skip code requirements. Every component—from the hearth pad to the chimney cap—must be approved, properly installed, and inspected. Following manufacturer instructions, local building codes, and standards such as those from the NFPA isn’t optional; it’s what protects your home, your insurance coverage, and your family.
Whether you choose a DIY approach or hire a certified professional, careful planning is essential. When installed correctly, a wood-burning stove without a traditional chimney can deliver efficient heat, timeless ambiance, and long-term value to your home—without compromising safety. Take the time to do it properly, and you’ll enjoy the warmth and comfort with complete peace of mind.