How Much Does Sanding Hardwood Floor Cost: Proven Savings
Sanding and refinishing a hardwood floor typically costs between $2 to $6 per square foot for professional services. Doing it yourself can save you significant money, primarily on labor, with material costs ranging from $1 to $3 per square foot. The final price depends on the floor’s condition, size, and the type of finish you choose.
Restoring your hardwood floors can make a world of difference in your home’s look and feel. If your floors are looking tired, scratched, or dull, you might be wondering about the cost of bringing them back to life. It’s a common question for many homeowners who love the warmth and beauty of real wood but are concerned about the expense. The good news is that sanding and refinishing is often more affordable than you might think, especially if you’re willing to get your hands a little dirty. We’re here to break down the costs and show you how to save. Let’s explore what goes into the price and how you can achieve beautiful, like-new floors without breaking the bank.
Understanding the Cost Factors
When you’re looking at how much it costs to sand and refinish a hardwood floor, several key factors come into play. Understanding these will help you budget accurately, whether you decide to tackle it yourself or hire a professional.
Labor vs. Materials
The biggest chunk of the cost for professional floor refinishing is almost always labor. Professional floor sanders and refinishers have the specialized equipment, the experience, and the efficiency to complete the job. However, this expertise comes at a price. If you opt for a DIY approach, you’ll be investing your time and effort instead of paying for someone else’s.
Floor Size and Condition
The total area of your floor is a primary driver of cost. A larger room will naturally require more materials and more time, whether done by you or a pro. More importantly, the condition of your existing floor plays a huge role.
Minor Scratches and Wear: Floors with superficial damage are easier and quicker to sand, leading to lower costs.
Deep Gouges and Stains: Floors with significant damage, deep scratches, or stubborn stains may require more aggressive sanding, multiple passes, or even wood filler, increasing both time and material costs.
Existing Finish: The type and condition of the current finish can also affect the process. Some finishes are harder to remove than others.
Type of Finish
The final finish you choose significantly impacts the cost. There are two main categories:
Oil-Based Polyurethane: Generally more durable and provides a richer, amber tone. It typically costs more per gallon and has a longer drying time.
Water-Based Polyurethane: Dries faster, has less odor, and dries clear. It’s often less expensive per gallon but may require more coats for equivalent durability and can be more prone to scratching if not applied carefully.
Geographic Location
Labor rates vary by region. In areas with a higher cost of living, you can expect professional services to be more expensive than in areas with lower living costs.
DIY vs. Professional: A Cost Breakdown
Let’s dive into the numbers to see how much you can realistically save by doing it yourself.
Professional Refinishing Costs
Professionals typically charge per square foot. This rate usually includes:
Sanding (multiple grits)
Edge sanding and detail work
Application of stain (optional)
Application of multiple coats of finish (polyurethane, etc.)
Cleanup
Here’s a general price range you can expect:
Here’s your polished comparison table:
| Service Type | Average Cost Per Square Foot | What’s Typically Included |
|---|---|---|
| Basic Sand & Refinish | $2 – $4 | Sanding, 2–3 coats of clear polyurethane (oil or water-based), light surface preparation. |
| Stain + Sand & Refinish | $3 – $5 | Sanding, stain application, 2–3 coats of clear polyurethane, light surface preparation. |
| Heavy-Duty Refinish | $4 – $6+ | Deep sanding for severe damage, stain, 3+ coats of premium finish, detailed edge work, and minor repairs. |
| Screen & Recoat | $1 – $2 | Light scuff-sanding of existing finish and application of new coats (does not remove old finish). |
Important Note: These are averages. Always get multiple quotes from reputable local contractors. You can find recommendations from the National Wood Flooring Association (NWFA) for qualified professionals.
DIY Refinishing Costs
When you go the DIY route, you’re essentially paying for the materials and equipment rental.
Material Costs:
Sandpaper: Varies by grit and quantity needed. Expect to spend $50 – $150.
Stain (optional): $20 – $50 per quart/gallon, depending on coverage.
Polyurethane (oil or water-based): $40 – $80 per gallon. You’ll likely need 1-2 gallons for an average-sized room.
Applicators: Brushes, rollers, lambswool applicators: $30 – $60.
Rags and cleaning supplies: $20 – $40.
Wood filler/putty (if needed): $10 – $30.
Masking tape and plastic sheeting: $20 – $40.
Equipment Rental Costs:
Drum Sander: $70 – $100 per day. These are powerful machines for the main floor area.
Edge Sander: $40 – $60 per day. For the edges and hard-to-reach spots.
Orbital/Random Orbital Sander: $30 – $50 per day. Often used for intermediate sanding steps or if you prefer a less aggressive approach.
Shop Vacuum: $20 – $40 per day (essential for dust control).
Estimated DIY Total for an Average 200 sq ft Room:
Materials: $150 – $300
Equipment Rental (2 days): $200 – $350
Total DIY Cost: $350 – $650
Proven Savings: For a 200 sq ft room, professional refinishing could cost between $400 and $1200 ($2-$6/sq ft). By doing it yourself, you can save anywhere from $50 to $550 or more, primarily by avoiding labor costs. This is a significant saving!
The DIY Sanding and Refinishing Process: Step-by-Step
Ready to roll up your sleeves? Here’s a simplified guide to sanding and refinishing your hardwood floors. Safety first! Always wear a dust mask, safety glasses, and gloves.
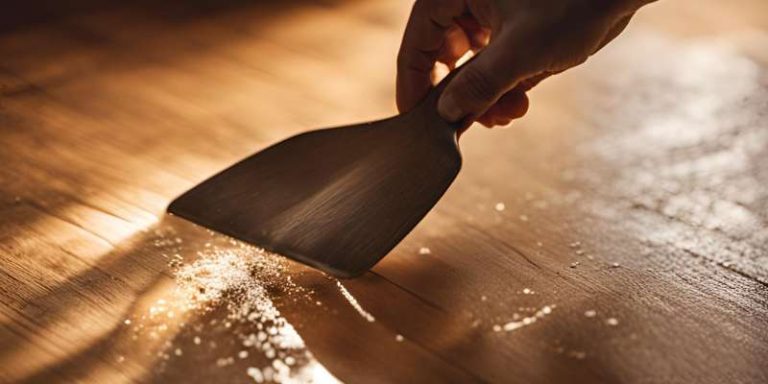
Step 1: Preparation is Key
This is arguably the most crucial step for a professional-looking finish.
Clear the Room: Remove all furniture, rugs, and anything else from the floor.
Remove Baseboards (Optional but Recommended): Carefully pry off baseboards using a putty knife and pry bar. This allows you to sand right up to the wall for a seamless finish. Label them if they are not interchangeable.
Protect Surrounding Areas: Seal off doorways with plastic sheeting and tape to prevent dust from spreading to other parts of your house. Turn off your HVAC system to prevent dust circulation.
Inspect and Repair: Fill any large holes or gouges with wood filler or putty. Let it dry completely according to the manufacturer’s instructions.
Step 2: The Sanding Process
Sanding removes the old finish and smooths the wood. You’ll typically use three grits of sandpaper, starting with coarse and moving to finer grits.
Choose Your Sandpaper:
Coarse Grit (e.g., 36-60): For removing the old finish and leveling unevenness.
Medium Grit (e.g., 80-100): For removing the scratches left by the coarse grit.
Fine Grit (e.g., 120-150): For final smoothing.
Drum Sander Technique:
Start with the coarse grit. Run the drum sander with the grain of the wood.
Make overlapping passes, moving slowly and steadily.
When changing grits, sweep the floor thoroughly with a shop vacuum.
Crucial: Lift the drum slightly when starting and stopping to avoid creating a “ditch” or indentation.
Edge Sander Technique:
Use the edge sander for areas the drum sander can’t reach, like along walls and in corners.
Be careful not to over-sand any one area, as this can create dips.
Orbital Sander (Optional): Some DIYers use a random orbital sander for the final sanding pass or for smaller areas. It’s less aggressive than a drum sander.
Vacuum Thoroughly: After each grit, vacuum the floor meticulously. Dust is the enemy of a good finish!
Step 3: Final Cleaning and Prep
This step ensures no dust remains to mar your new finish.
Vacuum Again: Use a good shop vacuum with a brush attachment. Get into corners and along baseboards.
Tack Cloth: Wipe down the entire floor with a tack cloth. These cloths are slightly sticky and pick up even the finest dust particles.
Step 4: Staining (Optional)
If you want to change the color of your wood, now is the time.
Apply Stain: Apply wood stain evenly with a brush or rag, following the grain. Work in manageable sections.
Wipe Off Excess: Allow the stain to penetrate for the time recommended by the manufacturer, then wipe off any excess stain with a clean, lint-free cloth.
Dry Time: Let the stain dry completely. This can take 24-72 hours, depending on the product and humidity. Check the product instructions carefully.
Step 5: Applying the Finish (Polyurethane)
This is the protective topcoat that gives your floor its sheen and durability.
Choose Your Finish: Oil-based or water-based polyurethane. Water-based dries faster and has less odor. Oil-based provides a warmer tone and is often considered more durable.
Apply First Coat: Using a high-quality brush or lambswool applicator, apply a thin, even coat of polyurethane. Work with the grain. Avoid over-application, which can lead to puddles or drips.
Drying Time: Allow the first coat to dry completely according to the manufacturer’s instructions (usually 12-24 hours for water-based, 24-48 hours for oil-based).
Light Sanding Between Coats: Once dry, lightly sand the surface with a very fine grit sandpaper (180-220 grit) or a sanding screen. This “de-nibs” the surface, removing any dust nibs or raised grain for a smoother final finish. Vacuum and wipe with a tack cloth again.
Apply Subsequent Coats: Apply 2-3 more thin, even coats, repeating the light sanding and cleaning process between each coat. Most manufacturers recommend at least three coats for good protection.
Step 6: Curing and Re-entry
Cure Time: While the floor will be dry to the touch after 24 hours, polyurethane needs several days to fully cure and harden. Avoid heavy foot traffic and placing furniture back for at least 72 hours, and ideally a week.
Furniture Placement: Use felt pads on furniture legs to prevent scratching.
Tools and Materials Checklist for DIYers
Having the right tools makes the job much smoother and safer.
Essential Tools:
Drum Sander (rental)
Edge Sander (rental)
Random Orbital Sander (optional, rental)
Shop Vacuum (rental or owned)
Dust Masks (N95 or better)
Safety Glasses
Work Gloves
Putty Knife
Pry Bar
Hammer
Screwdriver (for removing vents, etc.)
Painter’s Tape
Plastic Sheeting
Drop Cloths
Extension Cords
Buckets
Stir Sticks
High-Quality Brushes or Lambswool Applicators
Essential Materials:
Sandpaper (various grits: 36, 60, 80, 100, 120, 150, 180/220 for between coats)
Wood Filler or Putty (if needed)
Wood Stain (optional)
Polyurethane Finish (oil-based or water-based)
Tack Cloths
Clean, Lint-Free Rags
Proven Savings: Why DIY Wins
The savings are undeniable. Let’s visualize the difference for a moderately sized room, say 300 square feet.
| Task | Professional Cost (Estimate) | DIY Cost (Estimate) | Savings |
|---|---|---|---|
| Sanding & Refinishing | $600 – $1800 ($2-$6/sq ft) | $350 – $650 | $250 – $1150+ |
Key Takeaway: The majority of the cost in professional floor refinishing is labor. By investing your time and effort, you can retain a substantial portion of your budget. This allows you to potentially use higher-quality finishes or simply save money for other home improvement projects.
When to Call a Professional
While DIY is a great way to save money, there are situations where hiring a professional is the wiser choice.
Extensive Damage: If your floors have deep gouges, significant warping, water damage, or missing boards, a professional has the skills and specialized tools (like belt sanders or heavy-duty planers) to address these issues effectively. Improper sanding can worsen damage.
Complex Wood Types: Some exotic or very soft woods require specialized knowledge and techniques to sand without damaging them.
Time Constraints: If you have a tight deadline or limited free time, professional services will be faster and more efficient.
Desire for Perfection: If you demand a flawless, factory-like finish and aren’t confident in your ability to achieve it, a professional is your best bet. Their experience with dust containment and application techniques is invaluable.
Old or Delicate Floors: Very old floors, perhaps antique or made from softer woods, might be more fragile and prone to damage from aggressive sanding. A professional can assess and handle these with appropriate care. You can find resources on preserving historic wood floors from organizations like the National Trust for Historic Preservation.
Tips for Saving Money on Professional Services
If DIY isn’t for you, you can still save money when hiring professionals.
Get Multiple Quotes: Always obtain at least three detailed quotes from different reputable contractors. Compare not just the price but also what is included in the service.
Ask About Off-Season Discounts: Contractors may offer lower rates during their slower months.
Do Some Prep Work Yourself: Ask if you can save money by doing some of the prep work, like clearing the room completely or removing baseboards. Ensure they agree on what you can do.
Choose a Simpler Finish: Opting for a standard water-based polyurethane without stain can be less expensive than custom stains or high-end oil-based finishes.
Screen and Recoat: If your floors are in good condition with only minor wear on the top finish, a “screen and recoat” might be sufficient. This is much less intensive and cheaper than a full sanding and refinish. Professionals from the NWFA can help assess if this is a viable option.
Frequently Asked Questions (FAQs)
- How long does it take to sand and refinish hardwood floors?
- Professionals can typically complete a room in 3-5 days, including drying time between coats. For a DIY project, expect it to take a long weekend or even a full week, depending on your pace and drying times.
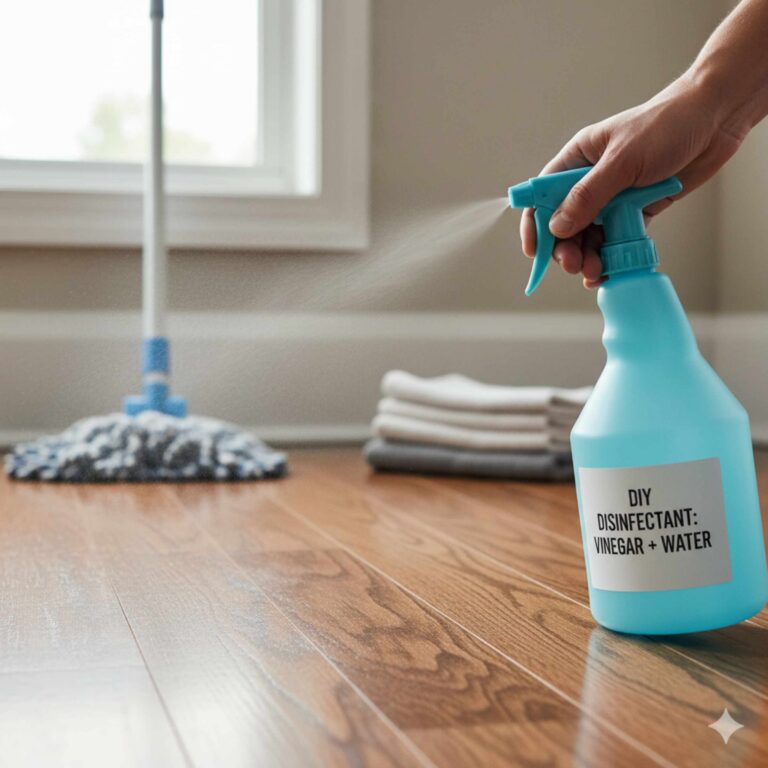
- Is it dusty to sand hardwood floors?
- Yes, floor sanding creates a lot of fine dust. However, modern professional equipment has excellent dust collection systems, and if you do it yourself, using a shop vacuum with a good filter and sealing off the room properly can significantly minimize dust spread.
- Can I just paint my hardwood floors instead of sanding?
- You can paint hardwood floors, but it’s a different process. Painting provides a solid color finish and can hide imperfections. However, it typically requires extensive cleaning, priming, and multiple coats of durable floor paint. Sanding and refinishing preserves the natural wood grain, which many homeowners prefer.
- What is the difference between oil-based and water-based polyurethane?
- Oil-based polyurethanes are more durable, offer a warmer amber tone, and have a stronger odor. They also take longer to dry. Water-based polyurethanes dry faster, have less odor, and dry clear. They may require more coats for equivalent durability and are generally considered more environmentally friendly.
- How many coats of polyurethane should I apply?
- Most professionals recommend a minimum of three coats for adequate protection, especially in high-traffic areas. Some may recommend four coats for maximum durability.
- How do I get a perfect finish when staining?
- Ensure your floor is perfectly smooth after sanding. Apply stain evenly with the grain, and wipe off excess promptly. Always do a test patch in an inconspicuous area to see how the stain looks on your specific wood type. Some woods, like maple or birch, can be blotchy with stain, and you might need a pre-stain wood conditioner.
- When can I put my furniture back on the floor?
- While the floor is dry to the touch after 24-48 hours, it needs about 7 days to fully cure and harden. You can walk on it carefully after 24 hours, but avoid heavy furniture or rugs for at least 72 hours, and ideally a full week. Always use felt protectors on furniture legs.
Conclusion
Sanding and refinishing your hardwood floors is a rewarding project that can dramatically enhance your home’s beauty and value. While professional services offer convenience and expertise, the cost can be substantial. By understanding the factors that influence pricing and by considering a DIY approach, you can achieve significant savings, often cutting the cost in half. Remember, preparation, the right tools, and patience are your best allies. Whether you decide to embrace the DIY challenge or carefully select a professional, the result will be beautifully revitalized hardwood floors that you can enjoy for years to come. Happy building, and enjoy your stunning floors!