Why Adjusting Door Latch Length Is a Game-Changer
My first attempt at fixing a door latch was a total flop! The bedroom door wouldn’t stay shut, and I was stumped until I learned how to adjust door latch length. This simple fix – adjusting the backset between the standard 2-3/8″ and 2-3/4″ – can make your door close smoothly and keep your home secure, unless the latch itself is too worn to adjust. In this guide, I’ll walk you through what a door latch is, a step-by-step way to adjust it, tools you need, and tips to avoid my rookie mistakes.
Whether you’re a DIY newbie or a seasoned pro, you’ll find easy tricks to make your doors work like a charm. Let’s dive in and make those pesky door problems a thing of the past! See our full door hardware guides for more fixes like this.
What Is a Door Latch and Why Adjust It?
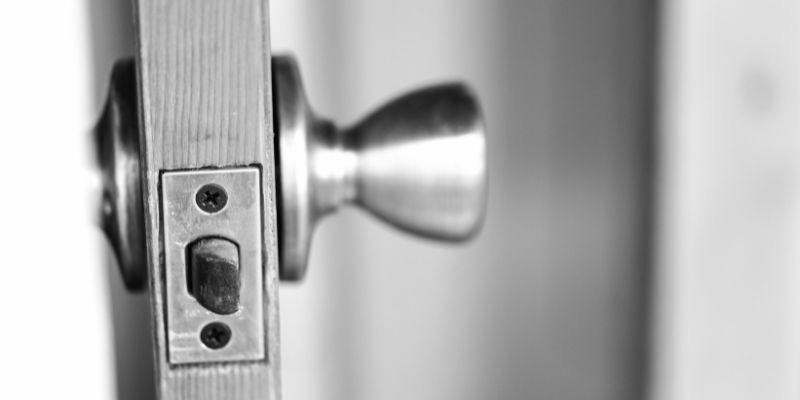
A door latch is the metal piece that pops into the door frame to keep your door closed. It’s like the handshake between your door and its frame. Adjusting its length, or “backset,” ensures it fits perfectly, so your door doesn’t stick or swing open. A bad latch can make your door tough to open, let in drafts, or even reduce security. Fixing it is a quick DIY job that saves money and hassle.
Why It Matters
A properly adjusted latch means your door closes with a satisfying click. It keeps your home safe, stops annoying rattles, and makes life easier. I once fixed a latch in my kid’s room, and suddenly, naptime was peaceful again!
Tools You’ll Need
📊 Interior doors (bedrooms, bathrooms) standardize on a 2-3/8″ backset; exterior and commercial doors typically use 2-3/4″ — Source: Lowe’s, door backset guide
Before you start, grab a few simple tools. You don’t need a fancy toolbox—just basics from your local hardware store. Here’s what I use:
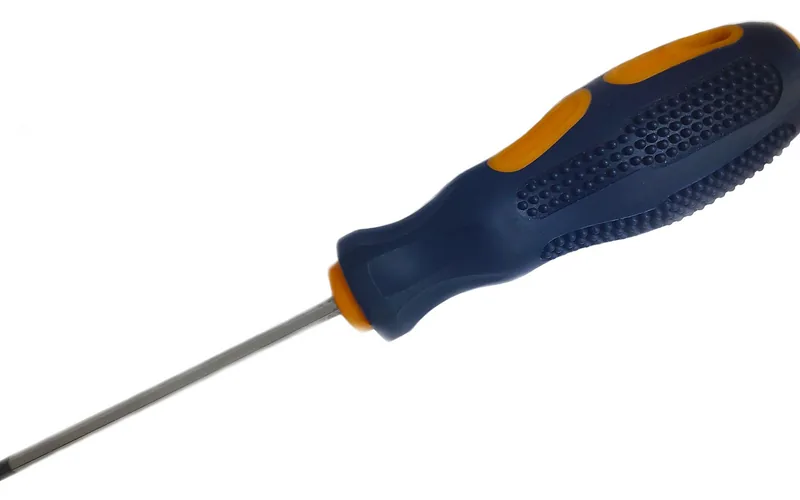
- Screwdriver: A Phillips or flathead to remove the doorknob.
- Tape measure: To check the latch length.
- Pliers: For stubborn parts.
- Safety glasses: To keep your eyes safe.
- Lubricant: Like WD-40 for smooth movement.
Table 1: Tool Costs and Where to Find Them
| Tool | Estimated Cost | Where to Buy |
|---|---|---|
| Phillips Screwdriver | $5-$10 | Home Depot, Amazon |
| Tape Measure | $3-$8 | Walmart, Local Hardware |
| Pliers | $8-$15 | Lowes, Home Depot |
| Safety Glasses | $4-$10 | Amazon, Hardware Stores |
| WD-40 | $5-$7 | Any Hardware Store |
| Caption: Basic tools for adjusting door latch length are affordable and easy to find. |
Step-by-Step Guide to Adjust Door Latch Length
Adjusting a door latch is easier than you think. Follow these steps, and it’ll be a piece of cake! I’ll use my bedroom door fix as an example.
Step 1: Check the Latch
Open the door and look at the latch bolt—the part that sticks out. Turn the knob to see if it moves smoothly. If it sticks or doesn’t reach the strike plate (the metal piece on the frame), you need to adjust it.
Step 2: Remove the Doorknob
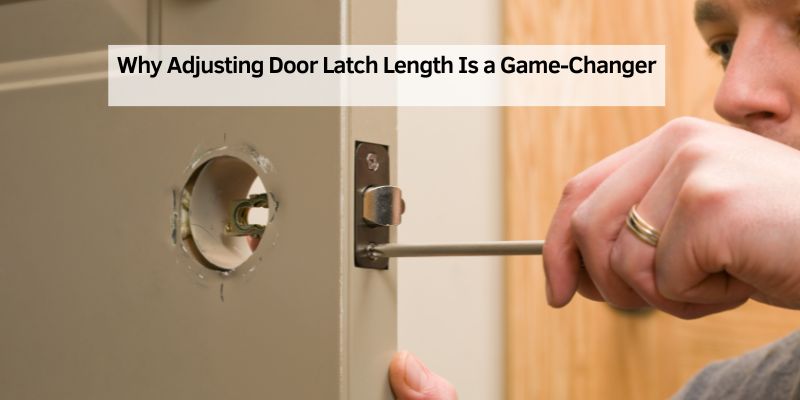
Use a screwdriver to take off the doorknob. Most have two screws on the inside. Pop it off gently, and you’ll see the latch assembly inside the door. My first time, I was nervous, but it’s no sweat once you start!
Step 3: Find the Adjustable Sleeve
Look for a sleeve or tab on the latch. Most modern latches are adjustable between 2-3/8 inches and 2-3/4 inches (the backset). Slide or twist the sleeve to the right length. For my bedroom door, I needed the shorter 2-3/8 inch setting.
Step 4: Measure Twice
Use a tape measure to confirm the backset matches your door’s setup. Measure from the door’s edge to the center of the knob hole. Double-check to avoid mistakes!
Step 5: Reinstall the Latch
Slide the latch back into the door. Secure it with the screws, but don’t over-tighten—you’ll strip the wood. Test the knob to ensure the latch moves freely.
Step 6: Test and Tweak
Close the door and turn the knob. If it catches perfectly, you’re done! If not, check the strike plate alignment. I had to nudge mine up slightly with a screwdriver. If the latch itself is worn rather than just misaligned, see our guide on fixing a door latch.
Best Adjustable Door Latch Pick
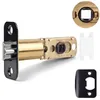
Uliykukr Adjustable Deadlatch (2-3/8″ or 2-3/4″)
If your existing latch’s sleeve is stuck or stripped, this replaces it with one that switches between both standard backsets.
- Best for: replacing a latch too worn or stripped to adjust further
- Why we picked it: covers both standard backset sizes in one part
- Main drawback: still needs the same knob-removal steps as adjusting the original
Compare more door latch adjustment options
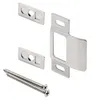 Option 1 Prime-Line Adjustable Strike Plate
|
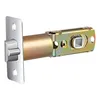 Option 2 ARTIBETTER Universal Adjustable Latch
|
 Option 3 Precision Screwdriver Set
|
As an Amazon Associate we earn from qualifying purchases.
Benefits of Adjusting Your Door Latch
Fixing the latch length has big perks:
- Better Security: A snug latch keeps your door locked tight.
- Smooth Operation: No more jiggling the knob to close the door.
- Cost Savings: Skip calling a locksmith—do it yourself for under $10!
The downside? It takes a bit of patience, especially if the latch is old or rusty. If it’s too worn, you might need a new one, which costs about $15-$20.
Alternative Approaches
If adjusting doesn’t work, you’ve got options:
- Replace the Latch: Buy a new one at Home Depot for a perfect fit.
- Shim the Hinges: Add cardboard behind hinges to shift the door closer to the frame.
- Adjust the Strike Plate: Move it up or down for better alignment.
I tried shimming once when my latch was too short. It worked, but replacing the latch was easier long-term.
My Top Tips for Success
After years of tinkering with doors, here’s what I’ve learned:
- Lubricate Regularly: A squirt of WD-40 keeps the latch smooth.
- Don’t Rush: Measure carefully to avoid redoing work.
- Check Alignment: A misaligned strike plate can ruin your fix.
Table 2: Common Mistakes and How to Avoid Them
| Mistake | Fix |
|---|---|
| Over-tightening screws | Tighten gently to avoid stripping. |
| Wrong backset measurement | Measure twice before adjusting. |
| Ignoring strike plate | Check alignment with latch. |
| Caption: Avoid these pitfalls for a hassle-free latch adjustment. |
Safety First
Always wear safety glasses when using tools. If you’re prying parts, gloves protect your hands from sharp edges. I learned this the hard way with a tiny metal splinter!
Comparing Latch Types
Not all latches are the same. Here’s a quick look:
Table 3: Types of Door Latches
| Type | Pros | Cons |
|---|---|---|
| Spring Latch | Easy to adjust, common | Less secure |
| Deadbolt | Super secure | Harder to adjust |
| Push Button Latch | Simple to use | May wear out faster |
| Caption: Choose the right latch for your door’s needs. |
“When I fixed the latch on my front door, I felt like a hero. It was sticking, making it tough to lock. After adjusting the backset and lubing it up, it worked like new. The best part – I saved $100 on a locksmith.”
Conclusion
Adjusting door latch length is a simple DIY win that makes your home safer and your doors smoother. With a screwdriver, a tape measure, and a bit of patience, you can fix a sticky or loose latch in minutes. Try it on a bedroom or bathroom door first – the smaller backset (2-3/8″) is the more common size to get wrong.
Frequently Asked Questions
What Does “Backset” Mean for a Door Latch?
It’s the distance from the door’s edge to the center of the knob hole, usually 2-3/8 or 2-3/4 inches. Adjusting it ensures the latch reaches the strike plate.
Can I Adjust Any Door Latch?
Most modern latches are adjustable, but older ones might not be. Check for a sleeve or tab. If it’s fixed, replace it with an adjustable latch.
What If My Latch Still Doesn’t Catch?
Check the strike plate alignment. Loosen its screws, shift it slightly, and retighten. If that fails, the door or frame might be warped.
Do I Need Special Tools to Adjust a Latch?
No, a screwdriver and tape measure are usually enough. Pliers and WD-40 help with stubborn or sticky latches.
How Long Does It Take to Adjust a Latch?
About 10-15 minutes for beginners. It’s faster once you get the hang of it, especially with clear instructions.
Can Adjusting the Latch Improve Security?
Yes, a well-adjusted latch ensures the door locks tightly, boosting security. Pair it with a deadbolt for extra protection.
What If My Door Latch Is Too Short?
Replace it with a longer latch or shim the hinges with cardboard to close the gap. Both are easy fixes.
Sponsored / affiliate links. As an Amazon Associate I earn from qualifying purchases. I may earn additional commission from eligible campaigns.