How to Change a Recessed Light Bulb (+ Stuck Bulb Fix)
Changing a recessed light bulb means turning off the power, removing the trim or cover, and twisting out the old bulb – but shower and bathroom fixtures often use a twist-lock GU10 bulb under a sealed glass lens instead of a standard screw base. Recessed lights are also called can lights (US), pot lights (Canada), or downlights/inset lights (UK) – same fixture, different name. This guide covers standard bulb replacement, shower-fixture differences, and what to do if the bulb won’t budge.
Quick Answer
Turn off the power, let the bulb cool, remove the trim or cover, and turn the bulb counterclockwise to remove it (or unclip and pull straight out for a twist-lock GU10/MR16 bulb, common in shower fixtures). If it won’t turn, try wrapping duct tape around it for extra grip before twisting. Check that the socket contacts aren’t corroded if a new bulb still won’t light.
Tools And Materials Needed
Changing a recessed light bulb is simple. You need some basic tools. Ladder is the first thing you need. It helps you reach the bulb. A screwdriver may be needed too. Some light covers have screws. Replacement bulb is a must. Make sure it fits the fixture. Gloves are helpful. They keep your hands safe. Sometimes the bulb is hot. A bulb grabber can be used. It helps you hold the bulb. Not all bulbs need it, though.
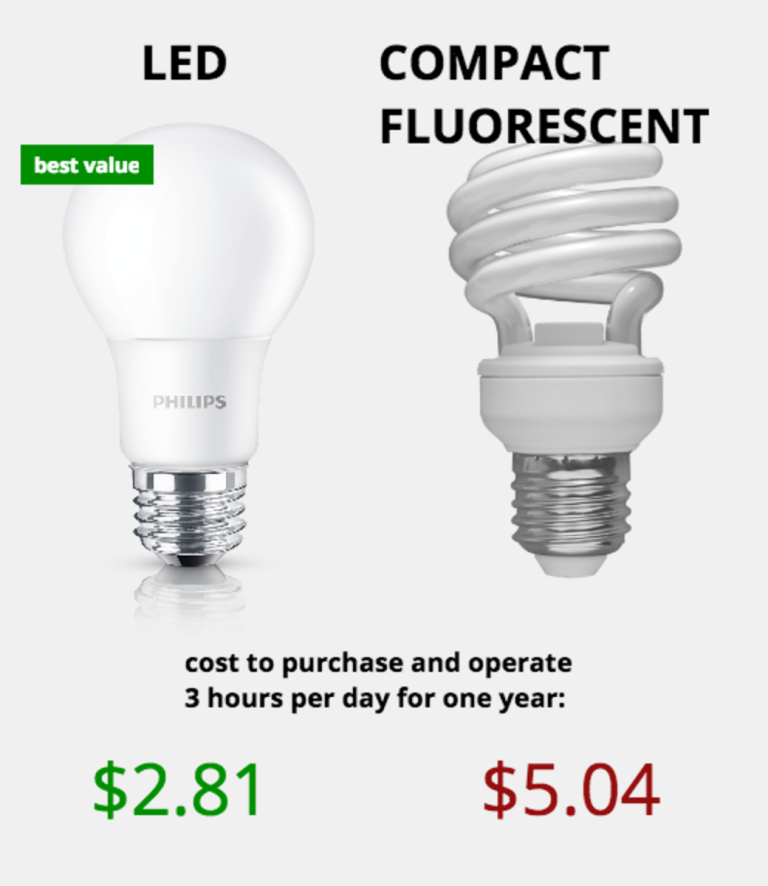
📊 ENERGY STAR-certified LED recessed bulbs last at least 25,000 hours – about 25 times longer than a traditional incandescent – and use up to 90% less energy, saving roughly $80 per fixture over its lifetime. Source: ENERGY STAR
Safety Precautions
Safety is very important. Be sure the light switch is off. Use a sturdy ladder or a stable chair. This helps you reach the bulb easily. Make sure the bulb is cool before touching. A hot bulb can burn your fingers. Always wear gloves when handling bulbs. This keeps your hands safe and clean. Keep a flashlight handy if the area is dark. It helps you see better. Ask someone to hold the ladder if needed. This adds extra safety.
Removing The Light Cover
Light covers come in different types. Flat covers are simple to remove. Trim covers need careful handling. Glass covers are fragile. Metal covers can be heavy. Knowing the type helps. It makes removal easier.
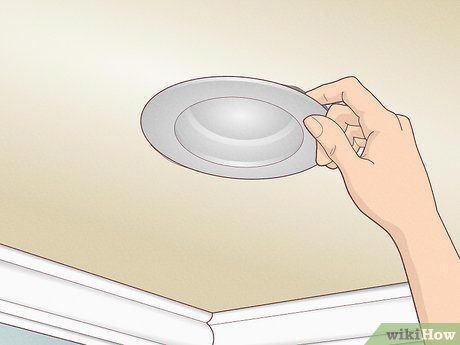
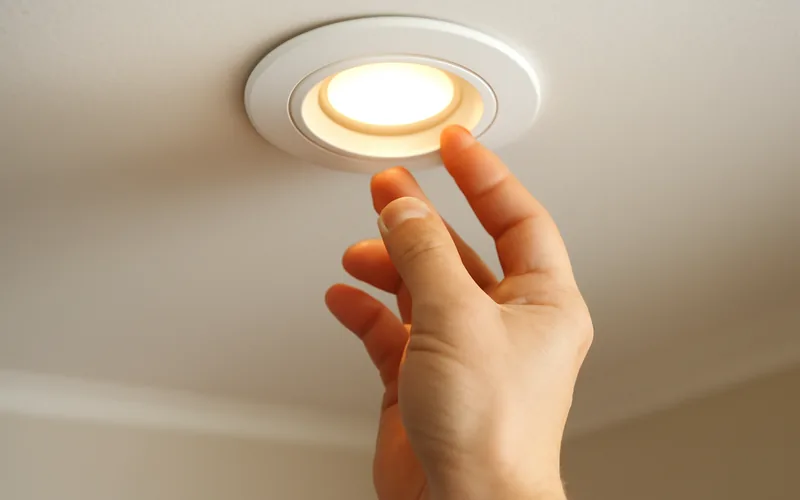
First, turn off the light switch. Ensure safety. Next, use a ladder if needed. Reach up to the cover. Grip the edges gently. Twist or pull slowly. Listen for clicks or pops. If stuck, try again gently. Remove the cover safely.
Best Replacement Bulb Pick
6-Pack BR30 Dimmable LED Bulbs (Standard E26 Base)
The standard screw-base bulb type most living-room and kitchen recessed fixtures use – dimmable, so it works with existing dimmer switches.
- Best for: replacing standard screw-base bulbs in non-shower recessed cans
- Why we picked it: ENERGY STAR-class LED lifespan means fewer repeat trips up the ladder
- Main drawback: not rated for shower/wet locations – use a GU10 kit for those fixtures instead
Compare more replacement bulb options
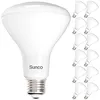 Option 1 12-Pack Whole-Home Bulbs
|
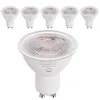 Option 2 GU10 Bulbs for Shower Fixtures
|
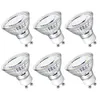 Option 3 GU10 Daylight Bulb
|
As an Amazon Associate we earn from qualifying purchases.
Removing The Old Bulb
First, turn off the light switch. Safety is important. Look at the bulb.
Is it a screw base or a pin base? Identify this before buying a new one.
Check the wattage and shape. Some bulbs are round, others are long.
Knowing this helps you find the right replacement.
Bulbs can be LED, halogen, or incandescent.
Wait for the bulb to cool down. Use a cloth to handle it. This keeps it from slipping.
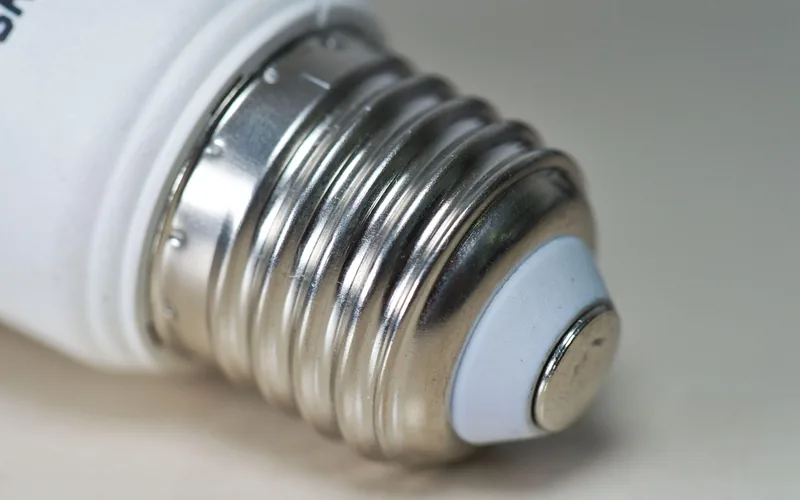
Turn the bulb counter-clockwise. Be gentle, it might break. If it breaks, clean carefully.
Use a broom and dustpan. Do not use bare hands. Dispose of bulbs properly.
Some need special disposal. Check with your local waste service.
Protect the environment by disposing of bulbs correctly.
Installing The New Bulb
Always pick a bulb that matches the old one. Check the wattage and size. It should fit snugly in the socket. LED bulbs are good. They save energy and last longer. Avoid using high wattage bulbs. They may overheat the socket.
Turn off the power before starting. Safety is key. Use a ladder if the light is high. Hold the bulb gently. Turn it clockwise to tighten. Do not force it. If stuck, adjust slightly. Ensure the bulb sits firmly in the socket. Test the light by switching it on. If it doesn’t work, check the fit again.
Replacing The Light Cover
Carefully remove the light cover. Hold the cover firmly so it doesn’t fall. Check the screws. Make sure they are tight and secure. If loose, tighten them gently. Ensure the cover fits well. It should sit flush against the ceiling. Feel the edges. There should be no gaps. A secure fit means no wobble. Re-adjust if needed. This helps in safety.
Ensuring A Secure Fit
The light cover should not move. Test by gently pressing. Listen for any rattling sounds. Look for gaps or misalignment. Fix any issues you find. A tight fit means the cover is secure. Check all sides again. Feel confident in its placement.
Testing The Light
Switch on the light. Observe if it turns on smoothly. Watch for flickering or dimming. Listen for any buzzing noise. If problems occur, check the bulb. Ensure it is screwed in properly. A good bulb should light evenly. Test a few times to be sure. Enjoy the brightness!
Troubleshooting Common Issues
Changing a recessed light bulb can be tricky. Ensure power is off to avoid accidents. Use a ladder to reach the light, gently unscrew the bulb, and replace it with a new one.
Bulb Not Lighting
First, check if the bulb is tightly screwed. Sometimes it loosens over time. If the bulb is tight but still not working, it might be burned out. Replace it with a new bulb. Ensure the new bulb is the correct wattage for the fixture. A blown fuse or tripped circuit might also cause issues. Check the fuse box and reset any tripped switches.
Cover Does Not Fit
Make sure the cover is aligned properly. Rotate it gently until it fits snugly. If the cover is still not fitting, check for any obstructions. Dirt or debris can block the fitting. Clean the area around the cover. Sometimes, the cover might be the wrong size. Check the model number and ensure you have the right cover.
Changing a Bulb in a Shower or Bathroom Recessed Light
Shower and bathroom recessed fixtures are built differently from a normal ceiling can. They use a sealed, wet-rated trim with a tempered glass lens, and the bulb underneath is usually a GU10 or MR16 twist-lock bulb rather than a standard screw-base bulb. The glass lens is what makes the fixture safe for a wet location – never replace it with a non-rated trim.
To change the bulb: turn off the power, let the fixture cool, then release the spring clips or twist the glass lens frame to remove it (some designs require removing the whole glass diffuser, not just the bulb). The GU10/MR16 bulb pulls straight out or gives a quarter-turn to release – it won’t unscrew like a standard bulb. Reinstall the glass lens fully seated before restoring power, since a gap in the seal defeats the wet-rating.
What To Do If The Bulb Won’t Come Out
A stuck bulb usually means the metal contacts have corroded slightly, gripping the threads. Make sure the power is off and the bulb is cool, then wrap a strip of duct tape around the bulb (sticky side out) to give your fingers more grip, and turn counterclockwise. If a new bulb still won’t light after that, check the socket contacts themselves for corrosion or a loose tab before assuming the bulb is bad – only 1 of several lights failing at once often points to the socket or transformer, not the bulb.
“LED bulbs are less prone to seizing than old incandescents, but their electronic components and heat sinks still get hot enough that you should let them cool before handling. If a bulb won’t turn, wrapping duct tape around it for extra grip works well – and if a new bulb still won’t light, check the socket for corrosion or a loose contact tab before assuming the bulb itself is bad.”
— Scott Caron, master electrician, writing for This Old House
Tips For Maintenance
Keep light fixtures clean. Dust gathers quickly. Use a soft cloth. Avoid harsh chemicals. Clean bulbs gently. Dirt reduces brightness. Check often for dust.
Pick bulbs wisely. LED bulbs last longer. They save energy too. Halogen bulbs are bright. They need more power. Consider bulb life and energy use. Choose durable bulbs for less hassle. Avoid changing bulbs often.
Frequently Asked Questions
Can You Change The Bulb In A Recessed Light?
Yes, you can change the bulb in a recessed light. Turn off the power first. Remove the trim or cover, then gently unscrew or pull out the bulb. Replace it with a new one, ensuring it’s the correct type and wattage.
Finally, reattach the trim or cover securely.
How Do You Change A Bulb In A Ceiling Light?
Turn off the power. Remove the fixture cover. Unscrew the old bulb. Insert the new bulb. Replace the cover.
What Do You Do When A Recessed Light Goes Out?
First, turn off the power to the light. Remove the bulb carefully. Inspect and replace it with a new one. Check the fixture for any damage. Restore power and test the light. If it still doesn’t work, consider consulting an electrician for further assistance.
How To Remove A Recessed Lighting Cover?
Turn off the power. Grip the cover’s edge. Twist counterclockwise or pull gently to remove. Reinstall by reversing the steps.
Conclusion
Changing a recessed light bulb is simple with the right steps. Gather your tools first. A ladder, gloves, and new bulb. Safety is crucial. Turn off the power before starting. Remove the old bulb carefully. Install the new one securely.
Test the light after installation. Ensure everything is working. You now know how to change a recessed light bulb. This saves time and money. Now, you can brighten your space easily. Feel confident and enjoy your well-lit room. Always remember, safety comes first in any task.
Happy lighting!
What If The Bulb Is Stuck And Won’t Come Out?
Wrap a strip of duct tape around the bulb for extra grip and turn counterclockwise. Make sure the power is off and the bulb has cooled first. Avoid forcing it – a cracked bulb is harder to remove than a stuck one.
Is It The Bulb Or The Transformer If The Light Won’t Turn On?
If only one light is out, it is usually the bulb. If several lights on the same circuit or transformer fail together, or a new bulb still doesn’t light, the transformer or driver is the more likely culprit and may need professional replacement.
Sponsored / affiliate links. As an Amazon Associate I earn from qualifying purchases. I may earn additional commission from eligible campaigns.