How to Fix a Leaky Outdoor Faucet: Handle, Spout, Frost Protection, and Shutoff Checks
A leaky outdoor faucet usually points to one of four spots: the packing nut behind the handle, the washer at the spout tip, the vacuum breaker on top, or a cracked barrel from a hard freeze the previous winter. Figuring out which one it is takes about five minutes of watching where the water actually appears while the faucet runs, and most of these fixes cost under $15 in parts.
Leak at the handle: the packing nut
If water seeps out around the stem where it enters the faucet body while the water is running, the packing nut just behind the handle has loosened or its packing washer has worn out. Try tightening the packing nut a quarter turn with an adjustable wrench first; if that doesn’t stop it, shut off the water supply, remove the nut, and replace the packing washer or wrap the stem threads with a few turns of packing string before reassembling.
Leak at the spout: the stem washer
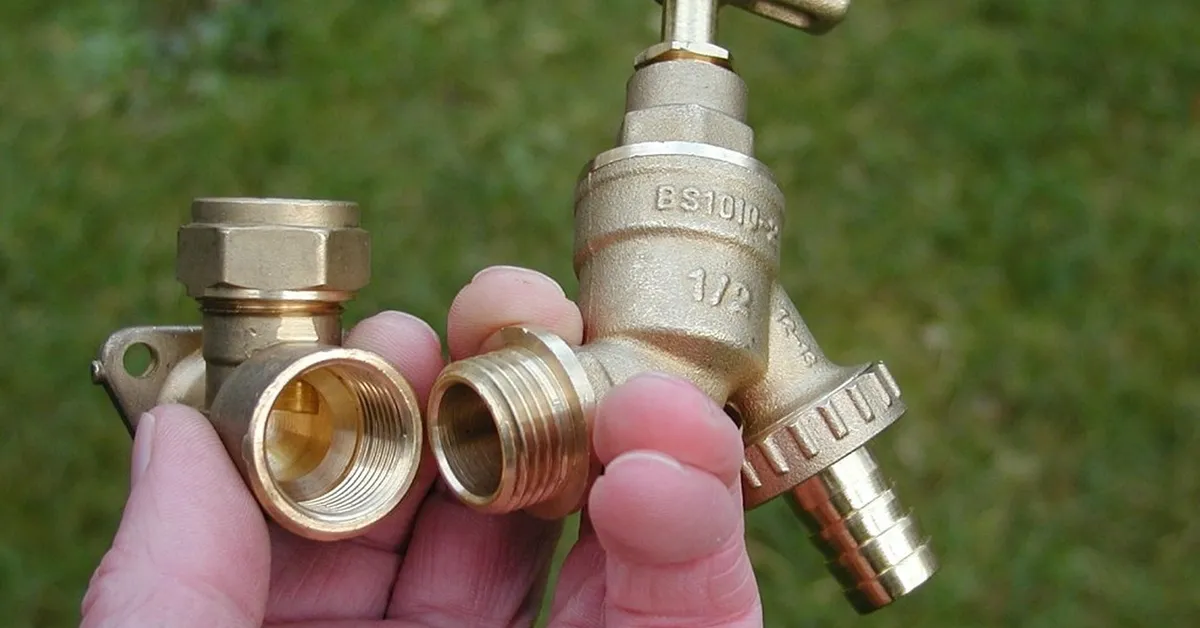
A drip from the spout opening after you’ve turned the faucet fully off means the rubber washer at the end of the stem, the part that seals against the valve seat inside, has hardened or worn down. Shut off the interior supply valve, unscrew the packing nut, and pull the entire stem assembly out to access the washer, which is held by a small brass screw at the tip. This is the same faucet repair parts logic as an indoor compression faucet, since outdoor sillcocks use the same basic washer-and-seat design.
Leak from the vacuum breaker
Most faucets installed since the early 2000s have a vacuum breaker, a small cap-like assembly on top of the spout that prevents contaminated water from siphoning backward into the home’s supply. If water sprays or drips from the small hole in this cap only while the faucet is running, that’s often normal and by design during operation; but if it continues dripping after shutoff, the internal check valve or O-ring inside the breaker has failed and the breaker cap typically needs replacement, which is usually a snap-off, screw-on part rather than a full faucet repair.
Frost-free faucets and freeze damage
Frost-free (freeze-proof) sillcocks have a long barrel, often 6 to 12 inches, positioned so the actual shutoff valve sits inside the heated wall cavity rather than at the exposed spout. This design only works if the barrel can drain completely after each use, which fails if a hose is left attached over winter, trapping water in the barrel. That trapped water freezes, expands, and cracks the barrel, and the damage often doesn’t show up as an outdoor leak at all, instead appearing as water inside the wall or ceiling below the faucet when it’s used again in spring. A cracked frost-free faucet can’t be patched and needs full replacement, along with checking for any interior water damage from the freeze.
Frequently Asked Questions
Do I need to shut off the water before repairing an outdoor faucet?
Yes, for any repair involving the stem, washer, or packing, locate the dedicated interior shutoff valve for that faucet (common in basements or crawlspaces near the exterior wall) and close it before disassembling anything.
How do I winterize an outdoor faucet to prevent freeze damage?
Disconnect and drain any attached hose before the first freeze, shut off the interior supply valve if there is one, and open the outdoor faucet to let any remaining water drain out, since a garden hose left connected is the single most common cause of a cracked frost-free faucet.
Is a leaking outdoor faucet worth calling a plumber for?
Washer and packing repairs are straightforward DIY jobs with basic tools, but if the leak is coming from inside the wall or the faucet’s barrel is cracked, a plumber is worth it since replacing a frost-free sillcock usually means accessing the supply line from inside the wall.
Sponsored / affiliate links. As an Amazon Associate I earn from qualifying purchases. I may earn additional commission from eligible campaigns.