How To Fix Pull Cord: Genius Effortless Solution
Quick Summary:
Fixing a pull cord on a ceiling fan light is usually a simple fix! Often, the cord is just loose or disconnected inside the fan housing. This guide provides an easy, step-by-step solution to get your light working again in no time, without needing a professional.
Ever flicked that pull cord, only to be met with frustrating silence or a light that stubbornly refuses to come on? You’re not alone! A broken pull cord on a ceiling fan light is a super common household hiccup. It can be a real pain, especially when you just want to brighten up a room. But before you call for pricey help, know this: most of the time, it’s a fix you can totally handle yourself. We’re going to walk through a straightforward, genius solution that’s surprisingly effortless. Get ready to see your light shine again!
Understanding Your Ceiling Fan Light Pull Cord
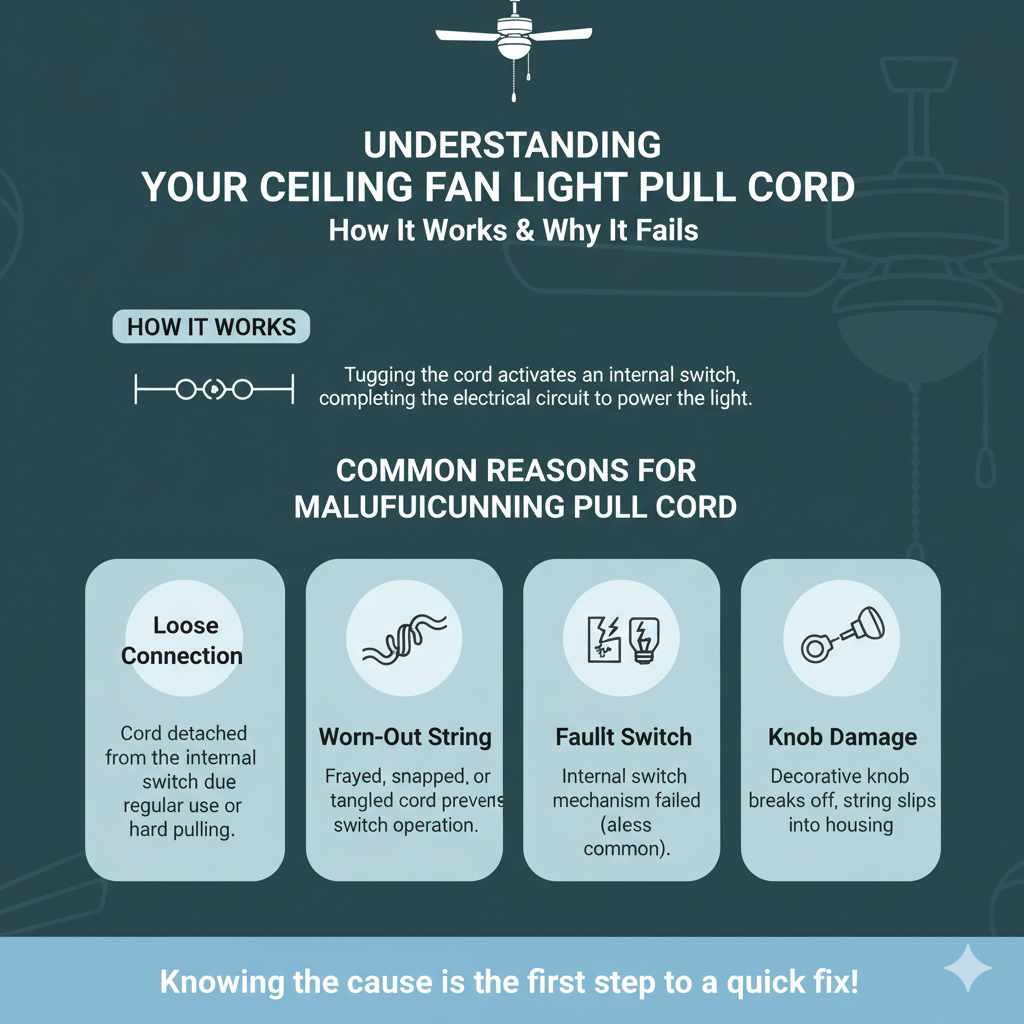
Ceiling fan lights are fantastic for saving space and providing versatile lighting. The pull cord is the simple mechanism that controls your light. When you tug it, it usually completes or breaks an electrical circuit, turning the light on or off. Over time, these cords can wear out, get snagged, or simply become disconnected from their internal switch. This is where the frustration begins. But understanding how it works is the first step to fixing it!
Common Reasons for a Malfunctioning Pull Cord
Before we dive into fixing it, let’s look at why this happens:
- Loose Connection: The most frequent culprit is a cord that has become loose or detached from the switch mechanism inside the fan’s motor housing. This can happen from regular use or if the cord gets pulled too hard.
- Worn-Out String: The cord itself might have frayed, snapped, or become tangled internally, preventing it from operating the switch properly.
- Faulty Switch: Less commonly, the actual pull-chain switch inside the fan might have failed. While this guide focuses on cord issues, it’s good to be aware of this possibility.
- Knob Damage: The decorative knob at the end of the cord can break off, leaving you with just the string, which might then slip back into the housing.
Safety First! Essential Precautions Before You Start
Working with anything electrical, even something as simple as a pull cord, requires caution. Safety is always our top priority here. Before you even think about touching the fan, make sure the power is completely off. This is non-negotiable and crucial for your well-being.
Always follow these safety steps:
- Turn off Power at the Source: Go to your home’s main electrical panel (breaker box) and find the breaker that controls the ceiling fan. Flip it to the ‘OFF’ position. For extra certainty, you can also flip the wall switch that controls the fan to ‘OFF’.
- Verify Power is Off: Go back to the fan and try operating the pull cord. The light should not come on, and the fan should not spin. This confirms the power is indeed cut.
- Use a Stable Ladder: Ensure you have a sturdy ladder that is positioned on a level surface. Don’t overreach; move the ladder as needed.
- Keep Your Workspace Clear: Make sure there are no tripping hazards around the fan.
If you are ever unsure about working with electricity, it’s always best to consult a qualified electrician. For more information on electrical safety, resources like the U.S. Consumer Product Safety Commission (CPSC) offer valuable guidance.
Tools You’ll Need: Simple & Readily Available
The beauty of this fix is that you likely won’t need a specialized toolkit. Most of what you need can be found around your home or is very inexpensive to acquire. Having the right tools makes the job smoother and much less frustrating.
Here’s a simple list:
- Screwdriver Set: You’ll likely need a Phillips head screwdriver, and possibly a flathead, to remove the fan’s light kit or canopy.
- Pliers (Needle-Nose Recommended): These are helpful for gripping and manipulating the pull cord or small internal parts.
- Wire Strippers (Optional): If the cord has frayed significantly and needs a small trim, these can be useful.
- Replacement Pull Cord (If Needed): You can often buy these at hardware stores. They usually come with a connector.
- Replacement Knob (If Needed): Again, available at hardware stores.
- Small Container or Bag: To keep any screws or small parts organized.
- Flashlight or Headlamp: To help you see inside the fan housing.
Step-by-Step: The Genius Effortless Solution
Now, let’s get to the heart of the matter. This method is designed to be as easy as possible, even for beginners. We’ll focus on the most common issue: a disconnected or loose cord inside the fan.
Step 1: Accessing the Pull Cord Mechanism
First, we need to get to where the pull cord connects to the switch. This usually involves removing the light fixture assembly or the lower part of the fan housing.
- Remove Light Globes/Covers: If your fan has glass globes or other light covers, carefully remove them. They usually unscrew or have small retaining screws.
- Locate Screws: Look for screws holding the light kit assembly to the fan motor housing. These are often around the base of the light kit.
- Remove the Light Kit: Carefully unscrew the light kit. It might be connected by wires. Gently pull it down a bit to expose the internal wiring and the pull chain switch. You might not need to disconnect wires if there’s enough slack to work with. If wires are too short, you’ll need to disconnect them carefully, noting which wire goes where (usually black to black, white to white, and green for ground).
Step 2: Identifying the Problem
With the light kit lowered, you should be able to see the pull chain switch. This is a small, often plastic, component with a chain entering one side and exiting another, or a single chain that goes through it and then attaches to the fan. Look closely at where the cord connects.
- Look for Detached Cords: The most common issue is that the end of the pull cord has simply slipped off a small hook or connector on the switch mechanism.
- Check for Snags or Breaks: See if the cord is visibly frayed, broken, or tangled within the switch.
- Examine the Switch: Ensure the switch itself isn’t obviously damaged or broken.
Step 3: Reconnecting the Pull Cord
This is the core of the “genius effortless solution.” If the cord has detached, simply reattach it.
- Find the Attachment Point: On the pull chain switch, you’ll usually see a small loop, hook, or a hole where the cord is supposed to attach.
- Thread and Secure: Take the end of the pull cord and thread it back through the hole or loop on the switch mechanism. If it’s a simple hook, just loop it on. Some switches have a small clip or mechanism you might need to gently press open with pliers to secure the cord.
- Pull Gently to Test: Once reattached, give the cord a gentle tug. You should feel it engage the switch.
Step 4: Testing the Connection
Before putting everything back together, it’s crucial to test if your fix worked.
- Temporarily Restore Power: Go back to your breaker box and flip the breaker for the fan back to the ‘ON’ position.
- Test the Cord: Carefully pull the cord. The light should now turn on and off as expected. If it works, great!
- Troubleshooting: If it still doesn’t work, double-check the connection. Ensure the cord is securely attached and not slipping off. If the cord itself is broken, you’ll need to replace it (see next section). If the switch seems faulty, it might be time for a replacement switch, which is a slightly more involved repair.
Step 5: Reassembling the Fan
Once you’ve confirmed the pull cord is working correctly, it’s time to put everything back together.
- Reconnect Wires (If Disconnected): If you had to disconnect any wires, carefully reconnect them using wire nuts. Ensure connections are secure and insulated.
- Tuck Wires: Gently tuck any wires back into the housing, making sure they aren’t pinched.
- Reattach Light Kit: Screw the light kit back into place.
- Replace Globes/Covers: Reattach any glass globes or light covers.
- Final Power On: Turn the power back on at the breaker and test the pull cord one last time.
What if the Cord is Broken or Frayed? Replacing the Pull Cord
Sometimes, the pull cord itself is the problem. It might be frayed, snapped, or too short. Replacing it is also a straightforward DIY task.
Choosing a Replacement Cord
You can find replacement pull cords at most hardware stores. They are usually sold in spools or kits. Look for a cord that is:
- Appropriate Length: Measure the old cord if possible, or estimate how long you need it to be.
- Durable Material: Common materials include plastic or fabric-coated metal. Plastic is generally durable and easy to clean.
- Compatible Connector: Some cords come with a small connector that attaches to the switch.
Replacing a Broken Cord
- Access the Switch: Follow Steps 1 and 2 above to access the pull chain switch.
- Remove Old Cord: If the cord is broken, you might need to pull the remaining piece out from the fan housing. If it’s still attached to the switch, you may need to detach it from the switch mechanism.
-
Attach New Cord:
- If the switch has a hole: Thread one end of the new cord through the hole. Tie a large knot on the end inside the switch housing so it can’t pull back through.
- If the switch has a connector/hook: Attach the new cord to the switch using the provided connector, or by tying it securely if necessary.
- Feed Cord Through Housing: Guide the new cord through the fan housing and out where the old one emerged.
- Attach New Knob: Thread the new decorative knob onto the end of the cord and secure it according to its design (often a screw-on or crimp-on mechanism).
- Test and Reassemble: Follow Steps 4 and 5 above to test and reassemble your fan.
Pro Tip: If your fan has two pull cords (one for the fan speed and one for the light), make sure you are working on the correct one. They are usually color-coded or have different numbers of chain links to distinguish them.
Troubleshooting Common Issues
Even with the best instructions, sometimes things don’t go perfectly. Here are a few common snags and how to deal with them:
| Problem | Possible Cause | Solution |
|---|---|---|
| Cord pulls but nothing happens. | Cord is not properly attached to the switch. | Re-secure the cord to the switch mechanism. Ensure it’s not slipping. |
| Cord feels “mushy” or doesn’t click. | Internal switch might be damaged or worn out. | Replace the pull chain switch. This usually involves disconnecting wires and attaching the new switch. |
| Cord is stuck or won’t pull smoothly. | Cord is tangled inside the housing or snagged on an internal part. | Carefully try to wiggle the cord. You might need to slightly loosen the fan housing to free it. |
| Light turns on but won’t turn off. | The switch mechanism might be stuck in the ‘on’ position. | Try gently wiggling the cord or switch. If it persists, the switch likely needs replacement. |
| Fan speed cord works, but light cord doesn’t. | Separate issues with the light kit’s switch or wiring. | Focus specifically on the light pull cord and its associated switch. |
When to Call a Professional
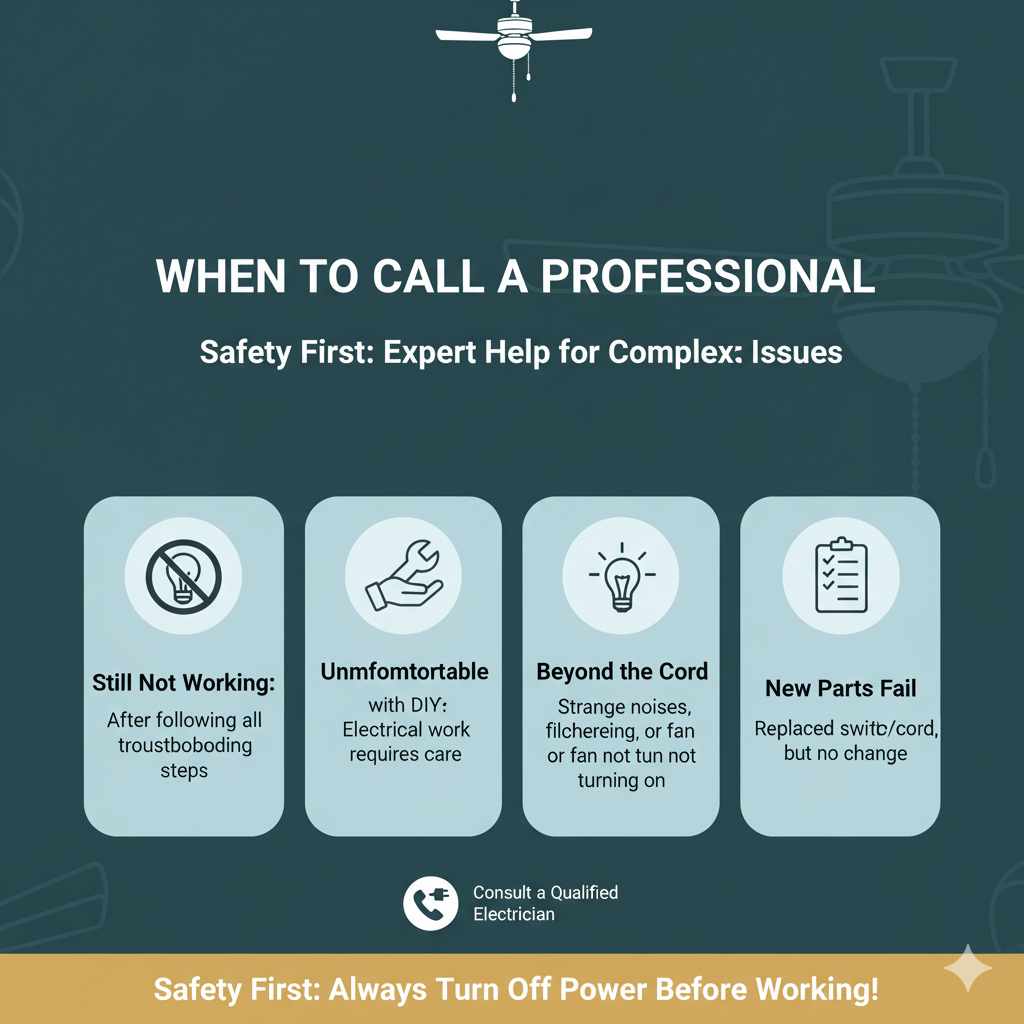
While most pull cord issues are DIY-friendly, there are times when it’s best to call in an expert. If:
- You’ve followed all the steps and the light still doesn’t work.
- You’re uncomfortable working with electrical components or wiring.
- The fan itself seems to have electrical problems beyond just the pull cord (e.g., strange noises, flickering lights, not turning on at all).
- You’ve replaced the switch and cord, and it still doesn’t function.
A qualified electrician can diagnose more complex problems safely and efficiently. You can find resources for finding a local electrician through organizations like the National Electrical Contractors Association (NECA).
Frequently Asked Questions (FAQ)
Q1: How often should I replace my ceiling fan pull cord?
A1: There’s no set schedule. Pull cords typically last for many years. You’ll know it’s time to replace it if it becomes frayed, broken, or starts to malfunction frequently.
Q2: Can I use any kind of string or cord as a replacement?
A2: It’s best to use a cord specifically designed for ceiling fans. These are durable and often have a texture that makes them easy to grip. Using regular string might not be strong enough or could fray quickly.
Q3: My fan has two pull cords, how do I know which one is for the light?
A3: Usually, one cord controls the fan speed and the other controls the light. They often have different numbers of chain links or are marked differently. If unsure, you can carefully test them with the power on (briefly!) or by following the cords back into the housing to see which switch they lead to.
Q4: Is it safe to replace the pull chain switch itself?
A4: Yes, for most DIYers, replacing the switch is a manageable task, provided you have turned off the power completely. You’ll need to disconnect the wires from the old switch and connect them to the new one in the same configuration.
Q5: My pull cord is really short. Can I add an extension?
A5: You can’t simply tie an extension cord to your existing pull cord and expect it to work reliably. The cord needs to run through the switch mechanism. If you need a longer cord, you’ll need to replace the entire cord with a longer one, ensuring it can still properly engage the switch.
Q6: What if the pull cord knob broke off, but the cord is still inside?
A6: This is a common and easy fix! You can purchase a new pull cord knob from a hardware store. These usually screw onto the end of the existing cord, or you might need to use a small pliers to crimp a connector onto the cord to attach the new knob.
Q7: My fan is very old. Will this fix still work?
A7: For most standard ceiling fans, this method will work regardless of age. However, very old or unusually designed fans might have different mechanisms. If you can’t access the switch or identify the cord attachment point, it might be time to consult the fan’s manual or a professional.
Conclusion: Light Up Your Life (and Your Room!)
There you have it! Fixing a pull cord on your ceiling fan light doesn’t have to be a daunting task. By following these simple, step-by-step instructions, you’ve likely restored functionality to your light and saved yourself the cost of a service call. Remember, safety is paramount, so always ensure the power is off before you begin. Most of the time, it’s just a matter of reattaching a loose cord or replacing a worn-out one. With a little patience and these easy tips, you can tackle this common household issue with confidence. Now, go ahead and enjoy that perfectly working light!