How To Get Rid Of A Water Stain On A Wood Table Fast
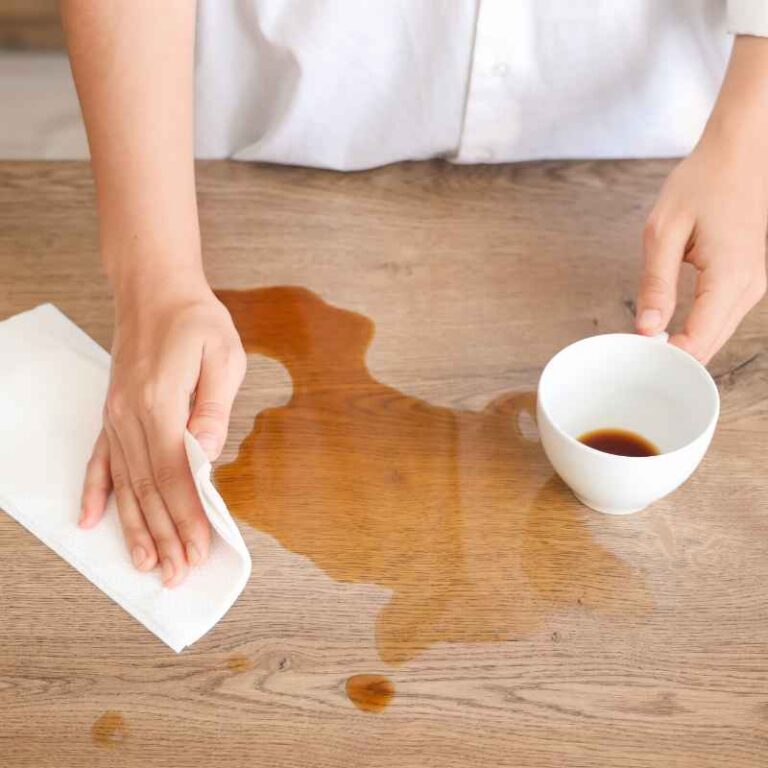
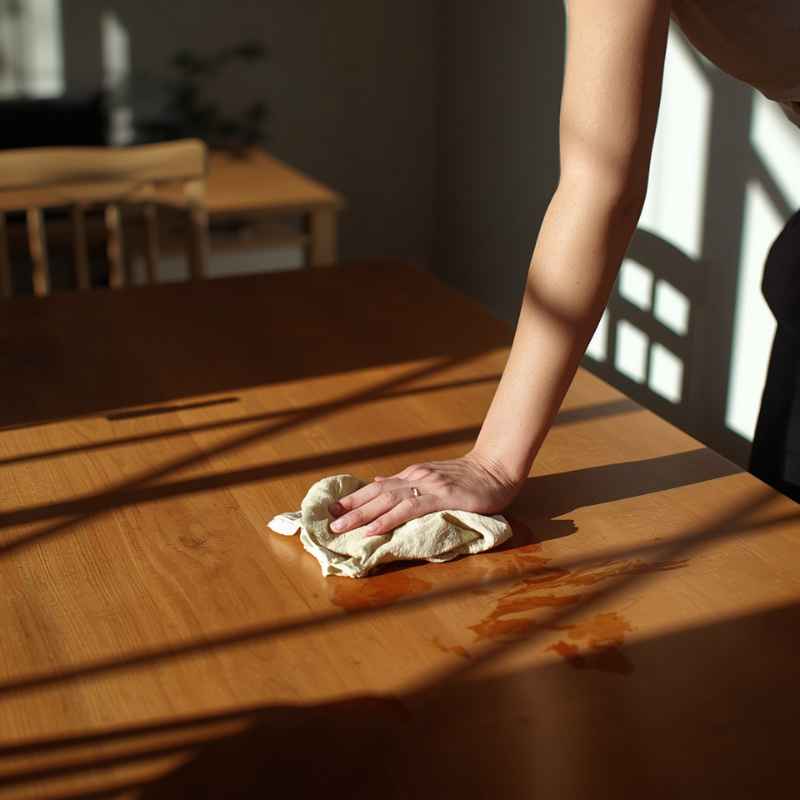
Oh, that dreaded white ring. You know the one. It appears like magic on your beautiful wood table after a glass sweats or a damp cloth is left too long.
It’s frustrating, right? Your table looked so perfect, and now this. You might feel a little panic creep in.
Don’t worry, though. Many people face this problem. We can sort this out together.
It’s often easier to fix than you think.
Getting rid of a water stain on a wood table fast often involves using common household items to lift the moisture trapped in the finish. Simple methods like using a hairdryer, an iron with a cloth, mayonnaise, or toothpaste can work wonders on fresh, white stains. For older, darker stains, more steps might be needed, but success is still achievable with patience.
Understanding Water Stains on Wood
Water stains happen when moisture gets trapped. It can get stuck in the wood’s finish. This finish is like a protective coat.
The water causes the finish to cloud up. This makes a white or sometimes dark spot. White marks are usually surface-level.
They mean the water hit the top layer of the finish. Dark stains often mean water went deeper. It might have reached the wood itself.
Think of it like fogging up a mirror. The water vapor lands on the cool surface. It condenses.
On wood, it’s similar. The moisture gets into the pores of the finish. It doesn’t mix well with the finish itself.
This causes that cloudy look. The type of finish on your table matters too. Some finishes are more sensitive to water.
Others are more durable.
It’s important to know what kind of stain you have. Is it white and powdery? Or is it dark and deep?
This tells you how much effort you’ll need. White stains are usually easier to tackle. They are on the surface.
Dark stains can be tougher. They might need more specific care. But don’t give up hope!
We’ll go through all the common types.
My Tabletop Scare
I remember one summer evening. We had friends over. We were playing cards on my dining table.
It’s an old oak table. I love it dearly. I’d just polished it.
It was gleaming. Someone put a cold glass of iced tea down. No coaster.
I saw it happen. A tiny bead of sweat from the glass. I thought, “Oh no.”
Later that night, after everyone left, I saw it. A perfect white ring. My heart sank.
It looked so obvious. I felt a pang of regret for not yelling “coaster!” sooner. I touched it.
It felt slightly rough. Panic set in for a moment. What had I done?
Was it ruined? I stayed up late, Googling frantically. Could I fix it?
My mind raced with worst-case scenarios.
The next morning, I was determined. I wouldn’t accept defeat. I started with the simplest ideas I found.
Thankfully, it worked. It took a little time and care. But the stain disappeared.
My table was back to its old self. It was a huge relief. That experience taught me a lot about wood finishes and how to care for them.
White Water Stain Types
Surface Clouding: This is the most common. Moisture gets into the top layer of the finish. It looks like a white, hazy spot.
It’s usually easy to fix.
Deeper Moisture: Water has gone a bit further. It might be in the finish but closer to the wood. The stain might be a bit harder to see but still looks white.
Tackling White Water Stains: The Quick Fixes
White water stains are usually from moisture trapped in the finish. This means the wood itself is likely fine. The goal is to gently lift that trapped moisture.
Or to let it evaporate. Several common household items can help here. They often work by applying gentle heat or a mild abrasive.
Always start with the least invasive method. Test in an inconspicuous spot first if you can. This might be the underside of the table.
Or a corner that doesn’t get much attention. This way, you know it won’t damage the finish further. Patience is key.
Don’t rub too hard or use harsh chemicals too soon.
The Hair Dryer Method
This is often the first thing people try. It’s simple and uses gentle heat. Heat helps the trapped moisture to evaporate.
It’s like giving the finish a gentle nudge to dry out.
How to do it:
- Set your hairdryer to its lowest heat setting.
- Hold it about 6 to 8 inches away from the stain.
- Keep the dryer moving. Don’t let it sit in one spot.
- Gently wave it back and forth over the stain.
- You should see the white mark start to fade.
- This might take a few minutes. Be patient.
- Once the stain is gone, let the area cool.
- You can then apply a bit of furniture polish. This helps restore shine.
This method works best on fresh, light white stains. If the stain is stubborn, try this for a bit longer. If it doesn’t seem to be working after several minutes, move to another method.
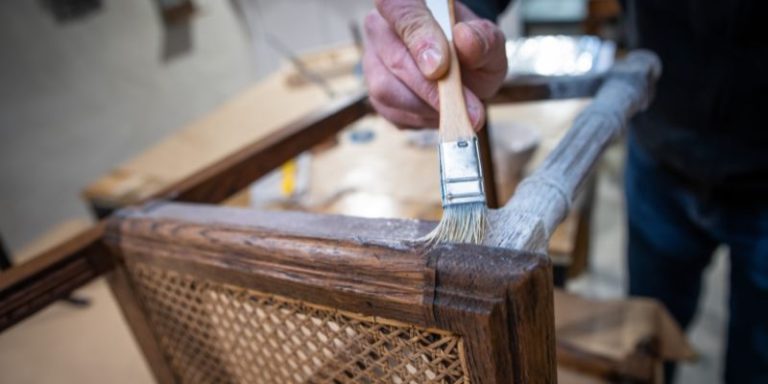
The Iron and Cloth Trick
This is another gentle heat method. It uses a barrier to protect the wood. The iron helps to draw out the moisture.
How to do it:
- First, make sure your wood table is dry.
- Get a clean, soft cotton cloth. A t-shirt or pillowcase works well.
- Lay the cloth over the water stain.
- Set your iron to a low heat setting. Make sure it has NO steam. Steam can add more moisture.
- Gently press the iron onto the cloth over the stain.
- Lift the iron after a few seconds. Check the stain.
- Repeat this process. Keep lifting and checking.
- The warmth of the iron helps the moisture to rise into the cloth.
- Continue until the stain disappears.
This method is very effective. It’s one of the most reliable for white rings. Be careful not to leave the iron in one place for too long.
Too much heat can damage the finish. It’s better to do short bursts. Check frequently.
Quick Scan: Heat Methods for White Stains
| Method | Pros | Cons | Best For |
|---|---|---|---|
| Hair Dryer | Easy, readily available | May need time, less powerful | Light, fresh stains |
| Iron & Cloth | Very effective, draws moisture | Requires careful attention, risk of heat damage | Stubborn white stains |
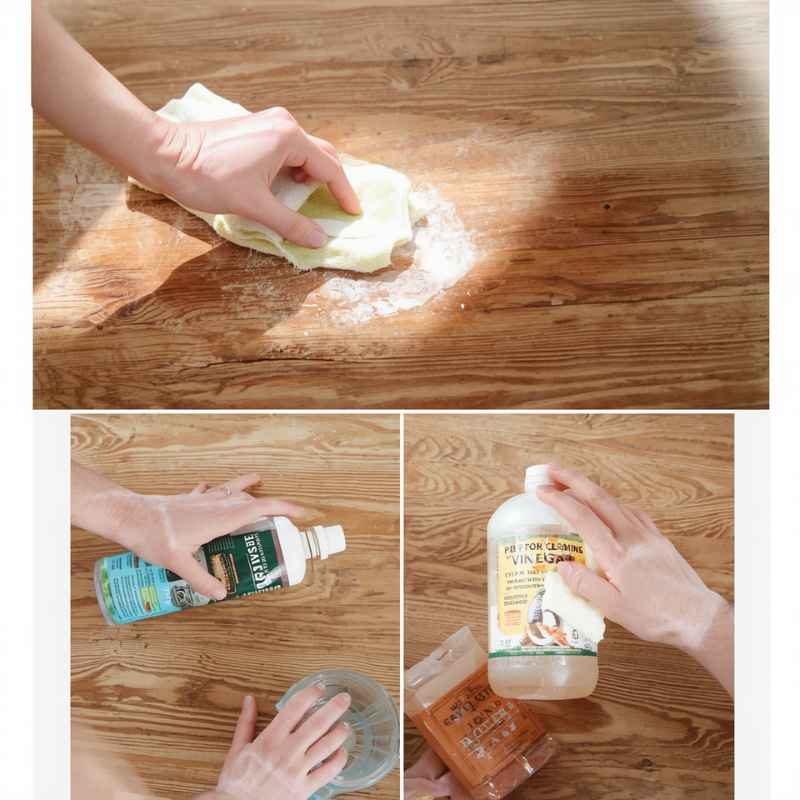
Mayonnaise or Petroleum Jelly
This sounds strange, but it works! The oil in mayonnaise or petroleum jelly can help to displace the moisture. It also conditions the finish.
How to do it:
- Use plain, full-fat mayonnaise. Or get some petroleum jelly.
- Put a small dab on the stain.
- Let it sit there for at least an hour. For tougher stains, leave it overnight.
- The oil needs time to penetrate and work.
- Wipe it off with a soft cloth.
- Rub gently in the direction of the wood grain.
- You should see the stain lifting.
- Clean the area with a damp cloth to remove any residue.
- Dry it well. Then apply furniture polish for shine.
This method is very gentle. It’s good for delicate finishes. It also adds a bit of nourishment to the wood.
If one application doesn’t fully work, try it again. Sometimes, it just needs a little more time.
Toothpaste (Non-Gel White Paste)
This is another mild abrasive option. Use plain white toothpaste. Avoid gel types or those with extra whitening beads.
How to do it:
- Get a small amount of white, non-gel toothpaste.
- Mix it with a tiny bit of baking soda. About a 1:1 ratio. Baking soda is also a gentle abrasive.
- Apply this paste to the stain.
- Gently rub it in with a soft cloth.
- Rub in the direction of the wood grain.
- Don’t scrub hard. You’re trying to buff out the stain, not sand the finish.
- Wipe away the paste with a clean, damp cloth.
- Dry the area thoroughly.
- Finish with furniture polish.
This method can be very effective. The slight grit of the toothpaste and baking soda helps lift the mark. Be sure to use minimal pressure.
You don’t want to scratch the finish.
Abrasive Power: Toothpaste vs. Baking Soda
Myth: Any toothpaste will work.
Reality: Use only non-gel, white paste toothpaste. Colored or gel types can stain the wood. Baking soda can be added for extra gentle scrubbing power.
Always test first. And use a soft cloth.
Dealing with Dark Water Stains
Dark water stains are trickier. They usually mean the water has soaked into the wood itself. The finish might be damaged too.
These stains need a bit more work. Sometimes, they require stripping and refinishing a small area. But let’s try some less drastic steps first.
The goal here is to lift the dark color. This often involves a mild bleaching agent or a stronger cleaner. Always work in a well-ventilated area.
Wear gloves to protect your hands.
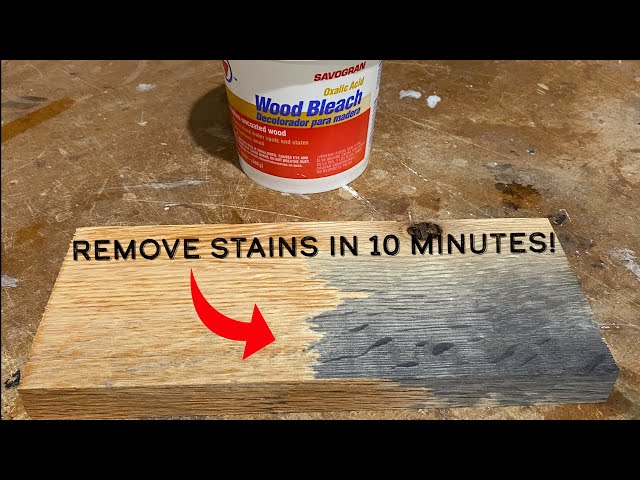
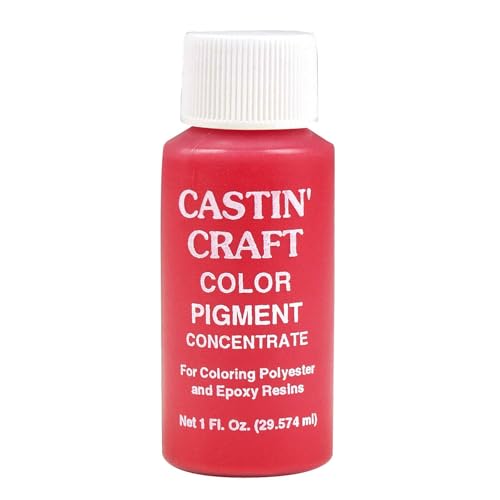
Oxalic Acid (Wood Bleach)
This is a common wood bleach. It’s very effective for removing water stains, rust, and ink. You can buy it at hardware stores.
It comes in crystal form. You mix it with water.
How to do it:
- Always wear gloves and eye protection. Work in a well-ventilated space.
- Follow the product instructions carefully. Mix the oxalic acid crystals with warm water.
- Apply the solution to the stain using a brush or cloth.
- Let it sit for a few minutes. Watch it work.
- It will lighten the dark stain.
- Once the stain is gone or significantly lighter, you must neutralize it.
- Use a solution of baking soda and water to wipe the area. This stops the bleaching action.
- Rinse the area with a clean, damp cloth.
- Let it dry completely. This can take 24 hours.
- You will likely need to reapply the finish to the spot.
Oxalic acid is powerful. It can lighten the wood. You might need to do a spot refinish to match the surrounding area.
This is a more advanced method. If you’re not comfortable, consider other options or professional help.
Steel Wool and Mineral Oil
For some deeper stains, a very fine grade of steel wool can help. Use it with mineral oil. This helps to lubricate the steel wool.
It prevents it from scratching the finish too much.
How to do it:
- Use the finest grade of steel wool you can find (0000 grade).
- Dampen a small section of the steel wool with mineral oil.
- Gently rub the stain. Go in the direction of the wood grain.
- Use very light pressure. You are trying to lift the stain, not remove the finish.
- Wipe away the residue with a soft cloth.
- Check the progress. Repeat if needed, but be extremely careful.
- Once the stain is gone, clean the area with a soft cloth.
- Apply furniture polish or a light coat of finish.
This method can be effective for stains that have penetrated slightly. It’s a bit risky. If you rub too hard, you will damage the finish.
Always test this method in a hidden spot first. If you see the finish dulling too much, stop.
Deep Stain Dilemma: When to Call a Pro
If dark stains are very deep or widespread, you might need professional help. Stripping and refinishing a whole table can be a big job. For valuable furniture, it’s worth the cost to hire someone.
They have the tools and experience to do it right.
Real-World Context: Why Stains Happen
Understanding why water stains appear helps prevent them. It’s often a combination of things. Your table’s finish is the first line of defense.
But finishes wear down over time. Also, certain conditions make stains more likely.
The Environment Matters
In humid climates, wood can absorb more moisture from the air. This can make the finish more susceptible. Dry climates can also be an issue.
Wood can dry out and crack. This creates tiny openings for water to get in.
Temperature changes also play a role. When a cold glass meets a warm table, condensation happens fast. The difference in temperature causes moisture to form on the glass.
This moisture then drips onto the table. If there’s no barrier like a coaster, disaster can strike.
Your Habits and the Table’s Design
This is a big one. Coasters are your best friends! Using them consistently prevents most white rings.
Wiping up spills immediately is also crucial. Don’t let water sit on the surface. Even a few minutes can be enough for some finishes.
The design of the table also matters. Tables with a very smooth, hard finish might show rings more clearly. Tables with a matte or oiled finish might absorb spills more readily but are also easier to blend if refinished slightly.
What about placing hot dishes? That can cause heat damage, not water stains. But often, people use placemats for hot dishes.
They forget coasters for cold ones. It’s a common oversight.
Normal vs. Concerning Stains
Normal: Light white rings on the surface. They look like clouds in the finish. Usually appear after a cold drink sweats.
Concerning: Dark stains that look like water rings or blotches. They feel rough. They might indicate water has soaked into the wood.
Or the finish is deeply damaged.
What This Means for You
Knowing how to spot and treat water stains is important for any wood furniture owner. Most of the time, the stains you see are cosmetic. They are on the surface of the finish.
When it’s normal: If it’s a light white ring, don’t panic. Grab your hairdryer or try the iron trick. These are usually quick fixes.
The key is to act relatively fast. The longer a stain sits, the more it can set into the finish.
When to worry: If the stain is dark, deep, or the wood feels soft or rough, it’s more serious. It means the wood itself might be affected. Or the finish is compromised.
In these cases, you might need more involved repair methods. Or even professional help.
Simple checks: Run your finger over the stain. Does it feel different? Is it rough or sticky?
Look at it in different lights. Does it appear darker than the surrounding wood? These simple checks can tell you a lot.
The good news is that most wood tables can be saved. It just takes the right approach. And sometimes, a little bit of elbow grease.
Quick Tips for Prevention
Prevention is always better than cure. A few simple habits can save you a lot of worry. Keep these in mind:
- Coasters, Coasters, Coasters! This is the number one rule. Have them everywhere you might put a drink.
- Wipe Spills Immediately: Don’t let any liquid sit on the table. A soft cloth is all you need.
- Use Placemats and Trivets: Protect your table from both hot and cold items.
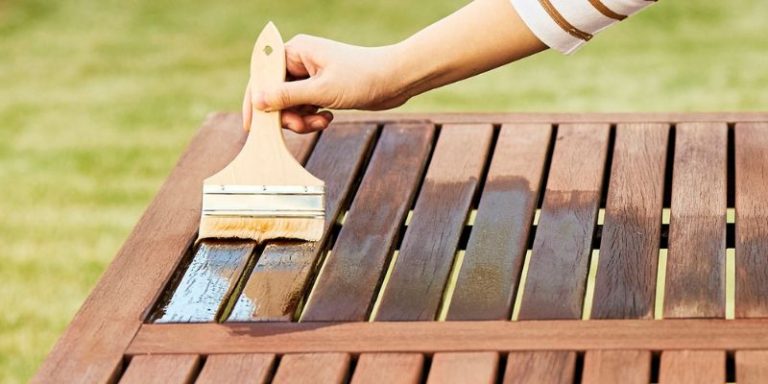
- Maintain Your Finish: Regularly polish or wax your wood table. A well-maintained finish is more resistant to damage.
- Control Humidity: Use a humidifier in dry months and a dehumidifier in humid months. Stable humidity levels are good for wood.
Quick Fixes Cheat Sheet
For White Stains:
- Hair Dryer (low heat, moving)
- Iron + Cotton Cloth (low heat, no steam)
- Mayonnaise or Petroleum Jelly (let sit, then wipe)
- White Toothpaste + Baking Soda (gentle scrub)
For Dark Stains:
- Oxalic Acid (wood bleach) – Use with caution!
- Fine Steel Wool (0000 grade) + Mineral Oil – Use with extreme caution!
Frequently Asked Questions About Water Stains on Wood Tables
Can I use nail polish remover on wood table water stains?
No, nail polish remover (acetone) is too harsh. It can strip the finish from your wood table and cause more damage. It’s best to stick to gentler methods that target the moisture itself.
How do I know if my table has a polyurethane finish?
Polyurethane finishes are very durable. They are common on modern furniture. If you’re unsure, try a small test spot with one of the gentler methods first.
For example, the hairdryer method is safe for most finishes. If it works, your finish is likely okay with that treatment.
What if the stain is a bit sticky?
A sticky stain might mean the finish itself is starting to break down or react with the water. Try the hairdryer or iron method first. If that doesn’t work, you might need to use a product designed for cleaning finished wood.
Always test in a hidden spot.
Can I use olive oil to remove water stains?
Olive oil is not typically recommended for removing water stains. While it’s an oil, it doesn’t have the same properties as mayonnaise or petroleum jelly that help displace moisture. It might make the wood look a bit shiny temporarily but won’t fix the underlying cloudiness of the stain.
How long should I leave mayonnaise on a water stain?
For fresh, light stains, an hour might be enough. For tougher or older stains, leaving it overnight is often recommended. The oil needs time to work its way into the finish and lift the trapped moisture.
Will these methods work on antique wood tables?
Antique tables can be tricky. Their finishes might be more delicate. Always start with the absolute gentlest method, like the hairdryer.
If you’re unsure, consult a professional antique restorer. Using the wrong method can devalue an antique.
Final Thoughts on Saving Your Table
Seeing a water stain on your wood table can be upsetting. But remember, most of these marks are fixable. Especially the common white ones.
With a few simple tools from around your house, you can often restore your table’s beauty. Always start gentle and be patient. Your wood table will thank you for it.