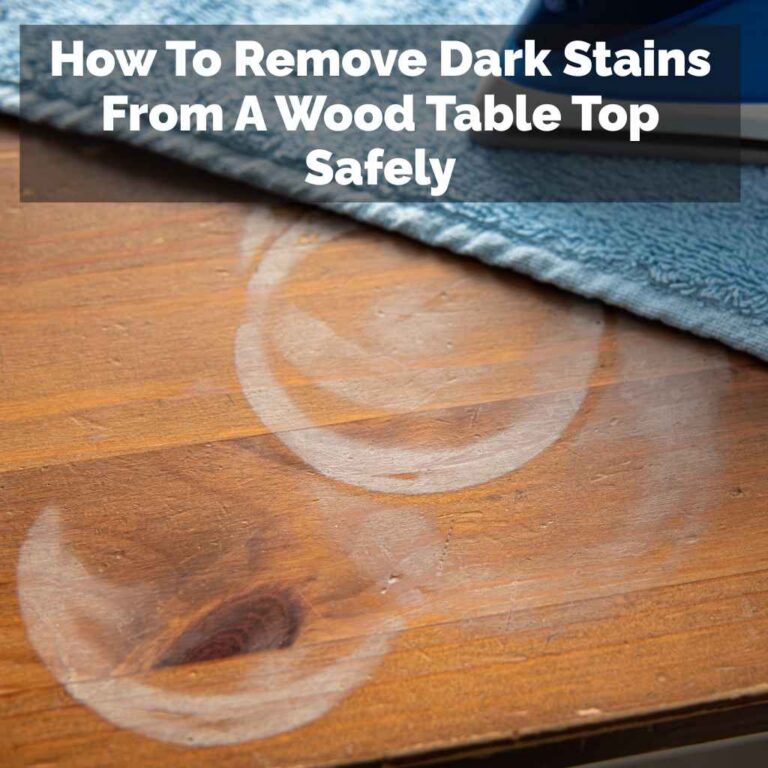
What Type Of Paint To Use Over Stained Wood Surfaces
Choosing the right paint for stained wood is key for a lasting finish. Proper preparation, like cleaning and light sanding, is essential. Then, using a good primer designed for adhesion over slick surfaces is your best bet. After priming, most standard interior paints, like latex or oil-based, will work well.
Understanding Paint Adhesion on Stained Wood
Painting over Stained Wood might seem like a simple task. But wood is a natural material. Stain is a finish that soaks into the wood.
This can create a surface that paint doesn’t easily stick to. Think of it like trying to paint on a slippery or oily surface. The paint might slide right off.
Or it might peel away later. That’s why understanding how paint sticks is important. It helps you pick the right products.
It also guides you through the steps needed.
The main challenge is adhesion. Paint needs something to grip onto. Stained wood can be smooth.
It can also have oils from the stain itself. These can block the paint. Over time, if paint doesn’t stick well, it can chip.
It might also bubble up. This happens especially in areas that get a lot of use. High-traffic spots like doors or tabletops need paint that holds on tight.
We often forget that wood grain is also a factor. Stain highlights this grain. Sometimes, the stain can also be a bit waxy.
This wax can prevent paint from bonding. So, you need to overcome these natural barriers. The goal is to create a surface the paint can truly grab.
This means cleaning and preparing the wood carefully. It’s not just about slapping on a coat of paint.
Many people think any paint will do. They might grab a can of leftover wall paint. They try to paint right over the stain.
Then they get frustrated when it doesn’t work. They wonder why it’s peeling. Or why the color looks uneven.
This is usually because the surface wasn’t prepped right. Or the wrong type of paint was used. Knowing the science behind paint and wood helps avoid these problems.
It ensures your painted project looks professional.
The Crucial Role of Preparation
Before we even think about paint, let’s talk about prep. This is where most DIY projects go wrong. If you skip steps here, your paint job won’t last.
It’s like building a house without a solid foundation. It’s bound to have issues later.
First, you need to clean the wood. Stained wood can gather dust and grime. Fingerprints are also common.
Use a mild soap and water solution. A damp cloth is usually best. You want to wipe away any dirt.
Don’t use harsh chemicals. They can damage the stain or the wood itself. Make sure the wood dries completely after cleaning.
Moisture is an enemy of paint adhesion.
Next comes sanding. This step is super important. Sanding creates a dull, slightly rough surface.
Paint sticks much better to rough surfaces than to smooth ones. You don’t need to sand off all the stain. You just need to scuff it up.
Use fine-grit sandpaper. Something like 150-grit or 220-grit works well. Sand gently in the direction of the wood grain.
This process is sometimes called “de-glossing.”
After sanding, you must clean off the dust. Dust left on the surface will get mixed into your paint. This creates a bumpy, uneven finish.
Use a tack cloth. A tack cloth is sticky. It picks up fine dust particles.
You can also use a vacuum with a brush attachment. Or a damp (not wet) cloth. Again, let the wood dry if you use a damp cloth.
Some very glossy stains might need a bit more. A degreaser can help here. TSP (trisodium phosphate) is a strong cleaner.
But it’s harsh. There are milder, safer degreasers available. Always follow product instructions carefully.
And wear gloves and eye protection. For most standard stained wood projects, thorough cleaning and light sanding are enough.
Thinking about touch-up paint later? If you skip these steps, matching paint will be a nightmare. The new paint will adhere differently.
It might look strange next to areas that didn’t get fixed. Good prep means your painted surface will look good for years. It also means future touch-ups will blend in.
Surface Prep Checklist
Clean Thoroughly: Use mild soap and water. Wipe away all dirt and grime. Ensure the surface is dry.
Light Sanding: Use fine-grit sandpaper (150-220 grit). Sand with the wood grain. Create a dull, not glossy, surface.
Remove Dust: Use a tack cloth, vacuum, or slightly damp cloth. Get rid of all sanding dust.
The Necessity of a Good Primer
Now, let’s talk about primer. Some people think primer is optional. They believe a good paint will cover everything.
But for stained wood, primer is not optional. It’s your best friend. It’s the bridge between the stain and your new paint color.
Without it, your paint job is likely to fail.
What does primer do? It’s specially made to stick to tricky surfaces. It seals the wood.
It blocks stains from bleeding through your new paint. This is super important, especially with darker wood stains. Reddish or yellowish stains can often bleed through light-colored paint.
A good primer stops this from happening. It creates a uniform base color.
There are different types of primers. For stained wood, you want one that is an adhesion primer. These are designed to grip onto slick or difficult surfaces.
Look for primers that mention they work on “glossy surfaces” or “hard-to-paint surfaces.” Some are specifically made for wood or cabinets. These are excellent choices.
Many people ask about oil-based versus water-based (latex) primers. Both can work. Oil-based primers are often better at blocking stains.
They can also be very durable. However, they have strong fumes. They also require mineral spirits for cleanup.
Water-based primers are easier to use. They have less odor. And they clean up with soap and water.
Modern water-based primers are very good at adhesion and stain blocking.
A popular choice for stained wood is a shellac-based primer. These are fantastic for blocking odors and stains. They dry very quickly.
But they also have strong fumes. And cleanup requires denatured alcohol. For most home projects, a good quality water-based adhesion primer will be sufficient.
Read the can carefully to ensure it’s suitable for your needs.
Always apply primer in thin, even coats. Don’t try to get full coverage in one go. Two thin coats are usually better than one thick coat.
Let each coat dry completely before applying the next. After the primer is dry, you might want to do a very light sanding with 220-grit sandpaper. This will make the surface super smooth.
Then, wipe away the dust again with a tack cloth.
I remember painting an old oak dresser. It had a dark, rich stain. I thought I could just paint over it.
I used a good quality latex paint. Within a week, yellow streaks started appearing. It was the stain bleeding through!
I had to sand the whole thing down again. Then I applied two coats of oil-based primer. After that, the paint went on beautifully.
And it stayed put. That experience taught me a big lesson about primer.
Primer Power: Why It’s Non-Negotiable
Blocks Stains: Prevents dark stain colors from showing through your new paint.
Enhances Adhesion: Creates a surface that paint can easily grip.
Creates Uniformity: Provides a smooth, even base for your paint color.
Seals the Surface: Helps prevent future issues like bleeding or peeling.
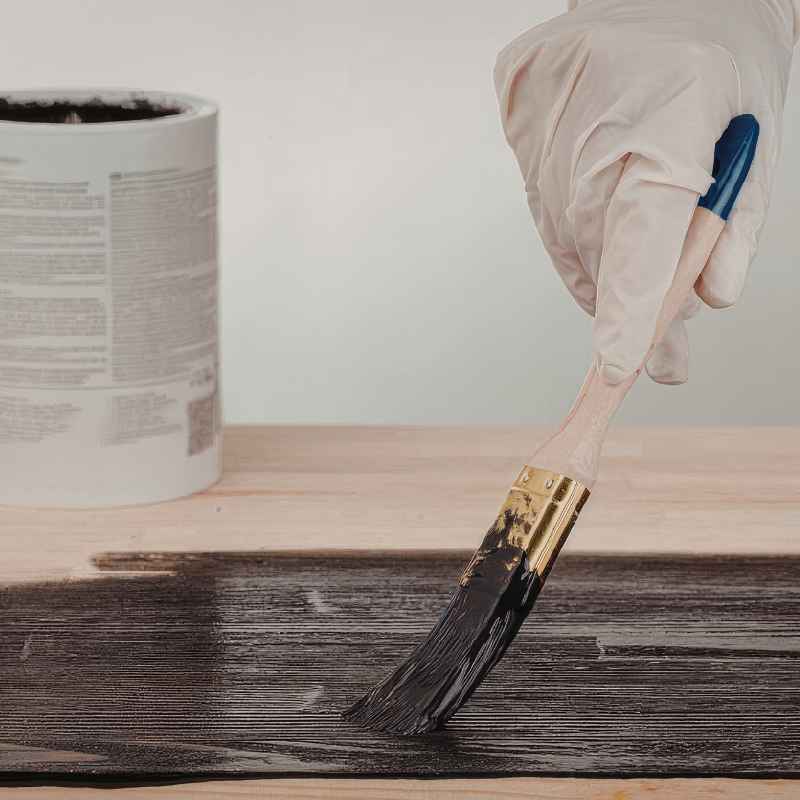
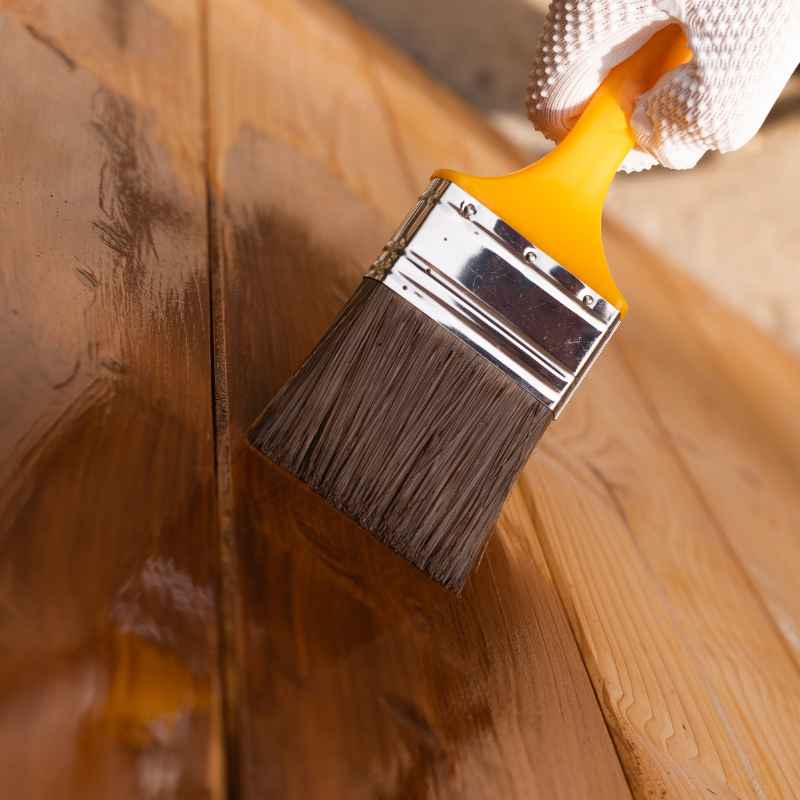
Choosing the Right Paint Type
Once your primer is dry and smooth, you’re ready for paint! This is the fun part. You get to choose your new color.
But what type of paint should you use? For most projects over stained wood, you have several good options.
Latex Paint (Water-Based): This is the most common choice for interior painting. Latex paints are easy to work with. They have low VOCs (volatile organic compounds).
This means less smell. Cleanup is simple with soap and water. Latex paints come in many finishes, like flat, eggshell, satin, and semi-gloss.
For durability on furniture or trim, satin or semi-gloss are often best. They are more washable than flat finishes.
Oil-Based Paint (Alkyd): Oil-based paints used to be the go-to for durability. They create a very hard, smooth finish. They are great for high-traffic areas like doors and trim.
However, they have strong fumes. They take longer to dry. And cleanup requires mineral spirits.
They also tend to yellow over time, especially in lighter colors. They are less common for general home use now but still have a place.
Enamel Paint: “Enamel” often refers to a paint that dries to a hard, durable finish. It can be either latex or oil-based. Many cabinet paints are enamels.
They are designed for surfaces that get a lot of wear and tear. If you’re painting kitchen cabinets or furniture, look for a paint labeled “enamel” or “cabinet paint.” These often offer excellent adhesion and a smooth, scrubbable finish.
Chalk Paint and Mineral Paint: These are popular for a more vintage or farmhouse look. Chalk paint requires very little prep. It adheres well to many surfaces.
It usually needs a wax or sealant coat for durability. Mineral paint is similar. It’s known for its durability and often comes in beautiful colors.
These are great if you want a specific aesthetic. They often work well over stained wood with minimal prep, but primer is still recommended for ultimate longevity.
What you’re painting matters. Are you painting a table that will see heavy use? You need something very durable.
Are you painting a picture frame? Less durability is needed. For most furniture, doors, and trim, a good quality latex enamel paint (satin or semi-gloss) is an excellent choice.
It offers a good balance of durability, ease of use, and finish.
I once painted a child’s toy chest. It was made of pine and stained dark. I used a good latex enamel in a bright blue.
It looked fantastic! It held up to kids banging toys on it. And it was easy to wipe clean.
The key was the prep and the primer. The paint itself did the rest. Don’t be afraid to choose a bold color.
Painting over stain opens up so many possibilities.
Paint Options at a Glance
Latex Enamel: Great all-around choice. Durable, easy to clean, low odor. Good for furniture, cabinets, trim.
Oil-Based: Very hard finish. Good for high-traffic areas. Strong fumes, tough cleanup.
Chalk/Mineral Paint: For decorative finishes. Less prep needed. Requires a topcoat for durability.
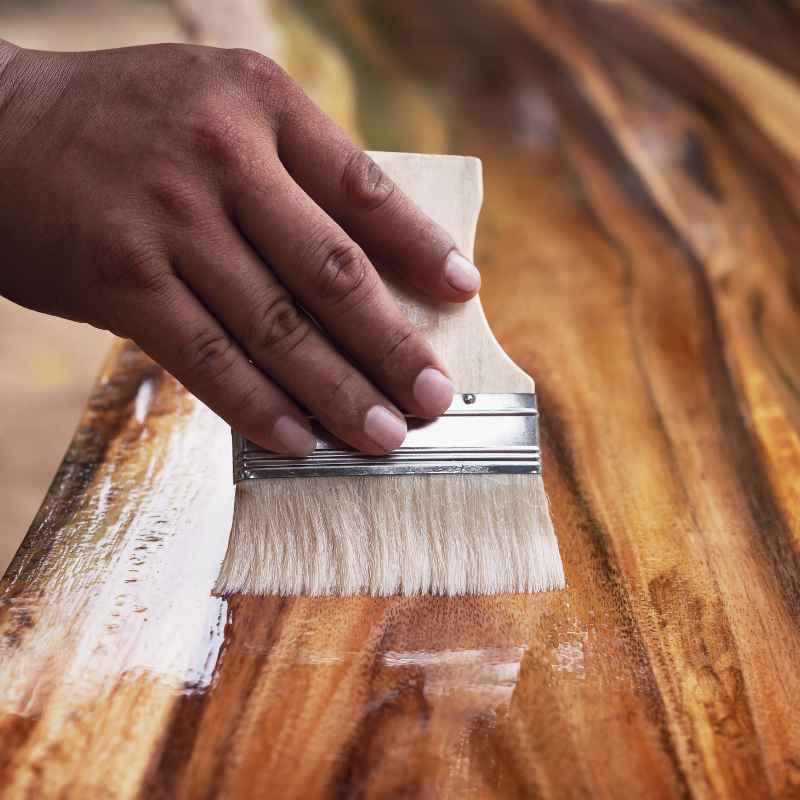
Application Tips for a Smooth Finish
You’ve prepped the surface. You’ve applied primer. You’ve chosen your paint.
Now it’s time to paint! Getting a smooth, professional-looking finish is all about technique. Rushing the process will show.
Taking your time will pay off. Here are some tips:
Use the Right Tools: Invest in good quality brushes and rollers. For trim and detailed areas, use a good synthetic-bristle brush. For larger flat areas, a foam roller or a high-density microfiber roller works well.
Using cheap tools will lead to streaks and an uneven finish.
Apply Thin Coats: This is worth repeating. Don’t try to get full coverage with one thick coat. Apply thin, even coats of paint.
It’s better to apply two or three thin coats than one thick one. Thin coats dry faster. They are less likely to drip or sag.
They also give a smoother finish.
Work in Sections: If you’re painting a large piece of furniture, break it down into smaller sections. Paint one side, or one drawer front, at a time. This helps you maintain a wet edge.
A wet edge means you blend the new paint into the previous wet coat. This prevents visible lap marks. Lap marks are those ugly lines where one section of paint dried before the next was applied.
Follow the Grain: When brushing or rolling, always work in the direction of the wood grain. This helps the paint flow naturally. It makes the final finish look more appealing.
If you’re painting a flat surface with no visible grain, try to use long, even strokes.
Check for Drips: As you paint, keep an eye out for drips. Especially on vertical surfaces. If you see a drip forming, gently brush it out immediately.
It’s much easier to fix a drip while the paint is still wet.
Allow Drying Time: Read the paint can for recoat times. These are the recommended times to wait before applying another coat. Skipping this can lead to peeling or poor adhesion.
Even if the paint feels dry to the touch, the underlying layers might still be curing.
Ventilation is Key: Ensure good ventilation in the area where you’re painting. Open windows and doors. Use fans.
This helps the paint dry faster. It also clears out fumes, making the painting process more pleasant. Especially if you’re using oil-based paints or primers.
I learned the hard way about lap marks. I was painting a large panel door. I got distracted and stopped mid-stroke.
When I came back, the edge had dried. The next stroke created a visible line. It looked terrible.
I had to wait for it to dry fully. Then I had to lightly sand it down. And repaint that entire section.
It was a good reminder to stay focused and maintain that wet edge.
Smooth Finish Secrets
Use Quality Tools: Good brushes and rollers make a big difference.
Thin Coats are Best: Build coverage slowly for a smoother look.
Maintain a Wet Edge: Blend new paint into the wet edge of the previous coat.
Work With the Grain: Apply paint in the direction of the wood’s natural lines.
Don’t Rush Drying: Allow adequate time between coats.
When Is Painting Over Stain Not the Best Idea?
While painting over stained wood is often a great option, there are times when it might not be the best approach. Or maybe you should reconsider your goal.
Valuable Antiques: If you have a genuine antique piece with beautiful, original stain and patina, painting it could drastically reduce its value. Experts in antique restoration often advise against painting over irreplaceable finishes. The original character is usually what makes it valuable.
High-Quality Wood Grain: Some wood species have stunning grain patterns that are a key feature of the piece. Think of a beautifully figured maple or a rich walnut. Painting over this can hide its natural beauty.
In these cases, perhaps refinishing the existing stain or applying a clear protective coat would be a better choice. This preserves the wood’s natural appeal.
Very Difficult Stain/Finish: Some older finishes or certain types of stains contain problematic chemicals. Things like lead paint (in very old items) or extremely waxy finishes can be hard to prep. They might require specialized strippers or sealers.
If the prep work seems overwhelming or potentially hazardous, it might be better to consult a professional or explore other options.
Desire for Natural Wood Look: If your ultimate goal is to have the natural wood look, then painting is counterproductive. In that scenario, you would want to strip the stain and then refinish the wood. This involves sanding down to the bare wood.
Then applying a new stain or a clear coat. It’s a more labor-intensive process but achieves a different result.
Budget Constraints for Proper Materials: While you can find budget-friendly paints, using the cheapest options for a project like this can lead to failure. If you can’t afford a good quality adhesion primer and a durable topcoat paint, it might be worth waiting until you can. A failed paint job often costs more to fix in the long run.
I once saw a gorgeous antique mahogany desk. It had a deep, lustrous finish. The owner wanted to paint it white.
I felt a pang of sadness. The wood itself was so beautiful. Sometimes, the best approach is to embrace the wood.
Or to restore its current beauty rather than cover it. It really depends on the piece’s history and your desired outcome.
When to Pause and Reconsider
Valuable Antiques: Preserve original finishes to maintain value.
Stunning Wood Grain: Let the natural beauty of the wood shine through.
Challenging Finishes: If prep is hazardous or overly complex, explore alternatives.
Natural Wood Goal: If you want wood, don’t paint it; strip and refinish.
Real-World Contexts: Where This Applies
Thinking about painting over stained wood? It’s not just for that old dresser in your garage. This technique is used all over the home.
Let’s look at some common areas.
Kitchen Cabinets: Many older homes have beautiful, but dated, stained wood cabinets. Painting them a fresh color can dramatically update the kitchen’s look. This is a big project.
It requires excellent prep. Especially cleaning grease and grime. Using a durable enamel paint is crucial here.
The cabinets get a lot of use and need to be scrubbed.
Trim and Moulding: Baseboards, door frames, and window casings are often stained wood. If they clash with your wall color or decor, painting them can make a huge difference. It can make the room feel more modern and cohesive.
Again, a good primer and a durable paint are needed. Trim gets bumped and scuffed.
Doors: Interior doors, especially panel doors, are frequently stained. Painting them can refresh their look. This is a great way to introduce color.
Or to unify the look of different doors in your home. Pay attention to any hardware. You’ll need to remove it or mask it off carefully.
Furniture: From dining tables to nightstands to bookcases, stained wood furniture is everywhere. If a piece is scratched, worn, or just not your style, painting is a fantastic option. It can give an old piece new life.
This is where you can really get creative with color and finish.
Wood Paneling: While painting over wood paneling is a controversial topic for some, it’s a common way to update a room. Older homes often have dark, stained wood paneling. Painting it can brighten the space significantly.
A good adhesion primer is vital for this. Wall paneling can sometimes have a smoother finish than furniture.
In each of these cases, the process is similar. Clean, sand, prime, and paint. The specific paint finish might vary based on how much wear the item will get.
But the foundation of success remains the same: preparation.
I remember helping a friend update her dining room. The dark stained table and chairs felt heavy. We prepped them carefully.
Used a soft gray latex enamel. The transformation was amazing. It made the whole room feel lighter and more inviting.
It was a perfect example of how painting can change a space.
What This Means for You
So, what’s the takeaway here? Painting over stained wood is definitely doable. It’s a great way to update your home.
Or to give old furniture a new look. The key is understanding the process.
When it’s normal: It’s totally normal and common to paint over stained wood for cabinets, trim, doors, and furniture. This is a standard DIY and professional technique. Especially when you want to change the color or update the style of a room or piece.
When to worry: You might want to worry if the wood is a valuable antique. Or if the wood itself has a spectacular grain you don’t want to hide. Also, worry if you’re tempted to skip steps.
Skipping prep or primer on stained wood is a recipe for disaster. It means the paint might not stick. It could peel or chip soon after you finish.
Simple checks: Before you start, do a quick check. Is the stain glossy and slick? You’ll need good prep.
Is the wood very dark? You’ll need a good stain-blocking primer. Is the item going to get heavy use?
You’ll need a durable paint, like an enamel finish.
Think of your project. Is it a sturdy, functional piece? Or a delicate antique?
Your decision about painting will depend on that. But for most everyday items, painting is a wonderful option.
The fact that you’re asking means you care about the outcome. You want it to look good. And you want it to last.
That’s the right mindset. With the right approach, you can achieve beautiful results. You can transform tired wood into something fresh and new.
Quick Fixes & Tips for Painting Over Stain
While this article focuses on the correct, long-lasting method, sometimes you need a quick touch-up or a simpler approach for less critical areas. Here are a few tips:
Scuff Sanding is Key: Even for a quick repaint, always scuff sand the surface. This is the minimum prep. It provides some grip for the new paint.
Use a “Paint and Primer in One”: For less demanding surfaces, some paints claim to have primer built-in. While they can work, for stained wood, a separate, quality adhesion primer is still the most reliable option. If you must use a paint and primer in one, choose a high-quality brand specifically designed for tricky surfaces.
Consider Spray Paint: For smaller items like picture frames or decorative objects, spray paint can be a fast way to update. Look for spray paints designed for furniture or laminate. Always use a primer first, and spray in light, even coats.
Test a Small Area: If you’re unsure about how your chosen paint will adhere, test it on an inconspicuous spot first. Let it cure for a few days. Then try to scratch it gently to see if it sticks.
This can save you a lot of trouble.
Light Colors Over Dark: If you’re painting a dark stain with a light color, you’ll need excellent stain-blocking primer. Sometimes, two coats of primer are better. This ensures the dark color doesn’t bleed through.
These quick tips are for situations where extreme durability might not be the top priority, or for minor touch-ups. For major projects, always stick to the thorough prep and priming methods discussed earlier.
Frequently Asked Questions About Painting Over Stained Wood
Can I paint directly over stained wood without sanding?
It is strongly advised NOT to paint directly over stained wood without sanding. Sanding creates a dull, slightly rough surface that paint can adhere to. Painting over a slick, glossy stained surface often leads to peeling, chipping, and a poor finish. Proper preparation, including light sanding, is crucial for paint adhesion.
What is the best type of primer to use over stained wood?
For stained wood, an adhesion primer is best. Look for primers that are specifically designed for glossy or hard-to-paint surfaces. Oil-based or shellac-based primers are excellent at blocking stains and odors. However, high-quality water-based adhesion primers are also very effective and easier to use for most DIY projects.
Will the stain bleed through my paint if I don’t use primer?
Yes, there is a high chance the stain will bleed through your paint if you don’t use a good quality primer. Darker stains, or stains with reddish or yellowish undertones, are particularly prone to bleeding. Primer acts as a barrier to prevent these pigments from migrating into your topcoat of paint.
Can I use latex paint over stained wood?
Yes, you can use latex paint over stained wood, provided you prepare the surface correctly and use an appropriate primer. Once primed, most standard interior latex paints, especially latex enamels with a satin or semi-gloss finish, work very well. They offer good durability and easy cleanup.
How many coats of paint should I apply over stained wood?
It’s generally recommended to apply at least two coats of paint. Applying thin, even coats is better than one thick coat. Two coats ensure full coverage and a uniform color. For very dark stains or light paint colors, a third coat might be necessary for complete opacity. Always follow the manufacturer’s recommendations for drying times between coats.
What is the best finish for painted stained wood furniture?
For painted stained wood furniture, a satin or semi-gloss finish is typically recommended. These finishes are more durable and easier to clean than flat or matte finishes. They can withstand more wear and tear, which is important for items like tabletops, chairs, and cabinets. Some people also like a high-gloss finish for a very modern look.
Conclusion: Your New Wood Finish Awaits
Painting over stained wood is a fantastic way to refresh your home. With careful preparation, the right primer, and a good quality paint, you can achieve stunning results. Embrace the process.
Take your time. And enjoy your beautifully transformed wood surfaces.