How to Stain Between Deck Boards (Without Drips on Joists)
Staining between deck boards is easy to get wrong — too much stain in a narrow gap and it drips straight onto the joists below.
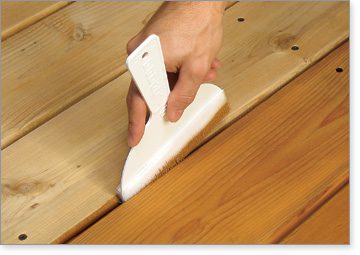
A foam pad, folded scouring pad, or angled brush pushes stain into the gaps between deck boards — a roller can’t reach them. Overload the applicator and stain runs onto the joists below by the next day, per Decks.com’s staining guide. This guide covers the best tools for tight gaps, how much stain to use, how long it needs to dry before rain, and how often to reapply based on your stain type.
Insert your Affiliate Disclosure reusable block here.
Choosing The Right Stain
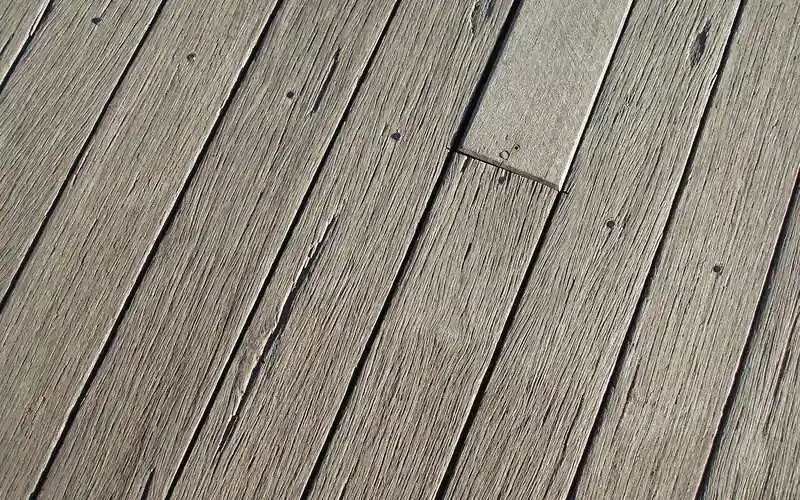
Water-based stains dry fast and are easy to clean up. They are lower in VOCs. Oil-based stains penetrate deeper and generally protect longer, which matters most in harsh weather. Solid stains cover the wood like paint and hide grain and blemishes. Semi-transparent stains let some wood grain show through with moderate protection. Clear/toner stains show all the wood grain but offer the least UV protection.
Behr offers a wide color range and is easy to apply yourself — see our full Behr deck stain and sealer review before you buy. Thompson’s WaterSeal is known specifically for water protection. Cabot has a wide range of durable stains. Olympic Stains are known for good quality at a lower price. Rust-Oleum makes both solid and clear wood stains.
| Stain Type | Protection Level | Best For |
|---|---|---|
| Solid | Highest — opaque, blocks UV | Old or mismatched boards you want to hide |
| Semi-transparent | Moderate | Decks where you still want the wood grain visible |
| Oil-based (any tint) | Deep penetration, longer lasting | High-traffic decks and harsh climates |
| Water-based (any tint) | Lighter, faster drying | Quick weekend projects, low-VOC preference |
| Clear/toner | Lowest UV protection | New, high-quality wood you want fully visible |
Preparing The Deck
Start by removing all furniture and items from the deck. Sweep to clear leaves and dirt, then use a deck cleaner to scrub the surface. Rinse with a hose and let the wood dry fully — cleaning is what gives you a smooth, even finish, so don’t skip it before staining.
Sanding removes old stain and smooths rough spots. Use a coarse-grit sandpaper first, then switch to a fine grit for a smooth finish. Sand along the grain, then wipe off the dust with a damp cloth so the new stain has a clean surface to bond to.
Tools And Materials Needed
A high-quality brush is key, and a dedicated deck stain applicator pad gives even coverage on flat boards. Keep a putty knife wrapped in cloth handy for tight spots, plus a drop cloth, stir sticks, and an extension pole for larger decks.
For the gaps specifically, a gap wheel or a folded scouring pad works better than a standard brush on larger decks — fold the scourer to make a thicker applicator, then dip it into the stain and slide it through the gap. Always wear gloves and safety glasses, and keep a dust mask on hand when sanding. Wear old, closed-toe shoes; stains ruin good clothes fast.
Best Deck Gap Stain Pad Pick
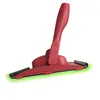
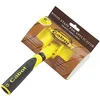
Shur-Line Deck Stain Pad with Groove Tool – $18.96
Its pivoting head is built to stain flat boards and the gaps between them in the same pass — the exact tight-space problem this guide covers, without switching tools mid-deck.
- Best for: staining boards and gaps together on an already-installed deck
- Why we picked it: the groove tool reaches gaps a flat pad or roller can’t
- Main drawback: the wrapped edge still needs a light touch near screw heads to avoid tearing
Compare more deck-gap staining tools
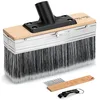 Option 1 Bates Deck Stain Brush Applicator, 7.5 Inch – $15.85
|
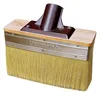
 Option 2 Cabot 6-Inch Stain Pad Applicator – $14.66
|
 Option 3 Magimate 7 Inch Deck Stain Applicator Brush – $18.99
|
As an Amazon Associate we earn from qualifying purchases.
Protecting Surrounding Areas
Plants need protection — cover them completely with a large plastic sheet and secure the edges with stones so no gaps remain. Stain can scorch leaves on contact, so double-check the coverage before you start.
Walls must be shielded too. Run painter’s tape along the edges, cover with plastic sheeting, and tape it securely in place. Check for gaps — stain can splash farther than expected, and protecting walls up front takes far less time than cleaning them after.
Applying The Stain
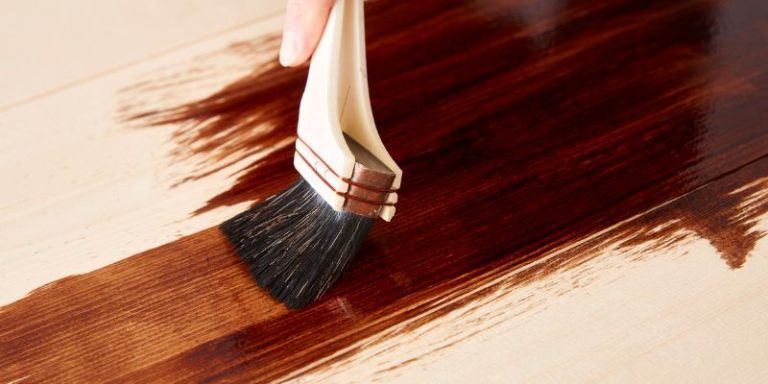
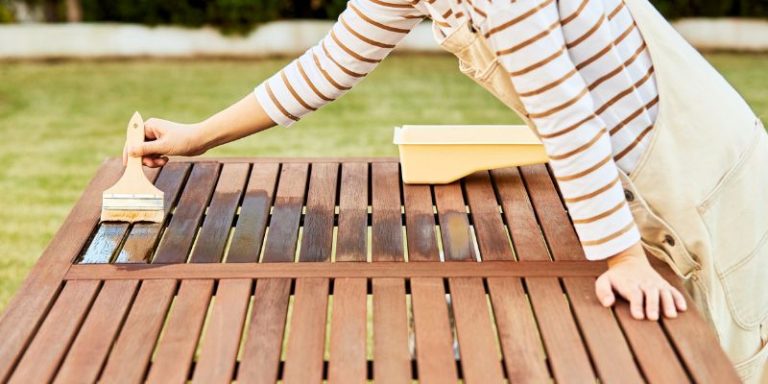
A brush is the most controllable option for staining deck boards and reaching tight spots. Dip the brush, apply in even strokes, and cover all areas including the edges. It takes longer than a sprayer, but brushes work best on smaller decks or decks with lots of nooks.
A sprayer saves time on large, open decks. Fill it, start at low pressure, and spray in even layers, using a drop cloth to protect anything nearby from overspray. See our full breakdown on whether spraying stain with an airless sprayer actually saves time versus brushing. Clean the sprayer immediately after use to extend its life.
Staining Between Deck Boards
To stain between deck boards, use a small angled brush or a foam paint pad turned sideways — both fit narrow gaps better than a standard brush. A putty knife wrapped in cloth also works: dip it in stain and slide it between the boards.
Work slowly and check for drips as you go. If your deck has many gaps, a folded scouring pad or a gap wheel covers ground faster than a brush alone — and if you’re staining a new build before the boards go down, coat all six sides (including the edges) while each board is still accessible on a workbench. It is far harder to reach the sides and bottoms once the deck is assembled.
How Much Stain Should You Use Between Deck Boards?
Use a light, even coat — not a heavy one. Overloading a brush or pad in the gap lets excess stain run through and land on the joists below, which shows up as unsightly runs the very next day. Test your applicator on a scrap board or hidden corner first so you know how much stain it’s holding before you work the visible gaps.
📊 Behr rates its semi-transparent deck stain for about 3 years of protection and its solid-color deck stain for up to 5 years — Source: Behr DECKplus product specifications, 2026
“Be very careful about applying too much stain in these narrow gaps between decking boards. Apply too much and the next day you’ll see all sorts of unsightly runs on the deck joists below the decking.”
— Decks.com, Deck Staining Guide
Step-by-Step: How to Stain Between Deck Boards
- Clean the gaps first: Run a putty knife or stiff brush through each gap to clear out trapped dirt and old, flaking stain.
- Load the applicator lightly: Dip a foam pad, folded scouring pad, or angled brush — tap off the excess before it touches the wood.
- Slide it through the gap: Work the pad or brush down the length of the gap in one steady pass instead of scrubbing back and forth.
- Wipe drips immediately: Check the joists below every few boards and wipe any run before it sets.
- Let it dry fully before walking on it: Give the stain the full cure window from the product label before foot traffic returns.
When you mention timing, it also matters whether the wood is new or pressure-treated — see our guide on when to stain a new pressure-treated deck if you’re working with fresh lumber, since staining too early can trap moisture instead of sealing it out.
Drying And Curing Time
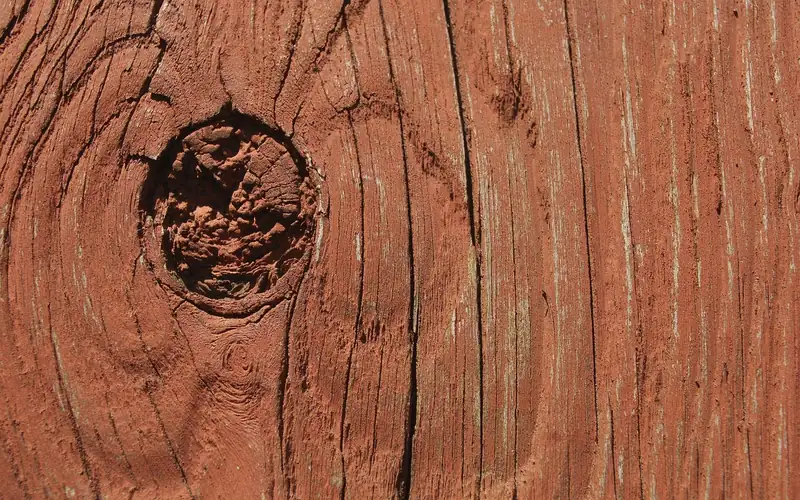
Drying time depends on temperature and humidity — high heat and low humidity dry stain fastest. Try to stain on a dry, warm day and avoid rain or high humidity so the stain cures evenly. In good conditions, most stains are dry enough to be safe from a light rain in about 2 to 3 hours, though you should always check the product label for the exact number — see our full guide on how long stain needs to dry before rain hits for conditions outside the ideal range.
For full cure — safe for foot traffic and furniture — generally wait 24 to 48 hours. Walking on the deck too soon can mark or ruin the finish, so be patient and always read the stain’s instructions for its exact cure time.
Maintaining The Stain
Regular cleaning keeps your deck looking fresh. Sweep away leaves and dirt often, and use a mild soap and water mix for a deeper clean, scrubbing gently with a soft brush and rinsing with clean water. Dry the deck thoroughly after washing.
Reapply stain roughly every 1 to 5 years depending on the stain type — oil-based and semi-transparent stains wear fastest, while solid stains last longest. Check for faded or worn spots, clean and lightly sand rough areas, then apply a thin coat and let it dry completely before deciding if a second coat is needed. Avoid staining in direct sunlight, which can cause the stain to dry unevenly.
Frequently Asked Questions
How Do You Stain Between Deck Boards?
Use a small angled brush, a foam pad turned sideways, or a putty knife wrapped in cloth. Dip lightly and work slowly through each gap, checking for drips on the joists below as you go.
What Tools Do I Need to Stain Deck Gaps?
A narrow brush, foam pad, or folded scouring pad handles most gaps. For a larger deck, a gap wheel or a stain pad with a pivoting groove tool covers ground faster with more control.
Can I Use a Sprayer for Deck Board Gaps?
A sprayer can push stain into gaps on the first coat, but it’s harder to control than a brush or pad and increases the risk of overspray landing on the joists below. Brushes and pads give you more precision in tight spaces.
How Often Should I Stain Deck Gaps?
Reapply every 1 to 5 years depending on the stain type. Oil-based and semi-transparent stains typically need reapplying every 1 to 3 years, while solid stains can last up to 5 years before they need a fresh coat.
Should You Stain All Sides of a Deck Board Before Installing It?
Yes, if possible. Coating all six sides, including the edges and underside, before installation protects the wood everywhere moisture collects. Once boards are installed, the bottom and edges become far harder to reach.
How Long Should Deck Stain Dry Before It Rains?
Most stains are dry enough to resist a light rain in about 2 to 3 hours under warm, low-humidity conditions, but always check your product’s label. Full cure for foot traffic typically takes 24 to 48 hours.
How Much Stain Should You Use Between Deck Boards?
Use a light, even coat. A heavily loaded brush or pad in a narrow gap lets excess stain run through and drip onto the joists below, which shows up as visible runs the next day.
Conclusion
Staining between deck boards comes down to the right applicator and a light touch: a foam pad, folded scouring pad, or angled brush reaches the gap, while a heavy hand sends stain onto the joists below. Clean and sand first, protect what’s nearby, and give the stain its full cure time before foot traffic returns.
Reapply every 1 to 5 years depending on your stain type, and if you’re working with a new deck, coat all six sides of each board before it goes down — it’s the one step that’s nearly impossible to redo later.
Sponsored / affiliate links. As an Amazon Associate I earn from qualifying purchases. I may earn additional commission from eligible campaigns.