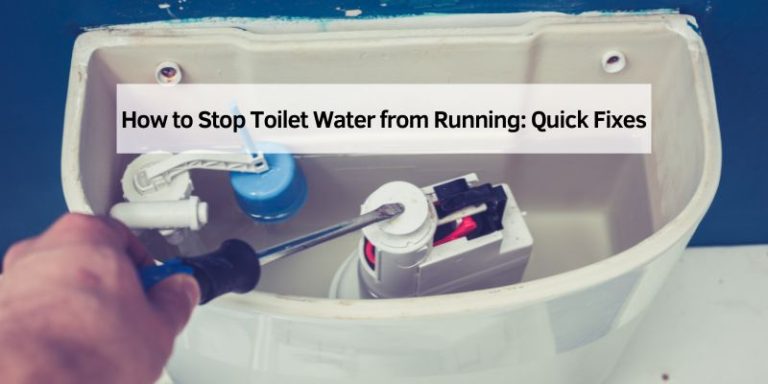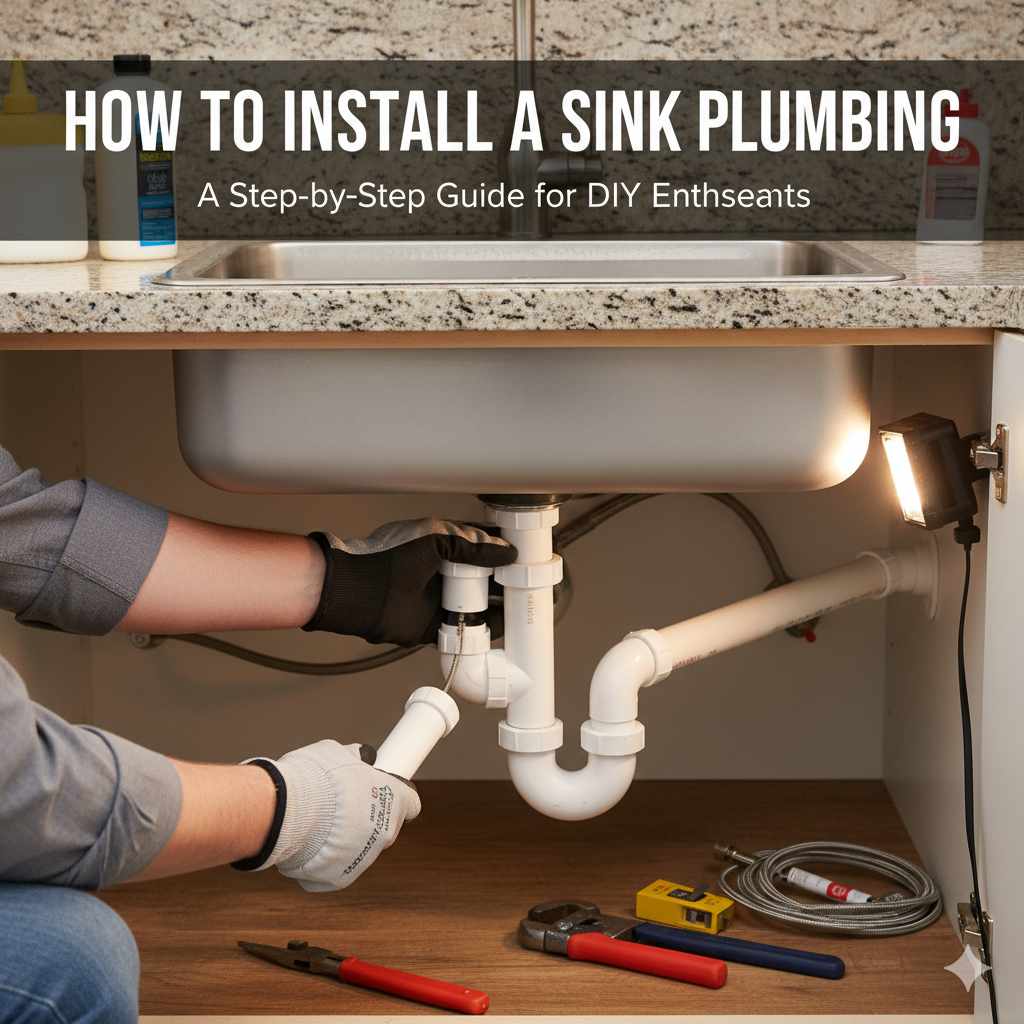
How To Install A Sink Plumbing: Essential Guide
Quick Summary:
Installing sink plumbing is a manageable DIY project for homeowners. This guide breaks down the process into simple, safe steps, covering everything from choosing parts to testing for leaks, empowering you to confidently complete your sink installation.
Hey there, home improvers! Md Meraj here. Ever looked at a new sink and wondered if you could tackle the plumbing yourself? It might seem a bit daunting with all those pipes and connections, but I’m here to tell you it’s absolutely achievable, even for beginners. Many of us face the challenge of a leaky old faucet or the excitement of a brand-new sink installation, and the plumbing part can feel like the biggest hurdle. But don’t worry! With a clear plan and a little patience, you can connect your sink like a pro. We’ll walk through each step, making sure you understand what’s happening and feel confident every step of the way. Let’s get your new sink ready to shine!
Getting Started with Your Sink Plumbing Project
So, you’ve picked out a beautiful new sink, and now it’s time to connect the plumbing. It might sound like a job for the pros, but with the right guidance, you can absolutely do this yourself! I’ve helped many homeowners tackle this exact project, and the feeling of accomplishment is fantastic. We’re going to break it down into simple, easy-to-follow steps. Think of me as your friendly guide, walking you through every connection and seal. We’ll cover everything from gathering your tools to that satisfying moment when you turn on the water and see no drips. Ready to make your sink functional and beautiful?
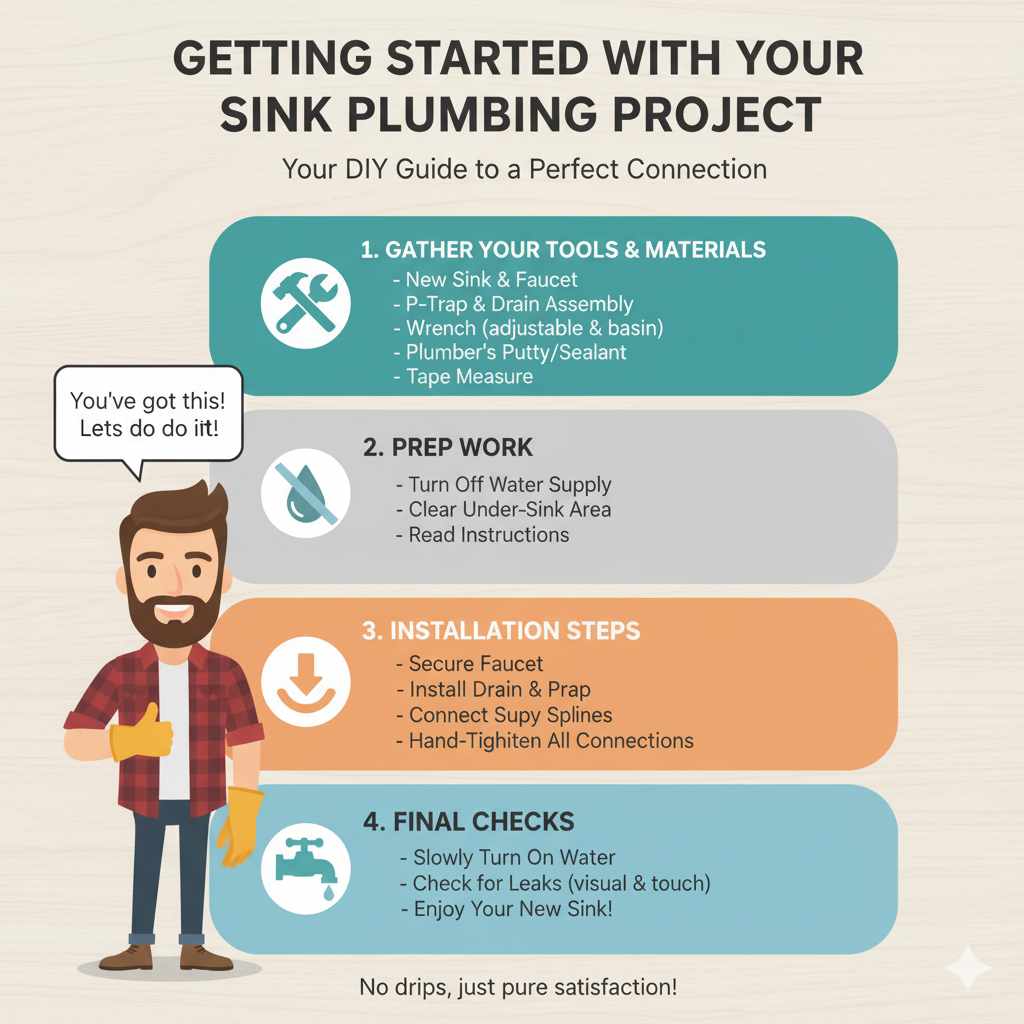
What You’ll Need: Tools and Materials
Before we dive into the actual installation, let’s make sure you have everything you need. Having all your supplies ready makes the job go much smoother and faster. Here’s a list of common tools and materials you’ll likely need. Don’t worry if you don’t have everything; most of these are readily available at your local hardware store.
Essential Tools
- Adjustable Wrenches (2): These are your go-to for tightening and loosening nuts and bolts of various sizes. Having two allows you to hold one part steady while turning another.
- Pipe Wrench: Useful for gripping and turning larger, round pipes, especially if they’re stubborn.
- Basin Wrench: This specialized tool is a lifesaver for reaching nuts that secure the faucet and drain assembly in tight spaces under the sink.
- Bucket: You’ll need this to catch any residual water in the pipes when you disconnect the old plumbing or work on the drain.
- Rags or Towels: Plenty of them! For cleaning up spills, drying connections, and keeping your workspace tidy.
- Safety Glasses: Always protect your eyes, especially when working overhead or with plumbing.
- Work Gloves: To protect your hands from sharp edges and provide a better grip.
- Plumber’s Putty or Silicone Caulk: Used to create a watertight seal between the sink and the drain flange, and sometimes for the faucet base.
- Plumber’s Tape (Teflon Tape): Essential for sealing threaded connections on water supply lines to prevent leaks.
- Optional: Hacksaw or PVC pipe cutter if you need to trim any existing drain pipes.
Common Materials
- New Sink: Make sure it’s compatible with your countertop and has the right hole configuration for your faucet.
- Faucet Assembly: Includes the faucet body, handles, and often the drain assembly.
- Water Supply Lines: These connect your faucet to the shut-off valves. Flexible braided stainless steel lines are recommended for ease of installation and durability. Make sure you get the right length and connector sizes.
- Drain Assembly: This includes the tailpiece, P-trap, and any necessary connectors. Many sinks come with a basic drain, but you might need to purchase a new P-trap kit.
- Mounting Hardware: Usually comes with the sink or faucet, but double-check.
Step 1: Preparation is Key
Before we get our hands wet, let’s get everything ready. Proper preparation makes the installation process smooth and prevents frustrating hiccups. This is where we set the stage for success!
Turn Off the Water Supply
This is the absolute most important step for safety and to avoid a watery mess. Look for two shut-off valves directly under your sink – one for hot water and one for cold. They usually have small handles. Turn these handles clockwise until they stop. If you can’t find them, or if they’re old and won’t turn, you’ll need to shut off the main water supply to your entire house. This valve is typically located where the water pipe enters your home, often in the basement, garage, or utility closet. Once the water is off, open your faucet to drain any remaining water in the lines.
Clear Out the Cabinet
Remove everything from the cabinet under the sink. This gives you plenty of room to work comfortably and safely. Lay down some old towels or newspaper to protect the cabinet floor from any drips or debris.
Disconnect the Old Plumbing
Now, let’s disconnect the old sink. You’ll need your bucket and rags for this.
- Supply Lines: Use an adjustable wrench to loosen the nuts connecting the old supply lines to the shut-off valves. Be prepared for a small amount of water to drip out.
- Drain Pipes: Place your bucket directly under the P-trap (the U-shaped pipe). Loosen the large plastic nuts connecting the trap to the sink’s tailpiece and the wall drain pipe. Again, expect some water to drain into the bucket.
- Sink Removal: If you’re replacing the entire sink, you’ll also need to disconnect the sink from the countertop. This often involves removing clips from underneath and breaking a caulk seal around the edge.
Step 2: Install the Faucet Assembly
It’s often much easier to install the faucet onto the sink before you put the sink in place. This gives you ample room to work. If your new sink came with a drain assembly, you might install that now too, depending on its design.
Assemble and Mount the Faucet
Follow the manufacturer’s instructions for your specific faucet. Generally, you’ll:
- Feed the faucet’s threaded shanks through the holes in the sink deck.
- Place any included rubber gaskets or seals onto the shanks from underneath.
- Secure the faucet from underneath using the provided mounting nuts. You might need your basin wrench for this, especially if the nuts are in a tight spot. Tighten them firmly, but don’t overtighten, which could crack the sink.
Seal the Faucet Base (If Needed)
Some faucets come with a rubber gasket for the base, while others recommend a bead of plumber’s putty or silicone caulk applied to the underside of the faucet base before mounting. Check your faucet’s manual. If using putty, roll a rope of it and press it around the base of the faucet where it meets the sink.
Step 3: Install the Sink Drain
The drain assembly is what allows water to leave the sink. It consists of a strainer basket, a flange, a tailpiece, and the P-trap. We’ll install the strainer and flange first, then connect the tailpiece and P-trap.
Install the Strainer and Flange
This part creates the seal between the sink basin and the drainpipe.
- Apply Sealant: Apply a generous rope of plumber’s putty or a bead of silicone caulk around the underside of the drain flange (the metal ring that sits inside the sink).
- Insert Flange: Press the flange firmly down into the drain hole from the top of the sink.
- Add Gasket and Nut: From underneath the sink, slide the rubber gasket, then the friction washer (if included), and finally the large locknut onto the threaded part of the drain assembly.
- Tighten: Tighten the locknut securely. You may need to hold the flange in place from above with a screwdriver or pliers while tightening from below. Clean away any excess putty or caulk that squeezes out.
Connect the Tailpiece and P-Trap
The tailpiece is the straight pipe that connects the drain flange to the P-trap. The P-trap is the U-shaped section that holds a bit of water to prevent sewer gases from entering your home. A properly installed P-trap is crucial for preventing unpleasant odors. Here’s how to connect them:
- Attach Tailpiece: Screw the tailpiece onto the bottom of the drain assembly that’s now secured to the sink. Make sure the rubber washer is in place and tighten the nut.
- Assemble P-Trap: Connect the P-trap to the tailpiece and to the drainpipe coming out of the wall. Most P-trap kits come with two slip-joint nuts and tapered washers. The tapered end of the washer should point towards the nut.
- Adjust and Tighten: Adjust the pipes so they align properly. You may need to cut the tailpiece or P-trap pipes to the correct length using a hacksaw or PVC cutter. Ensure the slip-joint nuts are snug – hand-tight plus a quarter turn with an adjustable wrench is usually sufficient. Don’t overtighten, as this can crack the plastic.
A helpful resource for understanding drain configurations can be found on the EPA’s WaterSense website, which discusses water-efficient fixtures and their installation considerations.
Step 4: Connect the Water Supply Lines
This is where we connect your new faucet to the house’s water supply. This step requires precision to ensure a leak-free connection.
Prepare the Connections
On the threaded ends of the shut-off valves (where the supply lines will connect), wrap plumber’s tape clockwise around the threads 2-3 times. This helps create a watertight seal.
Attach the Supply Lines to the Faucet
Most faucets have threaded shanks or small nipples where the supply lines connect. Connect the appropriate supply line (hot to hot, cold to cold) to the faucet. Hand-tighten these first, then use an adjustable wrench to tighten them about a half-turn more. Again, avoid overtightening.
Connect to the Shut-Off Valves
Now, connect the other ends of the supply lines to the corresponding shut-off valves. Use your adjustable wrench to tighten the nuts. Hold the shut-off valve steady with a second wrench if needed, to prevent it from turning and potentially damaging the pipework. Tighten until snug, then give it another quarter to half-turn.
Step 5: Test for Leaks and Finish Up
The moment of truth! It’s time to check our work and ensure everything is sealed tight.
Turn the Water Supply Back On
Slowly turn the shut-off valves back on (counter-clockwise). If you turned off the main water, turn that back on first, then open the individual shut-off valves under the sink.
Check All Connections
As the water fills the lines, carefully inspect every connection point. Look and feel for any drips or moisture. Pay close attention to:
- Where the supply lines connect to the shut-off valves.
- Where the supply lines connect to the faucet.
- The drain flange and all nuts on the drain assembly and P-trap.
If you see a small drip, try tightening the connection slightly (about an eighth of a turn). If it persists, you may need to turn the water off again, disconnect the fitting, reapply plumber’s tape (on threaded connections) or reseat the washer, and reconnect.
Run Water Through the Faucet
Turn on both the hot and cold water. Let the water run for a minute or two. Check the faucet for proper operation and watch the drain assembly again for any leaks. Flush the toilet if it’s a bathroom sink to check the P-trap function. For kitchen sinks, it’s a good idea to run a little water into the basin and then let it drain to ensure the P-trap is holding water and not letting through sewer smells.
Final Checks and Cleanup
Once you’re confident there are no leaks, give everything a final wipe-down. Reinstall any drawers or shelves in your cabinet, and put your items back. Congratulations, you’ve successfully installed your sink plumbing!
Troubleshooting Common Issues
Even with careful work, sometimes small issues pop up. Here are a few common problems and how to fix them.
| Problem | Possible Cause | Solution |
|---|---|---|
| Leaking Supply Line Connection | Nut not tight enough; damaged washer; tape not applied correctly. | Tighten nut slightly. If still leaking, turn off water, disconnect, check/replace washer, reapply plumber’s tape correctly, and reconnect. |
| Leaking Drain Pipe Connection | Slip-joint nut too loose; tapered washer installed incorrectly or damaged. | Tighten slip-joint nut. Ensure tapered washer is facing the nut. If damaged, replace the washer. |
| Faucet Dripping After Installation | Debris in the valve seat; faulty cartridge; faucet not aligned properly. | Check faucet manufacturer’s instructions for cleaning valve seats or replacing cartridges. Ensure faucet is seated correctly. |
| Water Pressure Too Low | Shut-off valve not fully open; clogged aerator; kinked supply line. | Ensure valve is fully open. Unscrew and clean the faucet aerator. Check supply lines for kinks. |
| Unpleasant Odors from Drain | P-trap is dry (siphonage); P-trap not installed correctly. | Run water for 30 seconds to refill the trap. Ensure the P-trap is correctly assembled and vented. |
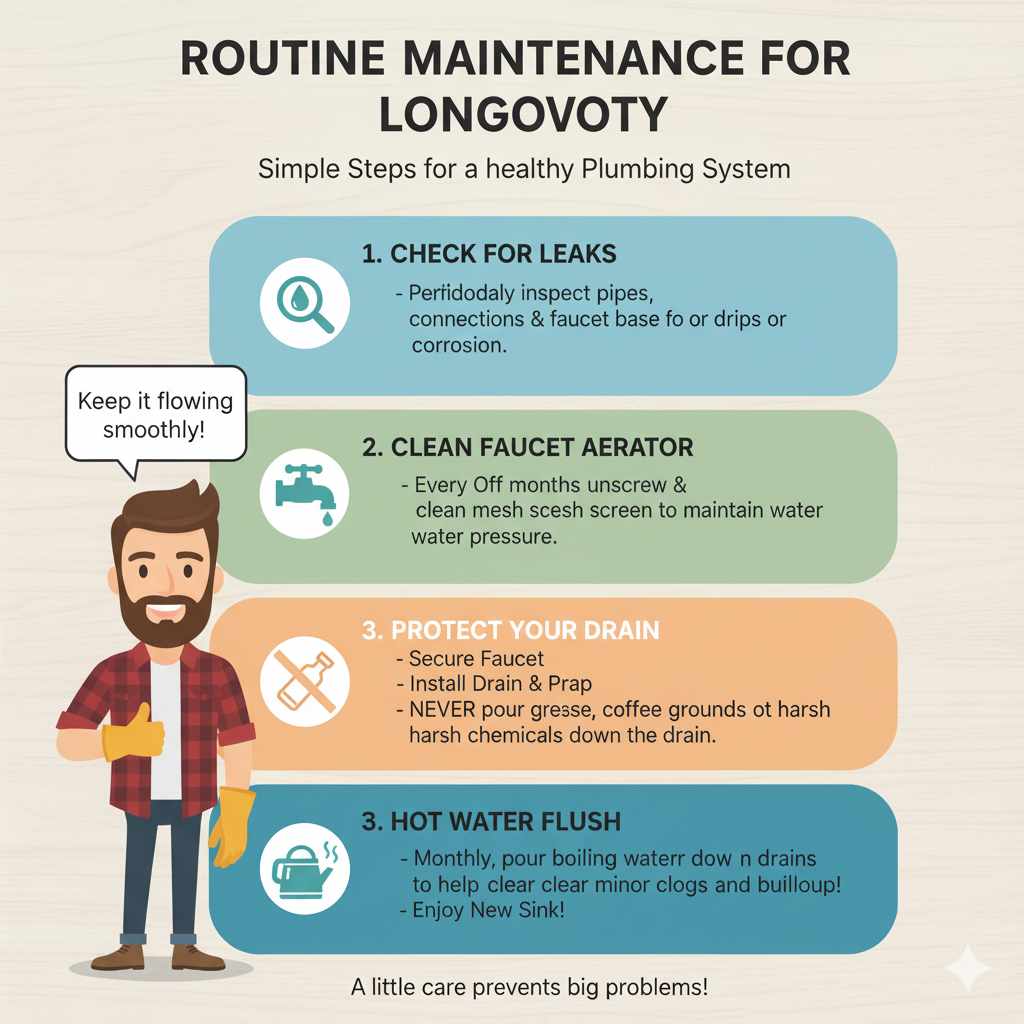
Routine Maintenance for Longevity
To keep your new plumbing working smoothly, a little routine maintenance goes a long way. Periodically check all connections for any signs of drips or corrosion. Clean your faucet aerator every few months to maintain good water pressure. For the drain, avoid pouring grease or harsh chemicals down it, as this can damage pipes and cause clogs. A simple monthly flush with hot water can help keep drain lines clear.
Frequently Asked Questions
How long does it typically take to install sink plumbing?
For a beginner, installing sink plumbing can take anywhere from 2 to 4 hours. This includes preparation, the actual installation, and a thorough leak check. If you’re more experienced, you might be able to do it in under an hour.
What are the essential tools I’ll need?
You’ll need a few key tools: adjustable wrenches, a pipe wrench, a basin wrench (very handy for tight spots!), a bucket, rags, plumber’s putty or silicone caulk, and possibly a hacksaw or PVC pipe cutter if you need to adjust pipe lengths.
Do I need to turn off the water supply before starting?
Absolutely! This is the most critical safety step. Locate the shut-off valves for your sink (usually under the sink) and turn them clockwise until they stop. If you can’t find them or they don’t work, you’ll need to shut off the main water supply to your house.
What’s the difference between compression and cartridge faucets?
Compression faucets use rubber washers that compress to stop water flow and are older. Cartridge faucets use a movable stem with a cartridge that controls water flow and are more common in modern sinks. Understanding your faucet type helps with installation and future repairs.
How do I prevent leaks at the connections?
Properly tightening connections is key. For threaded connections, plumber’s tape (also called Teflon tape) or pipe joint compound is essential to create a watertight seal. For slip-joint connections, ensure the plastic or rubber washer is seated correctly and tighten the nut firmly, but not so much that you crack the plastic.
What if my new sink has different plumbing than my old one?
This is common! You might need to adjust the existing drain pipes (P-trap) or supply lines. Flexible supply lines are great for bridging small gaps or misalignments. For drain pipes, you can often buy new pieces and reconfigure the P-trap assembly using slip-joint connections, which are designed for easy adjustment.
When should I call a professional plumber?
If you encounter significant issues like corroded pipes, a main water shut-off valve that won’t work, or if you feel uncomfortable at any point, it’s best to call a professional. It’s always better to be safe and ensure the job is done right, especially with water-related projects.
You Did It! Enjoy Your New Sink
Taking on sink plumbing might seem like a big step, but as you’ve seen, it’s a very achievable DIY project. By following these steps carefully, using the right tools, and taking your time, you can confidently install your new sink plumbing. Remember, the key is preparation, careful assembly, and thorough leak testing. You’ve not only saved money but also gained valuable skills and the satisfaction of a job well done. So go ahead, enjoy using your newly installed sink, knowing you made it happen!