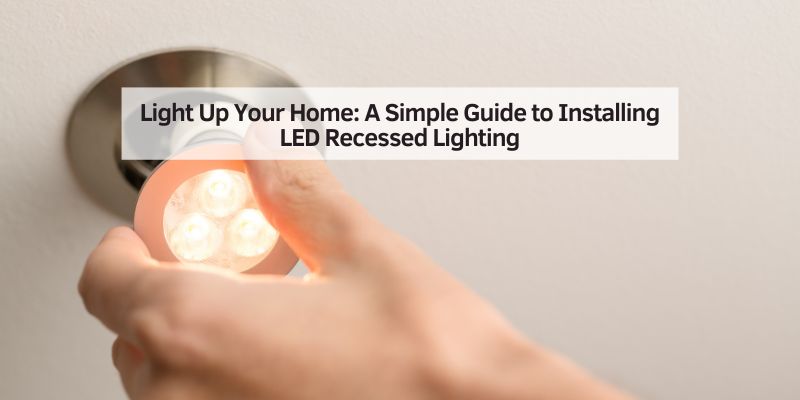
Light Up Your Home: A Simple Guide to Installing LED Recessed Lighting
I remember the first time I installed LED recessed lighting in my new home’s kitchen. It felt like magic seeing the ceiling glow with clean, bright light! If you’re building a new home and want to learn how to install LED recessed lighting in new construction, this guide is for you. I’ll walk you through every step, share easy tips, and help you avoid mistakes. Whether you’re a beginner or a DIY pro, you’ll find simple advice to make your project shine. Let’s get started!
What Is LED Recessed Lighting?
LED recessed lighting is a type of light that sits flush with your ceiling. It’s hidden, so it looks sleek and modern. These lights are perfect for new homes because they save energy and last for years. Unlike old bulbs, LEDs don’t get hot and use less electricity. They’re great for kitchens, living rooms, or bathrooms, giving your space a clean, bright feel.
Why Choose LED Recessed Lighting for New Construction?
New construction means you’re starting fresh with open ceilings. This makes installing LED recessed lights easier because you can access joists and wiring before drywall goes up. LEDs are energy-efficient, saving you money on bills. They also come in styles like canless or traditional cans, so you can pick what fits your home. Plus, they look amazing and make rooms feel bigger.
Tools and Materials You’ll Need
Before you start, gather your tools and materials. Having everything ready saves time and stress. Here’s what I used for my kitchen project:
- Tools: Drill, hole saw (4–6 inches), stud finder, wire stripper, screwdriver, measuring tape, pencil, safety glasses, voltage tester.
- Materials: LED recessed light kits (IC-rated for safety), NM-B electrical cable (14/2 or 12/2), wire connectors, junction boxes, light switch, drywall saw.
- Safety Gear: Gloves, dust mask.
Tip: Check your local Home Depot or Lowe’s for LED kits. They often have deals on multi-packs.
Table 1: Tool Comparison for LED Recessed Lighting Installation
| Tool | Purpose | Budget Option | Pro Option |
|---|---|---|---|
| Hole Saw | Cuts ceiling holes | $10–$15 | $20–$40 |
| Stud Finder | Finds ceiling joists | $15–$20 | $30–$50 |
| Voltage Tester | Checks for live wires | $10–$15 | $25–$40 |
| Caption: Budget tools work for small projects, but pro tools last longer and cut faster. |
Step-by-Step Guide: How to Install LED Recessed Lighting in New Construction
Installing LED recessed lighting is straightforward if you follow these steps. I learned this process while lighting up my living room, and it’s easier than it looks. Always turn off the power at the breaker before starting!
-
Plan Your Layout
Measure your room and mark where lights will go. Space them 4–6 feet apart for even lighting. Use a stud finder to avoid joists. In my kitchen, I placed six lights in a grid for a bright, welcoming space. -
Cut Ceiling Holes
Use the template from your light kit to trace circles on the ceiling. Cut holes with a hole saw. I used a dust bowl attachment to keep my floor clean. -
Run Electrical Wiring
Run NM-B cable from the power source to the first light’s junction box. Connect cables to each light in a chain. Secure wires with clamps. I learned to leave extra wire (18 inches) for easy connections. -
Connect the Lights
Strip wires and connect black to black, white to white, and ground to ground using wire connectors. Follow the manufacturer’s instructions. Double-check connections to avoid flickering. -
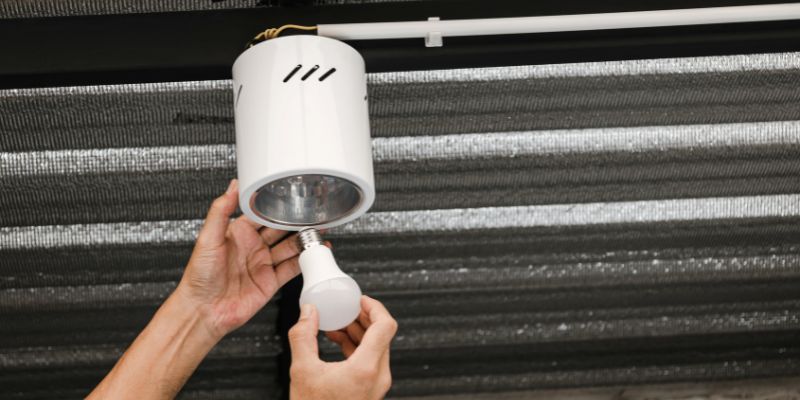
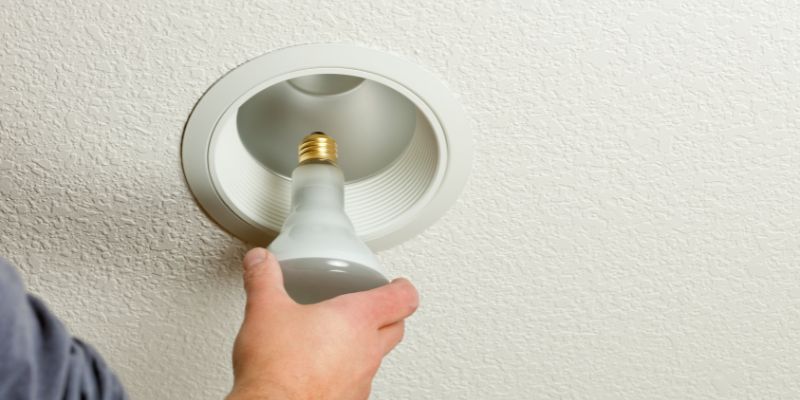
Install the Fixtures
Push each LED fixture into its ceiling hole. Most snap in with clips. I love canless lights because they’re slim and easy to install. -
Add the Trim and Bulbs
Attach the trim (the visible part) and screw in LED bulbs if needed. Some kits have built-in LEDs, which I prefer for less hassle. -
Test Your Lights
Turn the power back on and flip the switch. Check each light to ensure it works. If one flickers, check the wiring.
Visual Idea: A diagram showing a ceiling grid with light placements and spacing measurements would help beginners plan their layout. Another useful visual is a wiring diagram for connecting multiple lights in a series.
Benefits of LED Recessed Lighting
LED recessed lights are awesome for new homes. They save energy, so your electric bill stays low. They last up to 11 years, meaning fewer bulb changes. You can choose warm (2700K) or cool (5000K) light to set the mood. In my home, warm lights make the kitchen cozy, while cool lights brighten my office.
Drawbacks and Alternatives
LEDs cost more upfront than traditional bulbs, but they save money over time. Some kits need special dimmers to avoid flickering, which I learned the hard way. If LEDs aren’t your style, you could try track lighting or pendant lights. These hang down and work well for accent lighting but take up more space.
Common Mistakes to Avoid
I’ve made a few mistakes installing lights, so here’s what to watch for:
- Skipping the Stud Finder: Cutting into a joist is a mess. Always check for joists first.
- Wrong Hole Size: Measure twice, cut once. Use the light kit’s template.
- Loose Wiring: Tight connections prevent flickering or outages.
Table 2: Cost Estimates for LED Recessed Lighting
| Item | Quantity | Cost Range |
|---|---|---|
| LED Light Kit (4-inch) | 6 | $60–$120 |
| NM-B Cable (100 ft) | 1 | $30–$50 |
| Wire Connectors | 20 | $5–$10 |
| Caption: Costs vary by brand and quantity. Shop sales to save money. |
My Top Tips for a Smooth Installation
After installing lights in my home, I picked up some tricks:
- Buy IC-Rated Lights: They’re safe near insulation and prevent overheating.
- Use a Dimmer Switch: It lets you adjust brightness for different moods.
- Test Before Drywall: Check lights before closing the ceiling to avoid rework.
Visual Idea: A photo of a finished ceiling with LED lights on, showing warm vs. cool lighting effects, would inspire readers.
Canless vs. Traditional Can Lights
Canless LED lights are slim and don’t need bulky housings, making them perfect for tight spaces. Traditional can lights are sturdier but need more ceiling depth. I used canless lights in my low-ceiling basement, and they were a breeze to install. Choose based on your ceiling space and budget.
Table 3: Canless vs. Traditional Can Lights
| Feature | Canless LED | Traditional Can |
|---|---|---|
| Depth Needed | 1–2 inches | 5–7 inches |
| Installation Ease | Very easy | Moderate |
| Cost | $10–$20/light | $15–$30/light |
| Caption: Canless lights are great for tight spaces, while cans offer durability. |
Safety Tips for Electrical Work
Working with electricity can be dangerous, so be careful. Always turn off the power at the breaker and use a voltage tester to confirm it’s off. Wear gloves and safety glasses. If you’re unsure, hire an electrician. I once skipped the tester and got a small shock—don’t make that mistake! Check local codes for permits, as some areas require them.
Conclusion
Installing LED recessed lighting in new construction is a fun way to brighten your home. With simple tools and careful planning, you can create a modern, energy-efficient space. Follow my steps, avoid common mistakes, and enjoy your glowing results. Ready to start? Grab your tools and light up your home! Share your project in the comments—I’d love to hear about it!
Frequently Asked Questions
How Many LED Recessed Lights Do I Need?
For even lighting, place one light per 4–6 square feet. A 12×12-foot room might need 6–8 lights. Measure your room and use a grid layout. Check with a lighting calculator online for exact numbers. I used six lights in my 10×15-foot kitchen, and it’s perfect.
Are LED Recessed Lights Safe for Insulation?
Yes, if they’re IC-rated. These lights can touch insulation without overheating. Non-IC lights need 3 inches of clearance. I always choose IC-rated lights for safety and peace of mind. Check the label before buying.
Can I Install LED Recessed Lighting Myself?
Yes, if you follow safety steps and have basic skills. Turn off power, use proper tools, and follow the guide. If wiring feels tricky, call an electrician. I installed mine after watching a few tutorials, but I double-checked everything.
What Size LED Recessed Lights Should I Use?
Most homes use 4–6-inch lights. Smaller 4-inch lights work for cozy spaces; 6-inch lights suit larger rooms. I used 4-inch lights in my bathroom for a sleek look. Pick based on your room size and style.
Do LED Recessed Lights Need Special Wiring?
No, standard NM-B cable (14/2 or 12/2) works. Match the wire gauge to your circuit (15 or 20 amps). I used 14/2 for my 15-amp circuit, and it was fine. Follow local codes for safety.
Can I Use a Dimmer with LED Recessed Lights?
Yes, but you need a compatible dimmer switch. Non-compatible dimmers cause flickering. Check the light kit’s manual for dimmer recommendations. I added a dimmer to my living room lights, and it’s great for movie nights.
How Much Does It Cost to Install LED Recessed Lighting?
For six lights, expect $100–$200 for materials (lights, cables, connectors). DIY saves labor costs, but electricians charge $200–$300 per light. I spent $150 on my kitchen project by shopping sales at Home Depot.