How to Make Wood Shelf Brackets: L-Bracket Design (6 Steps)
Wood shelf brackets are two boards joined at a right angle, reinforced with a diagonal brace, sized to support at least two-thirds of the shelf’s depth so the front edge doesn’t sag. Skip that ratio or mount into drywall instead of a stud and even a well-built bracket will pull loose under weight. This guide covers choosing the wood, cutting and assembling the bracket, and mounting it securely into wall studs.
Materials and Tools Needed
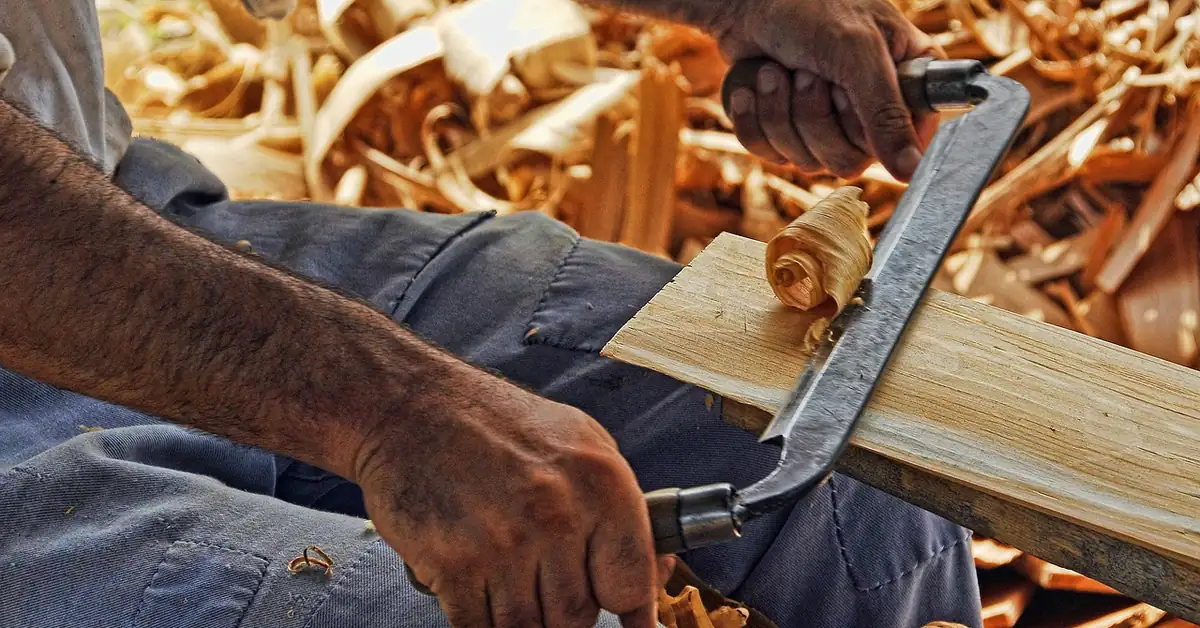
You’ll need a strong, straight-grained board for the bracket itself, plus screws and wood glue to join the pieces. A saw (hand saw for small pieces, power saw for bigger ones), a drill with a countersink bit, a tape measure, a pencil, sandpaper, and a level round out the core kit. A stud finder is essential for the mounting step later, and clamps make assembly far easier to get square.
- Wood (oak, maple, or another straight-grained hardwood for load-bearing shelves)
- Saw (hand saw or power saw)
- Drill with countersink bit
- Wood screws and wood glue
- Tape measure, pencil, and square
- Sandpaper (coarse and fine grit)
- Clamps
- Stud finder
- Wood stain or varnish, and safety goggles
Best Wood Glue Pick
Gorilla Ultimate Waterproof Wood Glue, 8oz – $5.50
Dries fast and holds strong at the joint where the two bracket pieces meet — exactly the “glue where the wood meets” step in assembly below, and waterproof enough for a mudroom or garage shelf.
- Best for: Reinforcing the screwed joint on a load-bearing bracket
- Why we picked it: Waterproof formula holds up in garages and mudrooms
- Main drawback: Needs clamping time to reach full strength
Compare more bracket-building essentials
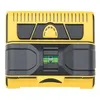 Option 1 Franklin Sensors Stud Finder – $59.97
|
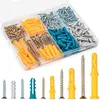 Option 2 270-Pc Anchor & Screw Kit – $9.99
|
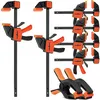 Option 3 8-Pack Bar Clamp Set – $33.99
|
As an Amazon Associate we earn from qualifying purchases.
Choosing the Right Wood
Wood shelf brackets need strong, durable wood. Oak and maple are the top choices — both are hardwoods that hold weight well and hold screws without splitting. Pine is cheaper but noticeably weaker under load, so it’s better suited to light, decorative shelves than heavy ones. Cherry and walnut give a richer finish if looks matter as much as strength. Softwoods like pine and birch are lighter and easier to cut, but plan on using more brackets per shelf to make up for the lower strength.
Design and Measurements
Start by deciding the style — a simple L-shape or a more ornate design with a curved or angled brace. Measure the shelf’s length and depth with a tape measure before cutting anything. The bracket should reach at least two-thirds of the shelf’s depth; a bracket that only reaches halfway lets the front edge tip and sag no matter how many you install. Use a square to mark straight, accurate cut lines, and match the bracket’s width to the shelf for a clean look. Double-check every measurement before you cut — it’s the step most beginners rush.
Cutting the Wood Pieces
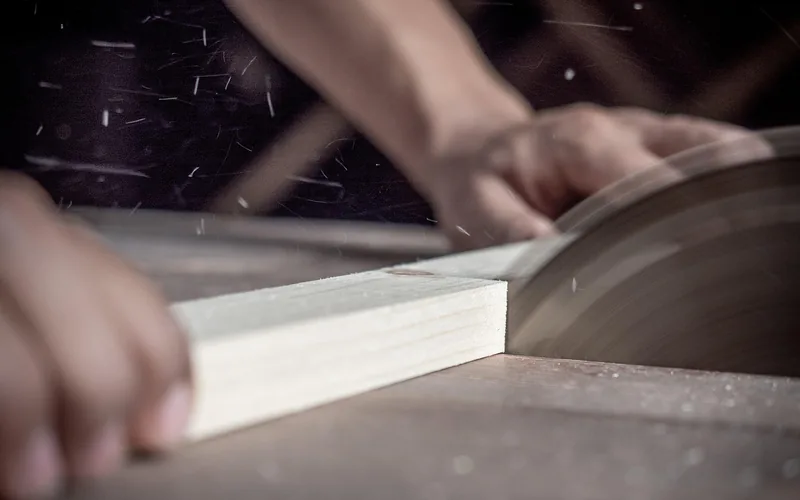
Choose the right saw for the job — a hand saw works fine for small pieces, while a power saw makes cleaner, faster cuts on larger stock. Measure twice, mark your lines clearly, and wear safety goggles before you start. Hold the saw steady and follow the marked line without rushing; rushing the cut is the single most common cause of an uneven bracket edge. Smooth any rough edges with sandpaper once the pieces are cut, and keep your work area clear and well lit so you can see the line the whole way through.
Assembling the Brackets
Screws hold the two pieces together, but pick the size carefully — screws that are too small won’t hold under load, and screws that are too large can split the wood. Wood glue reinforces the joint: apply it where the pieces meet, clamp them together, and let it dry fully before moving on. Check the wood for cracks before assembly, since a cracked piece can fail later even if it looks fine going in. Use a level to confirm the bracket sits straight, tighten any loose screws, and test the joint by pressing a heavy item against it before calling it done.
Sanding and Finishing
Start with coarse sandpaper to knock down bumps and rough spots, then switch to fine sandpaper for a smooth finish. Always sand along the grain to avoid scratches, and wipe away the dust with a clean cloth before finishing. Wood stain adds color while varnish adds shine and protection — either way, let each coat dry fully before adding the next, and check the can’s instructions since some finishes need two coats for full protection.
Mounting the Brackets
Use a stud finder to locate the studs in your wall — studs are typically spaced 16 or 24 inches apart under standard residential framing. Knock on the wall to confirm a solid sound where the stud finder indicates, then mark the spot with a level pencil line for accurate placement.
📊 16 inches on-center is the standard stud spacing for most load-bearing residential walls, though 24-inch spacing is permitted for certain stud sizes and wall heights. — Source: International Residential Code (IRC)
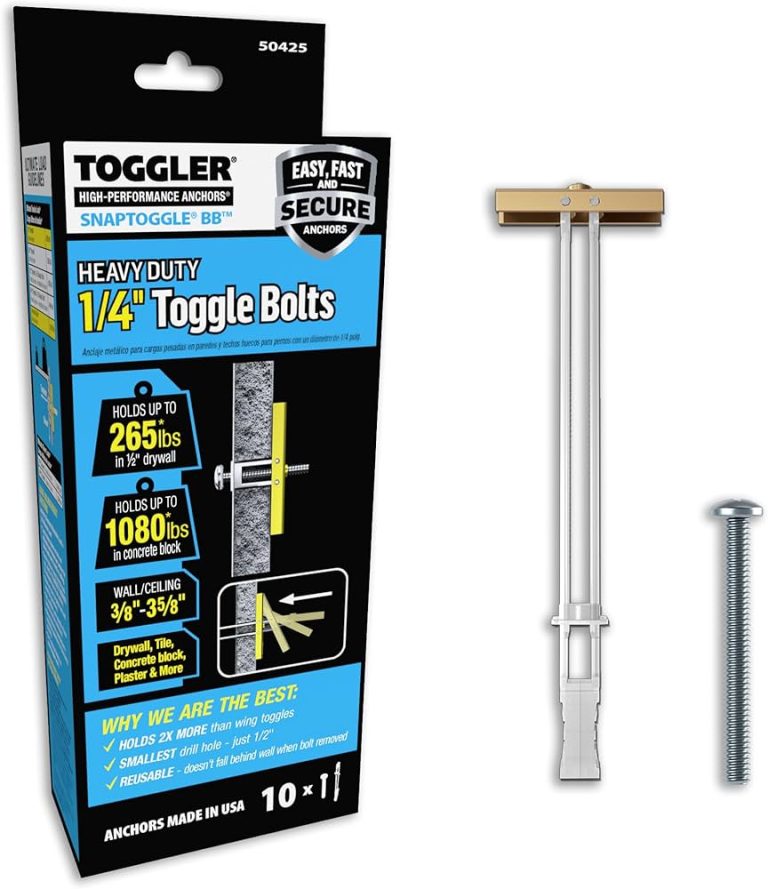
Choose strong screws sized for your bracket, and keep drywall anchors on hand as a backup for spots that miss the stud. Drill pilot holes into the marked studs first — this keeps the wood from splitting near the edge. Align the bracket’s holes with the pilot holes, drive the screws in, and use a level to confirm the bracket is straight and firm before hanging the shelf. If building your own bracket from scratch is more than you want to take on, our guide to installing premade shelf brackets covers the same mounting process with store-bought hardware.
Troubleshooting Common Issues
Crafting wood shelf brackets can run into a few predictable snags — uneven cuts, misaligned angles, or a wall that isn’t quite flat. Sharp tools and accurate measurements head off most of these before they start, and a final pass with sandpaper smooths out whatever’s left.
Dealing with Uneven Walls
Walls aren’t always perfectly flat, which makes bracket installation trickier. Check the wall’s straightness with a level first. If it’s uneven, small shims between the bracket and the wall can balance things out — insert them, then tighten the screws slowly while keeping the bracket straight. Repeat for each bracket so the shelf sits level end to end.
Fixing Loose Brackets
Loose brackets cause a wobbly shelf. Start by checking whether the screws are simply loose and need tightening. If the bracket still moves, the wall anchor may be too weak for the load — swap in a stronger anchor rated for your wall type. Also check the weight actually on the shelf against the bracket’s rated capacity, since overloading causes the same wobble as a bad anchor.
Frequently Asked Questions
What Is The Rule Of Thumb For Shelf Brackets?
The rule of thumb for shelf brackets is to space them no more than 24 to 36 inches apart. Ensure brackets support at least two-thirds of the shelf’s depth for stability. Choose brackets suitable for the shelf’s weight load to prevent sagging or damage.
Is An L Bracket Stronger, Up Or Down?
An L bracket is generally stronger facing downwards. This orientation supports weight more effectively. When installed correctly, it stabilizes structures and prevents sagging. Ensure proper installation for optimal strength and durability.
What Wood To Use For Shelf Supports?
Use hardwoods like oak, maple, or cherry for sturdy shelf supports. Pine is economical but less durable. Ensure wood is well-seasoned to prevent warping. Choose quality wood to support weight effectively. Consider aesthetic appeal and finish for visible shelves. Properly cut and treated wood ensures longevity and stability.
How Far Should A Shelf Overhang A Bracket?
Shelves should overhang brackets by 4 to 6 inches for stability. This prevents tipping and ensures balanced support. Proper installation maintains functionality and aesthetics, enhancing both safety and design. Avoid excessive overhang to prevent damage.
Conclusion
Building your own wood shelf brackets comes down to picking a hardwood that can carry the load, sizing the bracket to at least two-thirds of the shelf’s depth, and mounting into a stud rather than drywall alone. Take the measuring and cutting steps slowly, and the rest — gluing, sanding, finishing — is straightforward.
Use your own creativity for the design, but don’t skip the structural basics: two-thirds depth coverage, hardwood for anything load-bearing, and a stud-mounted screw at every bracket.
Sponsored / affiliate links. As an Amazon Associate I earn from qualifying purchases. I may earn additional commission from eligible campaigns.