How To Open Locked Door Knob With Hairpin: Proven, Effortless
Quick Summary:
Yes, you can open a locked door knob with a hairpin! With two bobby pins and a few simple steps, you can pick most simple interior door locks without damage. This guide shows you how, making it an effortless DIY solution for everyday lockouts.
We’ve all been there – you’re in a hurry, you step out for a moment, and suddenly the door clicks shut behind you, leaving you locked out of your own room or even your house! It’s a frustrating situation, especially when you don’t have your keys or a locksmith isn’t an immediate option. Many interior door knobs have simple locking mechanisms that aren’t designed for high security. Thankfully, with a common household item like a hairpin, you can often resolve this issue yourself. This guide will walk you through a proven, effortless method to open a locked door knob using nothing more than a couple of bobby pins. We’ll break down exactly what you need and how to use it, step-by-step, so you can regain access quickly and confidently.
When a Hairpin is Your Best Friend: Understanding Simple Locks
Before we dive into the “how-to,” it’s good to understand what kind of locks a hairpin can tackle. Most interior doors in homes, like those on bedrooms or bathrooms, use what are called “waffle locks” or “pin tumbler locks” with very basic security. These locks are designed for privacy rather than serious security. They have a simple mechanism with a few pins that need to be lifted to a specific height (the “shear line”) for the cylinder to turn and unlock. High-security locks, like those on exterior doors, deadbolts, or commercial buildings, have more complex pin arrangements and stronger mechanisms that a hairpin simply won’t be able to manipulate.
Think of it like this: a hairpin is a very basic tool, and it works best on very basic locks. It’s a fantastic, low-tech solution for those common, everyday lockouts. If you’re dealing with a lock that has multiple keyways, a very tight tolerance, or feels exceptionally sturdy, a hairpin might not be the solution, and you might need to consider other options. However, for the vast majority of interior privacy locks, this method is surprisingly effective.

What You’ll Need: The Simple Toolkit
The beauty of this method is its simplicity. You likely have everything you need right now. No fancy tools or expensive kits required!
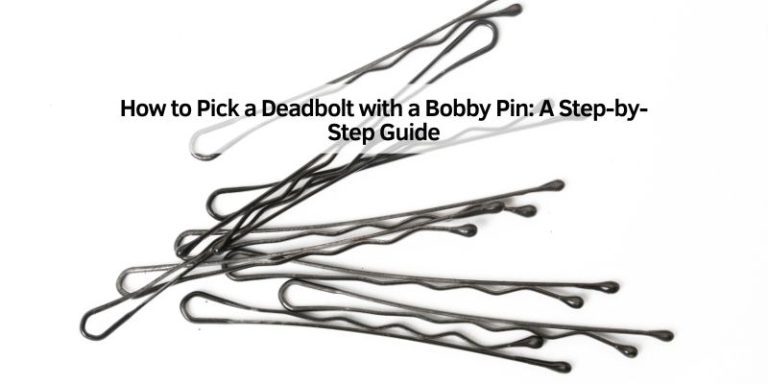
- Two Bobby Pins: These are your primary “lock picks.” Look for standard metal bobby pins, preferably those with a rubber tip (though you can often remove or work around it). One pin will act as your “tension wrench,” and the other will be your “pick.”
- Optional: Pliers: A small pair of needle-nose pliers can be very helpful for bending the bobby pins into the correct shapes, making the process much easier and more effective.
- Optional: A Flathead Screwdriver (very small): In some cases, a very small flathead screwdriver can substitute for the tension wrench, but bobby pins are usually more adaptable.
Preparing Your Hairpin “Lock Picks”
This is where the magic happens! You need to modify your bobby pins to create functional lock-picking tools. This usually takes less than a minute.
Step 1: Creating the Tension Wrench
Take one of your bobby pins. This one will apply slight turning pressure to the lock cylinder, mimicking the key. You need to bend it into an ‘L’ shape.
- Straighten the Pin (Partially): Unfold the bobby pin so that one side is mostly straight, but keep a slight bend at the end.
- Create the ‘L’ Shape: Bend the very end of the pin upwards, creating a 90-degree angle. This angled tip is what you’ll insert into the bottom of the keyway. The longer, straight part of the pin will be what you hold and use to apply turning force.
- If using pliers: Grip the bobby pin about an inch from the end and bend it sharply upwards.
This ‘L’ shape allows you to apply rotational pressure to the lock cylinder while leaving enough space for the other pin to work inside the keyway.
Step 2: Creating the Pick
Take your second bobby pin. This one will be used to manipulate the pins inside the lock. You want to create a tool that can reach and lift the individual pins.
- Unfold and Straighten: Unfold the bobby pin completely so it’s a single, long piece of metal.
- Create a Slight Bend at the Tip: Bend the very tip of the pin upwards, just a tiny bit. This small hook or curve will help you feel and lift the pins inside the lock. You don’t need a big hook; a slight upward curve is usually best.
- If using pliers: Grip the very end of the bobby pin and gently bend it upwards to create a small hook.
This tool needs to be slender enough to fit into the keyway and have a tip that can engage with the lock pins.
Table: Hairpin Tool Preparation Summary
| Tool | Purpose | Modification | Key Feature |
|---|---|---|---|
| Bobby Pin 1 | Tension Wrench | Bent into an ‘L’ shape | 90-degree bend at the tip for insertion |
| Bobby Pin 2 | Pick | Unfolded with a slight upward bend at the tip | Small hook or curve for manipulating pins |
The Step-by-Step Process: Picking the Lock
Now that your hairpin tools are ready, it’s time to put them to work. This process requires a bit of patience and a gentle touch. Remember, you’re trying to mimic the action of a key.
Step 1: Insert the Tension Wrench
Take your ‘L’-shaped bobby pin (the tension wrench). Insert the bent end into the bottom of the keyway – the opening where the key would normally go. You want to insert it so that the bent tip engages with the bottom edge of the keyway. Don’t push it all the way in; leave enough of the pin sticking out so you can grip it comfortably.
Step 2: Apply Gentle Tension
Once the tension wrench is in place, apply a very light turning pressure in the direction that the lock normally opens. This is crucial. Too much pressure will bind the pins, and too little won’t allow them to set. You’re looking for just enough pressure to hold the pins in place once they are lifted correctly. Imagine you’re trying to turn a slightly stiff knob – a steady, gentle force is key.
It’s often helpful to experiment with the direction of tension. Most locks turn clockwise to open, but some might be the opposite. If you’re unsure, try both directions with very light pressure.
Step 3: Insert the Pick
Now, take your second bobby pin (the pick) with the slightly bent tip. Carefully insert it into the top part of the keyway, above the tension wrench. You should be able to feel the pins inside the lock. There will typically be four to five pins in a simple interior lock.
Step 4: “Rake” or “Feel” the Pins
This is the most delicate part. With the tension wrench applying light pressure, gently move the pick up and down while also sliding it in and out slightly. This is often called “raking” the lock. The goal is to bump each pin upwards until it reaches the shear line. As a pin reaches the correct height, the tension you’re applying with the wrench should hold it there. You might hear or feel a tiny click as each pin sets.
Alternatively, you can try to “feel” each pin individually. With the pick, gently press down on each pin one by one. As you find a pin that feels “stuck” or offers resistance, lift it slowly while maintaining tension. When a pin is at the correct height (the shear line), it will “set,” and you won’t feel it bind anymore. Continue this process for all the pins.
Step 5: Listen and Feel for the Set
As you manipulate the pins, pay close attention to the feedback you’re getting. You might feel subtle clicks or shifts. The tension wrench will feel like it’s holding steady, or sometimes, you might feel a slight give as a pin sets. Your goal is to get all the pins to set at the shear line.
Step 6: Turn the Lock
If you’ve successfully set all the pins, the tension wrench will suddenly turn freely in the direction of the lock’s opening. You might feel a final “click” as the lock disengages. Once the tension wrench turns, you’ve unlocked the door knob!
Troubleshooting Common Issues
- Pins won’t set: You might be applying too much or too little tension. Try adjusting the pressure on the wrench.
- Can’t feel the pins: Ensure your pick is inserted correctly and you’re not pushing too hard. Try a slightly different angle or depth.
- Nothing seems to be happening: Double-check that your hairpin tools are bent correctly and that you’re applying consistent, gentle tension.
- The lock feels stuck: You might be binding a pin. Try releasing tension slightly, then reapplying it.
When to Call a Professional
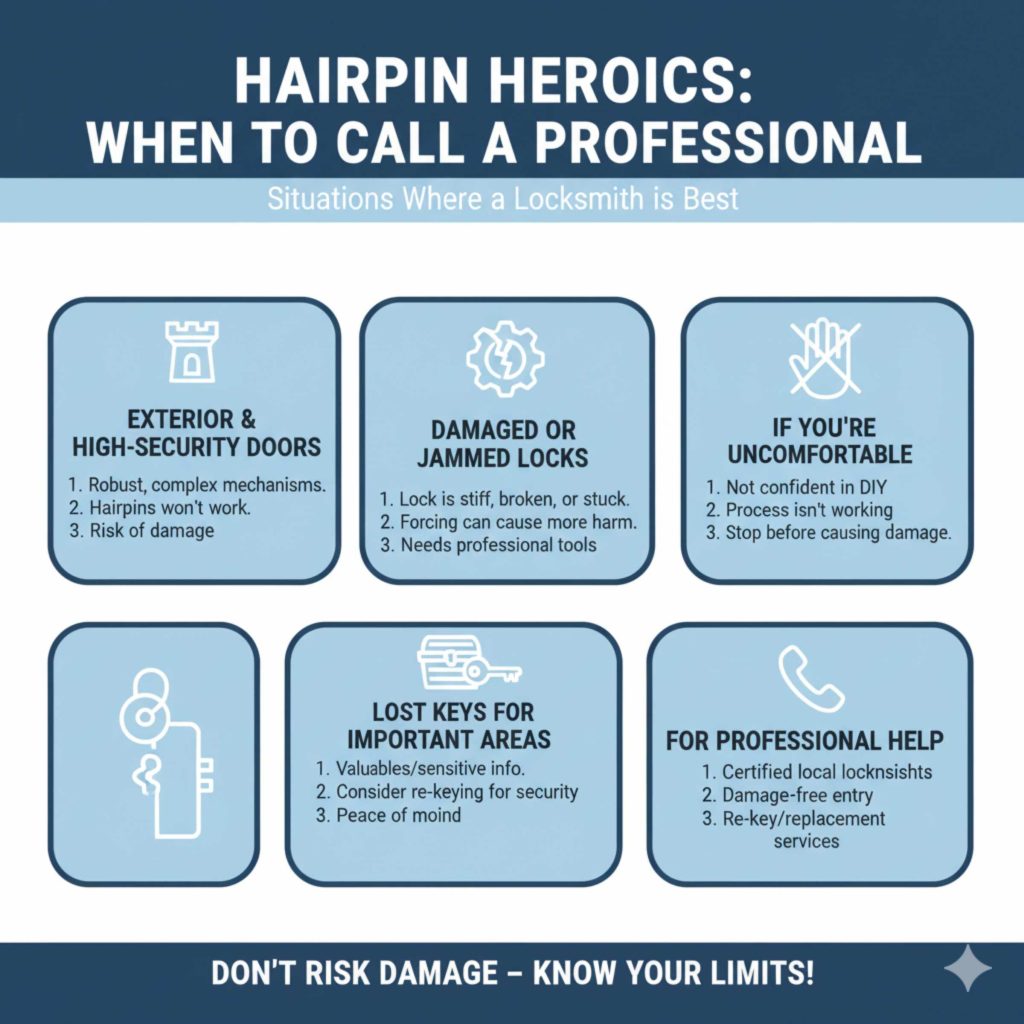
While the hairpin method is effective for many simple locks, it’s not foolproof. There are situations where you should not attempt this or where it simply won’t work, and calling a locksmith is the best course of action:
- Exterior Doors: These locks are almost always more robust and designed for security. Attempting to pick them with hairpins can damage the lock mechanism.
- High-Security Locks: If your door has a deadbolt or a lock that looks particularly sturdy or complex, it’s beyond the scope of a hairpin.
- Damaged Locks: If the lock is already stiff, jammed, or appears broken, forcing it could cause more damage.
- If You’re Uncomfortable: If you’re not confident or the process isn’t working after a few attempts, it’s better to stop before you potentially damage the lock.
- Lost Keys for Important Areas: If you’ve lost the key to a room containing valuable items or sensitive information, consider professional re-keying for better security.
For professional locksmith services, you can often find reputable local providers through resources like the DIYLife Locksmith Guide or by searching for certified locksmiths in your area. A professional can open the door without damage and offer solutions for re-keying or replacing the lock if needed.
Alternative Simple Lock-Out Solutions
If the hairpin method doesn’t work or isn’t suitable for your situation, here are a few other common household items or methods that might help with simple interior privacy locks:
Using a Credit Card or Thin Plastic Card
This method works best on doors that swing inwards and have a spring latch (the angled kind that retracts when pushed). It won’t work on deadbolts or doors that swing outwards.
- Slide the Card: Insert a thin, flexible but sturdy plastic card (like a library card or a laminated business card) into the gap between the door and the door frame, above the doorknob.
- Angle Towards the Latch: Angle the card towards the doorknob and the latch.
- Wiggle and Push: Wiggle the card while applying pressure to the door to push it open. The angled edge of the card should push the angled face of the latch bolt back into the door.
This requires a bit of finesse and works best on doors that aren’t tightly sealed.
Using a Paperclip
A paperclip can be modified similarly to a bobby pin to act as a pick. You’ll still need a second paperclip or a small flat object to act as a tension wrench. The process is largely the same as the hairpin method, but paperclips are often flimsier, making it harder to apply consistent tension or manipulate pins effectively.
Using a Small Screwdriver
Some interior privacy knobs have a small hole on the exterior side of the knob. This hole is designed to be accessed with a small, flathead screwdriver or even a straightened paperclip. You insert the tool into the hole and push or turn it to disengage the lock. Check your doorknob for such a hole – it’s the manufacturer’s intended way to unlock it in a pinch!
Table: Comparing Simple Lock-Out Methods
| Method | Best For | Pros | Cons | Tools Needed |
|---|---|---|---|---|
| Hairpin | Interior privacy locks (pin tumbler) | Effective, uses common items, can work on slightly tighter tolerances | Requires practice, can be fiddly | 2 Bobby Pins, optional pliers |
| Credit Card | Inward-swinging doors with spring latches | Quick and easy if it works, no tools to modify | Only works on specific door types, won’t bypass a deadbolt | Thin, sturdy plastic card |
| Paperclip | Interior privacy locks (pin tumbler) | Uses very common items | Flimsier than bobby pins, harder to use effectively | 2 Paperclips or 1 paperclip + small tool |
| Small Screwdriver | Privacy locks with a visible reset/lock hole | Manufacturer’s intended method, very easy if applicable | Only works on specific knob designs | Small flathead screwdriver or stiff wire |
Frequently Asked Questions (FAQ)
Q1: Can I really open any locked door with a hairpin?
A: No, not any door. This method is generally effective only for simple interior privacy locks found on bedroom and bathroom doors. High-security locks, deadbolts, and exterior door locks are much more complex and cannot be opened with hairpins.
Q2: Will this damage my door knob?
A: If done carefully and correctly, the hairpin method should not damage your door knob. The key is to use gentle pressure and avoid forcing anything. Aggressive attempts, however, could potentially scratch the finish or damage the internal mechanism.
Q3: How long does it usually take to open a door with a hairpin?
A: For beginners, it might take anywhere from a few minutes to 15-20 minutes of practice and adjustment. With experience, some people can open simple locks in under a minute. Patience is more important than speed.
Q4: What if the hairpin breaks inside the lock?
A: If a hairpin breaks, you may need to use a stronger tool to extract it, or you might need to call a locksmith. This is why using good quality, sturdy bobby pins and being careful with your movements is important. Avoid bending the hairpin too many times, as metal fatigue can cause it to snap.
Q5: Is this considered lock picking, and is it legal?
A: While this technique uses principles of lock picking, using it on your own property for a lockout is perfectly legal and a common DIY skill. However, attempting to pick a lock that you do not own or have permission to access is illegal.
Q6: My door knob has a small hole. Should I still use the hairpin method?
A: If your privacy lock knob has a small hole on the outside, this is the easiest and intended way to unlock it. You typically insert a small flathead screwdriver or a straightened paperclip into the hole and push or turn. Only resort to the hairpin method if there’s no such hole.
Conclusion: Your Confidence in a Lockout
Getting locked out of a room can be a stressful experience, but as you’ve seen, it doesn’t always require a professional. By understanding the simple mechanics of most interior door knobs and using a couple of common bobby pins, you have a proven, effortless way to regain access. Remember the key principles: gentle tension, careful manipulation of the pins, and a bit of patience. This skill can save you time, money, and a lot of hassle in the future.
Practice makes perfect, so if you have an old, unused doorknob lying around, try the hairpin method on it to get a feel for the pins and tension. Building this simple DIY skill not only solves immediate problems but also builds your confidence in tackling everyday home challenges. You’ve got this!