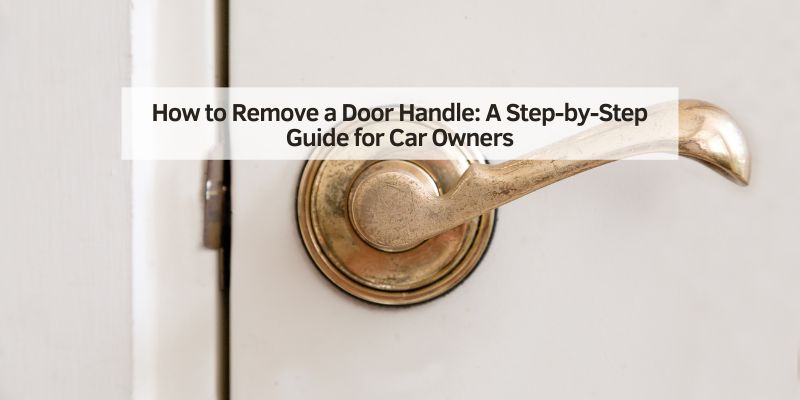
How to Remove a Door Handle: A Step-by-Step Guide for Car Owners
Hey there! If you’re wondering “how to remove a door handle” from your car, you’re in the right place. I remember the first time I had to tackle this task—it was a hot summer day, and my old sedan’s door handle was sticking like crazy. I was nervous about breaking something, but after diving in, I realized it’s not as tricky as it seems.
Whether you’re fixing a broken handle, upgrading to a shiny new one, or just curious about car maintenance, I’m here to share everything I’ve learned from my own adventures and chats with mechanics. Picture us working on your car together, and I’ll walk you through the process step by step. This guide is perfect for beginners or seasoned DIYers in the USA, so grab a wrench, and let’s get started!
Why You Might Need to Remove a Door Handle
I’ve had to remove door handles for a few reasons over the years. Sometimes, the handle stops working—maybe it’s loose, stuck, or completely broken. My old car’s handle wouldn’t open the door anymore, which was a pain! Other times, you might want to replace a scratched or faded handle to make your car look sharp. I’ve also removed handles to paint them or to fix a lock that wouldn’t turn.
Knowing how to remove a door handle can save you money. A mechanic might charge $100–$200 for this job, but doing it yourself costs just your time and maybe a few bucks for tools. Plus, it’s satisfying to fix your car yourself. I felt like a pro the first time I got it done without a hitch!
Tools You’ll Need
Before we start, let’s talk tools. I learned early on that having the right gear makes this job so much easier. Here’s what I keep in my toolbox for removing a door handle:
- Screwdriver Set: Phillips and flathead screwdrivers for removing screws inside the door panel.
- Trim Removal Tool: A plastic tool to pop off the door panel without scratching it. I got mine for $10 at an auto parts store.
- Socket Wrench: Usually a 10mm socket for bolts holding the handle in place.
- Torx Bits: Some cars, like my friend’s Ford, use Torx screws (star-shaped).
- Pliers: Needle-nose pliers help with small clips or rods.
- Shop Towel: To keep things clean and avoid losing screws.
- Optional: A flashlight for seeing inside the door, and gloves to protect your hands.
I keep these in a small toolbox in my garage. If you don’t have them, most cost under $20 each at a hardware store. Double-check your car’s manual to see if you need specific tools, as some models are quirky.
Preparing Your Car for the Job
I always prep my car before diving into a project like this. It saves time and prevents mistakes. Here’s what I do:
- Park Safely: Park on a flat surface and engage the parking brake. I once forgot this and my car rolled slightly—scary!
- Turn Off the Battery: Disconnect the negative battery terminal to avoid electrical issues, especially if your car has power windows or locks. I use a wrench to loosen the cable.
- Roll Down the Window: This gives you more room to work inside the door. I learned this after struggling with a closed window.
- Gather Tools: Lay out everything so you don’t have to search mid-job. I use an old towel to keep screws and clips organized.
- Protect the Interior: Place a towel over the door sill to avoid scratches. I’ve nicked my car’s paint before, and it’s not fun to fix.
Taking these steps makes the job smoother. I also like to play some music to keep the vibe light while working!
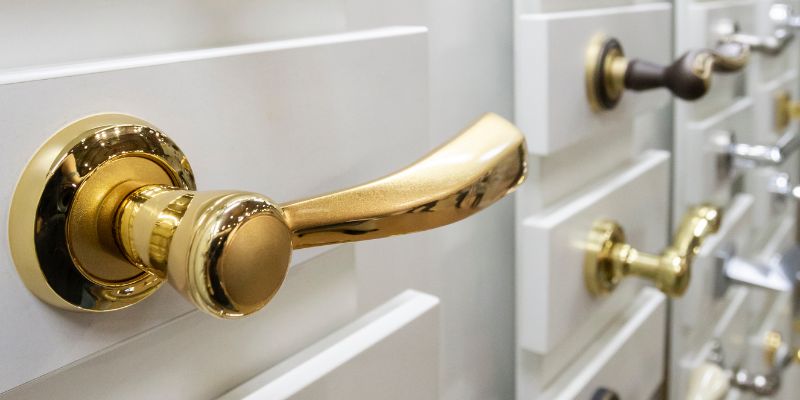
Types of Door Handles and Their Differences
Not all door handles are the same, and I’ve worked on a few types. Knowing your car’s handle type helps you understand what you’re dealing with. Here’s a quick rundown:
| Handle Type | Description | Common In | Removal Difficulty |
|---|---|---|---|
| Exterior Pull Handle | A handle you pull to open the door from outside. | Most sedans, SUVs (e.g., Honda Civic) | Moderate |
| Exterior Flush Handle | A handle flush with the door, often on newer cars. | Tesla, newer Fords | Tricky, more clips |
| Interior Handle | Inside the door, used to open from the passenger side. | All cars | Easier, fewer bolts |
| Integrated Lock Handle | Handle with a built-in key cylinder. | Older models, trucks | Complex, lock removal |
I’ve mostly dealt with exterior pull handles, like on my Toyota. Flush handles, like on a Tesla, are tougher because they have more electronics. Interior handles are usually simpler but still need care to avoid breaking clips.
Step-by-Step Guide to Removing an Exterior Door Handle
Let’s get to the main event—removing an exterior door handle. I’ll walk you through what I do, based on my experience with my sedan and a friend’s SUV. This works for most pull-style handles, but check your car’s manual for specifics.
Step 1: Remove the Interior Door Panel
The door handle is attached from inside the door, so you need to remove the panel first. I start by looking for screws. Check around the armrest, handle, and edges of the panel. My car had three Phillips screws—one by the handle, two under the armrest.
Use a screwdriver to remove them and set them aside. Then, use a trim removal tool to pop off the panel. I gently pry around the edges to release plastic clips. Be patient—yanking too hard can break them. I broke a clip once and had to buy a replacement for $2. Once the clips are free, lift the panel up and off. If your car has power windows, disconnect the wiring harnesses carefully. I use a flashlight to see the connectors clearly.
Step 2: Peel Back the Plastic Liner
Inside the door, you’ll see a plastic or foam liner protecting the components. I peel it back slowly to avoid tearing it. Use your hands or a trim tool to lift it, starting at a corner. You don’t need to remove it completely—just enough to access the handle area. I tape it out of the way with painter’s tape to keep it from flapping around.
Step 3: Locate the Door Handle Assembly
Look for the handle’s mounting area, usually near the outer edge of the door. You’ll see bolts or screws holding the handle in place, often 10mm. My Toyota had two bolts, but some cars have a single screw or a clip system. There’s also a rod connecting the handle to the latch mechanism. I use a flashlight to spot it clearly, as it’s easy to miss in the door’s innards.
Step 4: Disconnect the Lock Rod
The rod is a metal or plastic piece linking the handle to the door latch. I use needle-nose pliers to unclip it. It’s usually held by a small plastic clip or a pivot. Be gentle—breaking the clip means a trip to the auto parts store. I mark where the rod connects with a marker so I can reattach it correctly later.
Step 5: Remove the Handle Bolts
Use a socket wrench or screwdriver to remove the bolts or screws holding the handle. My car had two 10mm bolts, which I loosened counterclockwise. Keep them in a safe spot—I use a magnetic tray to avoid losing them. If your car has a key cylinder, you might need to disconnect it too. I had to wiggle the cylinder out carefully on an older truck.
Step 6: Pull Out the Door Handle
Once the bolts and rod are free, the handle should slide out from the outside. I gently push it from the inside while pulling from the outside. If it’s stuck, check for hidden screws or clips. My friend’s SUV had a small retaining clip I missed at first. Be patient to avoid scratching the paint.
Step 7: Inspect and Clean
With the handle out, I check it for damage. Is it cracked or worn? If you’re replacing it, compare the old and new handles to ensure they match. I also clean the area with a shop towel to remove dirt or rust. This keeps the new handle secure and looking good.
Removing an Interior Door Handle
Interior handles are easier to remove. I did this when my driver’s side handle got loose. Start by removing the door panel, as described above. The interior handle is usually held by one or two screws, often Phillips or Torx. My car had a single screw hidden behind a small plastic cover.
Unscrew it, then gently pull the handle out. You might need to disconnect a cable or rod, similar to the exterior handle. I use pliers to unclip it carefully. Once it’s free, check for wear and replace if needed. Reinstallation is just the reverse—connect the rod, screw it in, and pop the panel back on.
Tips for Tricky Door Handles
Some handles are tougher to remove, especially on newer cars with flush or electronic handles. Here’s what I’ve learned:
- Flush Handles: These often have electronic components. Disconnect the battery first to avoid shorts. I helped a friend with a Tesla, and we had to remove extra wiring harnesses.
- Key Cylinder Handles: Older cars with lock cylinders need extra steps. I use a small screwdriver to release the cylinder clip, which can be fiddly.
- Rusty Bolts: If bolts are stuck, spray them with penetrating oil like WD-40 and wait 10 minutes. I had to do this on a rusty truck handle, and it worked like a charm.
- Hidden Clips: Some handles have hidden retaining clips. Feel around with your fingers or use a flashlight to find them.
If you’re stuck, check online forums or videos for your car model. I found a YouTube video for my Toyota that saved me an hour of guesswork.
Reinstalling or Replacing the Door Handle
Once you’ve removed the handle, installing a new one or putting the old one back is straightforward. I follow these steps:
- Align the New Handle: Slide the new handle into the door from the outside. Make sure it sits flush.
- Reconnect the Rod: Attach the rod to the latch mechanism. I double-check that it’s secure to avoid a loose handle.
- Tighten Bolts: Screw in the bolts or screws tightly but don’t overtighten, as it can strip them. I use a torque wrench for precision.
- Test the Handle: Before reattaching the panel, test the handle to ensure it opens the door smoothly.
- Reattach the Panel: Pop the door panel back on, secure the clips, and screw in any bolts. Reconnect wiring if needed.
When I replaced my handle, I tested it a few times to make sure it worked. It felt great to open the door without a struggle!

Common Mistakes to Avoid
I’ve made a few blunders while removing door handles. Here’s what to watch out for:
- Breaking Clips: Yanking the door panel can snap plastic clips. I broke one and had to order a $3 replacement.
- Losing Screws: Keep screws in a tray or bag. I lost one under my car seat once—never again!
- Forgetting the Battery: If you skip disconnecting the battery, you might blow a fuse on cars with power locks.
- Forcing the Handle: If it’s stuck, look for hidden screws or clips instead of pulling hard. I scratched my door’s paint by rushing.
Taking your time avoids these headaches. I learned to be patient after a few rookie mistakes.
When to Call a Professional
Sometimes, DIY isn’t the way to go. I tried removing a flush handle on a newer car and got overwhelmed by the wiring. Here’s when I call a mechanic:
- Complex Electronics: Cars with keyless entry or flush handles have tricky wiring. A pro can handle it safely.
- Rusted Parts: If bolts or clips are too rusty, a mechanic has better tools to avoid damage.
- No Time or Tools: If you’re short on time or don’t have a trim tool, a shop can do it for $100–$200.
I paid a mechanic $150 to fix a handle on my friend’s luxury SUV, and it was worth it for the peace of mind.
Maintaining Your Door Handles
To avoid frequent replacements, I maintain my door handles. Here’s what I do:
- Clean Regularly: Wipe handles with soapy water to remove dirt. I do this monthly to prevent grime buildup.
- Lubricate Moving Parts: Spray silicone lubricant on the latch and rod every six months. It keeps things smooth.
- Check for Looseness: Tighten any loose screws. I caught a wobbly handle early this way.
- Protect from Weather: In harsh winters, I cover my car to shield handles from ice and rust.
These steps keep my handles working like new. A little care goes a long way!
Cost of Replacing a Door Handle
Replacing a door handle yourself is budget-friendly. Here’s what I’ve spent:
- Handle Cost: $20–$50 for most cars. OEM parts are pricier ($50–$100), but aftermarket ones work fine for me.
- Tools: $10–$30 if you need a trim tool or socket set.
- Professional Cost: $100–$200, including labor. I saved $150 by doing it myself.
Shop around for handles online or at auto parts stores. I found a great deal on Amazon for my Toyota handle.
Safety Tips for DIYers
Safety is key when working on your car. I’ve learned these tips the hard way:
- Wear Gloves: Protect your hands from sharp edges inside the door. I got a small cut once without them.
- Work in Good Light: Use a flashlight or work in a well-lit garage. It’s hard to see clips in the dark.
- Disconnect the Battery: Always do this for cars with power features to avoid shocks.
- Don’t Rush: Take your time to avoid breaking parts or scratching paint. I rushed once and regretted it.
Being careful keeps the job fun and stress-free.
Conclusion
Wow, removing a door handle is quite the adventure, isn’t it? From popping off the door panel to wrestling with tiny clips, I’ve learned so much about my car through this process. Doing it myself has saved me money and given me a sense of pride every time I open my door smoothly. Whether you’re fixing a broken handle or upgrading your car’s look, this guide should help you tackle the job with confidence. I hope you feel ready to grab your tools and get to work! If you’ve got more questions, check out the FAQs below for quick answers. Happy wrenching!
FAQs
What tools do I need to remove a car door handle?
You’ll need a screwdriver set, trim removal tool, socket wrench (usually 10mm), pliers, and maybe Torx bits. A towel and flashlight help too.
How long does it take to remove a door handle?
It takes about 30–60 minutes for a beginner. I did my first one in an hour, but now it’s closer to 30 minutes with practice.
Can I remove a door handle without removing the door panel?
Usually, no. Most handles are secured from inside the door, so you need to remove the panel to access the bolts and rods.
What if my door handle is stuck and won’t come off?
Check for hidden screws or clips. Spray penetrating oil on rusty bolts and wiggle gently. If it’s still stuck, consult a mechanic.
Is it cheaper to replace a door handle myself?
Yes! A new handle costs $20–$50, and doing it yourself saves $100–$200 in labor costs. I saved $150 on my car.