How to Remove a Yale Smart Lock Safely
Removing a smart lock, especially a Yale one, might seem tricky if you haven’t done it before. People often worry about damaging their door or the lock itself. This guide will make How to Remove a Yale Smart Lock Safely simple.
We’ll walk through each step clearly so you can get it done easily. Let’s get started with what you’ll need and the first steps to take.
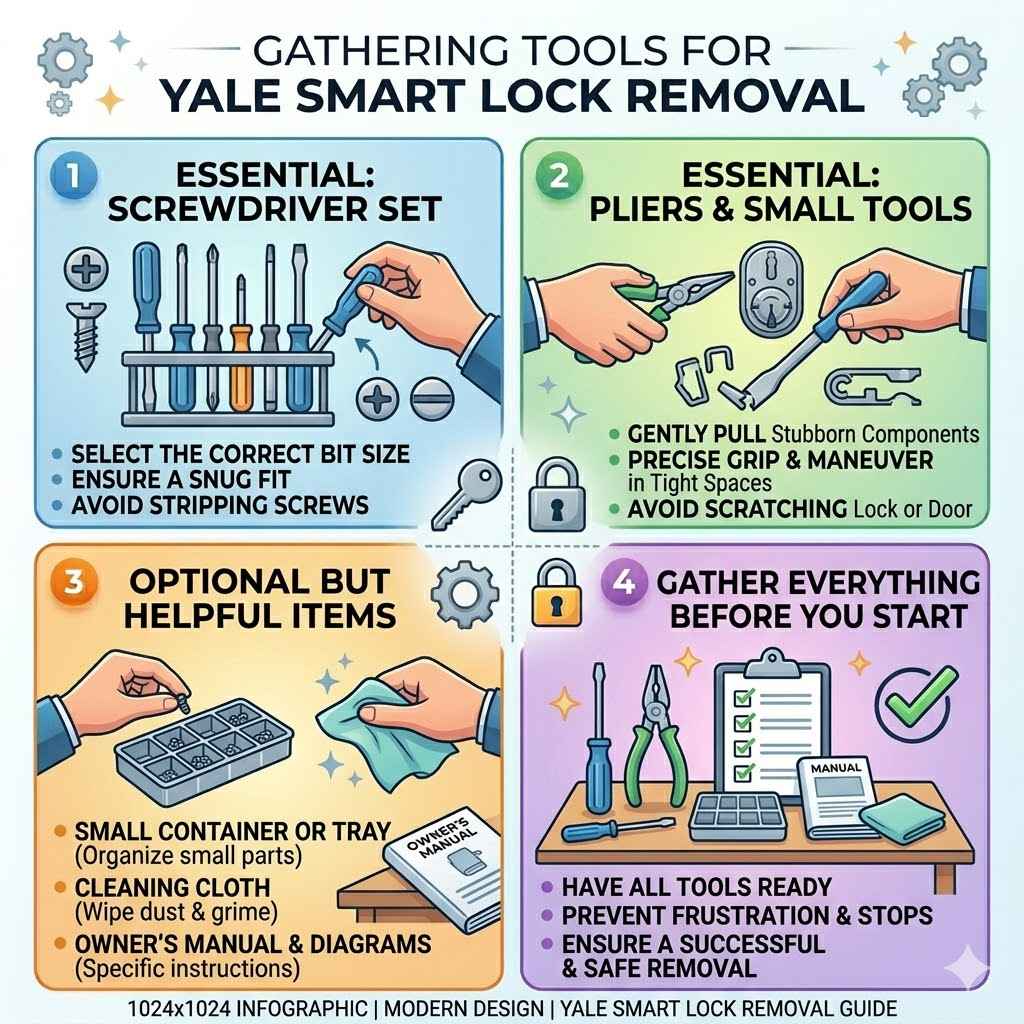
Gathering Tools For Yale Smart Lock Removal
Before you start taking apart your Yale smart lock, it’s important to have the right tools ready. This makes the process much smoother and prevents frustration. Having everything in one place means you won’t have to stop and search for something halfway through.
This preparation is key to a successful and safe removal.
Essential Tools for Smart Lock Removal
You’ll need a few basic tools for this job. These are common items most people have around their homes or can easily borrow. Having these ready will make the task feel less daunting.
Screwdriver Set
You will likely need a Phillips head screwdriver and possibly a flathead screwdriver. Yale smart locks use different screw sizes, so a set with various sizes is best. Make sure the screwdriver heads fit snugly into the screw slots to avoid stripping them.
Stripped screws can make removal much harder and can damage the lock’s components. A good quality set ensures better grip and control.
Pliers
Small pliers can be helpful for gently pulling out any stubborn components or retaining clips. Needle-nose pliers are often the most useful for this. They allow for precise gripping and maneuvering in tight spaces.
Use them carefully to avoid scratching the lock or your door.
Battery Tester
While not strictly for removal, it’s wise to check the batteries. If the lock is dead, it might behave differently. A battery tester can confirm if the batteries are still good, though for removal, you’ll be disconnecting the power source anyway.
Cleaning Cloth
A soft cloth is good for wiping away dust or grime from the lock and your door as you work. This keeps your workspace clean and protects the finishes of your hardware.
Optional but Helpful Items
Some extra items can make the process even easier. They aren’t strictly necessary, but they can be lifesavers if you encounter unexpected issues.
Small Container or Tray
To keep track of all the small screws and parts you remove. Labeling the container or tray can help you remember where each piece goes if you ever plan to reinstall the lock. Keeping small parts organized is vital to avoid losing them.
Owner’s Manual
If you still have the original manual for your Yale smart lock, it can be very useful. It often has specific diagrams and instructions tailored to your exact model. Checking the manufacturer’s website for a digital copy is also a good idea.
Step-by-Step Guide How to Remove a Yale Smart Lock Safely
Now that you have your tools, it’s time to begin the actual removal process. We’ll break this down into simple, manageable steps. Following these steps carefully ensures you perform How to Remove a Yale Smart Lock Safely without any problems.
Step 1 Powering Down the Lock
The very first thing you should do is disconnect the power. For most Yale smart locks, this means removing the batteries. This step is critical for safety and prevents any electrical issues during the removal process.
It’s like unplugging an appliance before you start fixing it.
Locate the Battery Compartment
Most Yale smart locks have a battery compartment on the interior side of the door. It’s usually covered by a small panel or a battery cover. You might need to use a screwdriver to gently pry this open or unscrew it.
Remove the Batteries
Once the compartment is open, take out all the batteries. Dispose of them properly. This completely cuts off power to the lock.
It’s a good habit to always start with this step to avoid any unexpected jolts or short circuits.
Step 2 Removing the Interior Components
With the power off, you can now tackle the parts of the lock that are on the inside of your door. These are usually attached with screws. Take your time and keep track of each screw.
Unscrew the Interior Mounting Plate
Look for screws on the interior trim or handle of the lock. These screws typically go through the mounting plate and into the lock mechanism. Carefully unscrew them.
These screws can vary in length, so it’s a good idea to place them in your tray or container in the order you remove them. This helps if you ever need to put the lock back on.
Disconnect Wires (If Applicable)
Some Yale smart locks have wires connecting the interior and exterior components, especially for features like keypads or displays. If you see any wires, gently disconnect them. They usually have small connectors that can be pulled apart by hand or with a gentle nudge from a small tool.
Be very careful not to pull on the wires themselves, but rather on the connector. Yanking the wires can damage them or the ports they connect to, making reinstallation impossible or requiring costly repairs.
Remove the Interior Trim and Mounting Plate
Once all screws are out and wires disconnected, the interior trim and mounting plate should come free. You might need to wiggle it gently. If it feels stuck, double-check for any missed screws or clips.
Step 3 Removing the Exterior Components
Now you’ll work on the part of the lock that’s visible from the outside. This often includes the keypad or touchscreen and the deadbolt mechanism.
Remove the Exterior Keypad or Handle
The exterior part is usually held in place by the screws you removed from the inside, and potentially a spindle that passes through the door. Once the interior mounting plate is off, the exterior portion should become loose.
Some models might have a small set screw or clip holding the exterior handle onto the spindle. If so, use a small Allen wrench or screwdriver to loosen it.
Withdraw the Spindle
The spindle is a metal rod that connects the interior and exterior handles and allows for the deadbolt to be turned. Once the exterior and interior parts are detached from it, the spindle should slide out easily.
If it’s stuck, check for any remaining retaining clips or screws that might be securing it within the door frame.
Step 4 Removing the Deadbolt Mechanism
The final part of the lock mechanism is the deadbolt itself, which is installed within the edge of your door.
Locate and Unscrew the Deadbolt Plate
The deadbolt mechanism is secured to the edge of the door by a metal plate, usually with two screws. Unscrew these screws.
Slide Out the Deadbolt Assembly
Once the screws are removed, the entire deadbolt assembly should slide out of the door. You might need to gently tap it with a screwdriver handle if it’s a bit tight. Be careful not to force it, as this could damage your door.
Step 5 Cleaning Up and Storing Parts
After removing all components, take a moment to clean up the area and store the parts properly.
Clean the Door Area
Wipe down the area on your door where the lock was installed. This will remove any dust or residue.
Organize Removed Parts
Place all the screws, the deadbolt assembly, and other components into your organized container. If you plan to sell the lock or keep it for future use, store it in a safe place.
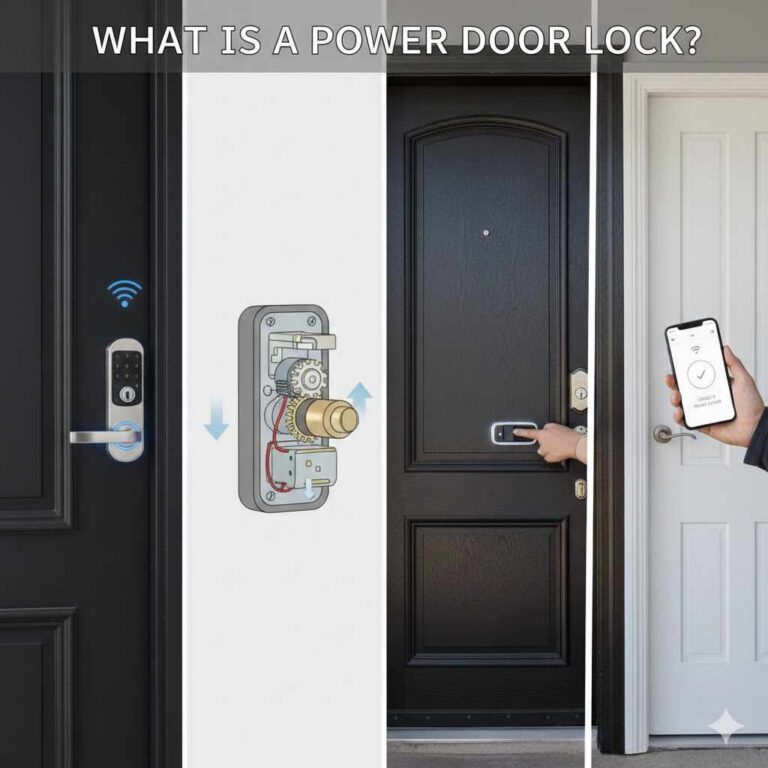
Understanding Yale Smart Lock Features and Safety
Yale smart locks are known for their advanced features, but understanding them is key to safe handling and removal. These locks often integrate with home security systems and offer remote access, which means they have more electronic components than traditional locks. This complexity is why following specific removal steps is important to avoid damaging these sensitive parts or your door.
The technology behind these locks, such as Bluetooth or Wi-Fi connectivity, also means they require careful handling when powering down and disconnecting.
Power Management in Smart Locks
The battery is the lifeblood of any smart lock. Yale locks use standard batteries, usually AA or 9V, to power their electronics, motors, and communication modules. When batteries are low, the lock might send alerts, but it will eventually cease to function.
For removal, disconnecting this power source first is paramount. This ensures that no electrical current is running through the lock’s circuits while you are manipulating its mechanical parts. This prevents short circuits that could damage the lock’s internal computer or the battery itself.
A common statistic from consumer reports indicates that the average smart lock battery can last anywhere from 6 months to over a year, depending on usage and the specific model. Heavy use, like frequent unlocking via an app or frequent keypad entry, will drain batteries faster. This highlights why checking battery status is a good first step, though for removal, it’s always safest to just take them out.
Connectivity and Wireless Protocols
Yale smart locks often use wireless protocols like Bluetooth or Z-Wave to communicate with your smartphone, smart home hubs, or other devices. These protocols enable features such as remote locking/unlocking, status notifications, and user access management. When removing the lock, you are essentially disabling these communication pathways by cutting off the power supply.
It’s similar to turning off Wi-Fi on your computer before physically removing its network card.
For instance, a Yale Assure Lock might use Bluetooth to connect to your phone via the Yale Access app. This app allows you to grant temporary access to guests or check if the door is locked from afar. During removal, the lock’s internal memory stores its settings and pairing information.
While most of this data is lost when the battery is removed, some advanced models might retain residual charge in capacitors for a short period, making battery removal the definitive power-off step.
Mechanical Components and Their Function
Beyond the electronics, Yale smart locks contain robust mechanical components that operate the deadbolt. The interior mechanism includes a motor or solenoid that retracts or extends the bolt, controlled by the electronic board. The exterior part has the user interface (keypad, touchscreen, or physical key cylinder), and the interior part has the thumb turn for manual operation.
Understanding that these parts work together is crucial for a smooth disassembly.
A common challenge for beginners is understanding how the spindle connects the interior and exterior parts to the deadbolt. The spindle is a square or rectangular metal rod that rotates the cam mechanism within the deadbolt assembly. When removing the lock, the spindle must be detached from both the interior and exterior handles before the deadbolt can be fully removed from the door.
Mishandling the spindle can bend or damage it, making reinstallation difficult.
Troubleshooting Common Removal Issues
Even with careful preparation, you might run into a few snags during the removal process. Don’t worry, most problems are easily solved with a little patience and the right approach. This section covers some common issues and how to deal with them to ensure your How to Remove a Yale Smart Lock Safely mission is successful.
Stuck Screws
One of the most frequent problems is finding screws that are difficult to turn or seem stripped. This can happen due to overtightening during installation or corrosion.
Use the Right Screwdriver Size
Ensure your screwdriver fits the screw head perfectly. A worn-out screwdriver or one that’s too small can strip the screw head, making it impossible to turn.
Apply Penetrating Oil
If a screw is truly stuck, you can try applying a small amount of penetrating oil (like WD-40) to the screw threads. Let it sit for about 15-30 minutes to work its way in. Then, try unscrewing it again.
Rubber Band Trick
Place a wide rubber band over the stripped screw head, then insert your screwdriver into the rubber band and screw head. The rubber can provide extra grip to help turn the screw.
Screw Extractor
For severely stripped screws, a screw extractor kit is a specialized tool designed to grip and remove damaged screws. Follow the kit’s instructions carefully.
Stubborn Interior or Exterior Parts
Sometimes, the interior or exterior lock components can feel stuck. This might be due to the deadbolt being slightly engaged or the components fitting very snugly.
Jiggle and Gently Pry
Once all screws are removed, try gently wiggling the part. If it doesn’t budge, use a flathead screwdriver or a putty knife to gently pry around the edges. Work your way around the component slowly.
Check for Hidden Clips or Set Screws
Some Yale models have small, almost invisible clips or set screws that secure parts. Double-check all edges and around the spindle hole for anything that might be holding the piece in place.
Ensure Deadbolt is Retracted
If the deadbolt itself is partially extended, it might be binding the exterior or interior parts. Try turning the spindle slightly (if it’s still attached to the deadbolt) to retract the bolt fully. This might free up the components.
Damaged Wire Connectors
If you accidentally pull too hard on a wire connector, it might break or become loose.
Inspect Carefully
Examine the broken or loose connector. If it’s just loose, you can often push it back into place. If a wire has detached from its terminal, you might be able to re-crimp it or use a small connector if you have one.
Professional Help
For significant damage to wiring or connectors, it might be best to consult a locksmith or contact Yale customer support. Trying to repair complex electronics without experience can cause further damage.
Real-Life Examples and Scenarios
Let’s look at how these steps play out in real situations. Understanding these examples can help you anticipate what might happen when you remove your own Yale smart lock.
Example 1 Replacing an Old Smart Lock
Sarah wanted to upgrade her Yale smart lock to a newer model. She followed the guide, starting by removing the batteries from her current lock. She then located and unscrewed the interior mounting plate, carefully placing the screws into a small magnetic dish.
She noticed a thin wire connecting the keypad to the main board and gently disconnected it. With the interior parts off, the exterior keypad came away easily. She then unscrewed the deadbolt plate from the edge of the door and slid out the old deadbolt.
Sarah found this process straightforward and was able to install her new lock without issues.
Example 2 Removing a Smart Lock for Sale
John was moving and decided to sell his Yale smart lock. He wanted to ensure he did it safely so the buyer could potentially reinstall it later. He took photos at each stage of the removal process.
First, batteries out. Then, he unscrewed the inside assembly, bagging each screw type separately. He disconnected the wires by gently pulling the plastic connectors, not the wires themselves.
After removing the exterior part and the deadbolt, he cleaned all components and placed them carefully in the original box. He was confident he had performed How to Remove a Yale Smart Lock Safely, preserving the lock for resale.
Scenario 1 A Difficult Spindle
Imagine you’ve removed all the screws from the interior and exterior of your Yale lock, but the parts won’t come off. Upon closer inspection, you realize the spindle is still somewhat stuck within the door’s edge. It might be slightly angled or caught on a piece of wood.
In this case, you would need to gently try to straighten the spindle while wiggling the exterior and interior parts. Sometimes, a small shim can be carefully inserted between the lock and the door to relieve pressure on the spindle.
Scenario 2 A Stripped Screw Head
You’re trying to remove the two screws holding the deadbolt assembly to the edge of the door, but one of the screw heads is completely stripped. Your screwdriver just spins uselessly. You would then try the rubber band trick first.
If that doesn’t work, you might need to resort to a screw extractor tool, carefully drilling into the center of the damaged screw to create a new point for the extractor to grip and turn.
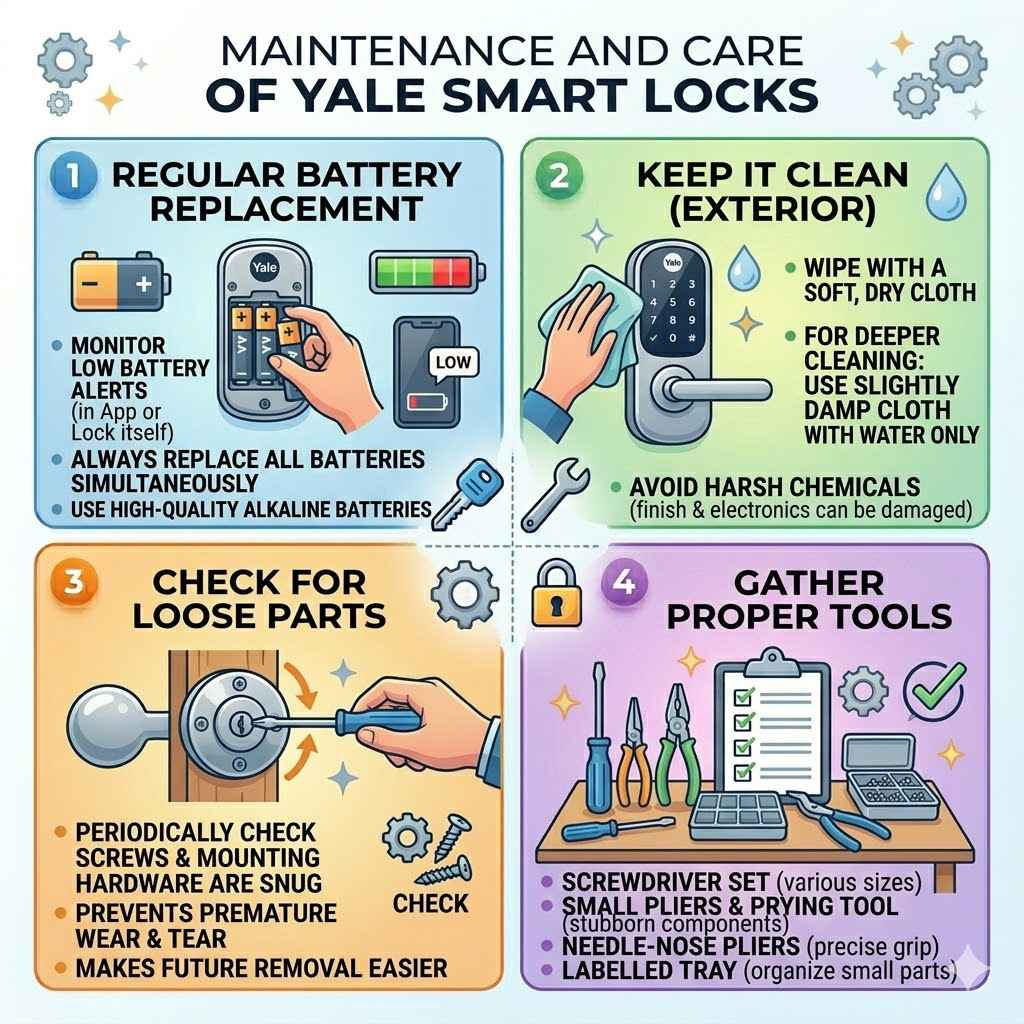
Maintenance and Care of Yale Smart Locks
While this article focuses on removal, a brief mention of maintenance can be helpful for those who might be reinstalling or considering a Yale smart lock. Proper care ensures longevity and fewer removal headaches down the line.
Regular Battery Replacement
Always replace batteries when the lock indicates they are low. Using high-quality alkaline batteries is recommended. This prevents the lock from dying unexpectedly and saves you from potential emergency removal situations.
Keep it Clean
Wipe down the exterior of your lock periodically with a soft, dry cloth. For deeper cleaning, use a slightly damp cloth with water only, avoiding harsh chemicals that can damage the finish or electronic components.
Check for Loose Parts
Occasionally, check that all screws and mounting hardware are snug. A loose lock can lead to premature wear and tear on its internal mechanisms, making future removal more challenging.
Frequently Asked Questions
Question: Do I need special tools to remove a Yale smart lock?
Answer: You will likely need a Phillips head screwdriver and possibly a flathead screwdriver. Pliers can also be helpful. A set with various sizes is recommended.
Question: Can I remove a Yale smart lock if the batteries are dead?
Answer: Yes, if the batteries are dead, the lock won’t have power, which is actually ideal for safe removal. You will still need to access the battery compartment to ensure there’s no residual charge and then proceed with unscrewing the components.
Question: What if the screws are stripped and won’t come out?
Answer: Try using a rubber band over the screw head for extra grip with your screwdriver. If that doesn’t work, a screw extractor tool can help remove stripped screws.
Question: Will removing the lock damage my door?
Answer: If you follow the steps carefully and don’t force components, you should not damage your door. Be gentle, especially when sliding out the deadbolt mechanism.
Question: How long does it usually take to remove a Yale smart lock?
Answer: For most people, removing a Yale smart lock can take anywhere from 15 to 30 minutes, depending on their comfort level with tools and any potential issues encountered.
Summary
Safely removing your Yale smart lock is a straightforward process when you follow clear steps. You learned which tools to gather, how to safely disconnect power, and the sequence for removing interior and exterior components. Addressing common issues like stuck screws or stubborn parts ensures a smooth experience.
You are now equipped to handle this task confidently.