How to Replace a GE Microwave Door Handle ($20-$50 DIY Fix)
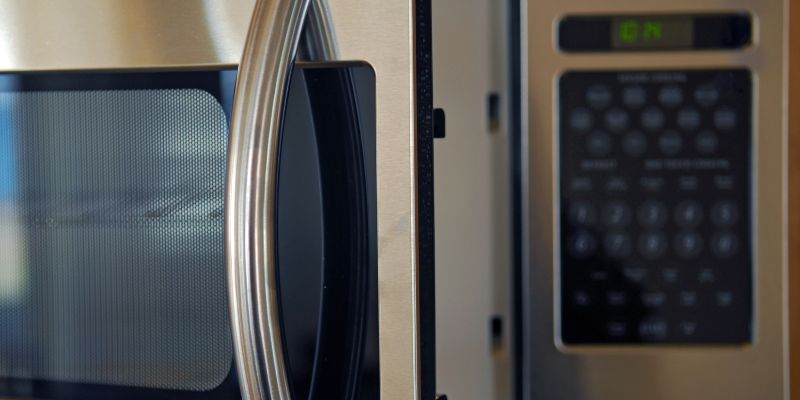
Replacing a GE microwave door handle costs $20–$50 in parts and takes under 30 minutes with just a Phillips screwdriver — unless the choke cover hides a metal grid, which adds time. A wrong-fit handle won’t align with the screw holes, so the exact model number matters more than the price. This guide covers removing the choke cover, swapping the handle, and GE’s official leak-test guidance for door repairs.
Disclosure: Home Improvement Way is reader-supported. If you buy through links on this page, we may earn an affiliate commission at no extra cost to you.
Why Replacing a GE Microwave Door Handle Makes Sense
A wobbly or fully broken handle doesn’t mean the microwave is done for. A replacement handle runs $20–$50, compared to hundreds for a new microwave or $100+ for a service call — the handle and choke cover are the only parts most homeowners need to touch.
The repair itself only involves the door’s exterior trim — you never open the microwave’s main cabinet or touch the magnetron, so the risk profile is closer to swapping a cabinet knob than repairing an electrical appliance.
📊 GE OEM microwave door handle assemblies (e.g. part WB15X10279) typically run $30–$50, with some specialty models priced up to $117 — Source: RepairClinic Repair Library, 2026
Tools You’ll Need for the Job
Before we get started, let’s gather everything you’ll need. Having the right tools makes this job so much easier. When I replaced my GE microwave handle, I scrambled around my toolbox, so I’ll save you the hassle by listing exactly what worked for me.
| Tool | Purpose |
|---|---|
| Phillips Screwdriver | For removing screws that secure the door handle and inner panel. |
| Flathead Screwdriver | To pry off the choke cover (the plastic trim inside the door). |
| Pliers | For gripping stubborn screws or parts that are hard to remove. |
| Replacement Handle | Must match your GE microwave’s model number for a perfect fit. |
| Work Gloves | To protect your hands from sharp edges or debris. |
| Cleaning Cloth | To wipe down the door and remove grease or dirt before and after the repair. |
| Small Flashlight | To help you see screws or clips in tight, dark spaces. |
You might also want a small container to keep screws safe—I learned the hard way after losing one under my kitchen counter! If your microwave has bolts instead of screws, a socket wrench could come in handy, but most GE models stick to screws.
Double-check your microwave’s model number before ordering — it’s usually on a sticker inside the door or on the back panel. Common GE replacement handle part numbers include WB15X10279, WB15X10249, and WB15X21101, but the correct one depends entirely on your model. I once ordered a handle that looked identical but was off by a fraction of an inch, and it was a hassle to return — the part number is the only thing that guarantees a fit.
Best Microwave Repair Toolkit Pick
KELIN 68-in-1 Magnetic Ratchet Screwdriver Set – $31.99
A magnetic ratchet handle with S2 steel bits covers the Phillips sizes this repair needs plus Torx and flathead bits for stripped screws — one kit instead of hunting through a mixed toolbox.
- Best for: Small appliance and electronics repair around the house
- Why we picked it: Magnetic tips help retain the two tiny handle screws this job requires
- Main drawback: Ratchet handle is bulkier than a slim precision driver for very tight spaces
Compare more appliance repair toolkit options
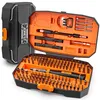
 Option 1 STREBITO 142-Piece Set – $25.19
|
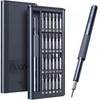
 Option 2 JOREST 152-in-1 Set – $26.99
|
 Option 3 AXTH 25-in-1 Set – $8.99
|
As an Amazon Associate we earn from qualifying purchases.
Safety First: Protecting Yourself and Your Microwave
I can’t stress this enough: safety comes first. Working on any appliance, even something as simple as a microwave handle, can be risky if you’re not careful. The first time I did this, I was so eager to get started that I almost forgot to unplug the microwave. Don’t make that mistake!
Before you touch anything, unplug your microwave from the wall outlet. This cuts off all power and prevents any chance of electric shock. If your microwave is hardwired or an over-the-range model, turn off the circuit breaker to be safe. I also recommend wearing work gloves to protect your hands from sharp edges—some parts of the door can be surprisingly pointy. Safety goggles are a good idea too, especially if you’re prying off plastic pieces that might snap.
Another thing to keep in mind: microwaves use high-voltage components, and even when unplugged, there’s a small risk of residual charge. Stick to working on the door and avoid poking around inside the microwave’s main body. Finally, work on a stable surface, like your kitchen counter, to keep the microwave steady. I once tried this on a wobbly table, and it made everything harder than it needed to be.
Step-by-Step Guide to Replacing the Door Handle
Alright, let’s get to the fun part—actually replacing that handle! I’ll break this down into clear steps based on my own experience fixing a couple of GE microwaves. Follow along, and you’ll have a shiny new handle in no time.
Step 1: Unplug the Microwave
I know I mentioned this already, but it’s worth repeating: unplug the microwave. If it’s an over-the-range model, you might need to carefully lower it or access the plug behind it. I had to slide mine out from under the cabinet, which was a bit of a workout, but it’s doable. Double-check that no power is going to the unit before you start.
Step 2: Open the Microwave Door
With the microwave unplugged, open the door wide. This gives you access to the inner side of the door, where most of the work happens. If the handle is completely broken and the door won’t open, don’t panic. You can sometimes gently pry the door open with a flathead screwdriver, but be super careful not to damage the latch or frame. I had to do this once, and it took some patience to avoid scratching the door.
Step 3: Remove the Choke Cover
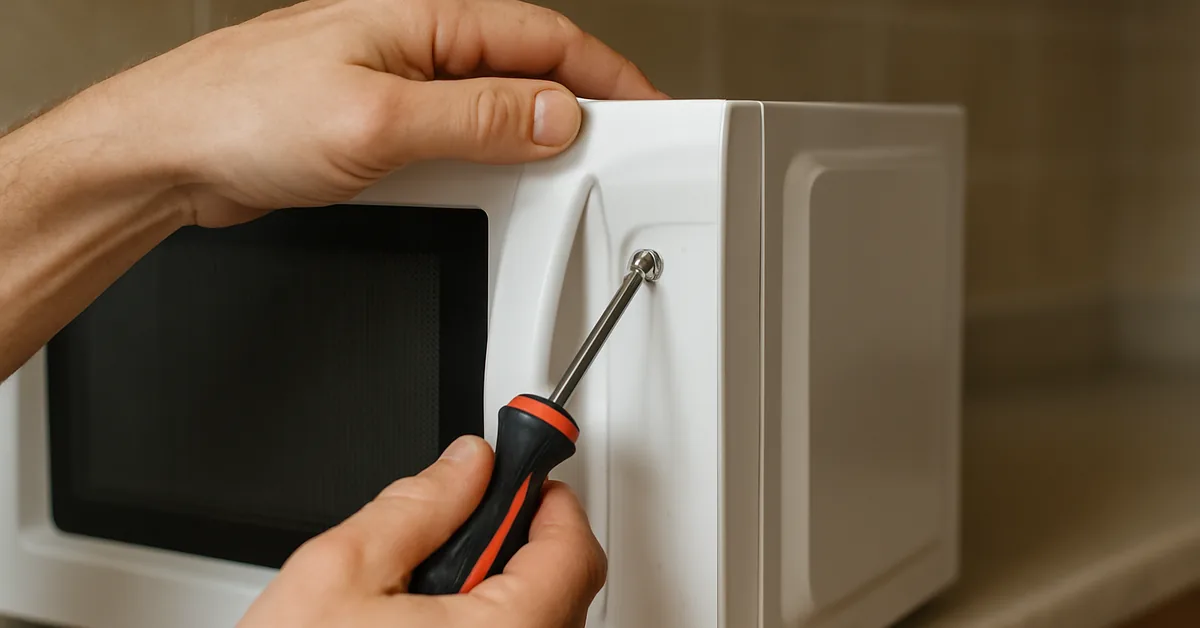
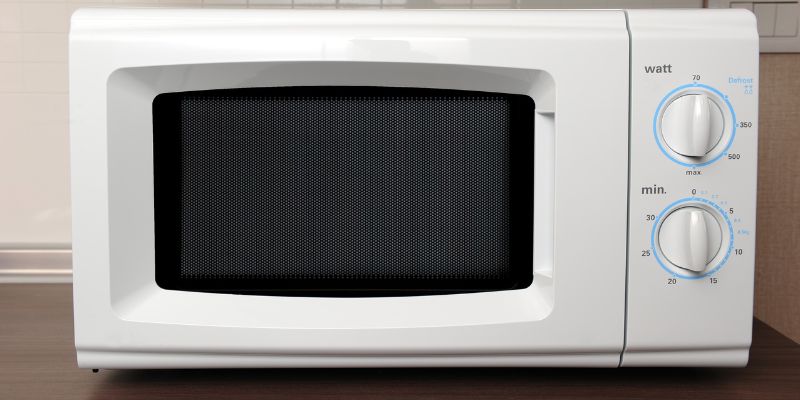
The choke cover is the plastic trim around the inner edge of the microwave door. It’s what hides the screws holding the handle in place. To remove it, grab your flathead screwdriver and gently insert it under the edge of the choke cover. Start on the side opposite the handle for better leverage. I found that wiggling the screwdriver gently while pulling helped pop it off without breaking anything.
Be patient here—those plastic clips can be stubborn, and you don’t want to crack the cover. If it feels stuck, try a different spot along the edge. On my GE Spacemaker, the choke cover came off in one piece, but some models have a metal grid or extra clips, so go slow and check for resistance.
Step 4: Locate and Remove the Handle Screws
Once the choke cover is off, you’ll see the screws holding the handle. Most GE microwaves have two screws, one at the top and one at the bottom of the handle. Use your Phillips screwdriver to carefully unscrew them. Keep these screws in a safe spot—I like to stick them in a small bowl so they don’t roll away.
If the screws are stuck or stripped, pliers can help grip them. I had one screw that just wouldn’t budge, and a little WD-40 and some elbow grease did the trick. If the screws are damaged, you might need to replace them with ones from your new handle kit or a hardware store.
Step 5: Remove the Old Handle
With the screws out, the old handle should come off easily. Gently pull or twist it to detach it from the door. If it’s stuck, check for any hidden clips or adhesive. On one of my repairs, the handle was glued in place from a previous fix, so I had to carefully pry it off with the flathead screwdriver. Be gentle to avoid damaging the door itself.
Step 6: Install the New Handle
Now comes the exciting part—putting on the new handle! Line up the new handle with the holes on the door. If it came with new screws, use those; otherwise, the old ones should work as long as they’re in good shape. Thread the screws in by hand first to avoid cross-threading, then tighten them with your screwdriver. Don’t over-tighten, though—I made that mistake once, and it cracked the plastic around the screw hole.
Make sure the handle feels secure but not wobbly. If it’s not aligning properly, double-check that you have the right handle for your model. I had a friend who tried to install a slightly different handle, and it just wouldn’t sit right.
Step 7: Reattach the Choke Cover
Once the handle is secure, snap the choke cover back into place. Line it up carefully and press firmly until you hear the clips click. If it doesn’t snap in easily, check for any debris or misalignment. I found that starting at one corner and working my way around made it easier to get a tight fit.
Step 8: Test the Handle
Before plugging the microwave back in, give the new handle a few test pulls. Open and close the door to make sure it feels smooth and secure. If it’s wobbly or doesn’t latch properly, double-check the screws and alignment. When I first did this, I had to loosen and retighten the screws to get the handle perfectly aligned.
Step 9: Plug It In and Test Again
Plug the microwave back in and test it one more time. Open the door, close it, and maybe even heat up a cup of water to make sure everything’s working as it should. If the door doesn’t latch properly, you might need to adjust the handle or check the door’s alignment. GE recommends a leak test after any door repair to ensure no microwaves escape, but this usually requires a technician with special equipment. For a simple handle replacement, testing the door’s functionality is usually enough.
Common Issues and How to Fix Them
Even with careful planning, things can go wrong. Here are some issues I ran into and how I dealt with them:
- Stripped Screws: If the screws won’t budge or are damaged, use pliers or a screw extractor. If they’re too far gone, replace them with matching screws from a hardware store.
- Misaligned Handle: If the new handle doesn’t sit flush, double-check that it’s the right part for your model. Loosen the screws slightly and adjust the handle’s position before tightening again.
- Stubborn Choke Cover: If the choke cover won’t come off, try prying from a different angle or use a plastic spudger instead of a metal screwdriver to avoid scratches.
- Door Won’t Latch: If the door doesn’t close properly after the repair, check for debris in the latch or ensure the handle is properly aligned. A misaligned handle can mess with the door’s latch mechanism.
Tips for a Smooth Repair
I’ve learned a few tricks that make this process easier. First, take pictures as you go. When I replaced my handle, snapping a quick photo of the choke cover and screws helped me remember how everything fit together. Second, work in a well-lit area. A small flashlight was a lifesaver when I couldn’t see the screws clearly. Finally, be patient. Rushing can lead to broken clips or stripped screws, which just makes the job harder.
If you’re worried about damaging the door, practice prying on something else first, like an old plastic container. It’ll give you a feel for how much pressure to use. And if you’re not sure about the handle’s compatibility, double-check with the seller or GE’s parts website before buying.
Why You Might Want to Call a Professional
While I’m all about DIY, there are times when calling a pro makes sense. If your microwave’s door is damaged beyond the handle—like if the latch is broken or the glass is cracked—it’s best to let a technician handle it. GE also recommends a leak test after any door repair to ensure no microwaves are escaping, which requires specialized equipment. If you’re not comfortable taking the door apart or if your model has a tricky design (like a metal grid blocking the screws), a professional can save you time and stress.
“Microwave door handle replacement is not considered a do-it-yourself repair. Any adjustment or repair involving the microwave door needs to be followed up by a leak test to make sure of proper fit, operation, and alignment — this must be done by a qualified technician.”
In practice, most homeowners replace only the exterior handle and choke cover — not the full door — and skip the technician leak test, since the microwave’s shielding and door seal are never disturbed. If your repair involves the latch, hinge, or the door’s sealing gasket instead of just the handle, that’s the point to call a pro.
When I called a technician for a different microwave issue, they charged about $120 for a visit, so weigh the cost against your confidence in doing the repair. If you decide to go pro, check with GE’s service team or a local appliance repair shop.
Maintaining Your Microwave After the Repair
Once your new handle is in place, you’ll want to keep it—and your microwave—in great shape. I clean my microwave door regularly with a damp cloth and mild soap to prevent grease buildup, which can weaken plastic parts over time. Avoid slamming the door or yanking the handle too hard; I’ve found that being gentle extends the life of the handle.
Check the screws every few months to make sure they’re still tight. If you notice any wobbling, tighten them before the handle loosens completely. And if your microwave is an older model, consider keeping an eye out for replacement parts, as they can become harder to find over time.
Frequently Asked Questions
How Do I Find the Right Replacement Handle, and Can I Use Any Handle for My GE Microwave?
No — the handle must match your exact model number, not just the "GE microwave" brand. Check the sticker inside the door or on the back panel, then search that model number on GE’s site, Amazon, or a parts retailer like RepairClinic. A mismatched handle won’t align with the screw holes even if it looks identical. I made that exact mistake once, ordering a handle off by a fraction of an inch, and it was a hassle to return.
Can I Fix a Loose Handle Without Replacing It?
If the handle is just loose, try tightening the screws first. Open the door, remove the choke cover, and use a Phillips screwdriver to secure the screws. If the screws are stripped or the handle is cracked, you’ll need to replace it. I tried gluing a loose handle once, but it only held for a few weeks, so replacement is usually the better fix.
How Long Does It Take to Replace a GE Microwave Door Handle?
For most people, this repair takes about 20 to 30 minutes. If you’re new to DIY, it might take closer to 45 minutes, especially if the choke cover is tricky to remove. My first time took about an hour because I was extra cautious, but the second time was a breeze.
Is It Safe to Replace the Handle Myself?
Yes, as long as you unplug the microwave and follow safety precautions. Wear gloves and goggles to protect yourself from sharp edges. Avoid messing with the microwave’s internal components, and if you’re unsure about the door’s alignment, consider calling a pro for a leak test afterward. I felt totally safe doing this myself, but I made sure to double-check that the power was off.
What Should I Do If the Choke Cover Won’t Come Off?
If the choke cover is stuck, try prying from a different angle with a flathead screwdriver or a plastic spudger. Be gentle to avoid breaking the clips. If your model has a metal grid, you might need to remove additional screws or clips—check your manual for specifics. I had to wiggle mine a lot, but patience paid off.
How Much Does a Replacement Handle Cost?
Replacement handles for GE microwaves typically cost between $20 and $50, depending on the model and where you buy it. Some specialty models might run higher, up to $80. I found mine on Amazon for about $30, and it worked perfectly.
Do I Need a Technician for a Leak Test After Replacing the Handle?
GE recommends a leak test after any door repair to ensure no microwaves escape, but this usually requires a technician with a survey meter. For a simple handle replacement, testing the door’s functionality is often enough. If you notice the door doesn’t latch properly, call a pro to be safe. I skipped the leak test on my repair and had no issues, but it’s your call.
Conclusion
A GE microwave door handle replacement is a 20–45 minute repair with two screws and a choke cover — no technician required unless the latch, hinge, or door seal is also damaged. The first time I did this repair, over-tightening one screw cracked the plastic around the mounting hole, so thread every screw by hand first and stop tightening the moment the handle feels snug. If the choke cover won’t seat back cleanly or the door doesn’t latch afterward, that’s the signal to call a professional rather than force it.
Sponsored / affiliate links. As an Amazon Associate I earn from qualifying purchases. I may earn additional commission from eligible campaigns.