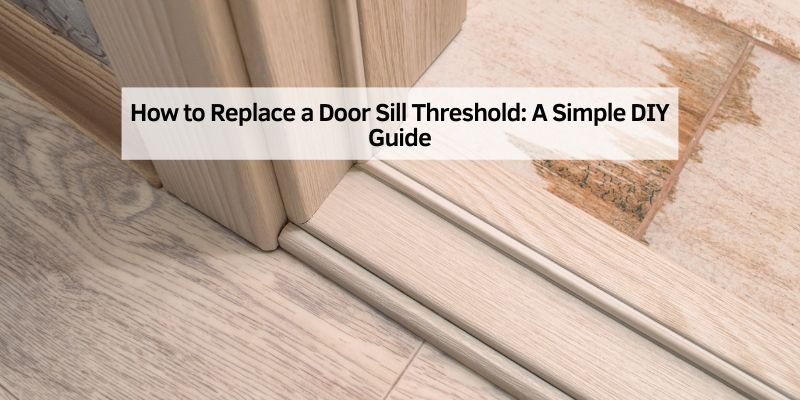
How to Replace a Door Sill Threshold: A Simple DIY Guide
When I first noticed the worn-out threshold on my front door, it was letting in drafts and looked terrible. Replacing a door sill threshold turned out to be easier than I thought, and I’m excited to share how you can do it too! This guide will walk you through every step to replace a door sill threshold, whether it’s your first DIY project or you’re a seasoned pro. You’ll learn what tools you need, how to do it safely, and some tricks I picked up along the way. Let’s make your doorway look great and keep the weather out!
What Is a Door Sill Threshold?
A door sill threshold is the strip at the bottom of your door frame. It seals out drafts, water, and bugs while giving you a smooth step into your home. For exterior doors, it often sits on a sill, which is a sloped piece that pushes water away. Interior thresholds connect different floor types, like tile to carpet. A good threshold keeps your home cozy and safe. If it’s cracked, warped, or loose, it’s time for a new one!
Why Replace a Door Sill Threshold?
A bad threshold can cause big problems. I learned this when my old one let in cold air and rainwater. Here’s why replacing it matters:
- Saves energy: Stops drafts, lowering heating and cooling bills.
- Keeps water out: Prevents rot and floor damage.
- Looks better: A fresh threshold boosts your home’s style.
- Safer stepping: No more tripping over cracked or warped wood.
Replacing mine took just a few hours, and the difference was huge!
Tools and Materials You’ll Need
Before you start, gather these tools and materials. I found most of these in my garage, but a quick trip to a hardware store like Home Depot works too.
| Item | Purpose | Where to Find |
|---|---|---|
| Pry bar | Remove old threshold and sill | Hardware store, ~$10 |
| Hammer | Tap out nails or threshold | Your toolbox or ~$15 |
| Utility knife | Cut caulk or adhesive | Hardware store, ~$5 |
| Jigsaw or circular saw | Cut new threshold to size | Borrow or buy, ~$30-$100 |
| Measuring tape | Measure doorway and threshold | Toolbox or ~$10 |
| Caulk gun | Apply sealant for weatherproofing | Hardware store, ~$10 |
| New threshold | Replace the old one (wood or metal) | Hardware store, ~$20-$50 |
| Construction adhesive | Secure threshold to floor | Hardware store, ~$5 |
| Nails or screws | Fasten threshold in place | Hardware store, ~$5 |
| Wood putty | Fill nail holes for a smooth finish | Hardware store, ~$5 |
Tip: Check your local hardware store for oak or aluminum thresholds. Oak is classic, while aluminum lasts longer in wet areas.
Step-by-Step Guide to Replace a Door Sill Threshold
Here’s how I replaced my door sill threshold. Follow these steps, and it’ll be a piece of cake!
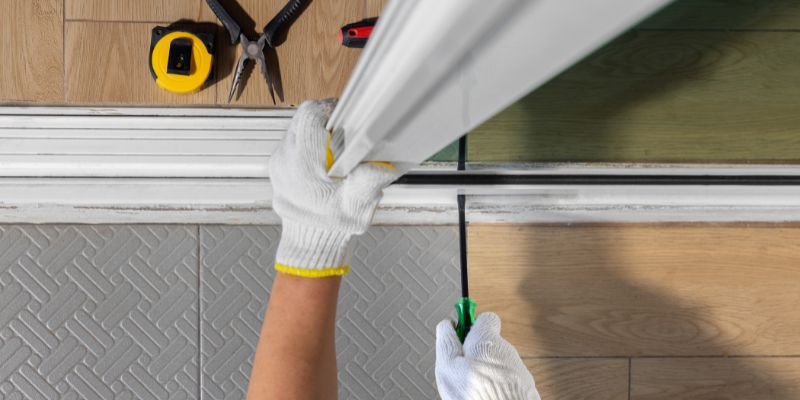
Step 1: Remove the Old Threshold
Open the door wide and prop it up with a book or block. Use a utility knife to cut any caulk around the threshold. Then, slide a pry bar under it and gently lift. If it’s nailed, tap the nails out with a hammer. My first try was a flop because I didn’t cut the caulk first—don’t skip that!
Step 2: Clean and Inspect the Area
Once the threshold is out, sweep away dirt and check for rot. I found some soft wood under mine, so I scraped it out and sprayed a borate solution to stop future rot. If the sub-sill (the base under the threshold) is damaged, replace it with new wood or composite material.
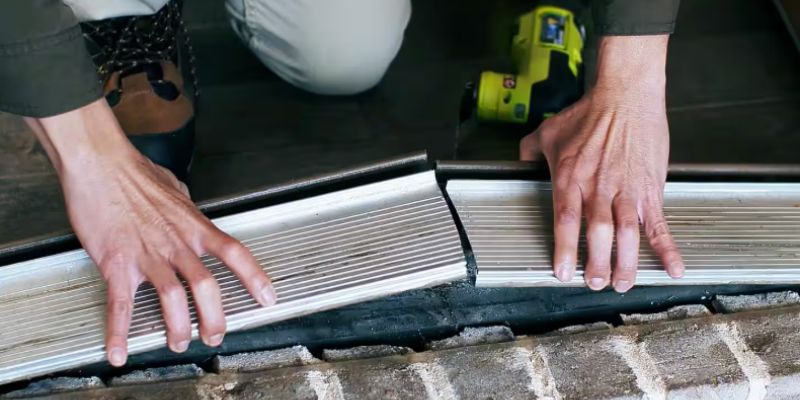
Step 3: Measure and Cut the New Threshold
Measure the width of your door frame with a tape measure. Add 1-2 inches for a snug fit. Use your old threshold as a template to mark notches for the door jambs. Cut the new threshold with a jigsaw or circular saw. I used a jigsaw for clean corners. Test the fit—if it’s too tight, trim a little more.
Step 4: Install the New Threshold
Slide the new threshold into place under the door stops. Tap it gently with a hammer to fit snugly. It should slope slightly outward for water runoff. Secure it with construction adhesive and nails or screws. I used screws for a stronger hold. Drill pilot holes first to avoid splitting the wood.
Step 5: Seal and Finish
Run a bead of caulk along the edges to keep water out. If you used nails, fill the holes with wood putty for a smooth look. For wooden thresholds, paint with a water-resistant sealant like polyurethane. My oak threshold looks amazing with a clear coat!
Common Mistakes to Avoid
I made a few goofs my first time. Here’s what to watch out for:
- Skipping measurements: Double-check your door frame size.
- Ignoring slope: Make sure the threshold tilts outward to shed water.
- Using cheap materials: Pick durable oak or aluminum to avoid rot.
- Forgetting caulk: Seal every edge to block drafts and water.
Cost-Saving Tips
Replacing a threshold doesn’t have to break the bank. Here’s how I saved money:
- Reuse tools: Borrow a saw or pry bar from a friend.
- Shop deals: Check Home Depot or Lowe’s for sales on thresholds.
- DIY sealant: Use leftover caulk from other projects.
- Pick composite: It’s cheaper than oak and lasts longer.
| Material | Cost | Pros | Cons |
|---|---|---|---|
| Oak Threshold | $30-$50 | Looks great, sturdy | Can rot if not sealed |
| Aluminum Threshold | $20-$40 | Weather-resistant, durable | Less stylish |
| Composite Threshold | $15-$30 | Affordable, rot-resistant | May feel less premium |
Caption: Compare threshold materials to find the best fit for your budget and style.
Safety Tips for Beginners
Stay safe while working! Wear gloves to avoid splinters and safety glasses when cutting. Keep kids and pets away from tools. If you’re working on an exterior door, check the weather—rain can make things slippery. My dog almost tripped me while I was prying, so keep your workspace clear!
Alternative Approaches
If replacing the whole threshold feels like too much, try these:
- Repair with epoxy: Fill cracks with epoxy wood filler for a quick fix.
- Add a door sweep: Attach a sweep to the door bottom to cover small gaps.
- Use a sill cover: A metal cover can hide a worn threshold without full replacement.
Personal Insights from My Experience
My first threshold replacement was for my garage door, and I was nervous! The old one was rotting, and water was seeping in. I learned to take my time measuring and to always seal the edges well. Using a composite threshold saved me money, and it’s still solid after three years. If I could do it again, I’d paint the threshold before installing it to save time. Trust me, this project is easier than it looks!
Visual Ideas for Clarity
I wish I’d had diagrams when I started. Here are ideas for visuals (not included):
- Diagram 1: A labeled door frame showing the threshold, sill, and jambs.
- Diagram 2: A step-by-step sketch of prying out the old threshold.
- Diagram 3: A cross-section of a properly sloped threshold for water runoff.
Frequently Asked Questions
What’s the difference between a sill and a threshold?
A sill is the bottom part of an exterior door frame, often sloped to shed water. A threshold sits on top, sealing the gap between the door and floor. Both work together to keep weather out.
How long does it take to replace a door sill threshold?
It takes about 2-3 hours for most DIYers. If you’re new, give yourself 4 hours to go slow and avoid mistakes. Prep and cleanup add a bit of time.
Can I replace a threshold on a concrete floor?
Yes! Use construction adhesive and concrete screws instead of nails. Drill pilot holes with a hammer drill for a secure fit. It’s a bit trickier but doable.
What’s the best material for an exterior threshold?
Aluminum or composite are great for weather resistance. Oak looks nice but needs sealing to prevent rot. Choose based on your climate and style.
How do I know if my threshold needs replacing?
Look for cracks, warping, or gaps letting in air or water. If the door sticks or you feel drafts, it’s time for a new threshold.
Can I do this project without power tools?
Yes, but it’s slower. Use a handsaw to cut the threshold and a hammer with pry bar to remove the old one. Power tools make it quicker.
How do I stop my new threshold from rotting?
Seal it with polyurethane or exterior paint. Slope it outward to shed water, and caulk all edges tightly to block moisture.
Conclusion
Replacing a door sill threshold is a fun, rewarding project that makes your home cozier and sharper-looking. With simple tools, a bit of patience, and my tips, you can do it in an afternoon. I loved seeing my doorway go from drafty to dazzling! Try it yourself, and don’t be afraid to mess up a little—it’s how you learn. Share your project in the comments or ask me for more tips. Let’s get fixing!