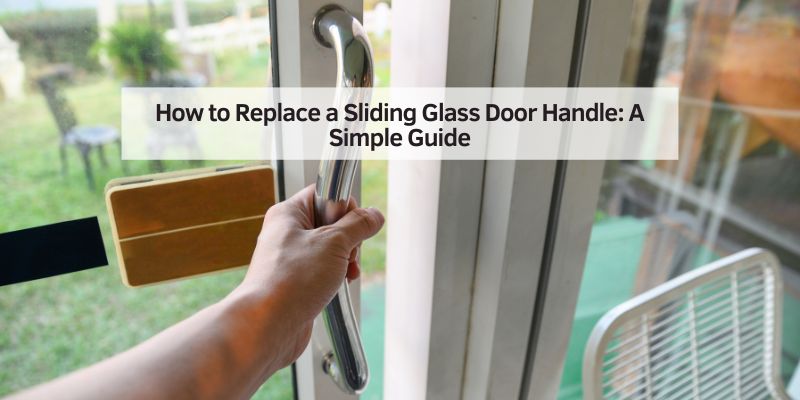
How to Replace a Sliding Glass Door Handle: A Simple Guide
I remember the day my patio door handle broke. My kids couldn’t open the sliding glass door to play outside, and I knew I had to fix it fast. Learning how to replace a sliding glass door handle saved the day! This guide will walk you through the process with easy steps. Whether you’re a beginner or a DIY pro, you’ll find clear tips and tricks to get your door working smoothly. Let’s dive in and make your patio door shine again!
What Is a Sliding Glass Door Handle?
A sliding glass door handle is the part you grab to open or close a patio door. It often includes a lock to keep your home safe. Over time, handles can break, get loose, or feel sticky. Replacing one is a simple fix that makes your door easy to use again. I’ve replaced a few, and it’s a quick project that saves money compared to hiring a pro.
Why Replace a Sliding Glass Door Handle?
Handles break for many reasons. Maybe the lock jams, or the handle feels wobbly. A broken handle can make your door hard to open or unsafe. Replacing it improves how your door works and looks. Plus, it’s a fun DIY task! I once fixed a handle before a big family barbecue, and everyone was thrilled to use the patio again.

Tools and Materials You’ll Need
Before you start, gather a few tools and materials. I keep these in my toolbox for quick fixes. Here’s what you need:
- Phillips screwdriver: For removing screws.
- New handle set: Matches your door’s size and style.
- Tape measure: To check handle size.
- Cleaning cloth: To wipe the door.
- Optional: Lubricant like graphite for the lock.
Table 1: Tool Comparison
| Tool | Purpose | Where to Buy |
|---|---|---|
| Phillips Screwdriver | Removes handle screws | Home Depot, Amazon |
| Tape Measure | Measures handle size | Walmart, Lowes |
| Graphite Lubricant | Smooths lock movement | Hardware stores |
Caption: Simple tools make replacing a sliding glass door handle easy.
Step-by-Step Guide to Replace a Sliding Glass Door Handle
Here’s how I replace a sliding glass door handle. Follow these steps, and you’ll have a new handle in no time.
Step 1: Check Your Door and Handle
First, look at your current handle. Is it loose, broken, or stuck? Measure the screw holes and handle size. My old handle had two screws, and I made sure the new one matched. Take your old handle to the store to find a replacement that fits. Most handles fit doors 1 to 1.5 inches thick.
Step 2: Buy a New Handle
Visit a store like Home Depot or Amazon to find a handle set. I chose a sturdy one with a lock for safety. Check that the screw holes and lock mechanism match your door. Prices range from $20 to $50. Look for brands like Prime-Line or Andersen for quality.
Step 3: Remove the Old Handle
Use a Phillips screwdriver to remove the screws holding the handle. Be careful not to let the lock fall into the door frame. I learned this the hard way when a screw rolled under my couch! Gently pull the handle off. If it’s stuck, wiggle it carefully.
Step 4: Clean the Door Area
Wipe the door where the handle was. A clean surface helps the new handle fit snugly. I use a damp cloth to remove dirt. This step makes your door look fresh and ensures a tight fit.
Step 5: Install the New Handle
Place the new handle over the screw holes. Line up the interior and exterior pieces. Hand-tighten the screws, then use your screwdriver to secure them. I check that the handle feels firm and doesn’t wobble. If it has a lock, test it to ensure it works.
Step 6: Test the Door
Slide the door back and forth. Does it open smoothly? Does the lock catch? I had to adjust my handle once to make it lock properly. If it’s sticky, add a bit of graphite lubricant to the lock.
Table 2: Handle Installation Steps
| Step | Action | Tip |
|---|---|---|
| 1 | Check handle | Measure screw holes |
| 2 | Buy new handle | Match door thickness |
| 3 | Remove old handle | Keep screws safe |
| 4 | Clean door | Use a damp cloth |
| 5 | Install new handle | Tighten screws firmly |
| 6 | Test door | Check lock and slide |
Caption: Follow these steps for a smooth handle replacement.
Benefits of Replacing Your Handle
A new handle makes your door easier to use. It keeps your home safe with a working lock. It also looks nice! I noticed my patio felt more inviting after the fix. Plus, you save money by doing it yourself instead of paying $100 or more for a pro.
Drawbacks to Consider
Replacing a handle isn’t hard, but it can take time. If the new handle doesn’t fit, you might need to drill new holes. This happened to me once, and I had to buy a different handle. Also, some locks are tricky to align. Be patient, and double-check measurements.
Other Options to Explore
If the handle isn’t broken, try tightening the screws or lubricating the lock. I fixed a sticky lock with graphite once, and it worked like new. If the door itself is damaged, you might need a pro to fix the track or rollers. Check out Family Handyman for more door repair tips.
Personal Tips for Success
Here are my top tips from years of fixing doors:
- Measure twice: Ensure the new handle matches the old one’s size.
- Keep screws safe: Put them in a cup so they don’t get lost.
- Test the lock: Make sure it locks smoothly before finishing.
These tricks saved me time and stress. When I replaced my patio handle, keeping screws in a cup kept my kids from playing with them!
Common Mistakes to Avoid
Don’t rush the job. I once skipped measuring and bought the wrong handle. Avoid removing the lock’s thumbturn screw, or the lock might fall inside the door. Also, don’t overtighten screws—they can strip the holes. Go slow, and you’ll do great.
Table 3: Common Mistakes and Fixes
| Mistake | Fix |
|---|---|
| Wrong handle size | Measure screw holes first |
| Losing screws | Store in a cup |
| Overtightening screws | Tighten gently |
Caption: Avoid these mistakes for a hassle-free handle replacement.
Visual Ideas for Better Understanding
I suggest these visuals (not included) to help:
- A diagram showing handle parts (lock, screws, plates).
- A photo of screw placement on a door.
- A simple sketch of aligning the lock mechanism.
These would make the steps even clearer for beginners.
Conclusion
Replacing a sliding glass door handle is an easy DIY project that anyone can tackle. With a few tools and my step-by-step guide, you’ll have a smooth, safe door in no time. I love how a new handle makes my patio feel fresh and secure. Try it yourself, and enjoy your patio again! Share your success in the comments or ask me for tips. Let’s make your door awesome!
Frequently Asked Questions
How Do I Know If My Handle Needs Replacing?
If your handle is loose, wobbly, or the lock doesn’t work, it’s time to replace it. Check for cracks or sticky movement. I replaced mine when the lock jammed, and it made a big difference. A new handle costs $20-$50 and fixes most issues.
Can I Replace the Handle Myself?
Yes, you can! It’s a simple job with a screwdriver and a new handle. Follow my steps, and you’ll do fine. I replaced mine in 20 minutes with no experience. If you’re unsure, watch a video on Family Handyman for extra help.
What If the New Handle Doesn’t Fit?
Measure your door’s thickness and screw holes before buying. If it doesn’t fit, return it and try another brand. I had to swap one at Home Depot once. Bring your old handle to the store to compare.
How Much Does a New Handle Cost?
Handles cost $20-$50, depending on the brand and style. Basic ones are cheaper, while fancy ones with locks cost more. I got a sturdy one for $30 at Amazon. Check Home Depot or Lowes for deals.
Can I Just Fix the Lock Instead?
If the lock is sticky, try graphite lubricant first. I fixed a lock this way and saved money. If it’s broken, replace the whole handle for safety. Check the lock mechanism when you remove the old handle.
What Tools Do I Need?
You need a Phillips screwdriver, tape measure, and a cleaning cloth. A new handle set is key. I keep these tools handy for quick fixes. Graphite lubricant is optional for sticky locks. See my tools table for more.
How Long Does It Take to Replace?
It takes about 20-30 minutes. Removing the old handle and installing the new one is quick. I spent extra time cleaning my door for a better fit. If you hit a snag, be patient—it’s worth it