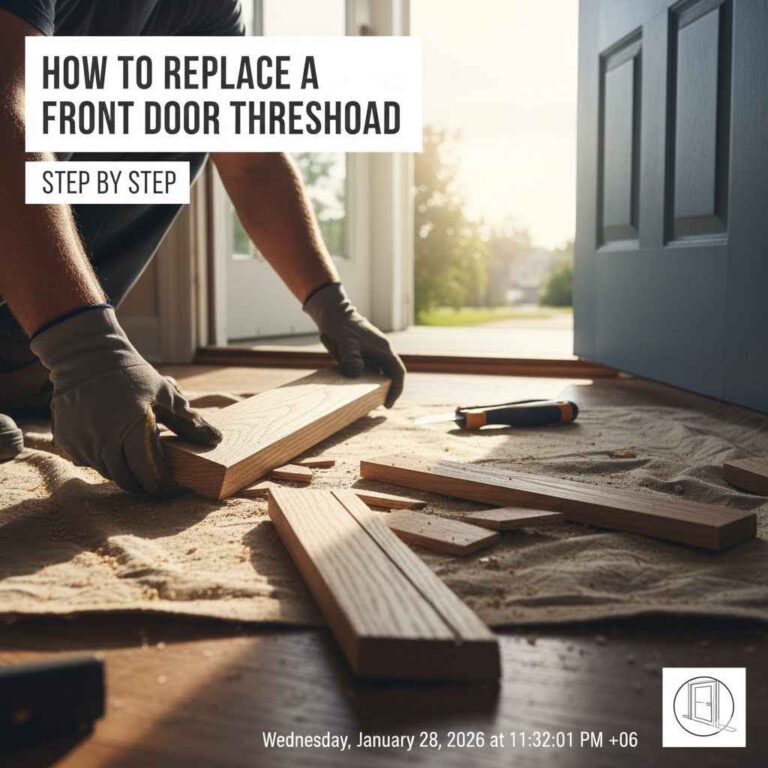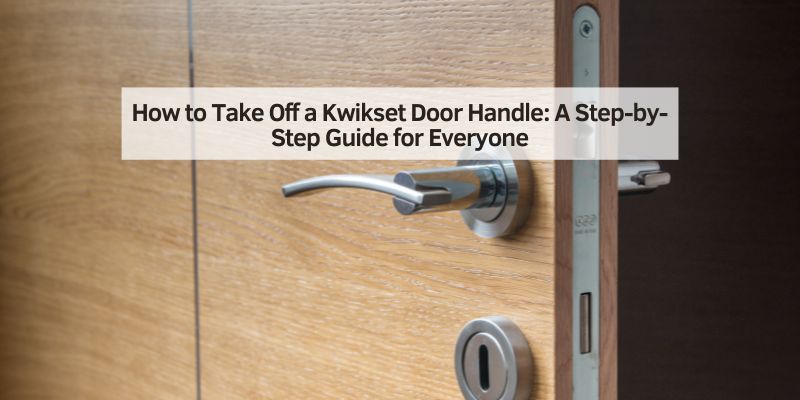
How to Take Off a Kwikset Door Handle: A Step-by-Step Guide for Everyone
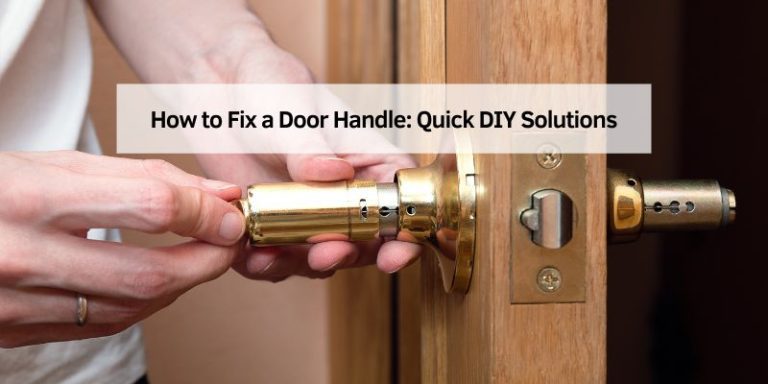
Hey there, friend! I’m so glad you’re here with me to dive into a topic that’s super handy for any homeowner or DIY enthusiast: how to take off a Kwikset door handle. As someone who runs an automotive blog in the USA, I love tinkering with all kinds of mechanical things, from car engines to the door handles in my home. I’ll never forget the time my Kwikset handle got loose, and I had to figure out how to remove it to fix it.
It was like solving a puzzle, and I learned a ton! Whether you’re replacing a worn-out handle, upgrading your home’s look, or just curious, I’m excited to share my experience in a way that’s clear, fun, and easy to follow. So, grab a screwdriver, and let’s get started on this DIY adventure together!
Why Would You Need to Remove a Kwikset Door Handle?
Life’s full of surprises, isn’t it? Sometimes, a door handle starts wobbling, gets stuck, or just looks outdated. I’ve had to take off a Kwikset handle in my house for a few reasons. Once, the lock was jamming, and I needed to clean it. Another time, I wanted to swap it for a shinier model to match my home’s vibe.
Removing a handle is also useful if you’re moving, painting a door, or troubleshooting a problem. It’s like changing a car’s air filter—sometimes you need to get inside to fix things or make them better. Knowing how to do this yourself saves time and money, and it’s a skill you’ll use again.
Understanding How a Kwikset Door Handle Works
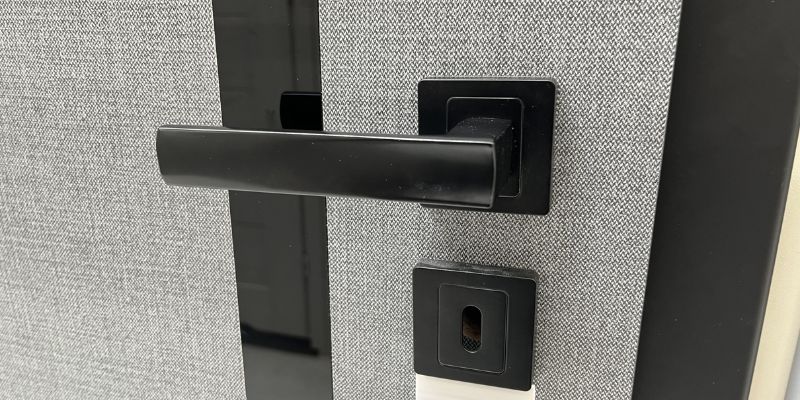
Before I took off my first Kwikset handle, I wanted to know how it works. Kwikset is a popular brand in the USA, known for sturdy, reliable door handles. Their handles come in different types—passage, privacy, and keyed entry—but they all have similar parts. Inside, there’s a spindle that connects the two handles, a latch that holds the door closed, and screws that keep everything in place.
When I turn the handle, the spindle pulls the latch back, letting the door open. It’s like how a car’s gearshift moves parts to change gears—simple but clever. Some Kwikset handles have a lock, like my front door’s keyed entry model, which adds a cylinder with pins. Understanding this made removing the handle less daunting, like knowing how a car’s spark plugs work before replacing them.
Tools You Need to Remove a Kwikset Door Handle
When I set out to remove a Kwikset handle, I grabbed a few tools from my toolbox. You don’t need much, and most folks have these at home. Here’s what I use:
| Tool/Item | Why It’s Needed |
|---|---|
| Phillips screwdriver | To remove the screws holding the handle. I use a small one for precision. |
| Flathead screwdriver | To pry off covers or pop out the latch. I keep a tiny one handy. |
| Allen wrench | Some Kwikset models need it for a set screw. I check the handle first. |
| Rag or cloth | To clean up or protect the door. I don’t want scratches on my paint! |
| Small container | To hold screws so they don’t get lost. I’ve learned this the hard way! |
Having these ready is like prepping for a car oil change—you want everything in reach before you start. If your handle has a lock, you might need the key to make things easier, but I’ll cover that later.
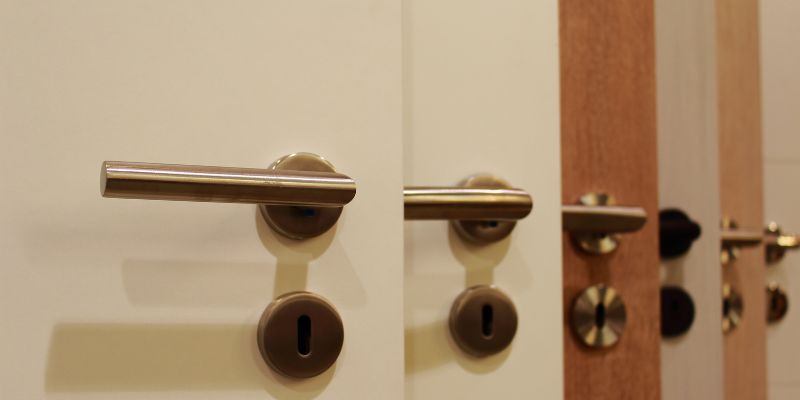
Types of Kwikset Door Handles
Kwikset makes a few types of door handles, and I’ve seen them all in my house or friends’ homes. Knowing which one you have helps with removal. Here’s what I’ve come across:
- Passage Handles: These don’t lock. I have them on my closet doors—just turn and open.
- Privacy Handles: These lock from one side, like my bathroom door. They usually have a button or twist lock.
- Keyed Entry Handles: These need a key to unlock from outside, like my front door. They’re secure, like my car’s ignition lock.
- Dummy Handles: These don’t turn at all. I’ve got one on a decorative door for looks, like chrome trim on a car.
Each type might have slightly different steps to remove, but the basics are the same. It’s like working on different car models—know the type, and you’re halfway there.
Preparing to Remove the Handle
Before I start unscrewing anything, I get ready. I make sure the door is open so I don’t get stuck on the wrong side. I also clean the handle with a rag to see the screws clearly—dirt can hide them! If it’s a keyed entry handle, I unlock it first to make things smoother.
I keep a small container nearby for screws. One time, I dropped a screw and spent 10 minutes crawling around looking for it—never again! I also check if the handle has a cover plate or set screw, which some Kwikset models hide for a sleek look. It’s like prepping to change a car’s battery—organization saves headaches.
Step-by-Step Guide to Removing a Kwikset Door Handle
Now, let’s get to the good stuff—how I take off a Kwikset door handle. I’ve done this a few times, and here’s my process:
- Step 1: Find the screws. Most Kwikset handles have two screws on the inside handle (the side without the keyhole). I look for them on the base plate or under a cover. Some models hide them for looks.
- Step 2: Remove the cover plate (if needed). If there’s a decorative cover, I use a flathead screwdriver to gently pry it off. I’m careful not to scratch the door.
- Step 3: Unscrew the handle. I use a Phillips screwdriver to remove the screws. I turn counterclockwise and keep them in my container. The handle should loosen.
- Step 4: Check for a set screw. Some Kwikset handles have a small Allen screw on the handle’s neck. I use an Allen wrench to loosen it if it’s there.
- Step 5: Pull off the handles. I gently pull the inside and outside handles off the door. The spindle comes with them. It’s like pulling a part off a car engine.
- Step 6: Remove the latch. I unscrew the two screws holding the latch in the door’s edge, then slide it out. A flathead screwdriver helps if it’s stuck.
- Step 7: Take off the strike plate. If I’m replacing everything, I unscrew the strike plate from the door frame. It’s optional but easy.
My first time, it took me 15 minutes because I was nervous. Now, I can do it in under 10! It’s like swapping a car’s spark plugs—practice makes it quick.
Common Problems When Removing a Kwikset Handle
I’ve hit a few snags taking off Kwikset handles. Here’s what I’ve run into and how I deal with it:
- Hidden Screws: Some models hide screws under a cover plate. I pry it off gently with a flathead screwdriver to avoid damage.
- Stuck Screws: Old screws can be tough to turn. I use WD-40 or tap the screwdriver with a hammer to loosen them.
- Set Screw Confusion: If there’s an Allen screw, I missed it once and couldn’t get the handle off. Now, I always check the handle’s neck.
- Stuck Latch: The latch can get stuck in the door. I wiggle it with a flathead screwdriver to free it up.
These issues are like dealing with a rusty bolt on a car—patience and the right trick get you through.
Reinstalling or Replacing the Handle
Once I’ve got the handle off, I might clean it, fix it, or install a new one. To reinstall, I reverse the steps: slide the latch back into the door, screw it in, then attach the handles with the spindle. I make sure the screws are tight but not overdone—stripping them is a pain.
If I’m replacing it, I buy a new Kwikset handle that matches my door’s thickness (usually 1-3/8 to 1-3/4 inches). I check that the latch and strike plate align with the new handle. It’s like swapping a car’s air filter—make sure the new part fits perfectly.
Maintaining Your Kwikset Door Handle
I’ve learned that a little care keeps my Kwikset handles working smoothly. I clean them with a damp cloth and mild soap to remove fingerprints or grime. I avoid harsh cleaners that could dull the finish, like I’m careful with my car’s paint.
Every few months, I check for loose screws and tighten them with a screwdriver. If the handle feels stiff, I spray WD-40 on the latch or spindle. I also make sure the lock works smoothly, especially for keyed entry handles. It’s like checking my car’s tire pressure—regular upkeep prevents problems.
Why Kwikset Handles Are Popular
Kwikset handles are everywhere in the USA, and I get why. They’re durable, affordable, and come in styles like satin nickel or bronze that look great in my home. I love how easy they are to install, with clear instructions and standard sizes that fit most doors.
Their SmartKey technology is a cool feature on some models—it lets me rekey the lock myself without a locksmith. It’s like upgrading my car’s stereo system—convenient and user-friendly. Kwikset’s reliability makes them a go-to, just like a trusted car brand.
How This Ties to My Automotive Life
Since this is for my automotive blog, let’s connect the dots. Removing a Kwikset door handle is like tackling a car repair—it’s about understanding the system and using the right tools. When my bathroom handle jammed, fixing it myself saved me from missing a car show. It felt like changing a flat tire on the side of the road—satisfying and empowering.
A smooth door handle also keeps my home running, just like a reliable car keeps my drives stress-free. Whether I’m wrenching on my car or tweaking a door handle, I love being hands-on and solving problems.
Safety Tips for Removing a Handle
Removing a handle is safe, but I’ve learned a few things to keep it that way. I use a sturdy screwdriver to avoid slipping and scratching the door. I keep kids and pets away while I work—my dog once tried to “help,” and it was chaos! If I’m dealing with a keyed handle, I make sure the lock is disengaged to avoid jamming.
I also work with the door open to avoid getting locked out. It’s like working on my car with the engine off—safety first. And I never force anything; if a screw or latch is stuck, I take a breath and try a different approach.
My Kwikset Handle Story
Let me share a quick story. One day, my front door’s Kwikset handle started wobbling, and I worried it might break. I grabbed my screwdriver, found the hidden screws under the cover plate, and took it off. The spindle was loose, so I cleaned it, tightened everything, and put it back. It took 20 minutes, and it worked like new!
That experience made me feel like a pro, like when I fixed a squeaky belt in my car. Now, I check my handles regularly and keep my tools ready. It’s a small skill, but it’s saved me time and hassle.
Tips for First-Time DIYers
If you’re new to removing door handles, don’t worry—I was too! Start with a Phillips screwdriver and check for hidden screws or a set screw. Work slowly to avoid losing screws—I keep a container nearby. If the handle has a lock, unlock it first to make things easier.
If you’re nervous, practice on a closet door with a passage handle—it’s simpler. It’s like practicing a car repair on an old beater before touching your daily driver. And don’t force anything; if it’s stuck, try WD-40 or a gentle wiggle. You’ll get the hang of it!
Cleaning Up After Removal
Once I’ve removed the handle, I tidy up. I clean the door and latch area with a damp cloth to remove dust or grime. If I’m reusing the handle, I wipe it down and check for wear. I store screws in my container so they’re ready for reinstallation.
If I’m replacing the handle, I toss any old parts that are worn out, like a rusty latch. It’s like cleaning up after an oil change—keep your workspace neat, and the next job is easier. A clean door looks great, just like a polished car.
Why This Skill Matters
Taking off a Kwikset door handle is more than a chore—it’s empowering. I love knowing I can fix or upgrade my home without calling a pro. It saves money, like doing my own car maintenance. Plus, it’s satisfying to see a wobbly handle turn solid again, like hearing my car purr after a tune-up.
In the USA, we value DIY skills, whether it’s for our homes or our vehicles. This know-how keeps my house and my drives running smoothly, and it’s a skill I’m proud to share with you.
Conclusion
Wow, we’ve covered so much about taking off a Kwikset door handle, haven’t we? I’m so glad we went on this journey together. From my tinkering, I’ve learned it’s a simple process—grab a screwdriver, find the screws, and carefully remove the handle and latch. Whether you’re fixing a loose handle, upgrading your home, or just curious, this skill is like adding a new tool to your automotive toolbox.
Here in the USA, we love our hands-on projects, from wrenching on cars to sprucing up our homes. Removing a Kwikset handle is a quick win that makes you feel like a pro. I hope this guide gives you the confidence to tackle your door handles and keep your home as smooth as your favorite drive. Thanks for hanging out with me—let’s keep fixing things and hitting the road with a smile!
FAQ
What tools do I need to remove a Kwikset door handle?
I use a Phillips screwdriver for the screws, a flathead for cover plates, and sometimes an Allen wrench for a set screw. A rag and a container help too.
How do I know what type of Kwikset handle I have?
I check if it locks. Passage handles don’t lock, privacy ones lock from one side, and keyed entry needs a key. Dummy handles don’t turn.
What if I can’t find the screws?
Some Kwikset handles hide screws under a cover plate. I pry it off gently with a flathead screwdriver to find them.
Why is my handle stuck and won’t come off?
I’ve had this! Check for a set screw on the handle’s neck. If screws are tight, I use WD-40 or tap the screwdriver to loosen them.
Can I remove a keyed entry handle the same way?
Yes, but I unlock it first. The steps are similar, but you might need to remove the lock cylinder after unscrewing the handle.
How long does it take to remove a Kwikset handle?
My first time took 15 minutes. Now, I can do it in under 10. It’s quick once you know the steps, like changing a car’s oil.
What do I do if the latch is stuck in the door?
I wiggle it with a flathead screwdriver or spray WD-40 to loosen it. If it’s stuck, I check for hidden screws or call a pro.