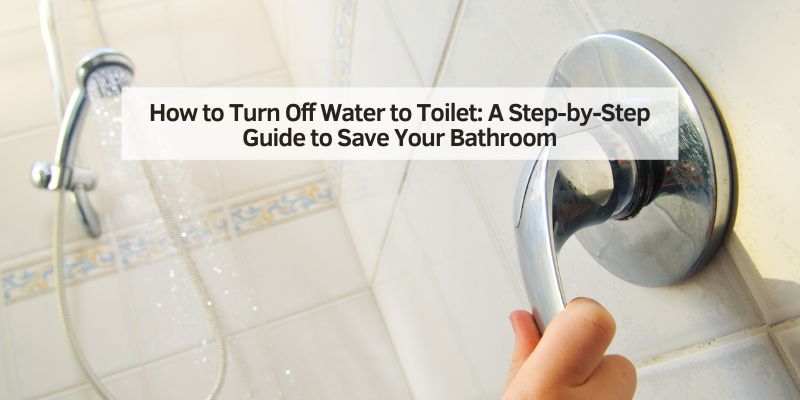
How to Turn Off Water to Toilet: A Step-by-Step Guide to Save Your Bathroom
Hey there! Ever had a toilet start acting up, maybe overflowing or making weird noises, and you just needed to stop the water fast? I’ve been there, and let me tell you, knowing how to turn off the water to your toilet is a lifesaver. When my toilet started leaking one night, I panicked until I figured out how to shut off the water and avoid a mess.
Now, I’m excited to share everything I’ve learned with you! Whether you’re fixing a leak, replacing parts, or just want to be prepared, this guide will walk you through how to turn off the water to your toilet, step by step. I’ve done this a few times myself, and I’ll keep it simple and fun so anyone can follow along. Let’s dive in and take control of your toilet troubles!
Why You Need to Know How to Turn Off the Toilet’s Water
Let’s talk about why this is such a handy skill. The first time my toilet started gurgling and water crept up to the rim, I wished I knew how to stop it. Turning off the water can prevent floods, save your floor from water damage, and make repairs easier. I’ve had to replace a flapper and fix a running toilet, and shutting off the water made those jobs so much simpler.
It’s also about peace of mind. Knowing you can stop the water in an emergency, like a burst pipe or a stuck valve, means you’re ready for anything. I felt like a hero when I stopped a potential flood in my bathroom. Plus, it’s a quick fix that doesn’t cost a dime. Ready to learn how? Let’s start by finding the shut-off valve.
Locating the Toilet Shut-Off Valve
The first step is finding where to turn off the water. I remember crawling under my bathroom sink, thinking that’s where the valve would be—wrong! Most toilets have a shut-off valve right behind or beside them. Here’s how I find it:
- Look behind the toilet: Check the wall or floor near the base of the toilet. Mine has a small valve on a pipe coming out of the wall, about 6 inches above the floor.
- Identify the valve: It’s usually a small knob or lever, often oval or wheel-shaped. My valve is chrome and easy to spot.
- Check for older homes: In my old apartment, the valve was under a cover plate in the floor. If you don’t see one, look for a nearby access panel.
- Find the main shut-off as a backup: If there’s no valve behind the toilet, the main water shut-off for the house works. Mine is in the basement near the water meter.
Once you find the valve, you’re halfway there. It’s like finding the off switch for your toilet’s water supply!
Tools You Might Need
Most of the time, you can turn off the water with just your hands, but I’ve learned a few tools can make it easier. Here’s what I keep handy:
- Adjustable wrench: For stubborn valves that won’t budge. I got one for $10 at a hardware store.
- Gloves: To keep your hands clean, especially if the valve is dusty or rusty. I use cheap rubber gloves.
- Towel or bucket: To catch any drips when you turn off the valve. I learned this after a small puddle formed on my floor.
- Flashlight: If the valve is in a dark spot, a flashlight helps. I used my phone’s light in a pinch.
I spent less than $15 on tools, and most people already have these at home. If your valve is old or stuck, these tools will save the day.
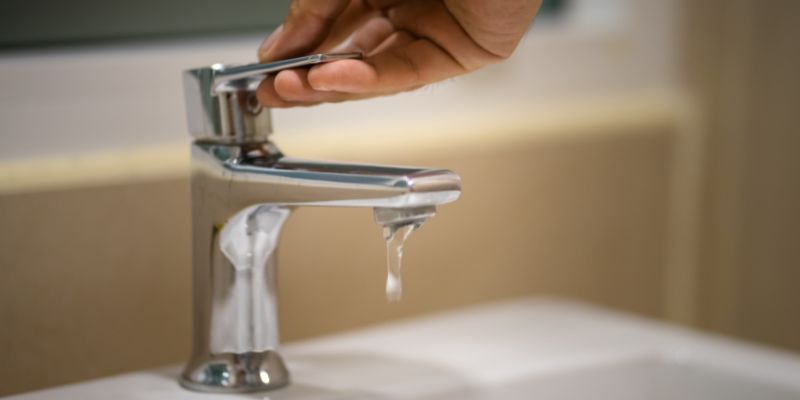
Method 1: Turning Off the Toilet Shut-Off Valve
This is the easiest and most common way to stop the water. I used this method when my toilet wouldn’t stop running. Here’s how I do it:
- Locate the valve: Find the shut-off valve behind the toilet. Mine is a small oval knob on the water line.
- Turn the valve clockwise: Twist the knob or lever to the right to close it. I turned mine until it felt snug—usually a quarter or half turn.
- Test the toilet: Flush the toilet to drain the tank. If no water refills, you’ve done it right. I tried this and the tank stayed empty.
- Check for drips: Look for any leaks around the valve. I had a tiny drip once, so I tightened it a bit more.
This takes about 30 seconds and works for most toilets. It’s perfect for quick fixes like replacing a flapper or stopping a leak.
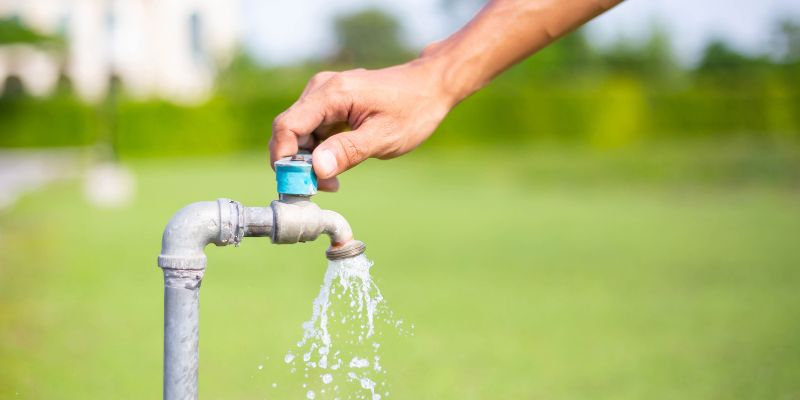
Method 2: Shutting Off the Main Water Supply
If you can’t find a shut-off valve or it’s not working, the main water shut-off is your backup. I had to use this when my toilet’s valve was rusted shut in an old rental. Here’s what I did:
- Find the main shut-off: Look in your basement, garage, or near the water meter. Mine was a lever near the water heater in the basement.
- Turn off the water: For a lever, move it perpendicular to the pipe. For a knob, turn it clockwise. I turned mine until it stopped.
- Drain the toilet: Flush the toilet to empty the tank. I also opened a faucet to drain the pipes.
- Check other fixtures: This shuts off water to your whole house, so sinks and showers won’t work until you turn it back on. I warned my family first!
This method is a bit more involved, but it works when the toilet valve fails. It took me about 5 minutes to find and turn off the main valve.
Method 3: Using the Toilet Tank’s Internal Valve (Temporary Fix)
In a pinch, you can stop water inside the toilet tank itself. I did this once when I was waiting for a plumber and needed a quick fix. Here’s how:
- Lift the tank lid: Remove the lid on the back of the toilet. I set mine on a towel to avoid scratches.
- Find the fill valve: Look for a tall tube with a float or ball. Mine was a plastic tower in the center of the tank.
- Turn off the water: Some fill valves have a small screw or knob to shut off water. I turned mine clockwise with a screwdriver until the water stopped.
- Test it: Try flushing. If the tank doesn’t refill, you’ve stopped the water. Mine worked, but it’s not a permanent fix.
This method is temporary and only works on some toilets. I used it for a day until I could fix the main valve. It’s great for emergencies, but not a long-term solution.
What to Do After Turning Off the Water
Once the water is off, you’re ready to tackle whatever toilet issue you have. I’ve used this step for a few repairs, and here’s what I do next:
- Drain the tank: Flush the toilet to empty the tank. I hold the flush valve down to get as much water out as possible.
- Mop up excess water: Use a towel or sponge to soak up any water left in the tank or bowl. I had a small puddle in the bowl, so I used an old rag.
- Start your repair: Whether it’s replacing a flapper, fixing a valve, or unclogging, now’s the time. I replaced a flapper in 10 minutes once the water was off.
- Turn the water back on: When you’re done, turn the valve counterclockwise to restore water. I checked for leaks after turning mine back on.
This makes repairs clean and easy. I felt so accomplished after fixing my toilet without a mess!
Troubleshooting Common Issues
Sometimes, things don’t go perfectly. Here’s how I handled some problems I ran into:
- Stuck valve: My old valve wouldn’t turn, so I sprayed it with WD-40 and used a wrench to gently loosen it. It worked after a few tries.
- No shut-off valve: If you can’t find a valve, use the main shut-off. I had to do this in my rental and found the main valve in the basement.
- Leaking valve: If the valve drips after turning it off, tighten it more or replace it. I had a leaky valve and wrapped it with plumber’s tape as a temporary fix.
- Tank still refills: If water keeps flowing, the valve might not be fully closed. I turned mine a bit harder, and it stopped.
These fixes are simple and saved me from calling a plumber. Patience is key!
Comparing Methods to Turn Off Toilet Water
To help you choose the best method, here’s a table based on my experiences:
| Method | Best For | Time Needed | Tools Needed | Difficulty |
|---|---|---|---|---|
| Toilet Shut-Off Valve | Quick fixes, most toilets | 30 seconds | None (maybe a wrench for a stuck valve) | Easy |
| Main Water Shut-Off | No toilet valve, emergencies | 5 minutes | Wrench, flashlight | Medium |
| Tank Internal Valve | Temporary fix, emergencies | 2 minutes | Screwdriver, towel | Easy |
I love the shut-off valve method for its speed, but the main shut-off is a great backup. Pick what works for your situation.
Preventing Future Toilet Troubles
Once you’ve turned off the water and fixed the issue, you want to keep your toilet in good shape. Here’s what I do to avoid problems:
- Check the valve regularly: I test my shut-off valve every few months to make sure it turns easily. A quick twist keeps it from seizing.
- Replace old valves: If your valve is rusty or stuck, replace it. I swapped out an old one for $15, and it’s so much easier to use now.
- Inspect the tank: I look inside the tank yearly for worn parts like the flapper or fill valve. Replacing them early prevents leaks.
- Keep tools handy: I store a wrench and screwdriver in my bathroom cabinet for quick access. It’s saved me in emergencies.
These habits keep my toilet running smoothly and make shutting off the water a breeze when needed.
Safety Tips for Turning Off the Water
Working with water can be messy, so safety is important. Here’s what I keep in mind:
- Turn off slowly: I turn the valve gradually to avoid damaging it. A sudden twist broke a valve in my old apartment.
- Use gloves: If the valve is dirty or rusty, gloves keep your hands clean. I learned this after getting grime all over mine.
- Have a towel ready: Water can drip when you turn off the valve. I place a towel underneath to catch spills.
- Know your main shut-off: If the toilet valve fails, knowing the main shut-off location saves time. I marked mine with a label for quick reference.
These tips keep your bathroom dry and your hands clean.
Why I Love This Skill
Learning how to turn off the water to my toilet has been a game-changer. It’s not just about fixing leaks—it’s about feeling in control of my home. The first time I stopped an overflow before it ruined my floor, I felt like a plumbing superhero. It’s a simple skill that saves money, prevents messes, and gives you confidence. Whether it’s a quick valve turn or shutting off the main water, you’ll be ready for anything your toilet throws at you.
Conclusion
There you have it—a complete guide to turning off the water to your toilet! I’ve been through the panic of a leaking toilet, and I’m thrilled to share these tips with you. From finding the shut-off valve to handling emergencies with the main water line, you’ve got everything you need to take charge. This is an easy, no-cost skill that anyone can learn, and it’ll save you from headaches and costly repairs. So, go find that valve, give it a test turn, and feel like a home repair pro. Your bathroom will thank you, and you’ll love the peace of mind. Happy fixing!
Frequently Asked Questions
Where is the shut-off valve for my toilet?
It’s usually behind or beside the toilet, on the wall or floor. Mine is a small chrome knob on the water line. If you can’t find it, check for a cover plate or use the main shut-off.
What if my shut-off valve is stuck?
Try spraying it with WD-40 and gently turning it with a wrench. I had a stuck valve, and this loosened it. If it’s too rusty, you might need to replace it.
Can I turn off the water without tools?
Most of the time, yes! I turn my valve by hand. If it’s tight, a wrench helps, but it’s not always needed.
Will turning off the toilet water affect other fixtures?
If you use the toilet’s shut-off valve, it only stops water to the toilet. I used the main shut-off once, and it stopped water to the whole house, so be aware.
How do I know if I turned off the water correctly?
Flush the toilet after turning off the valve. If the tank doesn’t refill, you did it right. I tested mine this way, and it worked perfectly.