How to Adjust a Toilet Float: Ball vs. Cup Float Steps
A running or slow-filling toilet is usually a misadjusted float, not a broken toilet — turn the ball-float screw or slide the cup-float clip until water sits about 1 inch below the overflow tube. Left unadjusted, a high float can waste hundreds of gallons a day per EPA WaterSense data. This guide covers ball float vs. cup float adjustment, water-level testing, and common fixes when the float won’t respond.
Tools Required
Fixing a toilet float needs a few simple tools. First, get a screwdriver. It helps to tighten or loosen screws. Next, a pair of pliers is handy. Use them to grip and turn objects. You might need rubber gloves. These keep your hands clean and dry. A bucket can catch water if it spills. Finally, don’t forget a towel. It helps to dry surfaces and hands. Having these tools ready makes the job easy. Remember, safety first!
Understanding Toilet Float Types
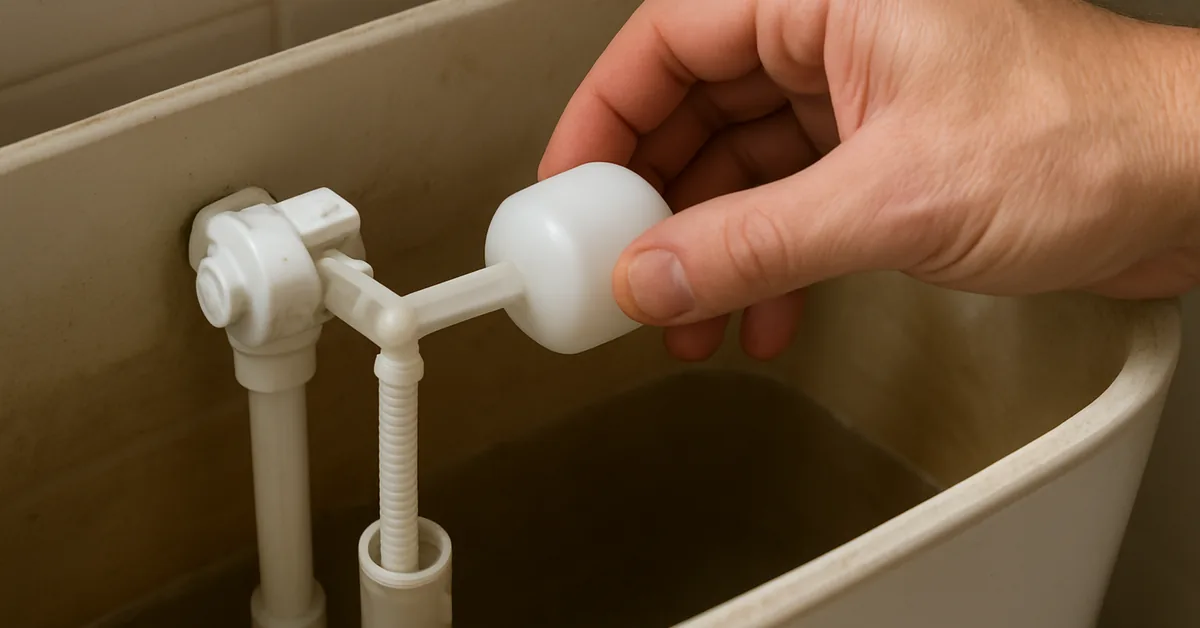
A ball float is an old type of toilet float. It looks like a ball on a stick. The ball is usually made of plastic. It floats on the water in the tank. As the water level rises, the ball moves up. This stops the water from filling the tank too much. Adjusting the ball float is easy. Bend the rod to change the water level. Make sure the ball is not touching the tank sides. This can cause it to stick.
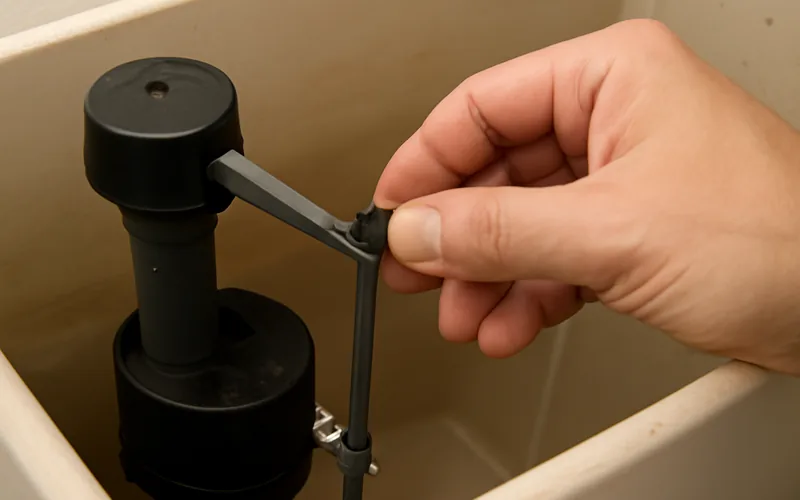
A cup float is a newer type of float. It is shaped like a cup and slides up and down a rod. The cup rises with the water level. This type is more compact than the ball float. To adjust, find the screw on top of the fill valve. Turn it to change the water level. The cup float moves smoothly. It rarely gets stuck, making it reliable.
A toilet float is the part inside the tank that rises and falls with the water level to signal the fill valve when to shut off. It is either a ball on a rod (older toilets) or a cup that slides on the fill valve’s shaft (most toilets since the late 1990s). Adjust it whenever the tank overfills, runs constantly, or doesn’t fill enough to flush well.
Locating The Float
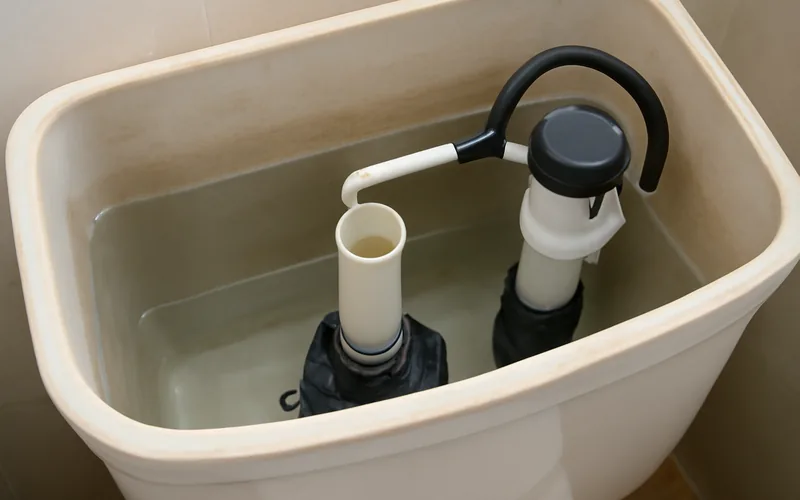
Finding the toilet float is simple. First, lift the lid off the tank. Look inside the tank. You’ll see a float ball or a float cup. The float ball looks round and is usually on one side. The float cup slides up and down a rod. Both control the water level. Make sure the water is below the overflow tube.
Check the position of the float. If it’s too high, water might overflow. If it’s too low, the toilet might not flush well. Adjusting the float is easy. Ensure the float is set correctly. This will keep the toilet working well. For more on the parts you’re looking at, see our guide on replacing a toilet fill valve if the float assembly itself is worn out rather than just misadjusted.
Adjusting A Ball Float
Start by removing the toilet tank lid. Look inside. Check if the water level is too high or low. The water should sit about an inch below the overflow tube. If it’s not, adjustment is needed. This ensures the toilet flushes properly. A low water level might not flush well. Too high, and it might overflow. Always be cautious when inspecting.
Locate the adjustment screw near the float arm. This screw is crucial for setting the right water level. Turn the screw slowly. Clockwise raises the water level. Counterclockwise lowers it. Make small turns and check the level each time. Be patient. Small changes make a big difference. A proper setting helps save water. Always make sure the screw is tight after adjusting.
Adjusting A Cup Float
The adjustment clip is a small part on the toilet float. It looks like a metal or plastic clip. Locate it on the side of the float. It helps in changing the water level. Make sure the water is off before touching it.
Gently slide the clip up or down. Moving it up raises the water level. Sliding it down lowers the water level. Test the toilet after each adjustment. This ensures the water fills correctly. Keep adjusting until it works well. Always be gentle with the clip.
| Float Type | How It Adjusts | Direction to Raise Level | Common Failure |
|---|---|---|---|
| Ball float | Bend the metal rod or turn the screw at the arm | Bend rod up / turn screw clockwise | Rod bends out of shape, ball rubs tank wall |
| Cup float | Slide the clip up or down the fill valve shaft | Slide clip up | Clip seizes with mineral buildup |
Best Toilet Fill Valve Pick
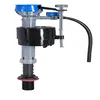
Fluidmaster 400H Universal Fill Valve – $14.97
If the cup float or ball float in this guide is cracked, stuck, or the arm won’t hold an adjustment anymore, this is the replacement valve the troubleshooting section above points to.
- Best for: replacing a worn-out or unrepairable float/fill valve assembly
- Why we picked it: height-adjustable cup float built in, fits most standard toilet tanks
- Main drawback: still needs the same clip-adjustment steps above after install
Compare more fill valve & float options
 Option 1 Korky QuietFILL Fill Valve – $9.98
|
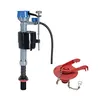 Option 2 Fluidmaster Fill Valve + Flapper Kit – $16.97
|
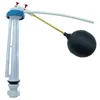 Option 3 Banhey Universal Repair Kit – $16.59
|
As an Amazon Associate we earn from qualifying purchases.
Testing The Adjustment
Flush the toilet to see the changes. Watch the water level as it fills. It should stop below the overflow tube. If it rises too high, the float needs more adjustment. A proper water level prevents leaks and overflows. Ensure the float is not stuck. It must move freely up and down. Adjust the float arm if needed. A simple bend can fix issues. Adjust until the water level is just right.
Lift the toilet tank lid carefully. Look inside the tank. The water should be about an inch below the top of the overflow tube. Too much water can waste water. Too little may affect flushing power. Adjust the float if necessary. Turn the adjustment screw on the float arm. Small turns can make a big difference. Keep testing until you find the perfect level.
📊 A running toilet with a float set too high can waste hundreds of gallons of water a day, and WaterSense-labeled toilets already use 20% less water per flush (1.28 gallons) than the federal 1.6-gallon standard — making a correctly adjusted float even more important on newer, lower-flow tanks. Source: EPA WaterSense, Statistics and Facts
“A quarter-turn on the adjustment screw is usually enough to stop a toilet from running — over-turning it is the most common mistake we see, since it just pushes the problem to the opposite extreme.”
Troubleshooting Common Issues
Sometimes, the toilet float might not respond. This can cause water to keep running. Check if the float is stuck. It might be blocked by dirt or debris. Cleaning it can help. Also, see if the float arm is bent. A bent arm can stop the float from moving. Carefully straighten it if needed. If the float is damaged, replace it — see our guide to replacing toilet guts for a full tank rebuild.
Water can be too high or too low in the tank. Adjust the float to fix the level. Turn the adjustment screw on the float arm. Turning the screw one way raises the water level. Turning it the other way lowers it. Make small adjustments and check the water level each time. This ensures the right amount of water in the tank. If the tank hisses instead of running, that’s usually the fill valve itself rather than the float — our noisy toilet guide covers that separately.
Maintaining Toilet Efficiency
Toilets need regular checks to stay efficient. Inspect the toilet float often. This helps prevent leaks. Look for signs of wear. Sometimes, the float gets stuck. Fix it quickly to save water. Check the water level in the tank. It should be below the overflow tube. An adjustable float can help with this. Make sure the float moves freely. If not, clean or replace it.
Faulty parts waste water and money. Replace the toilet float if damaged. Choose a new float that fits well. Turn off the water supply first. Drain the tank completely. Carefully remove the old float. Install the new float in its place. Follow instructions on the float package. Check the water level again. Adjust if needed. A well-functioning float keeps the toilet efficient. If you’d rather see the whole thing in motion first, this bathroom fixtures hub has more toilet and fixture repair guides.
Frequently Asked Questions
How Do I Adjust The Float Level In A Toilet?
Turn off the water supply. Remove the tank lid. Adjust the float by twisting the screw or moving the float arm. Check water level. Reattach the lid and turn the water back on.
How Do You Adjust The Float On A Toilet That Keeps Running?
Adjust the float by turning the screw on top of the fill valve. Raise or lower the float arm to stop water flow. Ensure the float is set below the overflow tube level to prevent running. Test by flushing and readjusting if needed.
How Do You Adjust The Fill Valve On A Toilet?
Turn off the water supply. Remove the tank lid. Adjust the fill valve by turning the adjustment screw. Clockwise increases water level; counterclockwise decreases it. Turn the water back on and test the flush. Repeat if necessary for optimal water level.
How Do I Stop My Toilet From Constantly Running?
Fix a running toilet by adjusting the float arm or replacing the flapper valve. Check for leaks. Clean mineral build-up. Consider replacing the fill valve if issues persist. Ensure the chain is not tangled. Regular maintenance helps prevent constant running.
Is A Ball Float Or Cup Float Easier To Adjust?
A cup float is generally easier and more reliable — it slides on a clip with no rod to bend, and it rarely sticks. A ball float requires bending a metal rod by hand, which can throw off the adjustment if bent too far or too little.
Conclusion
Adjusting a toilet float is simple and essential. A well-set float prevents leaks and saves water. Start by checking the float’s position and adjust it accordingly. Too high or low? Move it until water level is correct. Remember, small adjustments make a big difference.
Use a screwdriver if needed. This fix improves toilet efficiency. Regular checks ensure smooth operation. No more annoying running water sounds. Enjoy peace of mind with a properly functioning toilet.
Sponsored / affiliate links. As an Amazon Associate I earn from qualifying purchases. I may earn additional commission from eligible campaigns.