How to Remove a Kohler Toilet Seat (Bolt-Through vs ReadyLatch)
Most Kohler toilet seats come off in under 10 minutes with just a screwdriver and pliers — except one-piece models like the K3434, where corroded aluminum anchors can make the bolts spin uselessly. Forcing a stuck bolt can crack the plastic hinge or the porcelain itself. This guide covers locating the hinges, identifying bolt-through versus ReadyLatch quick-release seats, and freeing stuck or spinning bolts without breaking anything.
Affiliate disclosure: This post contains Amazon affiliate links. We earn a commission from qualifying purchases at no extra cost to you.
Why You Might Need to Remove Your Kohler Toilet Seat
There are several common reasons why a homeowner might need to remove their Kohler toilet seat. Understanding these situations can help you feel more prepared and motivated to tackle the task:
- Deep Cleaning: Sometimes, a standard wipe-down just doesn’t cut it. Removing the seat allows for thorough cleaning of the toilet bowl rim and the seat itself, getting into those hard-to-reach spots.
- Replacement: Toilet seats can wear out, crack, or become discolored over time. Replacing an old seat with a new one is a simple way to refresh your bathroom’s appearance.
- Repair: If your toilet seat is wobbly or a hinge is broken, removing it is the first step to assessing the damage and making repairs.
- Renovations: During a bathroom remodel, you might need to temporarily remove the toilet seat to protect it or to allow for easier access to plumbing or the toilet itself.
- Troubleshooting: Occasionally, you might need to remove the seat to investigate a minor issue with the toilet’s functionality that could be related to the seat’s mounting.
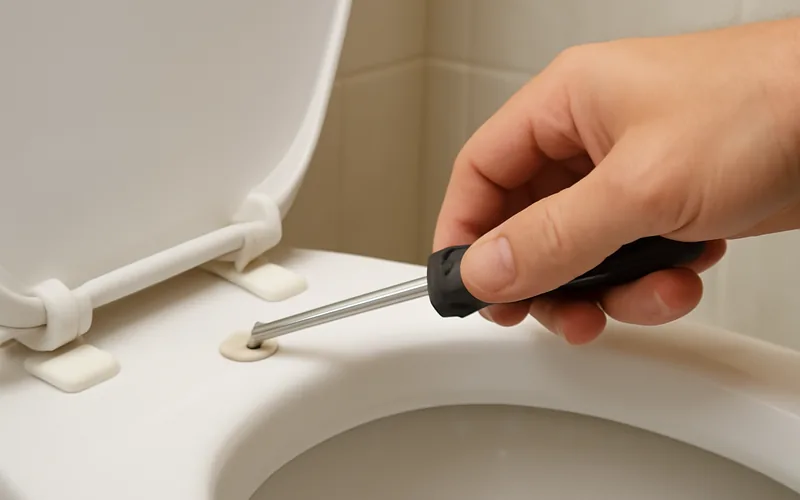
Tools You’ll Need for the Job
The beauty of this project is that you likely already have most of the tools you need right at home. We’re keeping it simple and accessible for everyone:
- Screwdriver: A Phillips head screwdriver is most common, but have a flathead handy just in case.
- Adjustable Wrench or Pliers: Some Kohler seats use nuts that might require a wrench for extra grip.
- Cleaning Supplies: Gloves, disinfectant spray, and a cloth for cleaning up afterward.
- Optional: Penetrating Oil: If bolts seem stuck due to rust or mineral buildup, a little penetrating oil can work wonders.
Understanding Kohler Toilet Seat Mounting Systems
Kohler, a well-respected name in plumbing fixtures, uses a few different mounting systems for their toilet seats. Knowing which type you have will make the removal process even smoother. Most Kohler seats utilize a bolt-through-the-bowl design. This means the seat is attached to the toilet bowl with bolts that go through pre-drilled holes.
The bolts usually pass through the ceramic of the toilet bowl, and on the underside, they are secured with nuts or a special clip system. The hinges on top often have a cover that conceals the bolt heads. Lifting these covers is usually the first step to accessing the hardware.
Some newer Kohler models might feature a quick-release system. These are designed for even easier removal and cleaning, often with a button or lever mechanism on the hinge itself. Don’t worry if yours isn’t a quick-release; the standard bolt system is still very manageable.
Step-by-Step Guide: How to Remove a Kohler Toilet Seat
Let’s get this done! Follow these simple steps, and you’ll have that toilet seat off in no time. Remember, patience is key, and if something feels stuck, take a deep breath and try a slightly different approach.
Step 1: Locate the Hinges and Bolt Covers
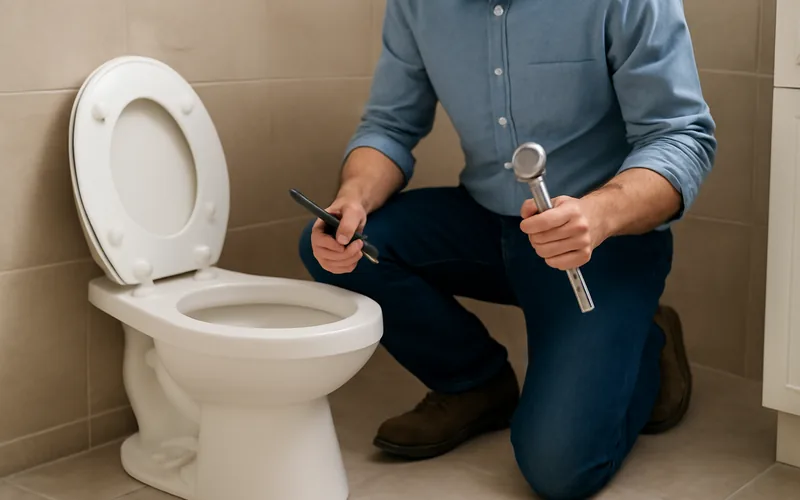
Start by looking at the back of your toilet seat where it attaches to the toilet bowl. You’ll see the hinges. Most Kohler toilet seats have a plastic cover on top of each hinge. These covers are designed to snap open, usually by lifting them with your fingernail or a flathead screwdriver.
Gently pry up the front edge of the hinge cover. They often have a small notch or lip to help you get started. Once open, you’ll see the bolt heads that secure the seat to the toilet.
Step 2: Identify the Type of Fasteners
Once the hinge covers are open, you’ll see what’s holding the seat in place. Typically, you’ll find either:
- Bolt Heads: These are often Phillips head screws.
- Nuts (Underneath): In some cases, you’ll see the bolt head on top, and you’ll need to get underneath the toilet bowl to access the nuts that are threaded onto the bolts.
Take a moment to see what you’re working with. This will determine whether you need your screwdriver or if you’ll also need a wrench or pliers.
Step 3: Loosen the Bolts or Nuts
This is where the actual removal happens. The method depends on what you found in Step 2:
- If you see bolt heads on top (like screws): Use your Phillips head screwdriver to turn the screws counter-clockwise. Hold the screw head firmly to prevent it from spinning. Sometimes, the nut on the underside might spin with the bolt. If this happens, you’ll need to go underneath.
- If you need to access nuts underneath: Get down low to see the underside of the toilet bowl where the bolts extend through. You’ll see nuts threaded onto the ends of the bolts. Use your adjustable wrench or pliers to hold the nut and turn it counter-clockwise. You might need to use your screwdriver on the bolt head on top simultaneously to keep it from spinning.
Pro Tip: If the nuts or bolts are very tight or feel corroded, a small amount of penetrating oil (like WD-40) applied to the threads can help loosen them. Let it sit for a few minutes before trying again.
Step 4: Remove the Seat
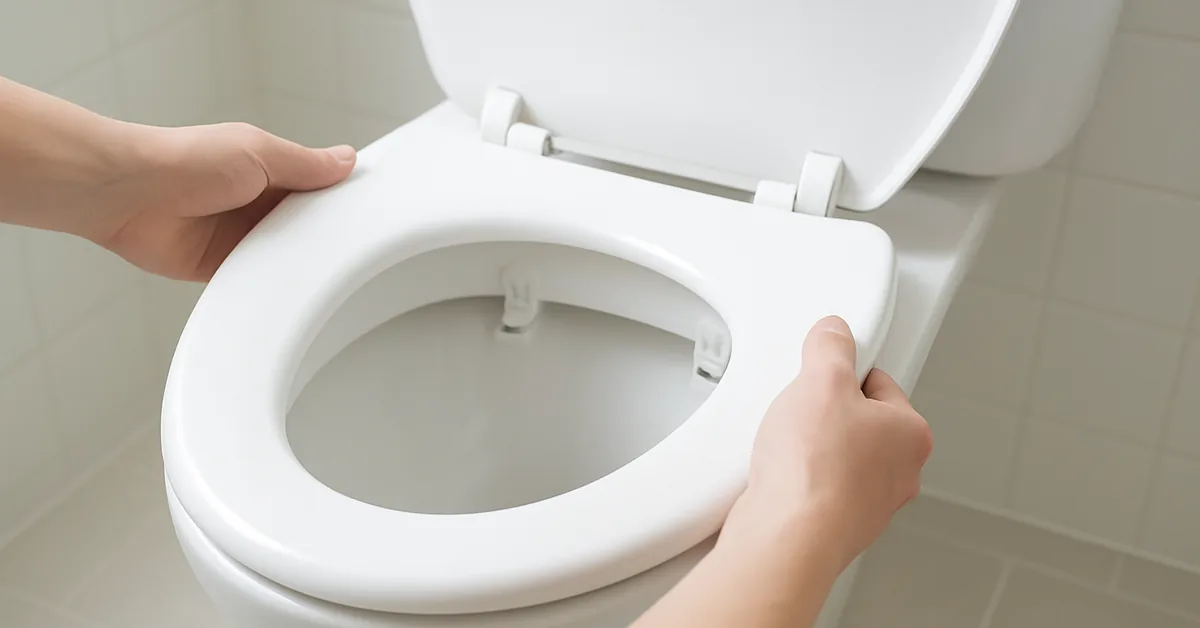
Once both bolts are sufficiently loosened (or removed completely), the toilet seat should lift right off the toilet bowl. Gently pull upward on the seat. It might feel a little sticky if it hasn’t been removed in a while, but it should come free without excessive force.
If it feels stuck, double-check that both sides are completely loosened. Sometimes, mineral deposits can build up and make it seem like the seat is still attached. A little wiggling should do the trick.
Step 5: Clean Up
Now that the seat is off, it’s the perfect time to clean both the toilet bowl and the underside of the seat and hinges. Use your disinfectant spray and cloth to get everything sparkling. This is also a good opportunity to check the condition of the mounting holes and the toilet bowl itself. If you’re just cleaning, you can now reattach the seat (which is essentially the reverse of this process) or set it aside for a deeper clean.
Troubleshooting Common Issues
Even with the simplest DIY projects, little snags can happen. Here’s how to handle them if you run into trouble removing your Kohler toilet seat.
Stuck or Rusted Bolts/Nuts
This is probably the most common issue. Mineral deposits and moisture can cause the metal fasteners to seize up:
- Penetrating Oil: As mentioned, a good penetrating oil is your best friend here. Apply it generously to the threads and let it soak for at least 15-30 minutes, or even longer if possible.
- Heat (Use with Caution): In stubborn cases, a hairdryer or a heat gun on a low setting can sometimes help expand the metal slightly, breaking the corrosion bond. Be very careful not to overheat or damage the porcelain.
- Gentle Force: After applying oil and waiting, try again with your tools. Sometimes, a firm, steady pressure is more effective than quick, jerky movements.
- Cutting Tools (Last Resort): If all else fails and you absolutely must remove the seat, you might need to carefully cut the bolts. A small hacksaw or oscillating tool with a metal-cutting blade can work, but this requires precision to avoid damaging the toilet bowl. This is usually a last resort.
“On a one-piece Kohler that hadn’t been touched in a decade, the bolts just spun in place — penetrating oil and a 10-minute wait was what finally let the anchor bite again, not extra force on the screwdriver.”
Spinning Bolts
If the bolt spins but doesn’t loosen, it means the nut on the other side is also spinning and not providing resistance. You’ll need to hold the nut on the underside with your wrench or pliers while turning the bolt head on top with your screwdriver.
Plastic Parts Breaking
If the plastic hinge covers or other parts feel brittle and threaten to break, be extra gentle. Sometimes, these plastic components are integrated into the seat and aren’t meant to be removed separately. In such cases, you might need to replace the entire seat assembly if you can’t get the main bolts undone.
Best Fix for Stuck Kohler Seat Bolts
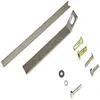
KOHLER Genuine Part 84999 Toilet Seat Anchor Kit – $27.99
The exact replacement kit for the corroded aluminum anchors and spinning bolts this section covers — includes new anchors, bolts, and the tool to pull the old, seized anchors out.
- Best for: one-piece Kohler toilets with corroded or broken anchors
- Why we picked it: genuine Kohler part, fits without modifying the bowl
- Main drawback: only fits Kohler’s one-piece anchor pattern, not universal
More tools for a stuck or broken seat
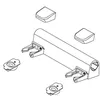 Option 1 Kohler Genuine Hinge Assembly – $7.84
|
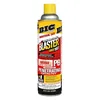 Option 2 PB Blaster Penetrating Oil – $9.34
|
 Option 3 Kohler Cachet ReadyLatch Seat – $59.42
|
As an Amazon Associate we earn from qualifying purchases.
Reattaching Your Kohler Toilet Seat
Once you’re done with cleaning, repairs, or if you’re simply putting the seat back on after a deep clean, reattachment is just the reverse of removal. Line up the bolts with the holes in the toilet bowl. From underneath, thread the nuts onto the bolts and tighten them. Don’t overtighten, as this can crack the porcelain or strip the threads. Ensure the seat is straight and secure, then snap the hinge covers back down.
When to Call a Professional
While removing a toilet seat is typically a straightforward DIY task, there are times when it’s best to call in a plumber or a handy professional. If you’ve tried the troubleshooting steps and are still unable to remove the seat, or if you’re worried about damaging your toilet, don’t hesitate to seek help. Professionals have specialized tools and experience that can make quick work of stubborn situations.
Also, if you notice any cracks in the porcelain of your toilet bowl, stop immediately. Further attempts to remove the seat could worsen the damage. In such cases, a professional assessment is crucial.
Kohler Toilet Seat Types and Their Removal Differences
While the general principle of loosening bolts remains the same, Kohler offers various seat designs. Understanding these can help you anticipate the process.
Standard Bolt-Through Seats
These are the most common. As detailed in our steps, they involve visible bolt heads on top (often under a cover) and nuts or clips on the underside. The process is very consistent across models like the Kohler Cimarron, Wellworth, and Highline series.
Quick-Release Seats
Kohler’s quick-release seats are designed for ultimate ease of cleaning. Models like the Brevia or certain versions of the Cimarron often feature this. To remove, you usually:
- Lift the hinge covers.
- Look for a button or lever on the side of the hinge mechanism.
- Press this button or slide the lever to disengage the seat from the mounting posts.
- Lift the seat straight up.
📊 Kohler brands this mechanism ReadyLatch on its Cachet and Impro seat lines — a spring-loaded latch inside the hinge lets the seat unlatch tool-free for cleaning, using Grip-Tight installation hardware to stay put during normal use — Source: Kohler ReadyLatch Toilet Seat Install Guide
Reattachment is just as simple: align the seat with the posts and push down until it clicks into place.
Top-Fix or Top-Mount Seats
Less common for standard toilet seats but found on some specialized models, these mounts secure from the top. The hardware is accessed entirely from above the toilet bowl. You’d still lift hinge covers, but instead of seeing screws going down, you’d see mechanisms that tighten or loosen directly from the top, often with a tool provided by Kohler.
Table: Common Kohler Toilet Seat Fastener Types
| Fastener Type | Appearance | Tools Needed | Removal Tip |
|---|---|---|---|
| Phillips Head Screw | Cross-shaped slot on the head | Phillips head screwdriver | Turn counter-clockwise. May need to hold nut underneath if it spins. |
| Bolt with Nut | Bolt head on top, nut underneath | Screwdriver (top) and adjustable wrench/pliers (bottom) | Hold nut with wrench while turning bolt with screwdriver. |
| Specialized Clip System | Often a plastic clip visible from below | Flathead screwdriver or specific tool (sometimes included) | May require prying or specific release mechanism. |
Maintaining Your Kohler Toilet Seat
Once you’ve removed and reattached your seat, or if you’re simply looking to keep it in good condition, a little regular maintenance goes a long way. This helps prevent the need for frequent removals due to grime buildup or minor issues:
- Regular Cleaning: Wipe down your toilet seat regularly with a mild household cleaner and a soft cloth. Avoid abrasive cleaners or scrub brushes that can scratch the surface.
- Check Tightness: Periodically check the bolts or nuts to ensure they are snug. A loose seat can be uncomfortable and put extra stress on the hinges.
- Address Spills Promptly: Clean up any spills, especially those involving harsh chemicals or dyes, as soon as possible to prevent staining or damage.
- Lubricate Hinges (If Applicable): For some older or less common models, a tiny drop of silicone lubricant on squeaky hinges might help.
Proper care ensures your toilet seat remains functional and hygienic for years to come.
The Benefits of DIY Toilet Seat Removal
Embarking on this simple DIY project offers several advantages:
- Cost Savings: You avoid paying a plumber or handyman for a task you can easily do yourself.
- Convenience: You can tackle the job on your own schedule, without waiting for an appointment.
- Skill Building: Every DIY project, no matter how small, builds your confidence and familiarity with home maintenance.
- Better Cleaning: Removing the seat allows for a level of clean that’s hard to achieve otherwise, promoting better hygiene.
- Problem Solving: You can easily assess and address minor issues like wobbling or minor damage.
These benefits highlight why learning basic home maintenance tasks like this is so rewarding for homeowners.
Frequently Asked Questions (FAQ)
How often should I remove my toilet seat for cleaning?
For most households, removing the toilet seat for a deep clean every few months (e.g., quarterly) is sufficient. If you have children or pets, or if someone in the household has specific hygiene needs, you might consider doing it more often.
Can I use a power drill to remove the bolts?
While tempting, it’s generally not recommended for beginners. Power drills can easily strip screw heads or overtighten nuts, potentially damaging the toilet bowl or the seat. Manual screwdrivers and wrenches offer better control for this task.
What if my Kohler toilet seat doesn’t have visible hinge covers?
Some older or simpler Kohler models might have exposed bolts or hinges. In this case, you’d proceed directly to identifying and loosening the fasteners as described in Step 2 and 3, without needing to lift any covers.
Are Kohler toilet seats universal?
No, Kohler toilet seats are designed to fit specific Kohler toilet models. While many round or elongated seats might fit other brands, it’s always best to confirm compatibility with your specific Kohler toilet model for a perfect fit.
How do I know if I have a quick-release seat?
Quick-release seats typically have a distinct mechanism on the hinge — Kohler brands this ReadyLatch on its Cachet and Impro lines. Look for buttons, levers, or a specific tab on the side of the hinge that allows the seat to detach. If you don’t see such a feature, it’s likely a standard bolt-through model.
What is the best way to clean a toilet seat after removal?
Use a mild disinfectant spray and a soft cloth. For stubborn stains, you can use a paste of baking soda and water, let it sit for a few minutes, then gently scrub with a soft brush or cloth before wiping clean. Rinse thoroughly and dry completely.
How do I remove a one-piece Kohler toilet seat with a stuck or corroded anchor?
Pry open the caps with a flathead screwdriver to expose the bolts, then hold the plastic nut underneath with pliers while turning the bolt head counterclockwise. One-piece Kohler toilets often use aluminum anchors with stainless bolts, which corrode and seize — apply penetrating oil and wait 10–15 minutes before trying again. If the anchor still won’t catch, Kohler’s own 84999 anchor kit replaces the anchor and bolt together.
Conclusion
See? Removing a Kohler toilet seat is a straightforward task that doesn’t require any special skills or tools. By following these simple steps, you can easily detach your seat for thorough cleaning, replacement, or repair. Remember to work patiently, use the right tools, and don’t hesitate to apply a little penetrating oil if things feel stubborn. You’ve got this! Empowering yourself with these small DIY skills not only saves you time and money but also gives you the confidence to tackle more home improvement projects. Happy fixing!
Sponsored / affiliate links. As an Amazon Associate I earn from qualifying purchases. I may earn additional commission from eligible campaigns.
 KOHLER 4734-RL-0 Rutledge ReadyLatch Soft Close Elongated Toilet Seat, Quiet-Close Lid Grip-Tight Bumpers, Installation Hardware, Home Essentials, White
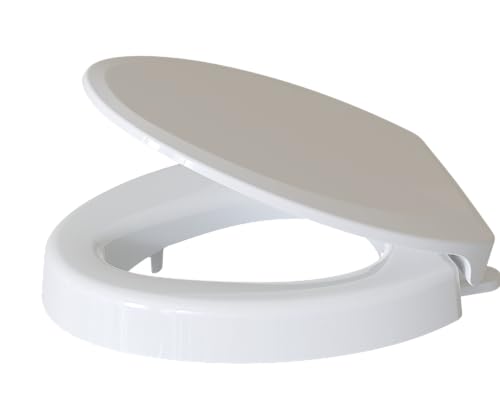 CYRRET 3 Inch Elevated Toilet Seat Riser, Raised Toilet Seat Enlongated Bowl (18.5") for Elderly and Seniors, Durable Plastic, Slow Close, Safety Bathroom Assist Device, Easy Installation, White