Is Recessed Lighting Expensive?
Hey there! If you’re thinking about upgrading your home’s lighting, you’ve probably wondered, “Is recessed lighting expensive?” I’ve been down this road myself, transforming my own home with recessed lights, and I’m excited to share everything I’ve learned. Recessed lighting can add a sleek, modern vibe to any space, but the costs can vary depending on several factors. In this article, I’ll break it all down for youfrom the basics of what recessed lighting is to the nitty-gritty of costs, installation, and more. Whether you’re a homeowner looking to spruce up your living room or a DIY enthusiast planning a project, I’ve got you covered with practical insights and tips. Let’s dive in!
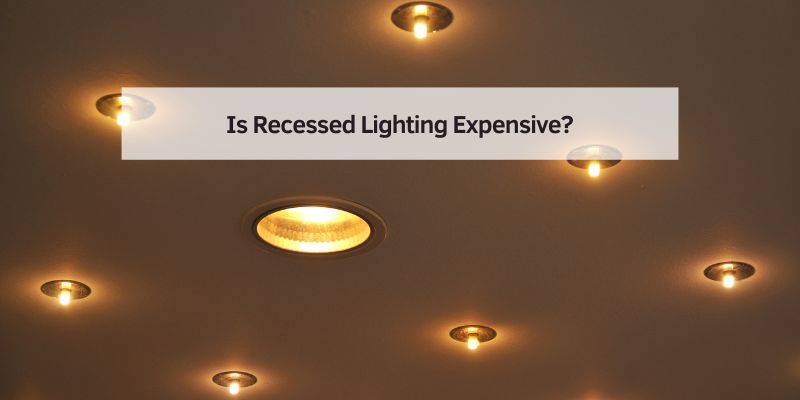
What Is Recessed Lighting?
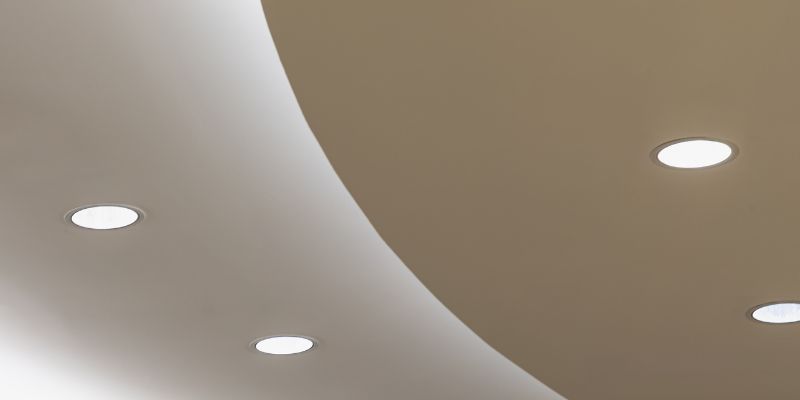
Recessed lighting, often called can lights or downlights, is a type of fixture installed into the ceiling, creating a clean, streamlined look. I remember when I first saw them in a friend’s home— the lights were tucked neatly into the ceiling, casting a soft, even glow without any bulky fixtures hanging down. It felt modern and elegant, and I was hooked!
These lights consist of a housing unit (the “can”) and a bulb, which sit flush with or slightly recessed into the ceiling. They’re versatile, working well in kitchens, living rooms, bathrooms, or even outdoor spaces. The beauty of recessed lighting is its ability to blend into any decor while providing focused or ambient light. But before you get too excited, let’s talk about the big question: the cost.
Factors That Affect the Cost of Recessed Lighting
When I started researching recessed lighting for my home, I quickly realized the cost isn’t a simple number. It depends on several factors. Here’s what I found influences the price the most:
Type of Recessed Lighting
Not all recessed lights are created equal. There are different types, and each comes with its own price tag. Standard recessed lights are the most affordable, usually costing $20–$50 per fixture. I went with these for my living room because they’re budget-friendly and versatile. Then there are specialty options like adjustable or gimbal lights, which let you direct the light, or wet-rated lights for bathrooms, which can cost $50–$100 each. If you want smart recessed lights that connect to your phone or voice assistant, expect to pay $100–$200 per fixture. I splurged on a few smart lights for my kitchen, and they’re worth every penny for the convenience!
Bulb Choices
The type of bulb you choose makes a big difference. I learned this the hard way when I initially bought cheap incandescent bulbs that burned out quickly. LED bulbs are the gold standard now—they last longer (up to 50,000 hours!) and use less energy, but they cost $5–$20 per bulb upfront. CFL bulbs are cheaper ($3–$10), but they’re less efficient. Halogen bulbs, which give a warm glow, are in the same price range but don’t last as long. I switched to LEDs across my home, and my energy bill dropped noticeably.
Installation Costs
Here’s where things can get pricey. If you’re handy like me, you might consider DIY installation to save money. But if you’re hiring a professional, labor costs can range from $100 to $200 per light, depending on your location and the complexity of the job. In my area (a mid-sized city in the USA), I paid about $150 per light for a licensed electrician to install six fixtures in my kitchen. If your ceiling needs extra work—like cutting new holes or adding insulation—costs can climb higher.
Ceiling Type and Accessibility
Your ceiling type matters a lot. I have a standard drywall ceiling, which made installation straightforward. But if you have a vaulted ceiling, concrete ceiling, or limited attic access, the labor costs can increase by 20–50%. For example, my neighbor had recessed lights installed in her vaulted living room, and the electrician charged extra because of the tricky angles and scaffolding needed.
Number of Lights
The more lights you install, the higher the total cost—but there’s a silver lining. Many electricians offer discounts for larger jobs. When I installed six lights, the per-light labor cost was lower than if I’d done just one or two. On average, you’ll need 4–8 lights for a standard room, depending on its size and lighting needs.
Additional Features
Fancy features like dimmers, smart controls, or decorative trims can add to the cost. I added dimmable switches to my dining room lights, which cost an extra $50 per switch, but they create such a cozy vibe for dinner parties. Trims (the visible part of the light) can range from $10 for basic white to $50 for sleek, metallic finishes.
Breaking Down the Costs: A Handy Table
To make things clearer, here’s a table I put together based on my research and experience. It shows the average costs for recessed lighting in the USA:
| Component | Average Cost Range |
|---|---|
| Standard Recessed Fixture | $20–$50 per fixture |
| Specialty Fixture (Smart, Wet-Rated, etc.) | $50–$200 per fixture |
| LED Bulbs | $5–$20 per bulb |
| CFL/Halogen Bulbs | $3–$10 per bulb |
| Professional Installation | $100–$200 per light |
| Dimmable Switches | $30–$100 per switch |
| Decorative Trims | $10–$50 per trim |
| Additional Wiring/Repairs | $50–$500 (job-dependent) |
These are ballpark figures, and costs can vary depending on where you live. For example, urban areas like New York or San Francisco tend to have higher labor rates than rural towns.
Is DIY a Cheaper Option?
When I started my recessed lighting project, I was tempted to go full DIY to save money. I’m pretty handy, so I watched a few tutorials and gave it a try in my basement. Here’s what I learned: DIY can save you $100–$150 per light on labor, but it’s not for everyone. You’ll need tools like a drywall saw, stud finder, and wire cutters, which can cost $50–$200 if you don’t already own them. Plus, you’ll need to know basic electrical work to avoid safety hazards.
For my basement, I spent about $200 on six fixtures and bulbs, plus $50 on tools. It took me a weekend, but I saved around $600 compared to hiring a pro. However, when it came to my kitchen, I hired an electrician because the wiring was more complex, and I didn’t want to risk a mistake. If you’re not confident with electrical work, I’d recommend hiring a professional—it’s worth the peace of mind.
Energy Efficiency and Long-Term Savings
One thing that surprised me about recessed lighting was the long-term savings. LED recessed lights use 75–80% less energy than traditional incandescent bulbs. In my home, switching to LEDs cut my lighting energy costs by about $50 a year for a single room. Over the 10–15-year lifespan of LED bulbs, that adds up! Plus, LEDs don’t need replacing as often, so you save on maintenance.
If you’re worried about upfront costs, think of it as an investment. I spent around $500 total on my kitchen lights (fixtures, bulbs, and installation), but the energy savings and durability make it worthwhile. If you’re on a tight budget, start with one room and expand later.
How to Budget for Recessed Lighting
Planning your budget is key. Here’s how I approached it:
- Get Quotes: I called three electricians for estimates. Prices varied by $200, so shopping around paid off.
- Prioritize Rooms: I started with high-traffic areas like my kitchen and living room, where good lighting makes a big difference.
- Mix and Match: I used standard fixtures in most areas but splurged on smart lights for key spots like the dining room.
- Factor in Extras: Don’t forget bulbs, trims, or potential ceiling repairs. I set aside an extra 10% of my budget for unexpected costs.
- Check for Rebates: Some utility companies offer rebates for installing energy-efficient LEDs. I got a $50 rebate from my local provider, which was a nice bonus.
A typical 10×12-foot room might cost $500–$1,500 to outfit with 4–6 recessed lights, including installation. Larger spaces or fancy features will push the cost higher, but you can keep it affordable by sticking to the basics.
Comparing Recessed Lighting to Other Options
When I was deciding on lighting, I compared recessed lights to other options like pendant lights or track lighting. Here’s what I found:
- Pendant Lights: These are statement pieces, great for dining rooms or kitchens. They cost $50–$300 each, plus installation, but they’re not as versatile as recessed lights for even lighting.
- Track Lighting: Track lights are cheaper ($20–$100 per fixture) and easier to install, but they’re more visible and less sleek.
- Flush Mounts: These are budget-friendly ($20–$100), but they don’t offer the modern, hidden look of recessed lights.
For me, recessed lighting won because it’s subtle, versatile, and adds value to the home. Buyers love it, too—real estate agents told me it’s a selling point in the USA market.
Tips for Getting the Most Value
Here are some tricks I picked up to make recessed lighting affordable and effective:
- Plan Your Layout: Space lights 4–6 feet apart for even coverage. I used an online lighting calculator to avoid over- or under-lighting my rooms.
- Choose Warm LEDs: Look for bulbs with a 2700K–3000K color temperature for a cozy feel. My living room feels so inviting now!
- Consider Retrofits: If your ceiling already has recessed cans, retrofit kits ($10–$50 each) are a cheaper way to upgrade to LEDs without rewiring.
- Shop Sales: Home improvement stores like Home Depot or Lowe’s often have deals on fixtures and bulbs, especially around holidays.
- Hire Licensed Pros: A licensed electrician ensures safety and code compliance. I learned this after a friend’s DIY wiring job caused a small fire hazard!
Common Mistakes to Avoid
I made a few blunders along the way, so let me save you some trouble:
- Skimping on Quality: Cheap fixtures can fail quickly. I replaced a $15 fixture after a year because it flickered constantly.
- Overloading Circuits: Too many lights on one circuit can trip breakers. My electrician helped me balance the load.
- Ignoring Insulation: If your ceiling has insulation, use IC-rated (insulation-contact) fixtures to prevent fire risks. I didn’t know this at first and had to swap out two fixtures.
- Poor Placement: Lights too close to walls can create harsh shadows. I had to reposition one light in my hallway after noticing this.
How Recessed Lighting Adds Value to Your Home
Beyond aesthetics, recessed lighting can boost your home’s value. When I had my house appraised, the appraiser noted that the modern lighting made my home feel updated and spacious. In the USA, homes with energy-efficient upgrades like LED recessed lights often sell faster and at higher prices. It’s not just about looks—it’s a practical upgrade that pays off.
For example, my kitchen remodel, including recessed lights, increased my home’s value by about $5,000, according to my realtor. That’s a great return on a $1,500 investment! Even if you’re not selling soon, the improved lighting makes daily life more enjoyable.
My Final Thoughts
After diving deep into the world of recessed lighting, I can tell you it’s not as expensive as it seems at first glance. Yes, the upfront costs can add up—especially if you’re hiring a professional or adding smart features—but the long-term savings and aesthetic benefits make it worthwhile. For me, the sleek look, energy efficiency, and added home value were game-changers. Whether you’re on a tight budget or ready to splurge, there’s a way to make recessed lighting work for you. Start small, plan carefully, and don’t be afraid to ask for professional help if you need it. Your home will thank you with a warm, inviting glow!
Frequently Asked Questions
Is recessed lighting worth the cost?
Absolutely, I think it’s worth it! Recessed lighting adds a modern touch, improves energy efficiency with LEDs, and can increase your home’s value. The upfront cost might feel high, but the long-term savings and aesthetic boost make it a smart choice for most homeowners.
Can I install recessed lighting myself?
Yes, you can, if you’re comfortable with basic electrical work. I did it in my basement and saved a lot, but it takes time and the right tools. If you’re unsure, hire a licensed electrician to avoid safety risks.
How many recessed lights do I need for a room?
It depends on the room’s size and purpose. For a 10×12-foot room, I used 4–6 lights spaced 4–6 feet apart for even lighting. Online lighting calculators can help you plan the perfect layout.
Are LED recessed lights better than other bulbs?
In my experience, yes! LEDs last longer (up to 50,000 hours), use less energy, and come in various color temperatures for the perfect vibe. They’re pricier upfront but save money over time.
How long does it take to install recessed lighting?
For a pro, installing 4–6 lights takes about 4–8 hours, depending on ceiling type and wiring. My kitchen took a full day because of some tricky wiring. DIY can take longer—my basement project was a weekend job.
Can recessed lighting be used in bathrooms?
Yes, but you need wet-rated fixtures for safety. I used these in my bathroom, and they cost a bit more ($50–$100 each) but are designed to handle moisture without issues.