Light Kit for Pendant: Essential, Affordable Upgrade
Quick Summary: A light kit for a pendant light is an affordable, essential upgrade that can transform your lighting. It allows you to easily change the style, add functionality like dimming or smart controls, and improve the overall ambiance of your space without replacing the entire fixture.
Hey there, DIY enthusiasts and home improvers! Ever looked at your pendant light and thought, “It’s nice, but it could be so much better?” You’re not alone! Many of us have pendant lights that are functional but lack that certain sparkle or the features we really want. The good news? You don’t need to be a master electrician or spend a fortune to give your pendant light a serious glow-up. We’re talking about a simple, affordable upgrade: a light kit for your pendant. It’s like giving your favorite lamp a stylish new outfit and some smart new features. Stick around, and I’ll walk you through why this is a game-changer and how easy it is to do yourself!
Why a Light Kit for Your Pendant is a Smart Move
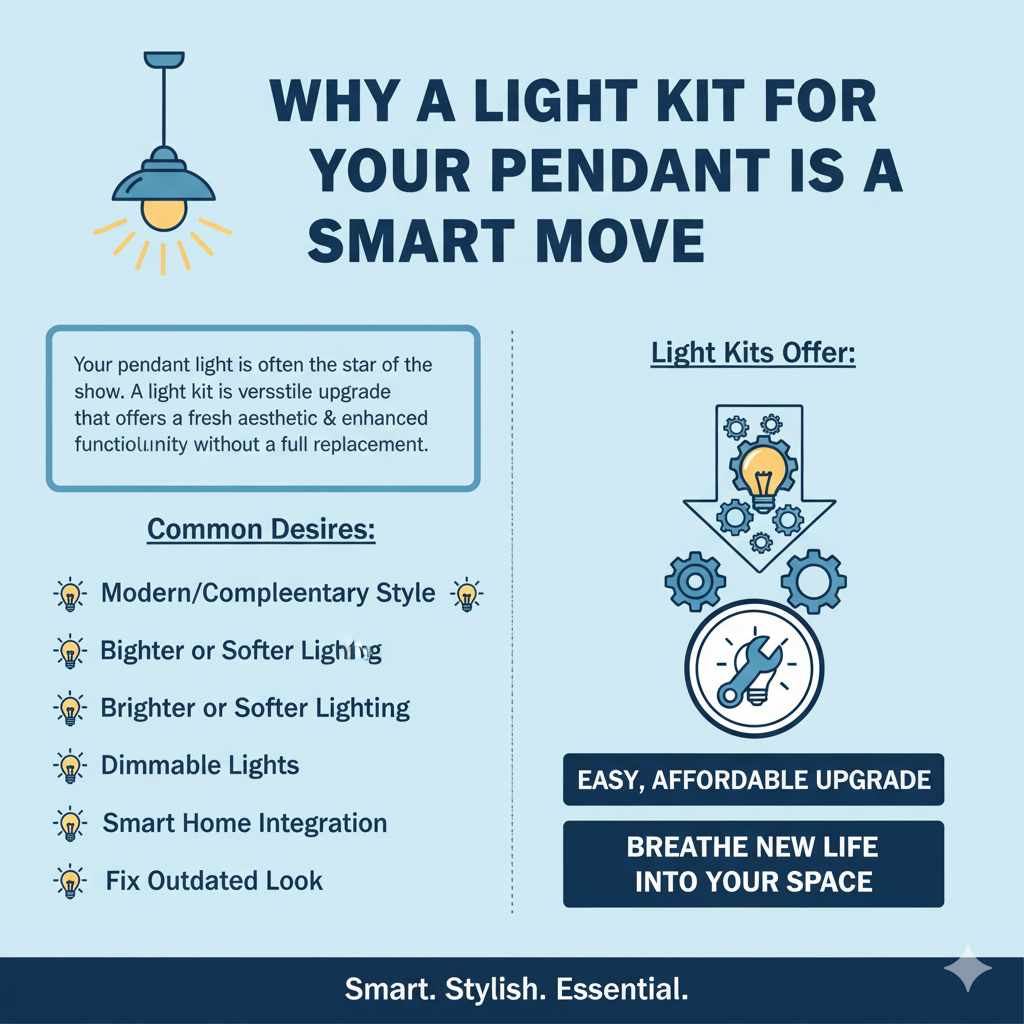
Your pendant light is often the star of the show in a room, especially over a kitchen island, dining table, or entryway. But what if its current “look” feels dated, or it just doesn’t offer the kind of light you need? That’s where a light kit for a pendant comes in. It’s a component designed to fit onto your existing pendant fixture, offering a fresh aesthetic and often enhanced functionality. Think of it as a versatile upgrade that can breathe new life into your space without the hassle or cost of a full fixture replacement.
Many homeowners find themselves wishing for:
- A more modern or complementary style to match evolving decor.
- Brighter or softer lighting options.
- The convenience of dimmable lights.
- Integration with smart home technology.
- A way to fix a fixture that’s no longer aesthetically pleasing.
A well-chosen light kit addresses all these desires, making it an essential, yet surprisingly affordable, upgrade for any home.
Understanding Pendant Light Kits: What Exactly Are They?
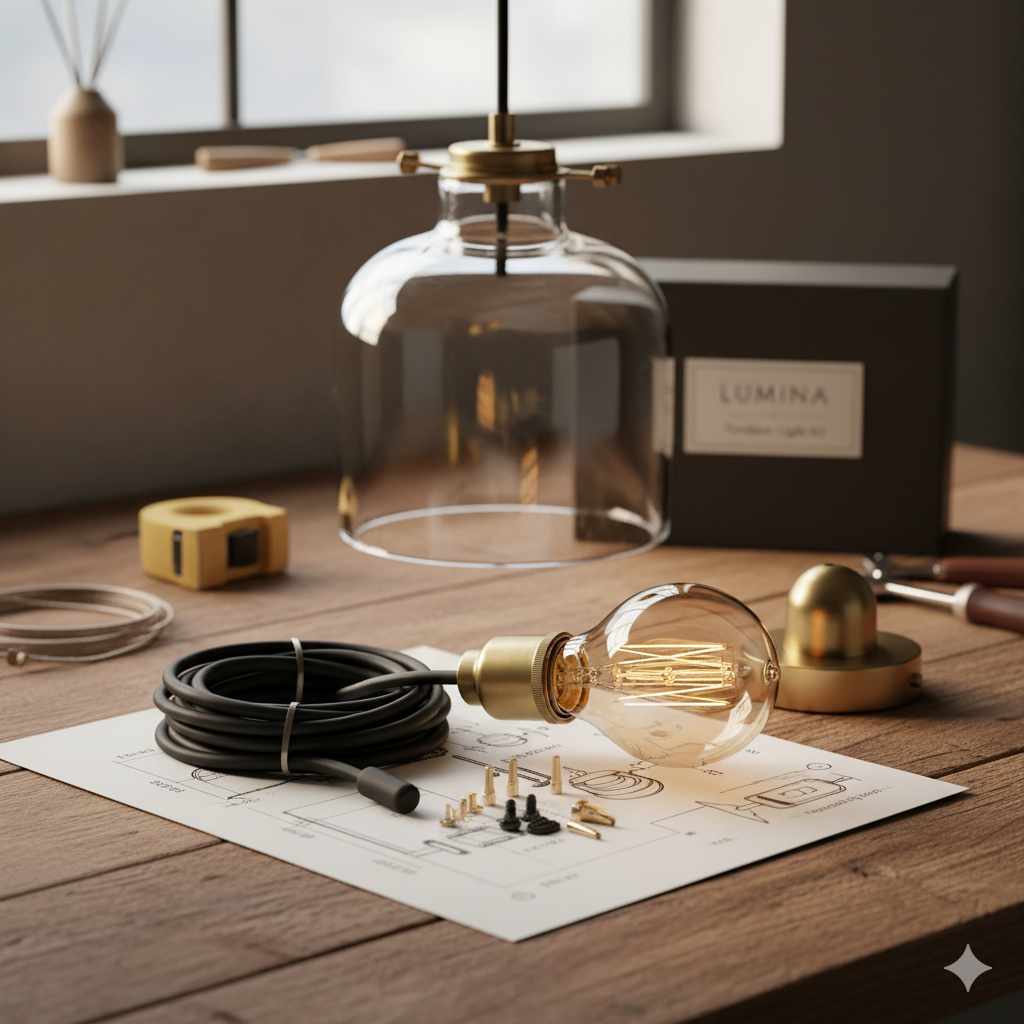
At its core, a light kit for a pendant is a self-contained unit that replaces or upgrades the existing light-emitting part of your pendant fixture. It typically includes the socket(s) for the light bulb(s), and often, a decorative element like a shade, a cluster of bulbs, or even integrated LED components. Some kits are designed to convert a single-bulb pendant into a multi-bulb fixture, while others focus on changing the style or adding features like remote control operation or dimming capabilities.
Here’s a breakdown of common components you might find in a light kit:
- Socket/Holder: This is where the light bulb screws in. Kits can have single or multiple sockets.
- Canopy/Base Plate: This is the part that attaches to the ceiling and conceals the wiring. Some kits might include a new canopy.
- Stem or Rod: This connects the canopy to the light source. Kits might offer different lengths or styles.
- Shade or Diffuser: This is the decorative element that surrounds or hangs from the socket, shaping the light and adding to the fixture’s style.
- Integrated LED: Many modern kits feature built-in LED lights that are energy-efficient and long-lasting, often designed to be non-replaceable or easily replaceable as a unit.
- Hardware: Screws, mounting brackets, and wire connectors are usually included.
The beauty of these kits is their modularity. They allow you to swap out the “business end” of your pendant without disturbing the main suspension or wiring in the ceiling. This makes them incredibly accessible for DIYers.
Types of Light Kits for Pendants
The world of pendant light kits offers a variety of options to suit different needs and styles. Understanding these types will help you pick the perfect upgrade for your home.
Style-Focused Kits
These kits are all about aesthetics. They allow you to change the entire look of your pendant fixture. If your current pendant has a dated shade or you simply want a modern update, these kits are ideal.
- Modern/Minimalist: Often featuring clean lines, simple geometric shapes, and materials like brushed nickel or matte black.
- Industrial: Think exposed bulbs, metal cages, and rustic finishes.
- Farmhouse/Rustic: These might include wood accents, distressed metal, or glass shades reminiscent of vintage designs.
- Mid-Century Modern: Characterized by Sputnik designs, atomic shapes, or iconic glass globes.
Functionality-Focused Kits
Beyond looks, some kits enhance how your pendant light operates.
- Multi-Light Clusters: These kits allow you to convert a single-bulb pendant into a fixture with multiple bulbs, providing more light and a more dramatic visual impact. They often come with arms or a central hub to hold several sockets.
- Dimmable Kits: If your current setup isn’t dimmable, a new kit with dimmable components (and compatible dimmer switch) can offer significant ambiance control.
- Smart Lighting Kits: These integrate with smart home systems, allowing control via apps, voice commands, or automation schedules. Some might replace the entire socket assembly to accommodate a smart bulb or have a smart driver built-in.
- Integrated LED Kits: These kits have the LED light source built directly into the unit. They are highly energy-efficient, often last for decades, and can come in various color temperatures and brightness levels.
Conversion Kits
These are specifically designed to adapt existing fixtures. For example, you might find a kit to convert a flush-mount fixture into a pendant, or a kit to add a shade to a bare-bulb pendant.
Choosing the Right Light Kit: Key Considerations
Selecting the perfect light kit involves a few important considerations to ensure compatibility, style, and functionality. Don’t worry; it’s simpler than it sounds!
1. Compatibility with Your Existing Fixture
This is the most crucial step. Most pendant light kits are designed to work with standard pendant mounting hardware. However, it’s essential to check:
- Mounting Type: Does your current pendant have a threaded stem, or is it a different system? Most kits will specify the type of connection they use.
- Canopy Size: Will the new kit’s canopy (the part that covers the ceiling box) fit over your existing electrical box and mounting plate? Measure your current canopy and compare it to the dimensions of the kit.
- Wire Length: Ensure the wires on the new kit are long enough to connect to your ceiling wiring comfortably.
If you’re unsure, take clear photos of your current fixture’s connection point and canopy to a lighting store or consult the manufacturer’s website.
2. Style and Aesthetics
Your light kit should complement your home’s decor. Consider:
- Material: Brushed nickel, oil-rubbed bronze, brass, matte black, glass, wood, fabric – the options are vast.
- Shape and Size: Will it overpower your space, or is it appropriately scaled?
- Color Temperature: Do you prefer warm, cozy light (around 2700K) or cooler, brighter light (4000K+)? This is especially important for integrated LED kits.
3. Bulb Type and Wattage
If the kit uses standard bulbs:
- Socket Type: Most common are E26 (medium base) for North America.
- Maximum Wattage: Always adhere to the maximum wattage specified for the socket to prevent overheating and fire hazards. Check the fixture’s rating and the kit’s rating. For example, a fixture might be rated for 60W per socket, so if you have two sockets, the total maximum is 120W.
- Bulb Shape: Consider Edison bulbs for an industrial look, standard A-type bulbs, or smaller candelabra bulbs for chandeliers.
For integrated LED kits, check the lumens (brightness) and Kelvin (color temperature).
4. Functionality Needs
Do you want dimming? Smart features? More light? Make sure the kit offers what you’re looking for.
5. Budget
Light kits can range from $20 for a simple socket upgrade to $150 or more for elaborate multi-light clusters or smart kits. Set a budget beforehand.
Essential Tools You’ll Need
Gathering the right tools before you start makes the process smoother and safer. For most light kit installations, you won’t need many specialized tools.
- Screwdrivers: A Phillips head and a flathead screwdriver are essential for removing old parts and installing new ones.
- Wire Strippers/Cutters: For safely preparing and connecting wires.
- Voltage Tester (Non-Contact): This is a crucial safety tool to ensure the power is off before you touch any wires. You can find these at any hardware store for a reasonable price. The U.S. Department of Energy also emphasizes safety in home electrical work.
- Ladder or Step Stool: To safely reach your pendant light. Ensure it’s stable.
- Wire Nuts: These are small plastic connectors used to join electrical wires. Your new kit might come with them, but it’s good to have extras.
- Electrical Tape: For extra insulation and securing wire connections.
- Pliers (Optional): Can be helpful for gripping wires or nuts.
- Safety Glasses: Always protect your eyes, especially when working overhead.
Step-by-Step Guide: Installing Your Pendant Light Kit
Ready to give your pendant light a makeover? Follow these steps carefully. Remember, safety first! If at any point you feel unsure, it’s always best to call a qualified electrician.
Step 1: Turn Off the Power!
This is the absolute most important step. Go to your home’s main electrical panel (breaker box) and find the breaker that controls the light fixture you’ll be working on. Flip it to the “OFF” position. To be extra safe, you can also unscrew the light bulb in the fixture.
Pro Tip: Use your non-contact voltage tester to confirm there’s no power at the fixture itself. Touch the tester to the wires inside the canopy after you’ve lowered it.
Step 2: Access the Fixture’s Internals
Most pendant lights have a decorative canopy that screws or slides up to cover the electrical box in the ceiling. Gently lower or unscrew this canopy to expose the wiring and mounting hardware connecting the pendant to the ceiling.
Step 3: Disconnect the Old Kit (If Applicable)
If you’re replacing a whole section, you’ll need to disconnect the old light kit. Carefully note how the wires are connected (usually black to black, white to white, and ground to ground). Unscrew the wire nuts connecting the fixture’s wires to your home’s ceiling wires. Gently separate the wires.
Safety Check: Double-check with your voltage tester that the power is indeed off before touching any wires.
Step 4: Remove the Old Fixture or Kit
Once disconnected, you should be able to unmount the old light kit or the entire old fixture if it’s a complete replacement. This usually involves unscrewing a central mounting bracket or nut.
Step 5: Install the New Mounting Hardware
Your new light kit will likely come with its own mounting bracket or instructions for attaching it to the ceiling electrical box. Follow the kit’s specific instructions. Ensure it’s securely fastened.
Step 6: Connect the Wiring
This is where your new light kit connects to your home’s wiring.
- Ground Wire: Connect the green or bare copper ground wire from your new kit to the ground wire from the ceiling.
- Neutral Wire: Connect the white wire from your new kit to the white wire from the ceiling.
- Hot Wire: Connect the black (or sometimes red) wire from your new kit to the black wire from the ceiling.
Use wire nuts to make secure connections. Twist the wire nut clockwise over the joined wires until it’s snug. Give each wire a gentle tug to ensure it’s secure.
Tip: For added security, you can wrap electrical tape around the wire nut and the wires.
Step 7: Mount the New Light Kit
Carefully tuck the connected wires back into the electrical box. Align the new light kit with the mounting hardware and secure it according to the manufacturer’s instructions. This might involve screwing it into place or attaching a decorative canopy.
Step 8: Install Light Bulbs and Test
Install the appropriate light bulbs into the new sockets. Make sure you don’t exceed the maximum wattage specified for the fixture. Go back to your breaker box and flip the breaker back to the “ON” position. Turn on your light switch to test the new kit!
Step 9: Final Touches
If everything works, ensure the canopy is flush against the ceiling and any decorative elements are properly attached. Clean up your tools and enjoy your newly upgraded pendant light!
Affordability Factor: How Much Does a Kit Cost?
One of the biggest draws of a light kit for a pendant is its affordability. Compared to replacing an entire pendant fixture, a light kit is a budget-friendly alternative that delivers significant visual and functional impact.
Here’s a general price breakdown:
| Type of Light Kit | Average Price Range (USD) | Typical Features |
|---|---|---|
| Basic Socket/Shade Upgrade | $20 – $50 | Changes appearance, may add a simple shade, standard bulb socket. |
| Multi-Light Cluster Kit | $50 – $120 | Converts single to multiple bulbs, often with adjustable arms or a central hub. |
| Integrated LED Kit (Stylish) | $70 – $150+ | Built-in LEDs, modern designs, energy-efficient, various color temperatures. |
| Smart Lighting Kit | $80 – $200+ | Wi-Fi or Bluetooth connectivity, app/voice control, dimming capabilities. |
As you can see, even feature-rich kits are often less expensive than a brand-new, high-quality pendant fixture. This makes them an excellent choice for homeowners looking to make impactful updates without breaking the bank. You can often find great deals on these kits at home improvement stores, online retailers like Amazon, and specialty lighting websites.
Pros and Cons of Using a Light Kit for Your Pendant
Like any home improvement project, there are advantages and disadvantages to consider when opting for a light kit upgrade.
Pros:
- Cost-Effective: Significantly cheaper than replacing the entire pendant fixture.
- Ease of Installation: Generally designed for DIY installation, often requiring basic tools.
- Style Versatility: Instantly update the look of an old or dated fixture.
- Functional Enhancements: Add dimming, smart features, or more light output.
- Reduced Waste: Reusing the existing fixture structure is more environmentally friendly.
- Quick Transformation: Can dramatically change a room’s ambiance in a short amount of time.
Cons:
- Compatibility Issues: Not all kits will fit all existing fixtures; careful measurement and checking are required.
- Limited Design Choices: The range of styles might be more restricted compared to buying a whole new fixture.
- Potential for Lower Quality: Cheaper kits might use less durable materials or have less refined finishes.
- Electrical Work Involved: While generally simple, it still involves working with electricity, which carries inherent risks if not done correctly.
- Integrated LED Lifespan: If an integrated LED fails, the entire kit might need replacement, unlike standard bulb fixtures where you just change the bulb.
Maintaining Your New Pendant Light Kit
Once your new light kit is installed, a little bit of care will keep it looking great and functioning well for years to come. Maintenance is typically very straightforward.
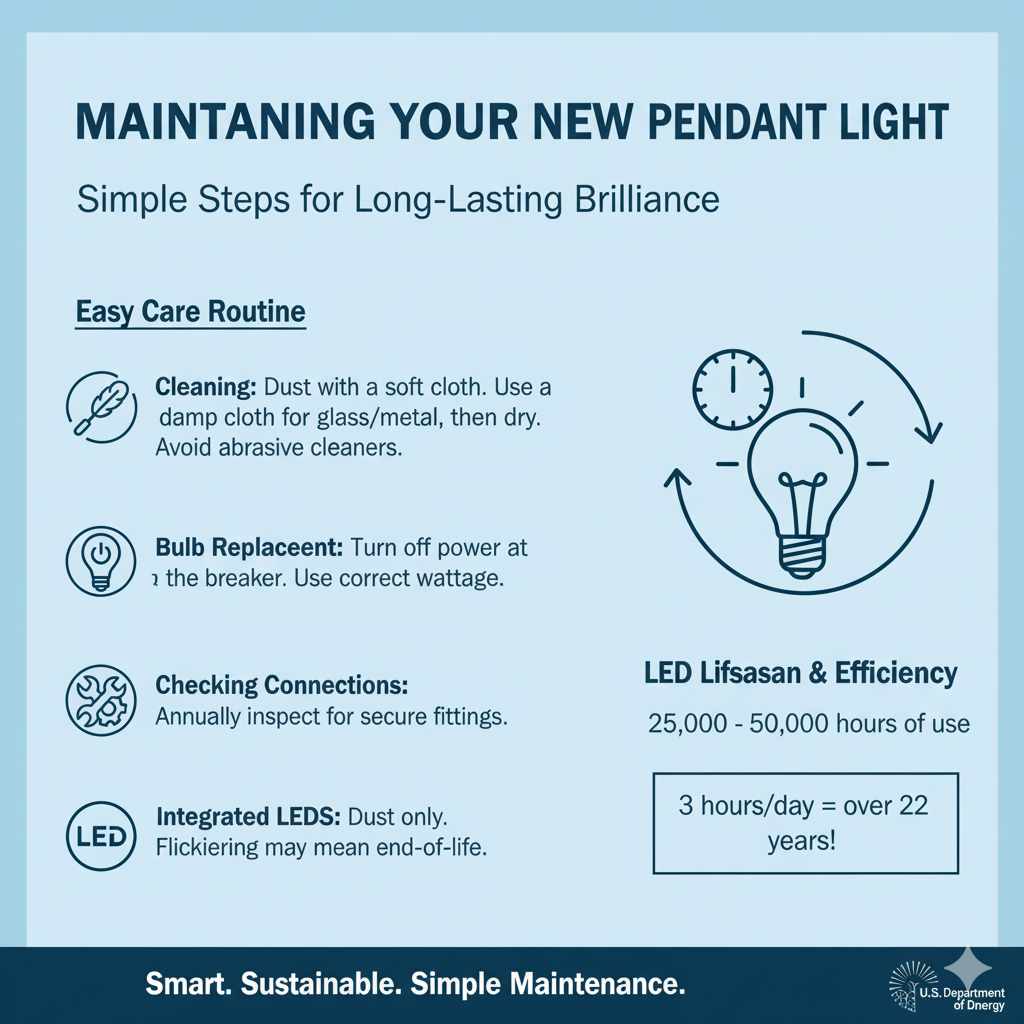
- Cleaning: Dust the fixture regularly with a soft, dry cloth. For glass or metal parts, you might use a slightly damp cloth, ensuring it’s completely dry afterward. Avoid abrasive cleaners, which can damage finishes.
- Bulb Replacement: If your kit uses standard bulbs, remember to turn off the power at the breaker before replacing them. Always use bulbs that meet or are below the maximum wattage specified for the fixture.
- Checking Connections: Periodically (perhaps once a year), it’s a good idea to visually inspect the canopy and connections to ensure everything is still secure. This is especially true if you live in an area prone to vibrations.
- Integrated LED Care: For kits with integrated LEDs, there’s usually no maintenance required beyond dusting. If you notice flickering or dimming after a long period, it might indicate the LED unit is nearing the end of its lifespan, and the kit may need replacement.
For integrated LED fixtures, understanding their lifespan is helpful. Many LEDs are rated for 25,000 to 50,000 hours of use. This translates to many years of typical home use. For example, 25,000 hours used 3 hours a day is over 22 years! For more information on LED technology and its benefits, you can explore resources from the U.S. Department of Energy’s Solid-State Lighting program.
Frequently Asked Questions (FAQ)
Q1: Can I really install a pendant light kit myself?
A1: Yes, most pendant light kits are designed for DIY installation. If you can safely turn off the power at the breaker and follow basic wiring instructions (connecting like colors: black to black, white to white, ground to ground), you can likely do it. Always use a voltage tester to confirm power is off.
Q2: What if my current pendant fixture doesn’t look like it can accept a new kit?
A2: Many kits are universal and designed to fit standard ceiling electrical boxes and mounting systems. The key is to ensure the canopy of the new kit will cover your existing box and that the connection method (usually a threaded rod or screws) is compatible. Measure your existing canopy and compare it to the new kit’s specifications.
Q3: How do I know if a light kit is compatible with my existing wiring?
A3: Most kits are designed for standard North American household wiring (120V). Ensure the wire connectors on the kit are suitable for the gauge of your house wiring. If your home has older or unusual wiring, consult a professional.
Q4: Can I convert a pendant light to have multiple bulbs using a kit?
A4: Absolutely! Multi-light cluster kits are specifically made for this purpose. They typically include a central hub and several arms or stems that hold individual bulb sockets, dramatically increasing light output and visual presence.
Q5: What’s the difference between a kit with standard bulbs and an integrated LED kit?
A5: Standard bulb kits use traditional sockets where you screw in a light bulb, allowing you to easily change bulb type, brightness, or color. Integrated LED kits have the LED light source built directly into the fixture; they are more energy-efficient and long-lasting but don’t allow for individual bulb changes – if the LED fails, the entire kit might need replacing.
Q6: Where can I buy a good quality light kit for my pendant?
A6: You can find them at major home improvement stores (like Home Depot, Lowe’s), online retailers (Amazon, Wayfair), and specialty lighting stores. Look for reputable brands and check customer reviews for quality and ease of installation.
Conclusion
Upgrading your pendant light with a new light kit is a fantastic way to refresh your home’s style and functionality without a major renovation. It’s an accessible, affordable project that can make a dramatic difference in the ambiance and usability of your space. By understanding your options, carefully choosing a compatible kit, and following the installation steps with safety in mind, you can confidently tackle this DIY improvement. Whether you’re aiming for a modern look, better lighting, or smart home integration, a light kit for your pendant is an essential, budget-friendly upgrade that truly pays off. So go ahead, give that pendant light the glow-up it deserves!