How to Replace a Noisy Bathroom Exhaust Fan Safely
Replacing a noisy bathroom exhaust fan is a project most homeowners can do in an afternoon, but it requires cutting power at the breaker, matching the new fan’s CFM rating to your bathroom size, and sealing the duct connection properly so the new fan does not develop the same problems within a few years. This guide walks through the full process safely.
Before you touch anything
Turn off the breaker that controls the fan circuit, then confirm the power is actually off using a non-contact voltage tester at the fixture itself before opening anything. Remove the grille cover, which is usually held by spring clips or a couple of screws, to expose the housing and wiring. Take a photo of the existing wire connections before disconnecting anything, since combo fan and light units sometimes have a switched leg in addition to line, neutral, and ground.
Sizing the replacement correctly
A fan’s CFM rating should roughly match your bathroom’s square footage for standard 8-foot ceilings, so a 50 square foot bathroom generally needs at least a 50 CFM fan. Enclosed toilet rooms and bathrooms combined with a shower or tub typically warrant sizing up, since a fan that is too small for the space will run constantly without actually clearing humidity, which is a common reason bathroom fans fail early from prolonged moisture exposure to the motor. Check that your existing duct is the standard 4-inch round size before assuming a new fan’s duct collar will fit without an adapter.
Removing the old unit and mounting the new one
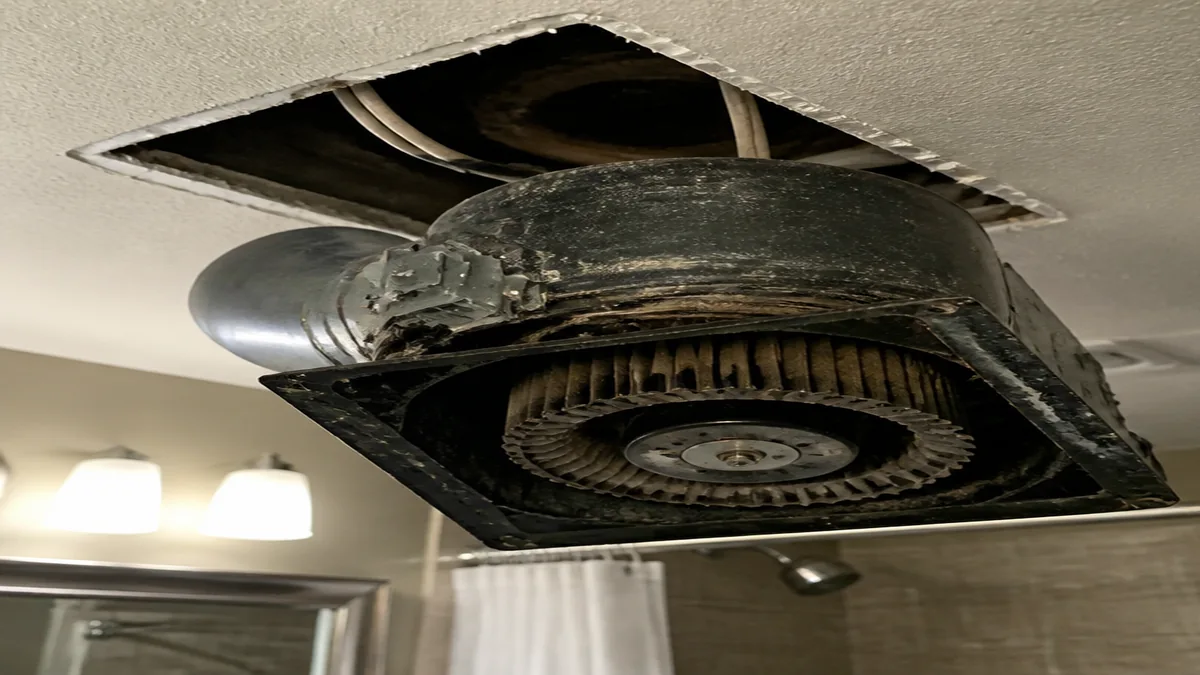
Unscrew the housing from the ceiling joists or mounting bar, disconnect the wire nuts, and detach the duct connection, which is usually held with a clamp or tape at the housing’s exhaust port. Many newer fan housings use adjustable mounting bars that rest across ceiling joists, which is considerably easier to fit into an existing opening than the fixed housings common on fans installed decades ago. Reconnect the wiring to match your original configuration, or per the new unit’s included wiring diagram if you are switching from a fan-only unit to a fan and light combo, which may require running an additional switch leg.
Sealing the duct and finishing up
Reconnect the duct to the new housing’s exhaust port and seal the joint with metal foil tape rated for HVAC use, not standard cloth-backed duct tape, which loses its adhesive under sustained heat and humidity and is a common source of hidden attic moisture problems years later. If the housing sits in an unconditioned attic space, add insulation around it per your local code to prevent condensation from forming on the housing itself in cold weather. Reattach the grille, restore power at the breaker, and test the fan before considering the job finished.
Frequently Asked Questions
Do I need an electrician to replace a bathroom fan?
If you are matching the existing wiring configuration on a like-for-like replacement, many homeowners handle this themselves, but check your local code, especially around GFCI or AFCI requirements, and hire an electrician if the wiring needs to change.
Can I replace the fan without going into the attic?
Some remodel-style housings are designed to be accessed and swapped entirely from below the ceiling, but a full housing replacement, especially one changing size or duct routing, usually requires attic or ceiling cavity access.
What if the new fan is still noisy after installation?
Check that the housing is mounted tightly to the joists with no vibration, that the duct connection is not rattling, and that the duct itself is not undersized for the fan’s airflow, which can cause a whistling or straining sound. If the noise persists, see our guide on bathroom fan not working properly for further diagnosis.
Sponsored / affiliate links. As an Amazon Associate I earn from qualifying purchases. I may earn additional commission from eligible campaigns.