What Size Toilet Auger Do I Need? Length, Head Size, and Safe Use
What Size Toilet Auger Do I Need? Length, Head Size, and Safe Use is easiest to handle when you diagnose the exact water, valve, or tool issue before buying a part. This practical guide explains what to check for what size toilet auger do i need, how to make a controlled repair, and when the safer decision is to stop and call a qualified professional.
Why toilet augers differ from ordinary drain snakes
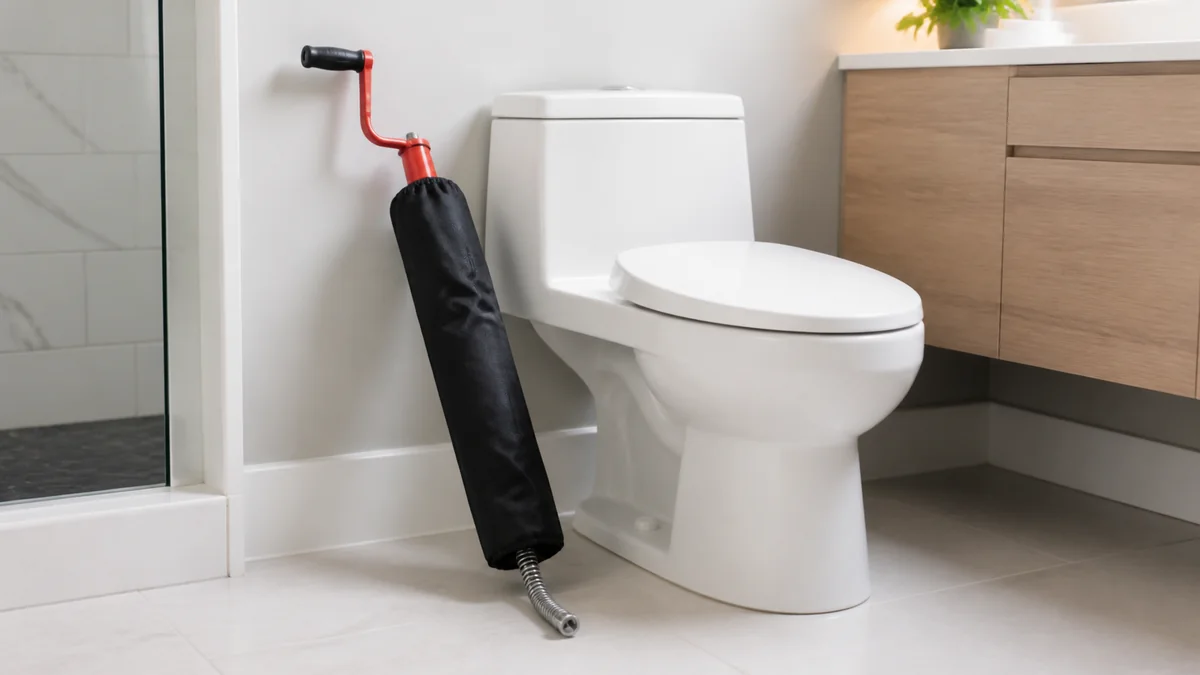
A toilet auger has a curved guide tube and protective sleeve designed to follow the bowl outlet. An ordinary exposed cable can scratch porcelain and may not navigate the toilet trapway well. The right tool is made for the fixture first, not simply the longest cable available.
Choose cable length for the likely blockage
A shorter toilet auger is often enough for a clog in the bowl trapway, which is where many toilet blockages occur. A longer cable does not automatically solve a deeper branch-line problem and can be harder to control. If several drains are slow or the toilet backs up repeatedly, the blockage may be beyond what a homeowner toilet auger should address.
Check the guide and head design
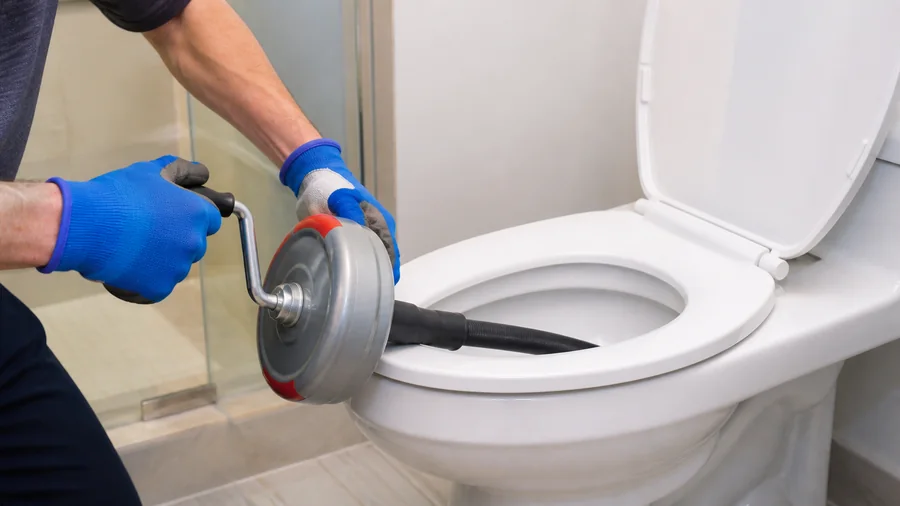
A smooth protective sleeve should be intact and long enough to keep the cable from rubbing the bowl. Use the crank and head style only as directed by the tool manufacturer. A bulky or improvised head can catch in the trapway. Inspect the cable before use for kinks, exposed sharp points, or damage.
Use the tool as a diagnostic step
Feed the guide into the bowl outlet gently, rotate the cable with controlled pressure, and withdraw slowly. If you meet hard resistance, do not force it. Test with a small flush only after removing the tool and confirming the bowl water level is safe. Repeated resistance or recurring backups need a different level of diagnosis.
Keep a clear record of the result
After working through what size toilet auger do i need, write down what you observed, what changed, and whether the symptom returned after normal use. A short note with the fixture model, the part or control checked, and the final result makes future maintenance less speculative. It also prevents a later repair from repeating a step that has already been ruled out. When the condition does not improve, those notes give a qualified professional a much clearer starting point than a general description of the problem.
Make the first check specific
Start by observing the condition before taking anything apart. Note whether the symptom is constant or intermittent, what action triggers it, and whether related parts are working normally. Use a dry towel, phone photos, and a clear work area to make small changes visible. This is useful in bathrooms because water can travel along a fixture or connection and create a misleading wet spot. A quick diagnosis based on the first visible symptom often leads to an unnecessary replacement part.
Prepare the work area before disassembly
Protect finished surfaces with towels and place a shallow container nearby for small parts or residual water. If you will reach a water connection, close the local shutoff and confirm it holds before loosening anything. If the task involves a toilet tank, set the lid down on a protected flat surface because porcelain can crack easily. Take photos in sequence as clips, caps, seals, and fasteners come off. These small habits make reassembly calmer and help you compare the original arrangement with the repaired one.
Use one change at a time
Make one correction, restore normal operation gently, and repeat the exact condition that produced the symptom. Replacing several parts at once can hide the actual cause and makes a later failure harder to explain. A simple repair should leave a clear before-and-after result: stable tank water, a dry connection, normal flow, or smooth movement. If the symptom changes but does not disappear, treat that as useful information rather than a reason to replace every related component.
Check compatibility before spending money
A close-looking repair part is not necessarily a compatible one. Match the original by fixture model, dimensions, connector style, valve type, seal profile, or tool purpose. Keep the old part until the replacement has been checked side by side and the repair has passed a normal-use test. This matters most with internal mechanisms where a small difference in height, tab position, or seal shape can cause a new leak or prevent normal operation.
Test the repair under normal conditions
After the repair, restore water or use the fixture slowly and inspect the area immediately. Then return later for a second check because slow leaks and refill cycles can take time to reveal themselves. A dry tissue around seams or fittings can show moisture before it becomes a visible drip. Do not consider a repair finished just because the part fit. The result should hold during the same use pattern that originally exposed the problem.
Choose a durable fix instead of a cover-up
Extra tightening, makeshift shims, or surface sealant may hide a symptom while leaving the original cause active. A durable repair addresses the confirmed failed part, preserves access for later service, and does not transfer force to a brittle or corroded component. When the actual fix requires hidden piping, a seized shutoff, electrical work, or access beyond a homeowner-safe task, professional service protects the home better than forcing a DIY result.
Use the fixture history as evidence
Think about what changed before the symptom began. A new cleaner, recent renovation, hard-water buildup, a changed water supply, or a repair by a previous owner can all narrow the likely cause. The history should not replace inspection, but it can tell you where to look first. For example, an issue that started immediately after a part replacement may point to fit or installation, while a gradual problem may fit normal wear or mineral accumulation. Record observations rather than relying on memory after several checks.
Protect surrounding finishes and materials
Bathrooms contain finished fixtures, paint, cabinetry, flooring, caulk, and sometimes concealed water-sensitive materials. Use a towel between a hand tool and plated finish, avoid harsh chemicals unless they are approved for the exact surface, and keep water from standing under a fixture. If a fitting requires more force than expected, stop and verify the part you are turning. A small amount of patience protects the surrounding installation and can prevent a simple maintenance job from becoming a replacement project.
Know what a useful replacement decision looks like
A replacement is justified when inspection shows a failed component and the new part can be matched confidently. It is not justified only because a product is easy to order. Check the fixture’s model information, the old part’s dimensions, the installation instructions, and any limits on compatibility. When the correct part is unavailable, compare the complete mechanism rather than choosing the nearest-looking item. A verified repair path is safer and usually less expensive than trial-and-error purchases.
Leave the area ready for the next inspection
After testing, dry the work area, return tools and spare parts to a labeled location, and make sure any access panel or tank lid is seated properly. Note the date, part number, and result in a phone note or household maintenance record. If the fixture develops a similar symptom later, these details make it easier to distinguish a repeated failure from a new one. Good cleanup also makes future moisture or movement visible instead of hiding it behind leftover towels, tools, or residue.
Use caution with water and pressure
Water can remain in a line or tank after a local shutoff is closed, so release pressure slowly and keep a container ready. Never loosen a connection while it is under pressure or rely on a partly closed valve. If water behavior is unusual, stop, dry the area, and verify the source before continuing. Protecting the home from a leak is more important than finishing a repair quickly. This approach is especially useful in older bathrooms where valves, threaded connections, and plastic parts may be more fragile than they look.
Work within the limits of the fixture
Not every symptom is accessible from the outside of a fixture. A toilet may need a model-specific internal component, a faucet may require a cartridge that is no longer supported, and a connection may be hidden behind a finished surface. Respecting those limits is part of a good repair decision. If you cannot clearly identify the mechanism, obtain the model information first or ask a professional for a targeted assessment. Guessing at a hidden component can waste time and turn a manageable repair into a larger installation problem.
Review the result before closing the project
Before putting tools away, revisit the original symptom in plain language and compare it with the result. Confirm that the fixture operates normally, that all connections remain dry, and that no new noise, movement, or water-level change has appeared. This final review catches small issues that are easy to miss while concentrating on one component. It also gives you a clear stopping point: if the condition is resolved, leave the fixture alone; if it is not, collect the useful observations before deciding on the next step.
Use a calm troubleshooting order
A consistent order keeps a repair from becoming guesswork: observe the symptom, isolate the relevant water or moving component, inspect the simplest visible cause, test one change, and then reassess. It is tempting to begin with the part that is easiest to buy, but a methodical order often shows that cleaning, adjustment, correct fit, or a single small component is the real answer. When the evidence points outside the fixture, stop there rather than adding unrelated parts.
A safe step-by-step approach
Work slowly, isolate water where appropriate, and keep the repair reversible until the diagnosis is confirmed. Do not force a part that is stuck or use a tool outside its intended purpose.
- Choose a toilet-specific auger with an intact protective sleeve.
- Use a cable length suited to a bowl-trap clog, not a whole-house drain claim.
- Feed the guide gently and rotate without forcing resistance.
- Withdraw the cable slowly and inspect the result.
- Test with a cautious flush and stop if backups recur.
Common mistakes to avoid
Do not use a bare drain snake in a toilet bowl, force a cable against hard resistance, or flush repeatedly when the bowl water is rising.
When a professional is the safer choice
Call a plumber for repeated backups, multiple slow drains, suspected foreign objects, sewer odor, or a blockage that resists a careful toilet-auger attempt.
Frequently asked questions
What should I check first for what size toilet auger do i need?
Start by identifying the exact source of the symptom. For what size toilet auger do i need, check the visible mechanism, water path, or tool condition before ordering a replacement. A focused first observation prevents unnecessary disassembly.
Usually, yes. Replace only the part that testing identifies as failed. Correcting one confirmed issue and testing again is safer than changing a group of components based on a similar sound or appearance.
How do I know the repair is complete?
Repeat the original use condition, inspect immediately, and recheck later. Stable operation, no new moisture, normal movement, and no recurring sound or refill cycle are stronger proof than a quick visual check.
What information should I save for a future repair?
Keep the fixture model, a photo of the original arrangement, the part number used, and a short note about what solved the problem. This record saves time when the fixture needs service again.
Conclusion
A careful approach to what size toilet auger do i need starts with the real cause, not the most visible symptom. Confirm the water path or mechanism, use a compatible part or tool, and test after each change. That keeps the repair safer, more durable, and easier to explain if professional help is needed.
Sponsored / affiliate links. As an Amazon Associate I earn from qualifying purchases. I may earn additional commission from eligible campaigns.