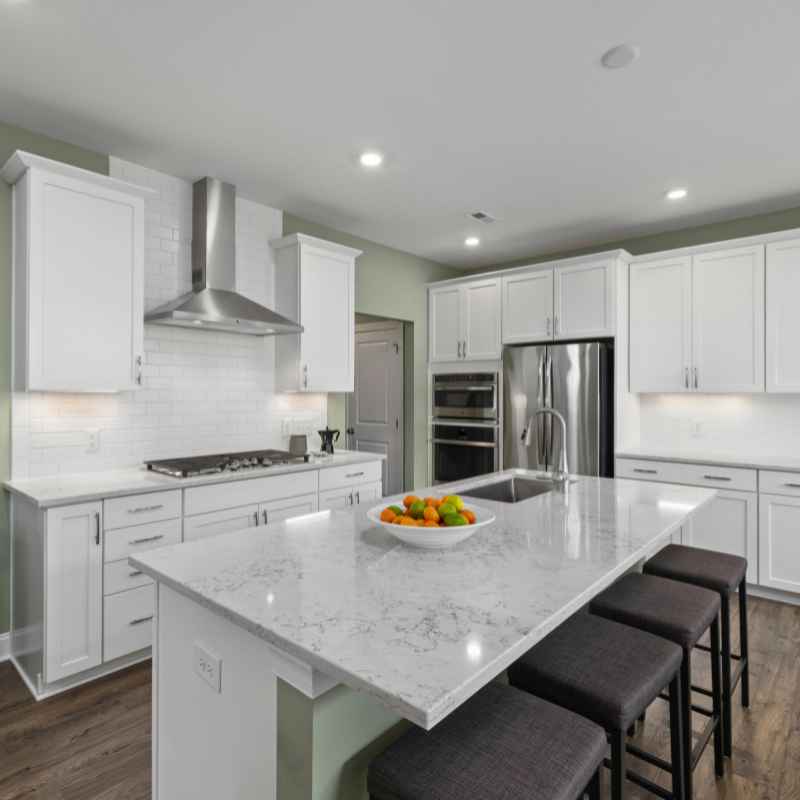
Can I Paint Kitchen Cabinets Without Sanding? Yes, Here’S How
Painting kitchen cabinets can totally change a room’s look. But the thought of all that sanding? It’s enough to make anyone pause.
It can seem like a huge, messy job. Many people worry if they can skip this tough step. Will the paint stick?
Will it look good? Let’s dive into this common question and see what’s possible.
Yes, it is often possible to paint kitchen cabinets without extensive sanding. This relies on using specific primers and paint products designed for adhesion to slick surfaces. Proper cleaning and prep are still very important for a lasting finish.
Painting Kitchen Cabinets Without Sanding: Is It Really Possible?
This is the big question on many DIYers’ minds. The short answer is: yes, you often can. However, it’s not quite as simple as just slapping paint on.
Traditional advice always said sanding was a must. This created a rough surface for paint to grip onto. But today’s paint and primer technology has changed things.
Newer products are made to stick to surfaces that are smooth. Think of laminate or glossy finishes. These used to be very hard to paint over.
Now, with the right primer, they can take paint well. This saves a lot of time and effort. It also means less dust and mess in your home.
However, “no-sanding” doesn’t mean “no-prep.” Cleaning is absolutely critical. You need to remove all grease, grime, and old wax. Any leftover residue will stop the new paint from sticking.
This can lead to peeling later on. So, while you might skip the sanding block, don’t skip the cleaning sponge.
The Science Behind No-Sanding Painting
Why does this even work? It all comes down to adhesion. Paint needs something to hold onto.
Normally, sanding creates tiny scratches. These give the paint’s molecules little places to grab. Without sanding, we need a different way to create that grip.
This is where specialty primers come in. They are called bonding primers or adhesion primers. These are specially formulated.
They contain stronger bonding agents. These agents can grab onto smooth surfaces. They create a surface that the topcoat of paint can stick to.
It’s like giving the paint a sticky handshake.
These primers are often oil-based or shellac-based. They are known for their strong ability to stick. They can bridge over glossy or slick finishes.
Once the primer is on and dry, it provides a new surface. This new surface is ready for your chosen cabinet paint.
My Own Kitchen Cabinet Painting Adventure (Without the Sanding Blues!)
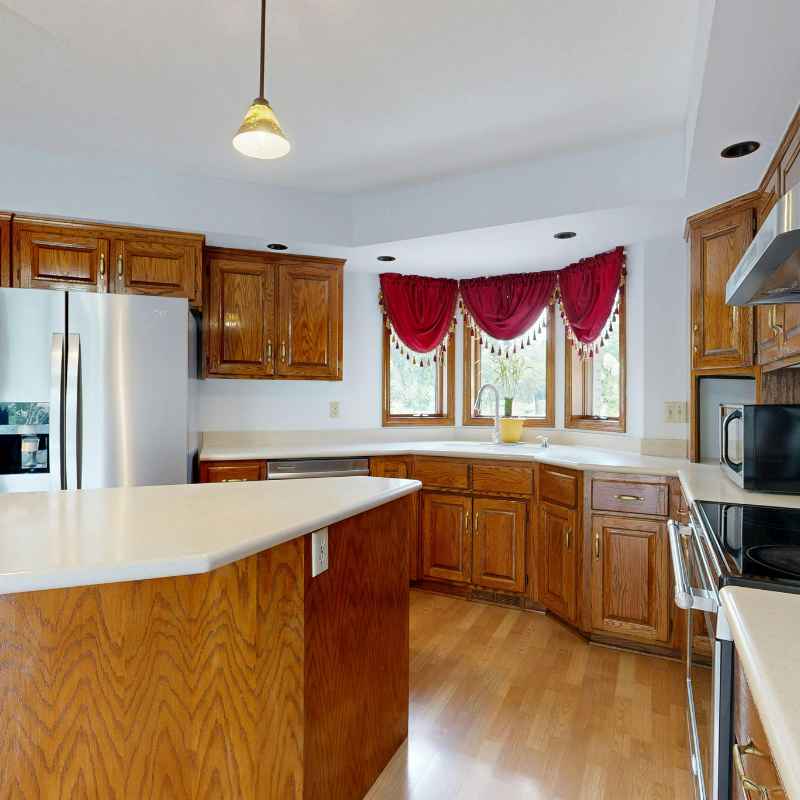
I remember staring at my tired, old oak cabinets. They were dark and felt so dated. I dreamed of a bright, modern kitchen.
But the thought of sanding every single door and drawer front? It felt like a mountain I couldn’t climb. I’d seen so many DIY blogs mention sanding as essential.
I was honestly a bit scared to skip it.
One weekend, I decided to really research. I found articles and videos about using modern bonding primers. It felt like a revelation.
Could I really avoid all that dust? I decided to give it a try. I picked a weekend with nice weather, hoping for good ventilation.
I started by taking off all the doors and hardware. Then came the deep cleaning. I used a strong degreaser.
I scrubbed every inch. My husband thought I was scrubbing the finish off! But I knew this was the most important step.
I wiped everything down with a damp cloth to remove any cleaner residue. Then, I let it all dry completely.
I then applied a thin coat of a high-adhesion primer. I was nervous as I brushed it on. It looked a little streaky at first.
But I reminded myself that it was just the first layer. After it dried, I was amazed. It felt like a totally different surface.
It wasn’t glossy anymore. It felt almost chalky. The paint was going to stick!
That first cabinet door I painted felt like a huge victory. I painted the rest of the cabinets over the next few days. It was still a lot of work.
But it was so much less physically demanding and messy than I expected. And a year later? They still look fantastic.
No peeling, no chipping. It really worked!
Prep Steps: The Real Stars of the Show
Super Clean: Use a good degreaser. Grease is paint’s enemy. Wipe down all surfaces until they feel squeaky clean.
This is non-negotiable.
Rinse Well: After cleaning, wipe everything down with plain water. This removes any leftover cleaning product. Product residue can also prevent adhesion.
Dry Thoroughly: Let cabinets dry completely. Moisture can interfere with primer and paint. A fan can help speed this up.
Light Scuff (Optional but Recommended): If your cabinets are very high gloss, a very light scuff with a fine-grit sanding sponge (220-grit or higher) can help. This is much faster than full sanding and creates a little tooth.
Choosing the Right Products for Success
The products you use are key. If you pick the wrong ones, your paint job might fail. This is where your research really pays off.
Primers: Look for primers labeled as “bonding primers” or “adhesion primers.” Some brands are known for this. Examples include products from Zinsser, Kilz, and Behr. They are often formulated to stick to laminate, vinyl, tile, and previously painted surfaces.
Shellac-based primers are also excellent for this task. They are very good at blocking stains too.
Paints: For cabinet paint, you want something durable and smooth. Water-based alkyd enamels or acrylic latex enamels are good choices. They offer the durability of oil-based paints but with easier cleanup.
Look for paints with a satin or semi-gloss finish. These are easier to clean and more forgiving than flat finishes.
Application Tools: High-quality brushes and rollers make a big difference. Foam rollers are great for smooth finishes on cabinet doors. Use a good synthetic brush for edges and details.
A paint sprayer can give the most professional, smooth finish, but it requires more setup and practice.
Product Spotlight: High-Adhesion Primers
- Zinsser B-I-N Primer: This is a shellac-based primer. It sticks to almost anything. It dries fast and blocks stains. It has a strong odor, so ventilation is a must.
- Kilz Adhesion Primer: This is a water-based primer. It’s designed for slick surfaces like laminate and glossy paint. It offers good adhesion without heavy sanding.
- Benjamin Moore Ultra Spec High-Bond Primer: Another great option for difficult surfaces. It’s known for its excellent adhesion properties.
The Step-by-Step “No-Sand” Cabinet Painting Process
Let’s walk through the actual steps. Think of this as your friendly guide.
1. Empty and Disassemble: Take everything out of your cabinets. Remove all doors and drawer fronts.
Take off the hardware like hinges and knobs. Keep everything organized. Labeling doors can be helpful.
2. Deep Clean: This is your most crucial step. Use a good degreaser.
TSP (Trisodium Phosphate) cleaner is strong, but requires careful handling and rinsing. A simpler alternative is a mixture of warm water and a few drops of dish soap, or a dedicated cabinet cleaner. Scrub every surface.
Pay attention to areas around the stove and sink. They get the most grease.
3. Rinse Thoroughly: Use a clean, damp cloth. Wipe down all surfaces.
You want to remove all traces of the cleaning solution. If you don’t rinse well, the cleaner can prevent the primer from sticking.
4. Dry Everything: Let all cabinet parts air dry completely. You can also use a clean, lint-free cloth.
Ensure no moisture remains. This might take a few hours.
5. Masking and Protection: Cover your countertops, floors, and appliances. Use painter’s tape and plastic sheeting.
This protects them from drips and overspray. A clean, protected work area makes the job easier.
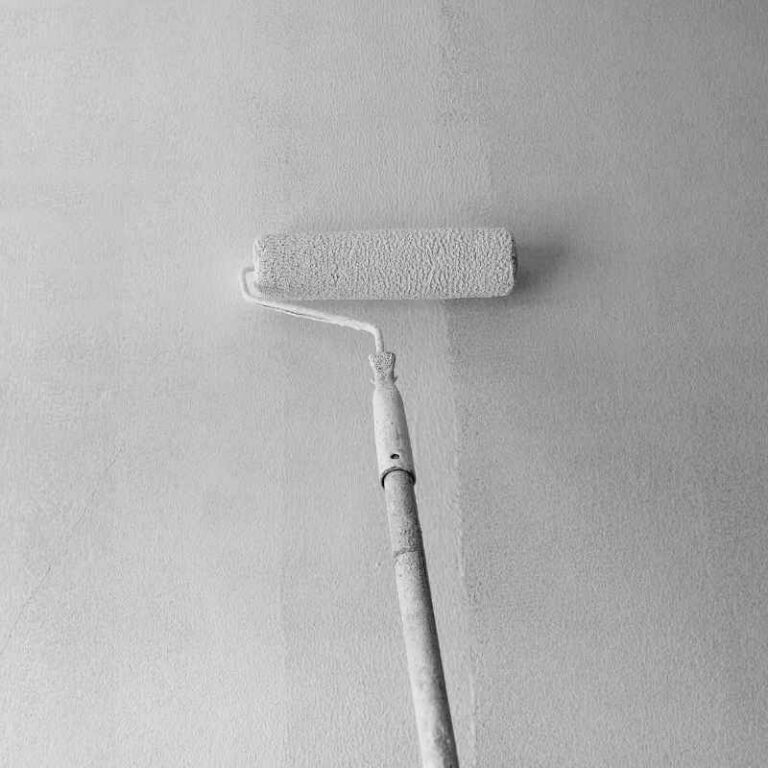
6. Apply Bonding Primer: Using your chosen primer, apply a thin, even coat. A good synthetic brush works well for frames and edges.
A small foam roller is best for cabinet doors and drawer fronts. Don’t try to get perfect coverage in the first coat. The goal is to lay down a solid base for adhesion.
7. Let Primer Cure: Follow the manufacturer’s instructions for drying and recoating times. This is important.
It needs enough time to bond properly. Some primers require a full 24 hours to cure.
8. Lightly Sand (Optional but Recommended): If you choose to do a light scuff, use 220-grit sandpaper or a fine-grit sanding sponge. Go over all surfaces lightly.
This is not about removing the primer. It’s about creating a little more “tooth” for the paint.
9. Clean Off Dust: After any light sanding, wipe down all surfaces again with a tack cloth or a slightly damp cloth. Remove all dust particles.
10. Apply Cabinet Paint: Now for the color! Apply thin, even coats of your cabinet paint.
Again, use a brush for details and a foam roller for flat surfaces. Avoid applying paint too thickly. This can lead to drips and an uneven finish.
Two to three thin coats are usually better than one thick coat.
11. Allow Paint to Cure: This is where patience is key. Paint needs time to harden fully.
This curing process can take up to 30 days. During this time, be gentle with your cabinets. Avoid banging them or cleaning them aggressively.
12. Reassemble: Once the paint has cured sufficiently (check product instructions), reattach your hardware. Hang the doors and reinsert the drawers.
Step back and admire your work!
Quick Scan: No-Sand Cabinet Painting Checklist
| Task | Notes |
| Empty Cabinets | Remove all items. |
| Remove Doors/Drawers | Label for easy reassembly. |
| Deep Clean | Use degreaser. No grease left. |
| Rinse | Remove all cleaner residue. |
| Dry | Completely dry surfaces. |
| Mask | Protect surrounding areas. |
| Prime | Use bonding primer. Thin coats. |
| Sand Lightly (Optional) | 220-grit for better grip. |
| Clean Dust | Tack cloth or damp cloth. |
| Paint | Thin coats. Multiple layers. |
| Cure | Allow paint to harden fully (up to 30 days). |
| Reassemble | Put hardware back on. |
Real-World Context: When Does “No-Sanding” Work Best?
This method is fantastic for certain cabinet types. It’s also more practical in some home environments.
Cabinet Materials: It works very well on cabinets with laminate, thermofoil, or pre-painted smooth finishes. These surfaces are naturally slick. The bonding primer is designed to stick to them.
It’s less ideal for unfinished wood or heavily varnished wood that you want to look like natural wood. For those, traditional prep might be better.
Home Environment: If you live in an apartment or don’t have an outdoor space for sanding, this is a game-changer. It dramatically reduces dust. This is great for families with young children or pets.
It also means less cleanup time around your living space. You can work indoors with good ventilation.
Time Constraints: For those who are busy, skipping the sanding step saves significant time. What might take days of sanding can be reduced to hours of cleaning and priming. This makes a big kitchen cabinet makeover more achievable for many people.
What This Means for You: When to Be Cautious
While “no-sanding” is a great option, there are times to be cautious or even reconsider.
Previous Paint Quality: If the cabinets have been painted before and the paint is peeling or chipping badly, you must address that. You may need to scrape loose paint. Then, you’ll need to sand the edges to smooth them out.
Priming over failing paint won’t fix the underlying issue.
Unfinished or Heavily Varnished Wood: If you have solid wood cabinets with a thick, glossy varnish, you might need more prep. A bonding primer can work, but you might get a better result with a light sanding first. This is especially true if you want a very fine, smooth finish.
High-Traffic, High-Impact Areas: Kitchen cabinets take a beating. They get touched, bumped, and splashed. If your cabinets are in a very high-traffic area, or if you’re prone to slamming doors, the extra adhesion from light sanding (even if not full) can provide extra peace of mind.
Think of it as adding a little extra insurance for durability.
Your Personal Preference for Finish: Some people love the look and feel of smoothly painted cabinets. Others might want a slightly more textured or “worn-in” look. If you are aiming for a very specific, high-end finish that typically requires meticulous prep, you might consider traditional methods.
But for most modern looks, this method is excellent.
Quick Tips for a Flawless No-Sand Finish
Here are a few extra pointers to make your project go smoothly.
Test Patch: If you’re unsure, paint a small, hidden area first. Test your primer and paint. See how it adheres after a few days.
This gives you confidence before tackling the whole kitchen.
Good Lighting: Work in good light. This helps you see drips, missed spots, or uneven coverage as you go.
Work in Sections: Don’t try to do everything at once. Paint the doors one day, the drawer fronts another. Work on the cabinet frames separately.
This makes the job feel less overwhelming.
Ventilation is Key: Even with water-based paints, good ventilation is important. Primers, especially shellac-based ones, can have strong fumes. Open windows and use fans.
Patience with Curing: Seriously, let the paint cure. It’s tempting to use your kitchen normally right away. But rushing the curing process is the fastest way to get chips and damage.
Be gentle for the first month.
Frequently Asked Questions About Painting Cabinets Without Sanding
Can I paint over glossy cabinets without sanding?
Yes, you can often paint over glossy cabinets without sanding. The key is to use a high-adhesion bonding primer. This primer is specially formulated to stick to slick, glossy surfaces.
Always start with thorough cleaning to remove all grease and grime.
What is the best primer for cabinets if I don’t want to sand?
The best primers for no-sand cabinet painting are “bonding” or “adhesion” primers. Products like Zinsser B-I-N (shellac-based) or Kilz Adhesion (water-based) are excellent choices. They create a strong bond on difficult surfaces like laminate or glossy paint.
Will paint peel if I don’t sand my kitchen cabinets?
Paint can peel if you don’t sand and don’t use the right products or prep properly. However, if you use a high-quality bonding primer and ensure the cabinets are perfectly clean, paint can adhere very well. Skipping sanding is less risky with modern primers than it used to be.
How long should I wait between primer coats if not sanding?
Always check the primer’s instructions. Most bonding primers need about 1-4 hours to dry to the touch. However, for maximum adhesion, it’s best to let the primer cure for at least 24 hours before applying the next coat or your topcoat of paint.
What kind of paint is best for cabinets if I’m not sanding?
For cabinets, especially when skipping sanding, use a durable enamel paint. Options include water-based alkyd enamels or acrylic latex enamels. These provide a hard, smooth finish that is easy to clean.
A satin or semi-gloss sheen is recommended for kitchens.
Is it worth painting kitchen cabinets without sanding?
For many people, it is absolutely worth it. Painting cabinets without sanding saves significant time, effort, and mess. If you use the right products and follow the crucial prep steps (especially cleaning), you can achieve a beautiful and durable finish.
It makes cabinet refacing much more accessible.
Conclusion: Your Dream Kitchen Awaits
Painting your kitchen cabinets without sanding is a totally achievable goal. It requires careful preparation and the right products. But it can save you a lot of work.
You can transform your kitchen without the dust and hassle of traditional sanding. Focus on that deep clean and choose a good bonding primer. Your kitchen will look amazing.
Sponsored / affiliate links. As an Amazon Associate I earn from qualifying purchases. I may earn additional commission from eligible campaigns.