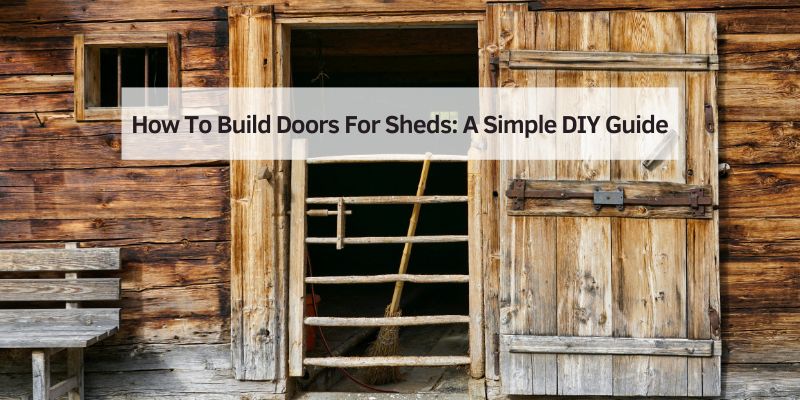
How to Build a Shed Door: Single, Double & Material Costs
A single shed door takes about 3-4 hours to build from 2×4 framing and plywood, costing roughly $50-$100 – a double door runs 5-6 hours and $80-$150. Skip the diagonal brace or use the wrong wood and the door sags or warps within a season, which is what happened on my first attempt. This guide covers the full build for single and double doors, real material costs, and the brace design that actually stops sagging.
I’ve since built several of these – the wobbly first one taught me more than the ones that went right.
What Are Shed Doors And Why Do They Matter?
Shed doors keep your stuff safe and dry. They also make your shed look great! A good door is strong, fits well, and opens easily. You can build single or double doors based on your shed’s size. My first door was too tight, and I had to sand it down. Don’t make my mistake—measure carefully!
Types of Shed Doors
You’ve got options when building shed doors:
- Single doors: Great for small sheds (up to 3 feet wide).
- Double doors: Perfect for bigger sheds to store large items like lawnmowers.
- Sliding or roll-up doors: Cool for tight spaces but trickier to build.
Each type has its perks. Single doors are simple, while double doors give easy access. Choose what fits your shed’s vibe!
Tools And Materials You’ll Need
Building a shed door is like baking a cake—you need the right ingredients. Here’s what I use for a basic door. These are beginner-friendly and easy to find at hardware stores like Home Depot.
Tools
- Tape measure: For exact sizes.
- Circular saw: Cuts wood smoothly.
- Drill and screwdriver: For screws and hinges.
- Level: Keeps your door straight.
- Sandpaper (36-100 grit): Smooths rough edges.
Materials
- Plywood or T1-11 siding: At least 1.5 inches thick for strength.
- 2×4 boards: For the door frame.
- 1×4 and 1×8 boards: For extra support.
- Hinges (3-inch): Rust-resistant for outdoor use.
- Screws (1.5-2 inch): Galvanized to avoid rust.
- Wood glue: Makes the frame super strong.
- Preservative (e.g., Ronseal): Protects against rain.
Table 1: Tool Comparison
| Tool | Cost (Approx.) | Why It’s Great |
|---|---|---|
| Circular Saw | $50-$100 | Cuts straight lines fast. |
| Jigsaw | $30-$80 | Good for curved cuts (optional). |
| Hand Saw | $10-$20 | Cheap but slower. |
Best Shed Door Hinge Pick
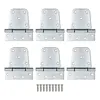
3.5″ Heavy Duty T Gate Hinges (6-Pack)
A 6-pack covers a double door’s worth of hinges with spares – and the T-strap style spreads the door’s weight across the frame better than a small butt hinge.
- Best for: both single and double shed doors
- Why we picked it: galvanized finish resists rust outdoors, screws included
- Main drawback: 3.5″ size – measure your door thickness before buying
Compare more shed door hardware
 Option 1 Exterior Wood Preservative
|
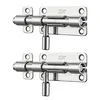 Option 2 Barrel Bolt Latch
|
 Option 3 Galvanized Deck Screws
|
As an Amazon Associate we earn from qualifying purchases.
Step-By-Step Guide To Build A Single Shed Door
Let’s build a single shed door! This guide is for a 3-foot-wide, 6-foot-tall door. Adjust sizes for your shed. Follow these steps, and it’s a piece of cake!
- Measure the Door Frame: Measure your shed’s door opening. Subtract ½ inch from the width and height for clearance. My first door was too big, and it got stuck!
- Cut the Plywood: Mark your plywood to match the frame size. Use a circular saw for clean cuts.
- Build the Frame: Cut two 2x4s for the sides (6 feet long) and two 1x8s for the top and bottom. Glue and screw them into a rectangle.
- Add a Diagonal Brace: Cut a 1×4 board to fit diagonally across the frame, running from the bottom hinge corner up to the top latch corner – not the other way. Orienting it this way puts the brace in compression instead of tension, so it resists sagging without relying on the screws to hold the joint together. Screw it in place.
- Attach the Plywood: Nail the plywood to the frame. Make sure it’s flush with the edges.
- Sand the Edges: Smooth any rough spots with sandpaper. It makes painting easier.
- Add Hinges: Mark 7 inches from the top and 11 inches from the bottom of the frame. Screw hinges to the shed, then the door.
- Test the Door: Hang the door and check if it swings smoothly. Sand more if it sticks.
- Apply Preservative: Use an oil-based preservative like Ronseal to protect against rain.
📊 A 1/8-inch gap around a door lets in roughly as much air as a 5.5-inch diameter hole in the wall. A properly-shimmed, weatherstripped shed door isn’t just about looks – loose tolerances add up to real drafts. Source: Hunker
Why Hinge-Side-Up Bracing Matters
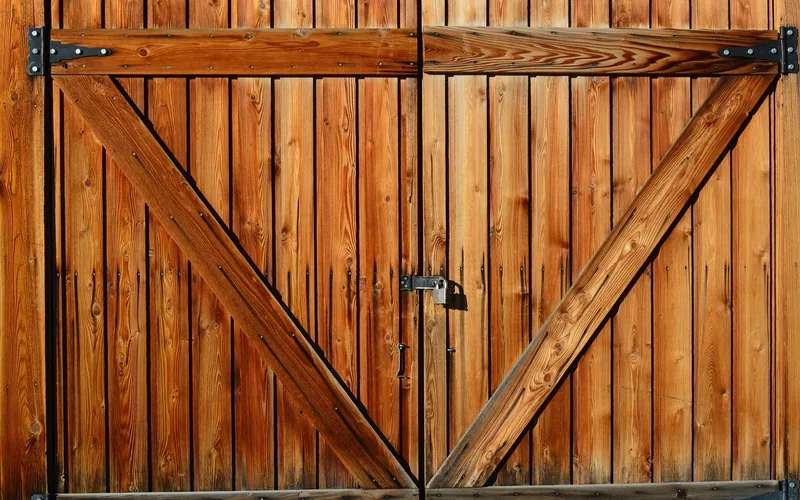
A traditional “ledged and braced” shed door uses horizontal ledges plus a diagonal brace running from the hinge side up – together they form a Z shape on the back of the door. The ledges keep the vertical boards aligned; the correctly-angled diagonal keeps the frame from racking into a parallelogram. Get the diagonal backwards (latch-side-up) and it works in tension instead of compression, putting all the load on the screws rather than the wood itself – which is a common reason braced doors still sag within a year or two.
“My first shed door wobbled like a jellyfish because I braced it the wrong way – diagonal running from the wrong corner. Once I flipped it to run from the hinge side, the same frame stopped racking entirely. It’s a five-minute fix if you catch it before you screw the plywood on.”
Building Double Shed Doors
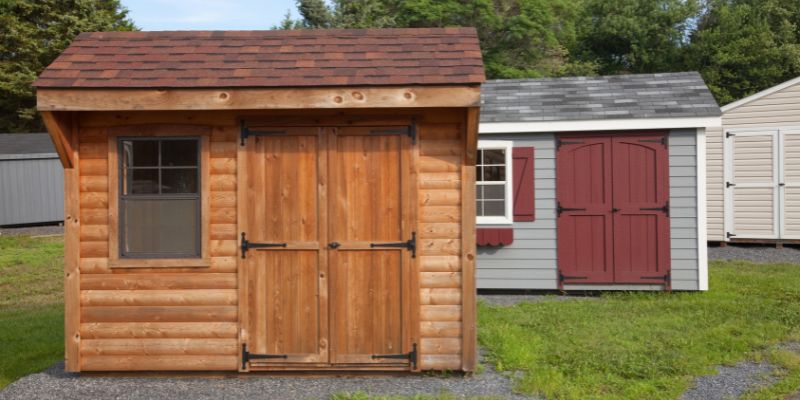
Double doors are great for big sheds. They’re like two single doors but need a center jamb. Here’s how I built mine for a 6-foot-wide opening.
- Measure the Opening: Measure the shed opening. Subtract ¾ inch for clearance (½ inch sides, ¼ inch center).
- Cut Two Panels: Cut two plywood sheets, each half the width of the opening minus ⅜ inch for the center gap.
- Build Two Frames: Make two frames like the single door, using 2x4s and 1x8s. Add diagonal braces to each.
- Attach Plywood: Nail plywood to each frame. Keep edges even.
- Install a Center Jamb: Add a vertical 2×4 in the shed’s door frame to support both doors.
- Hang the Doors: Attach hinges to both doors and the shed frame. Ensure a ¼-inch gap between doors.
- Add a Latch: Use a barrel bolt to secure one door to the jamb.
- Treat the Wood: Apply preservative to both doors for weatherproofing.
Material costs for a double door (6-foot-wide opening), based on standard lumber and hardware pricing:
| Item | Qty | Approx. Cost |
|---|---|---|
| 3/4″ plywood or T1-11 siding (2 panels) | 2 | $50-$80 |
| 2×4 framing lumber | ~8 | $25-$35 |
| 1×8 boards (top/bottom rails) | 4 | $15-$20 |
| 1×4 diagonal braces | 2 | $8-$12 |
| 3″ galvanized hinges (3 per door) | 6 | $20-$30 |
| Barrel bolt latch | 1 | $8-$12 |
| Wood glue + galvanized screws | – | $10-$15 |
| Oil-based exterior preservative | 1 can | $15-$25 |
| Total (double door) | ~$150-$230 |
A single door runs roughly half this – about $50-$100 – since it needs one frame and one panel instead of two.
Benefits And Drawbacks Of DIY Shed Doors
Building your own shed doors saves money and lets you customize. My double doors cost $80 versus $200 for pre-made ones! You can pick colors or add windows. But it takes time, and mistakes like bad measurements can mess things up. Pre-made doors are faster but pricier and less unique.
Alternative Approaches
- Sliding Doors: Great for small spaces. They need tracks, which cost more.
- Roll-Up Doors: Awesome for garages but need special framing.
- Metal Doors: Super durable but heavy and expensive.
I stick with wood for simplicity and cost. Try cedar for extra durability—it’s naturally rot-resistant!
My Top Tips For Building Shed Doors
Here are my hard-earned tips to make your project smooth:
- Double-check measurements: A wrong size ruins everything.
- Use galvanized screws: They won’t rust in the rain.
- Add a Z-brace: It stops sagging and looks cool.
- Test hinges before painting: Loose hinges are a pain to fix later.
Common Mistake: Don’t skip the preservative! My first door warped because I used cheap paint. Use a quality oil-based preservative for long-lasting protection.
Safety Tip: Wear gloves and goggles when cutting wood. Splinters and dust are no fun!
Frequently Asked Questions
How Wide Should My Shed Door Be?
A shed door should be ½ inch narrower than the opening for clearance. For double doors, subtract ¾ inch to account for the center gap. Measure twice to avoid a stuck door!
How Much Gap Should Be Around a Shed Door?
Aim for about 1/8 inch at the top and latch side, up to 1/2-3/4 inch at the bottom. Wood swells in humid weather and shrinks when it’s dry, so a door hung tight in summer may bind, while one hung loose in winter can develop a wider gap by mid-summer. If you’re building in a very humid season, lean toward the looser end of that range.
What’s the Best Wood for Shed Doors?
Cedar is great for durability and resists rot. Plywood is cheap but needs sealing. Pine works in dry climates with a good preservative. Pick based on your budget and weather.
How Do I Stop My Door From Warping?
Use a diagonal brace to keep the frame sturdy. Apply an oil-based preservative like Ronseal yearly. Avoid water-based paints—they don’t protect well against rain.
Can I Build a Door Without Power Tools?
Yes! Use a hand saw and screwdriver. It’s slower but doable. Borrow a circular saw from a friend to speed things up if you can.
How Much Does It Cost to Build a Shed Door?
A single door costs $50-$100, depending on wood and hinges. Double doors run $80-$150. Shop sales at Lowe’s or use scrap wood to save money.
How Long Does It Take to Build a Shed Door?
A single door takes 3-4 hours for beginners. Double doors take 5-6 hours. Practice makes it faster—my first door took a whole day!
What Hinges Are Best for Shed Doors?
Use 3-inch galvanized hinges for rust resistance. They cost $10-$15 a pair. Screw them into studs for a secure hold, especially for heavy doors. See our full door hardware and lock guides for latch and lock options beyond the basic barrel bolt.
Conclusion
Building shed doors saves real money over pre-made options and lets you size the door exactly to your opening. Measure carefully, brace it from the hinge side, and don’t skip the preservative – those three things prevent most of the problems covered above. For more DIY reference, see Family Handyman, This Old House, or Shedking.
Sponsored / affiliate links. As an Amazon Associate I earn from qualifying purchases. I may earn additional commission from eligible campaigns.